Initial Prestige: 18920
Final Prestige: 33414
Core
- Infantry
- Fallschirmjäger [NEW]
- Fallschirmjäger [NEW]
- Tanks
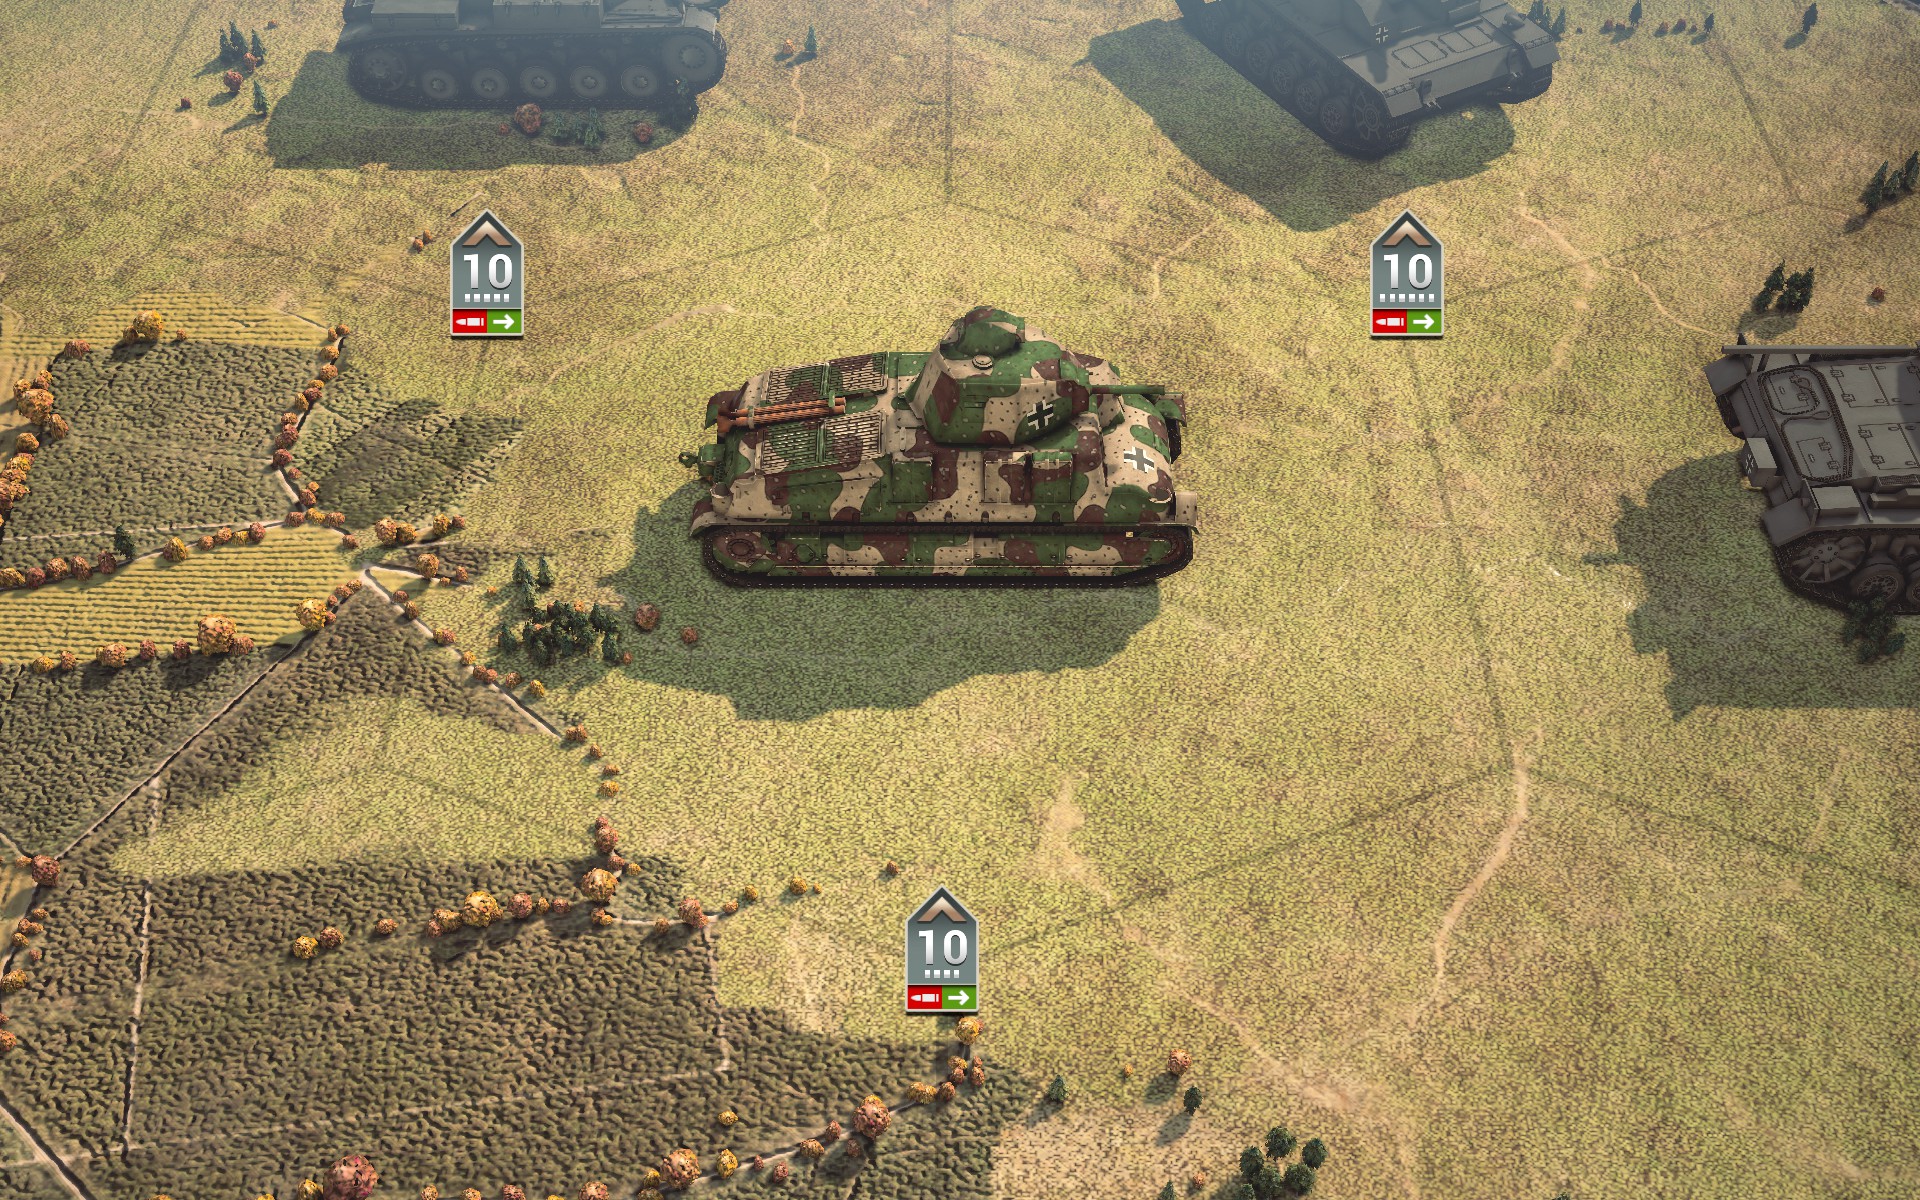
- Somua S35 [NEW]
- Somua S35 [NEW]
- Panzer IIC
- Panzer IIC
- Panzer IIC
- Panzer IIC
- Panzer IIC
- Recon
- SdKfz 232 8Rad
- SdKfz 232 8Rad
- SdKfz 232 8Rad [NEW]
- Artillery
- 15 cm sFH w/ SdKfz II
- 15 cm sFH w/ SdKfz II
- 10.5 cm leFH w/ SdKfz II
- 10.5 cm leFH w/ SdKfz II
- StuG IIIB
- StuG IIIB
- StuG IIIB
- StuG IIIB
- Fighters
- Bf 109F
- Bf 109F
- Bf 109F
- Bf 109F [NEW]
- Tactical Bombers
- Fi 156 Storch
- Bf 110D
- Bf 110D [NEW]
- Strategic Bombers
- Do 217E [NEW]
- Do 217E [NEW]
- Do 217E [NEW]
- Do 17Z
- Do 17Z
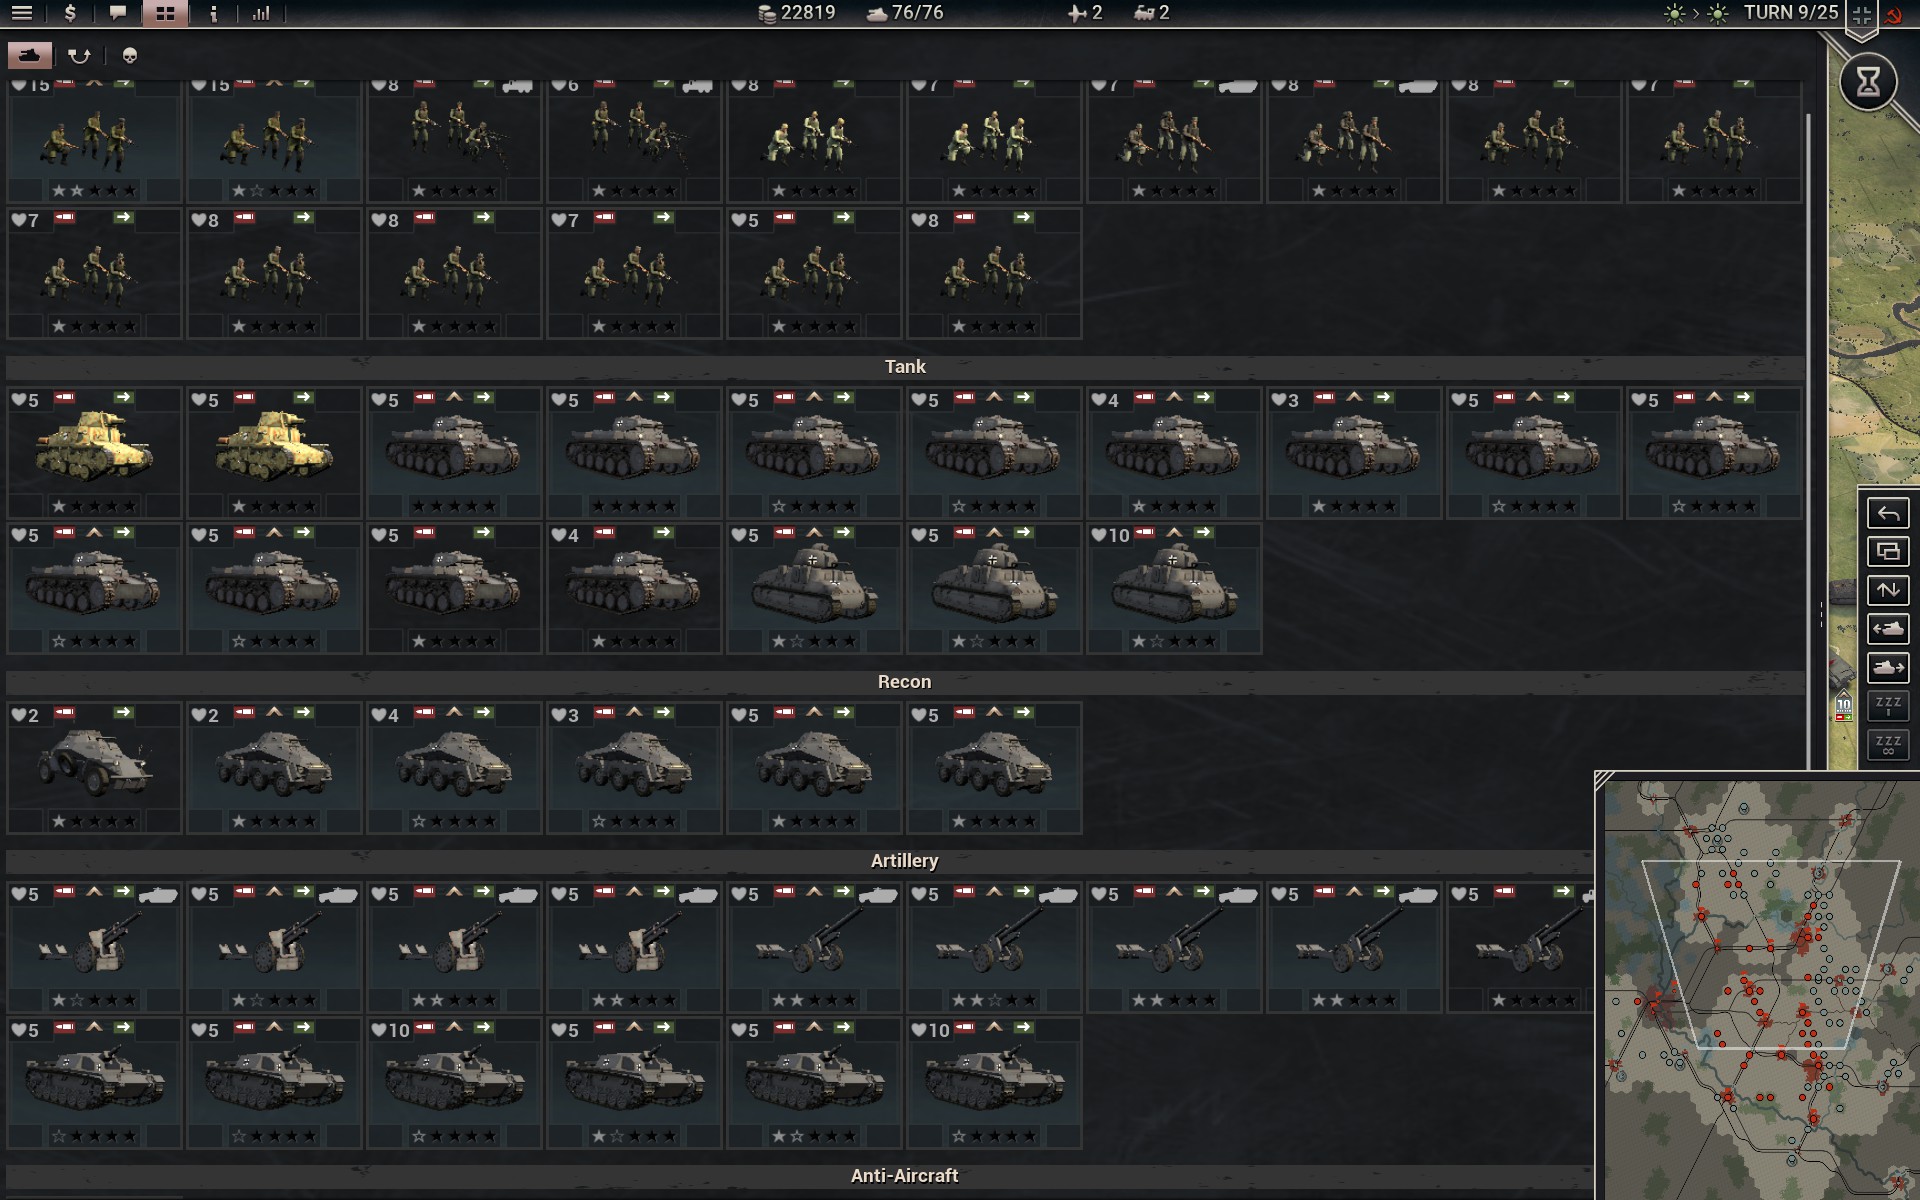
The Pioniere are replaced by Fallschirmjäger for this operation, as I do not foresee much need for close assaults and the latter should provide me with more tactical options. Given the size of the map and the abundance of airfields they'll also be able to redeploy quickly. The two elite Panzer battalions have been issued captured French Somua S35 tanks, as I feel these tanks offer a good balance of defence and firepower while being more cost efficient than the latest Panzers. Admittedly my prestige has reached a level where I don't really need to worry about the cost of elite reinforcements, but it nevertheless feels good to stick to the original spirit of the campaign. It's possible that this approach could lead to difficulties down the line, as once the experience of the average enemies begin to increase by a few stars their accuracy might really begin to hurt, as it stacks with the 20% the AI enjoys due to my playing on Generalissimus. I'm trying to bring my core up to at least 1 star, however, with support and the elite tank battalions at 2 stars or better.
The recons are strengthened with an additional SdKfz 232 8Rad. These little beauties are truly incredible; comradep believes they are broken when used with the traits we use in our AAR campaigns, and I'm bound to agree. The potent all-terrain movement of 8 is what makes it shine by presenting you with a dizzying array of tactical options, and it's well worth the required core slots. A Bf 109F and a Bf 110D are added to the Luftwaffe to help combat the Soviet air force -- the Bf 110Ds offer the less slot-intense option for handling enemy aircraft made necessary by the need to provide the auxiliaries with air support, forcing me to split my fighters. The leading strategic bombers are upgraded to the powerful but expensive Do 217E.
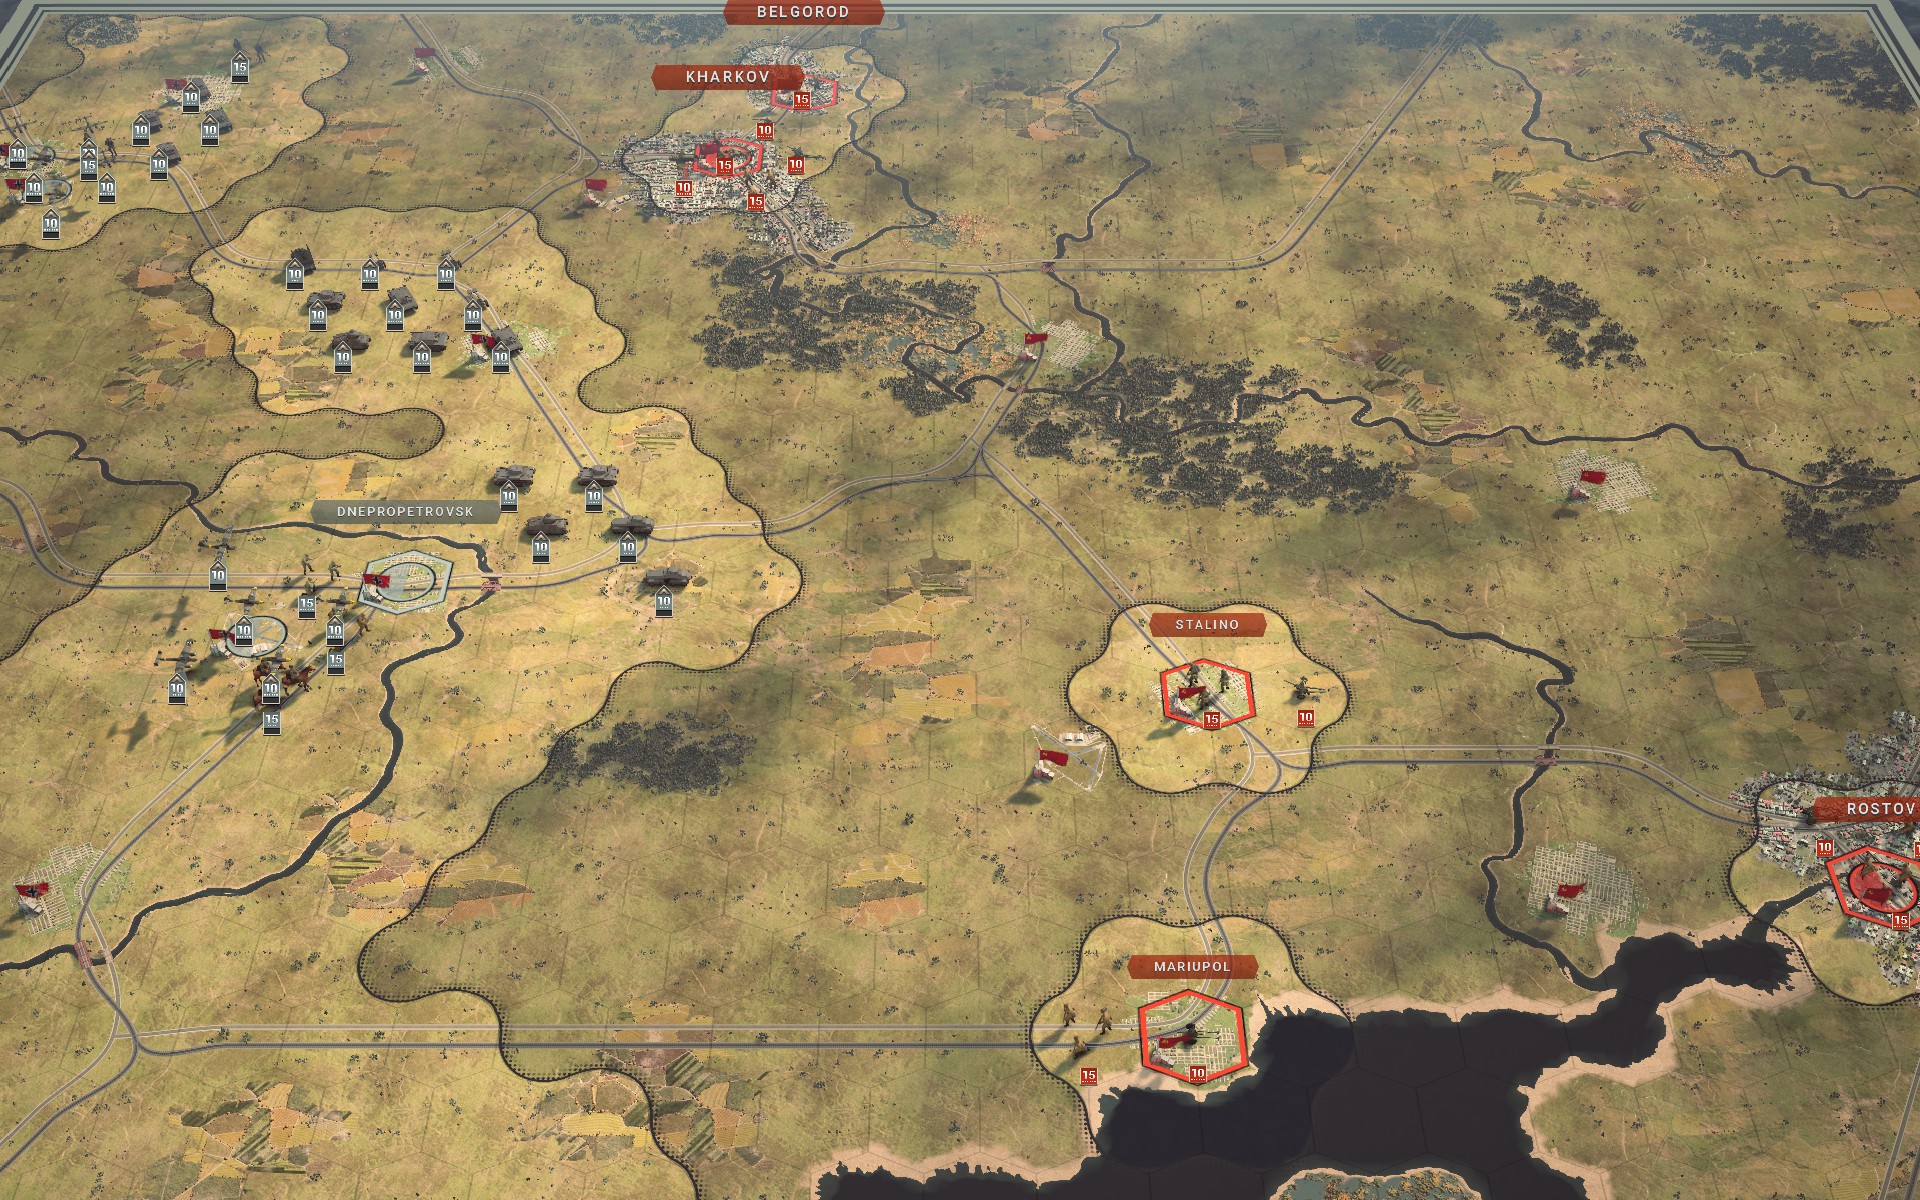
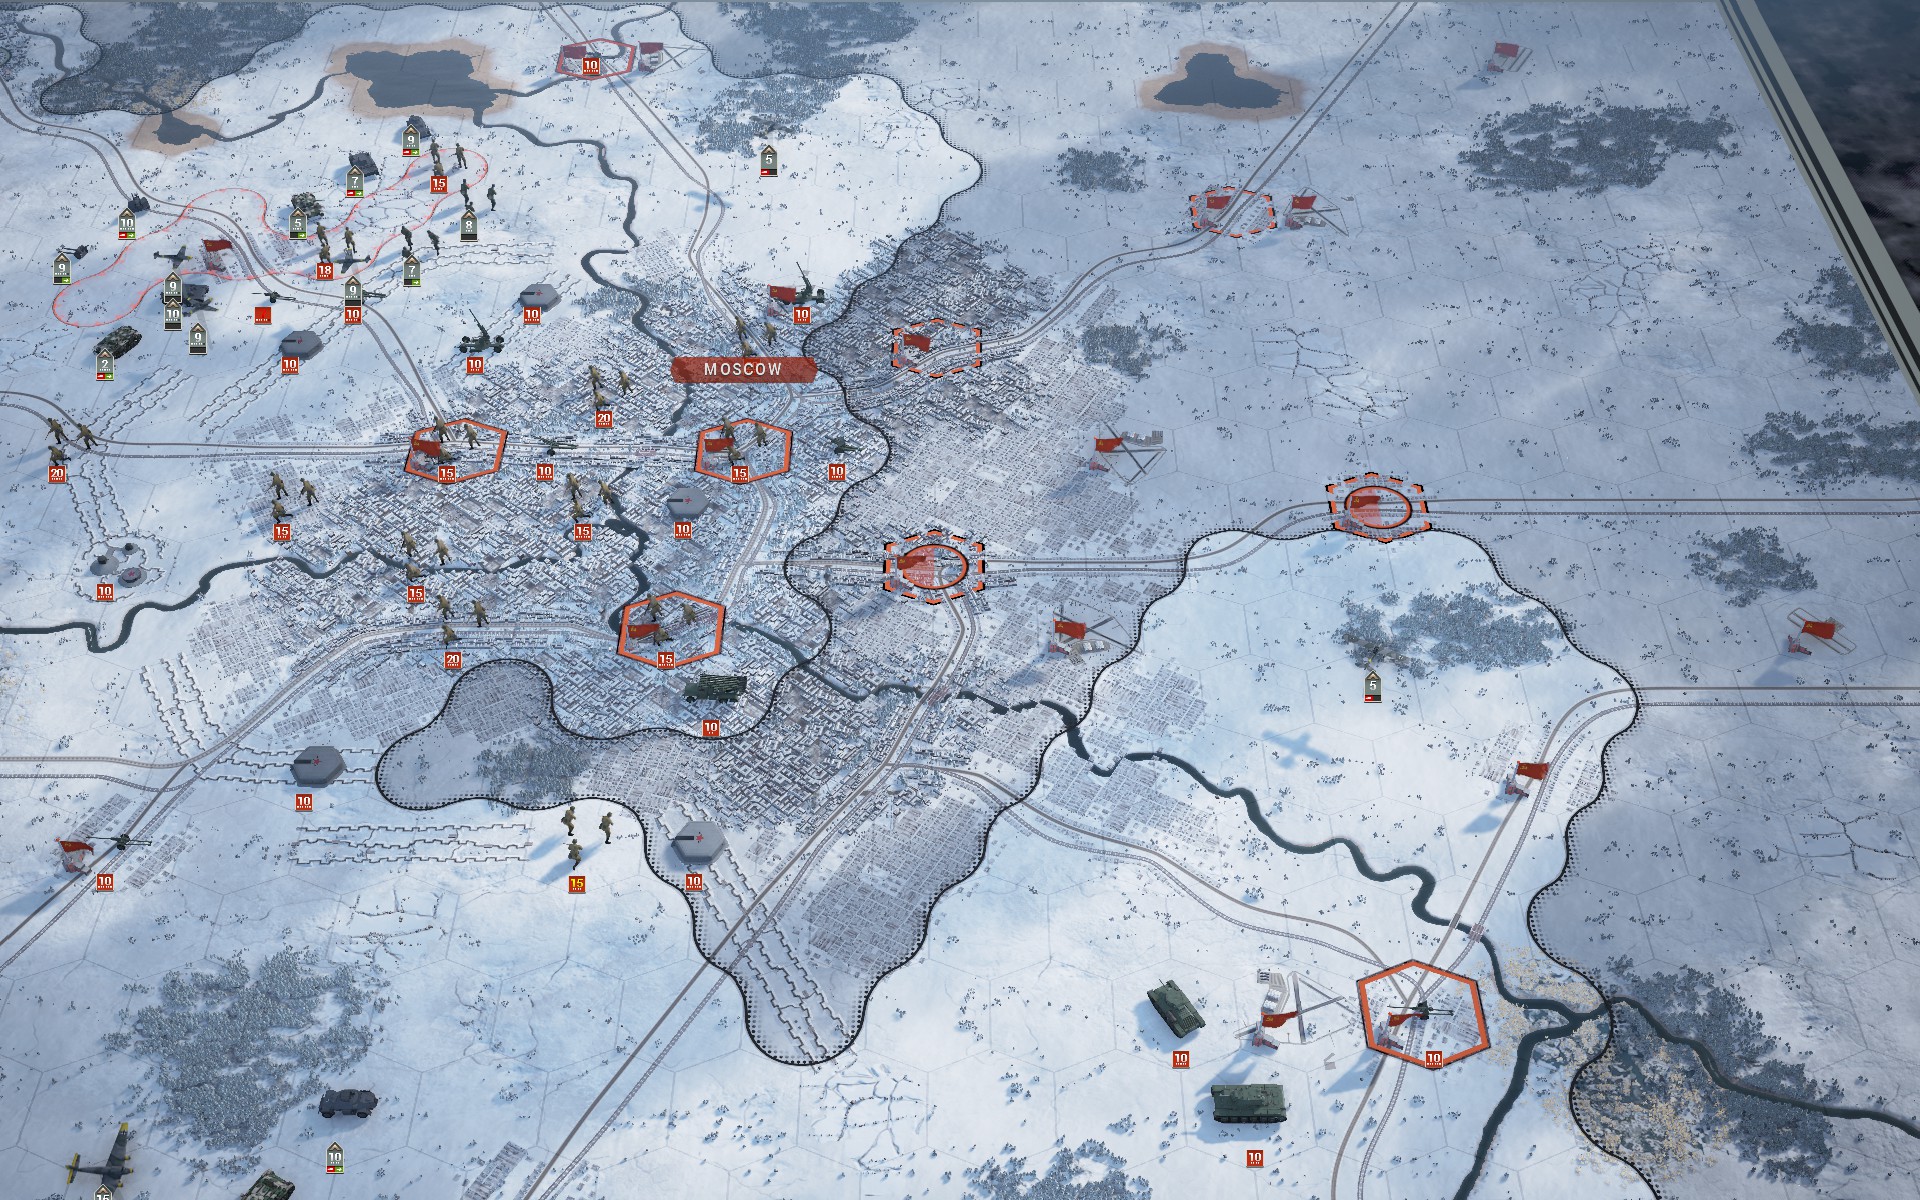
This scenario has been carefully designed to provide the player with a way to reenact the largest encirclement ever seen in a military conflict, all made possible with one of the new additions to the game. While it's certainly possible to play this scenario in a more orthodox manner, it's a lot tougher -- I tried it the first time I played the scenario (Barbarossa Center) -- and not nearly as lucrative. Fundamentally it's largely what I've been doing for the entire campaign, but the scale is what sets it apart from other scenarios. Seeing is believing, so without further ado I'll outline the general strategy I'll be using.
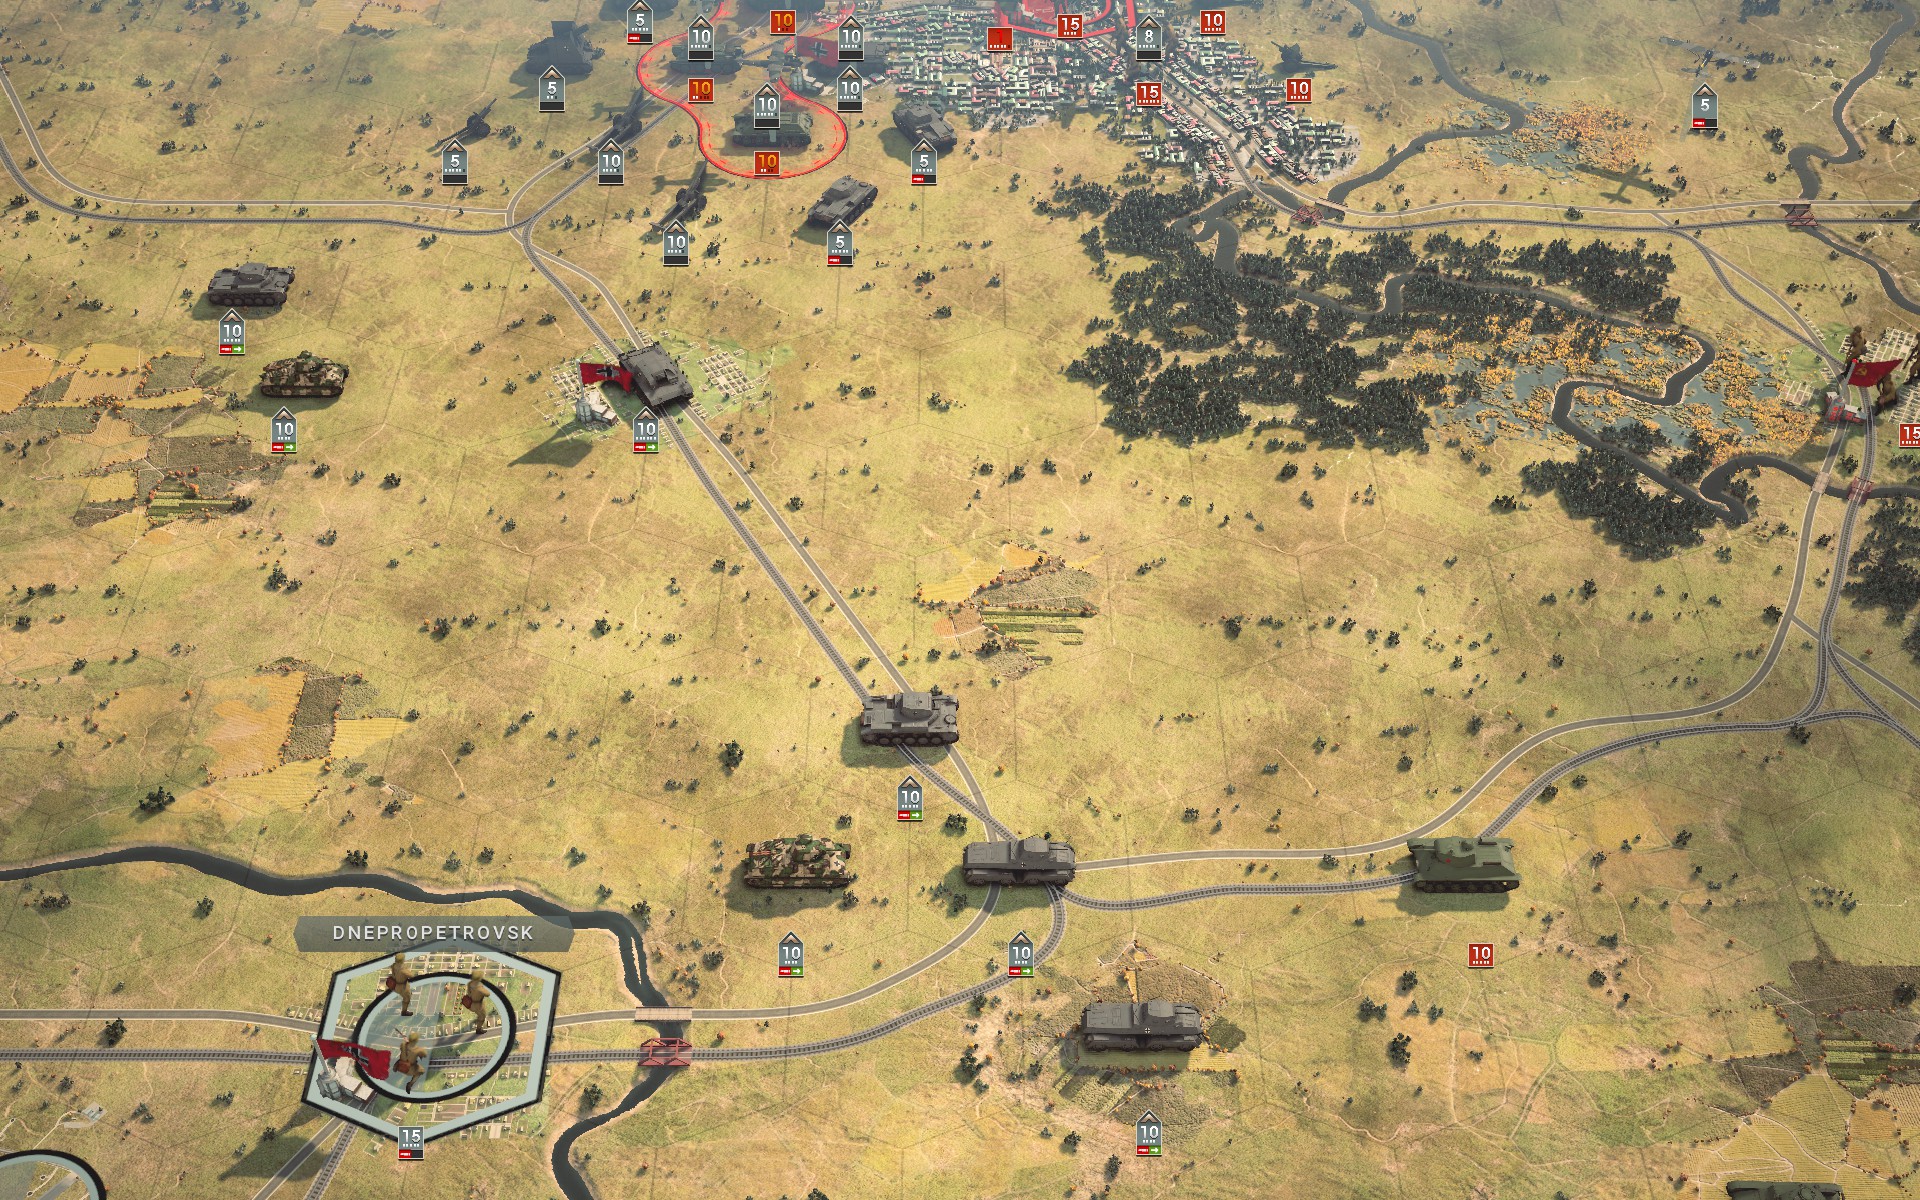
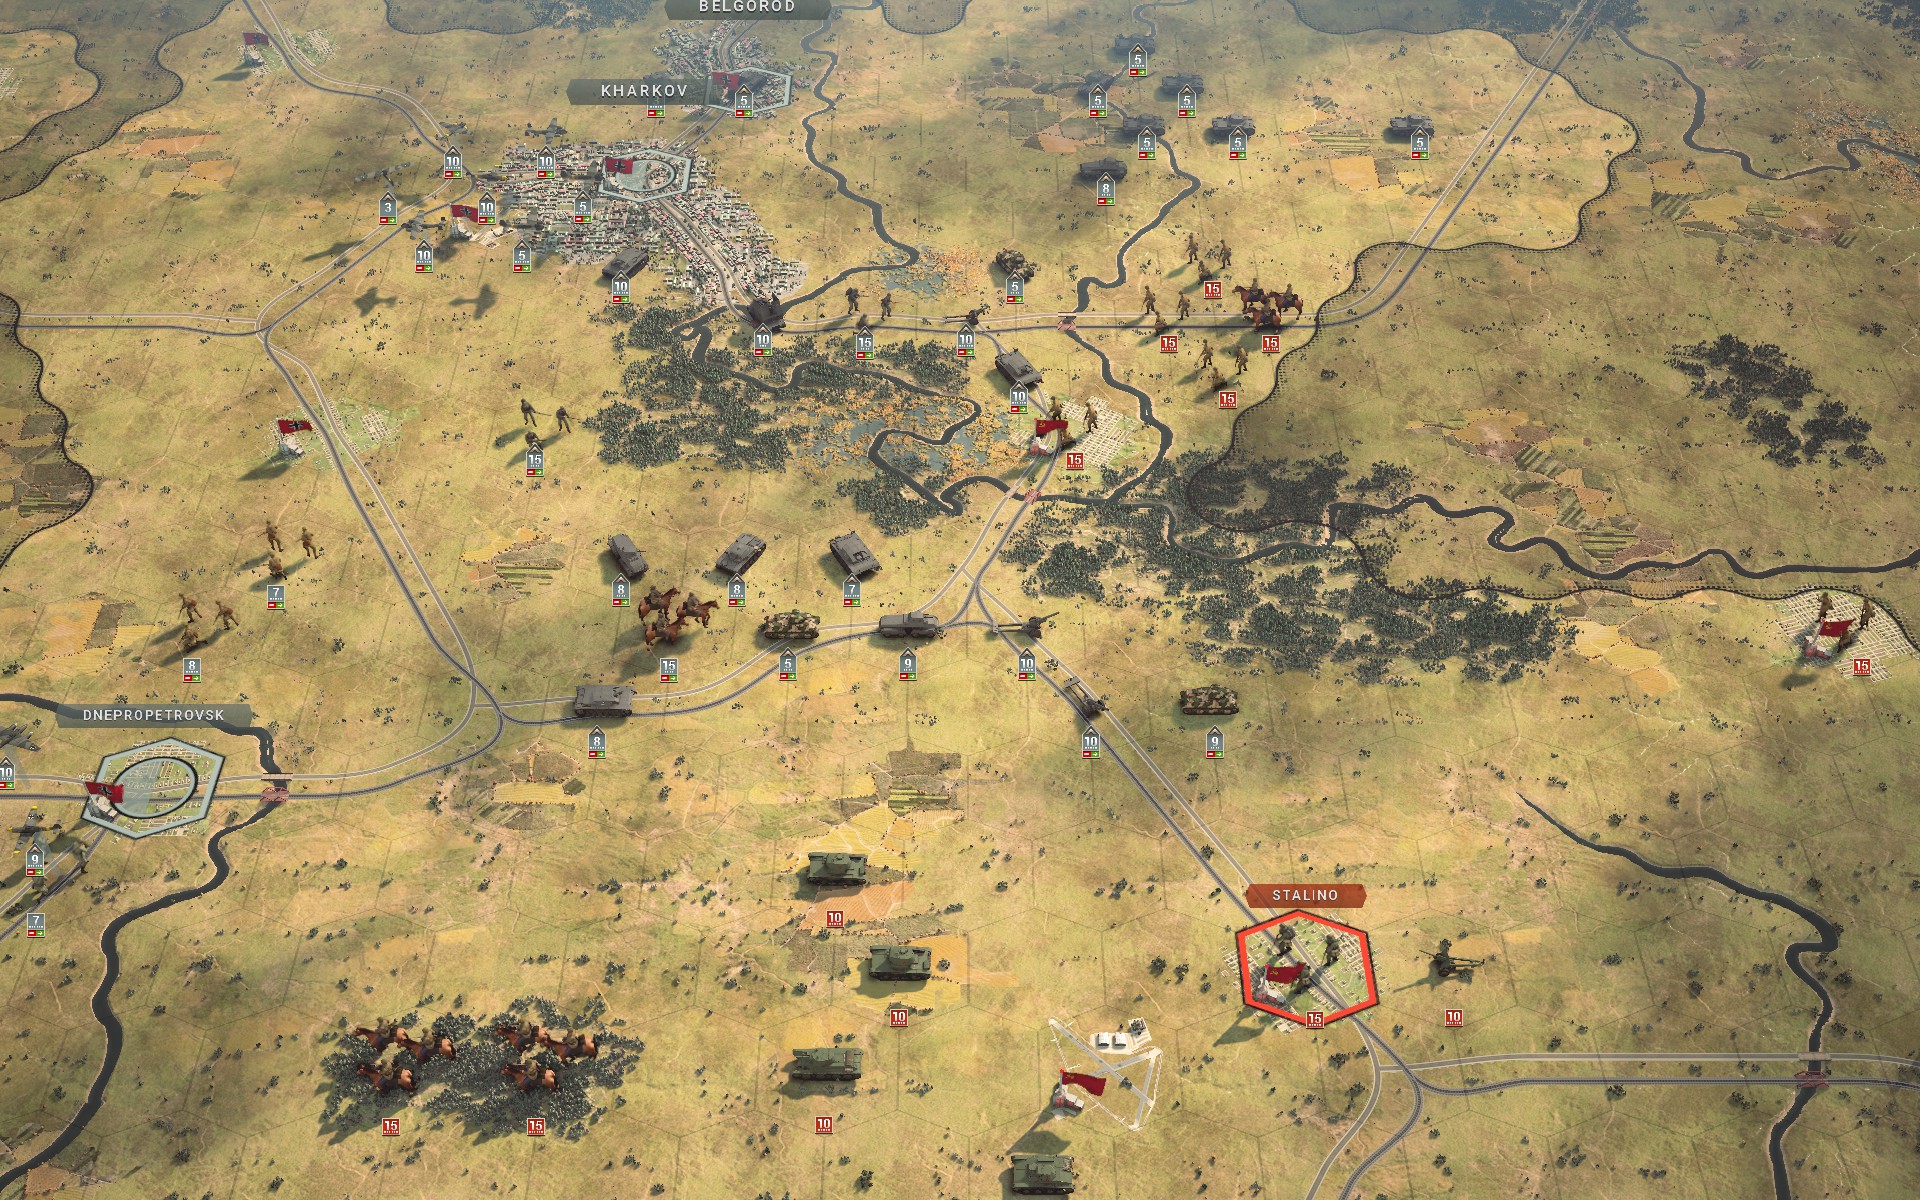
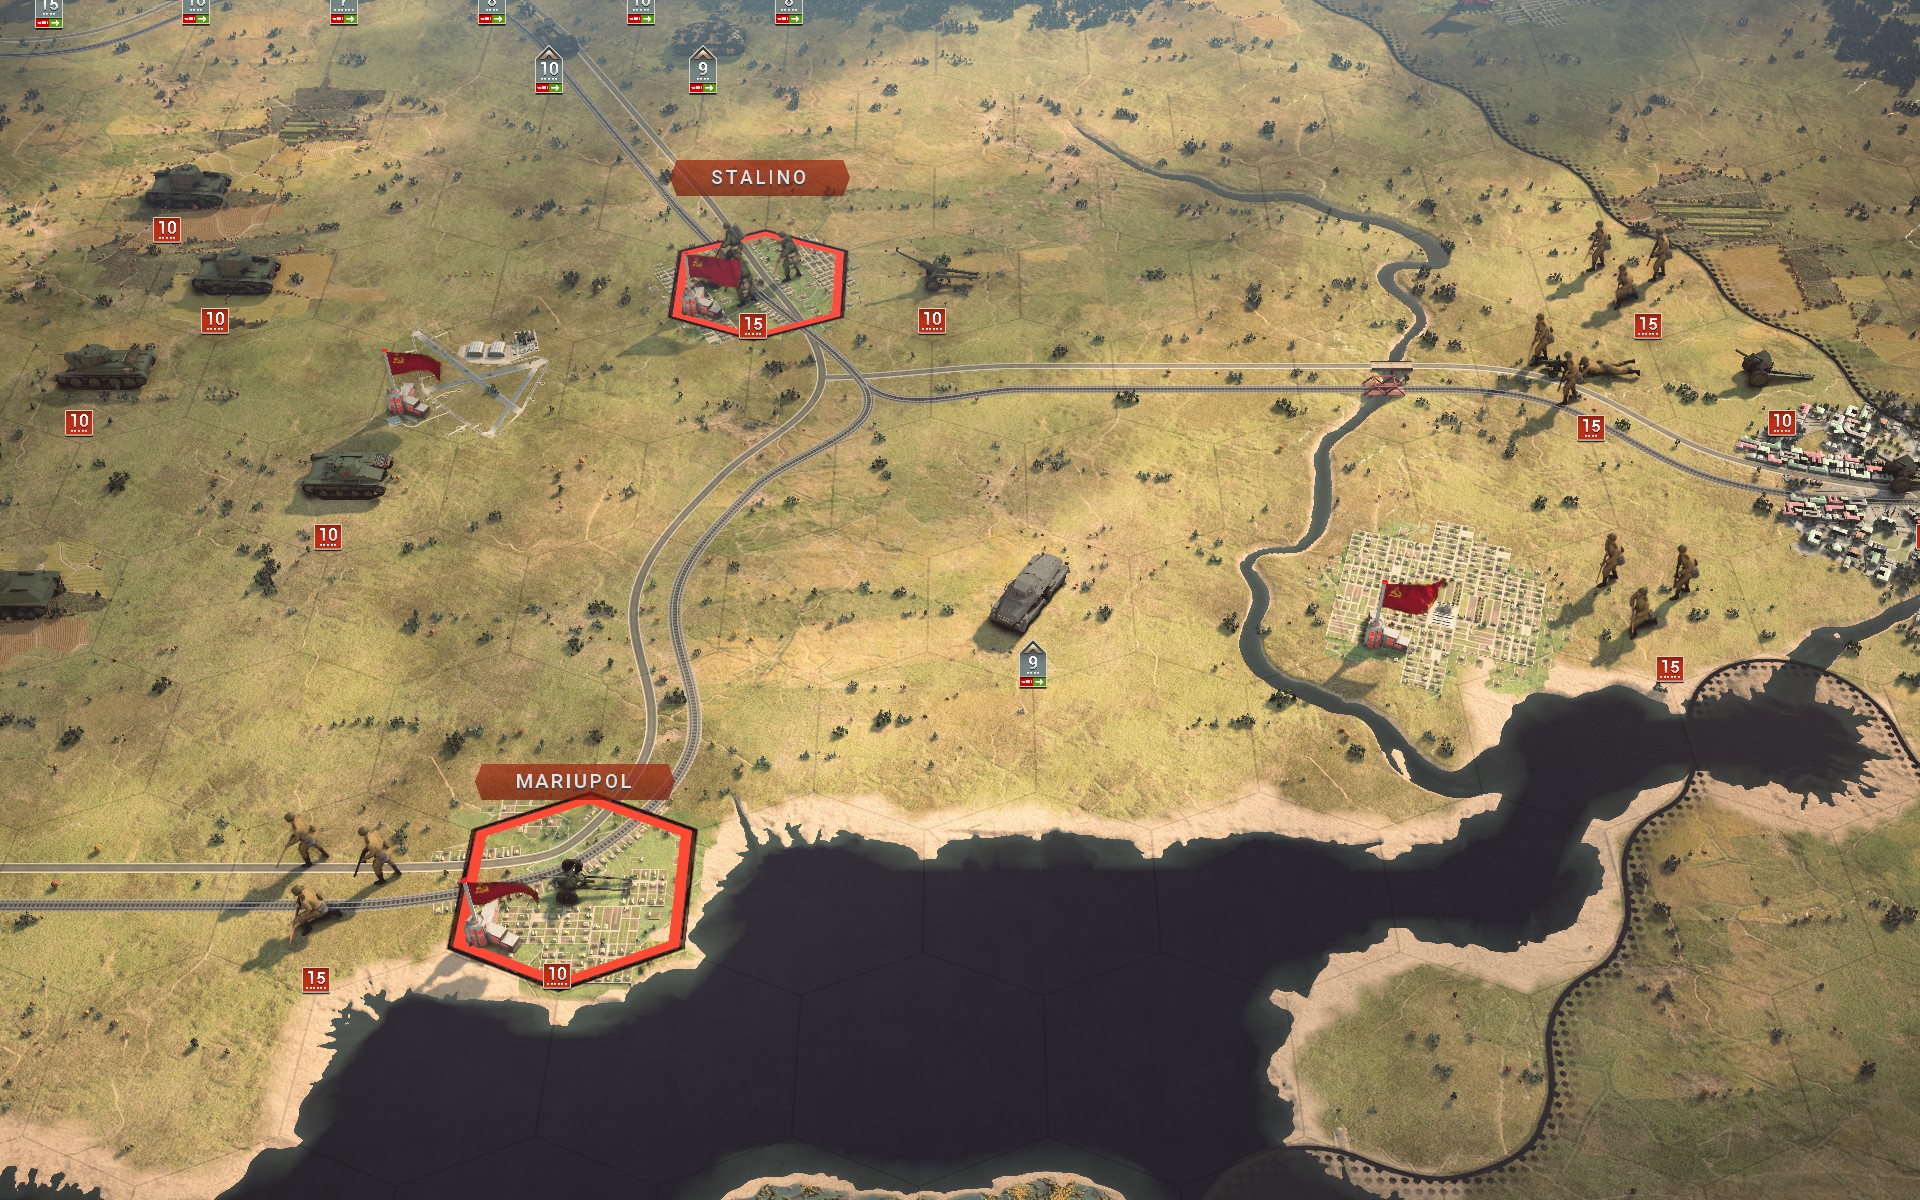
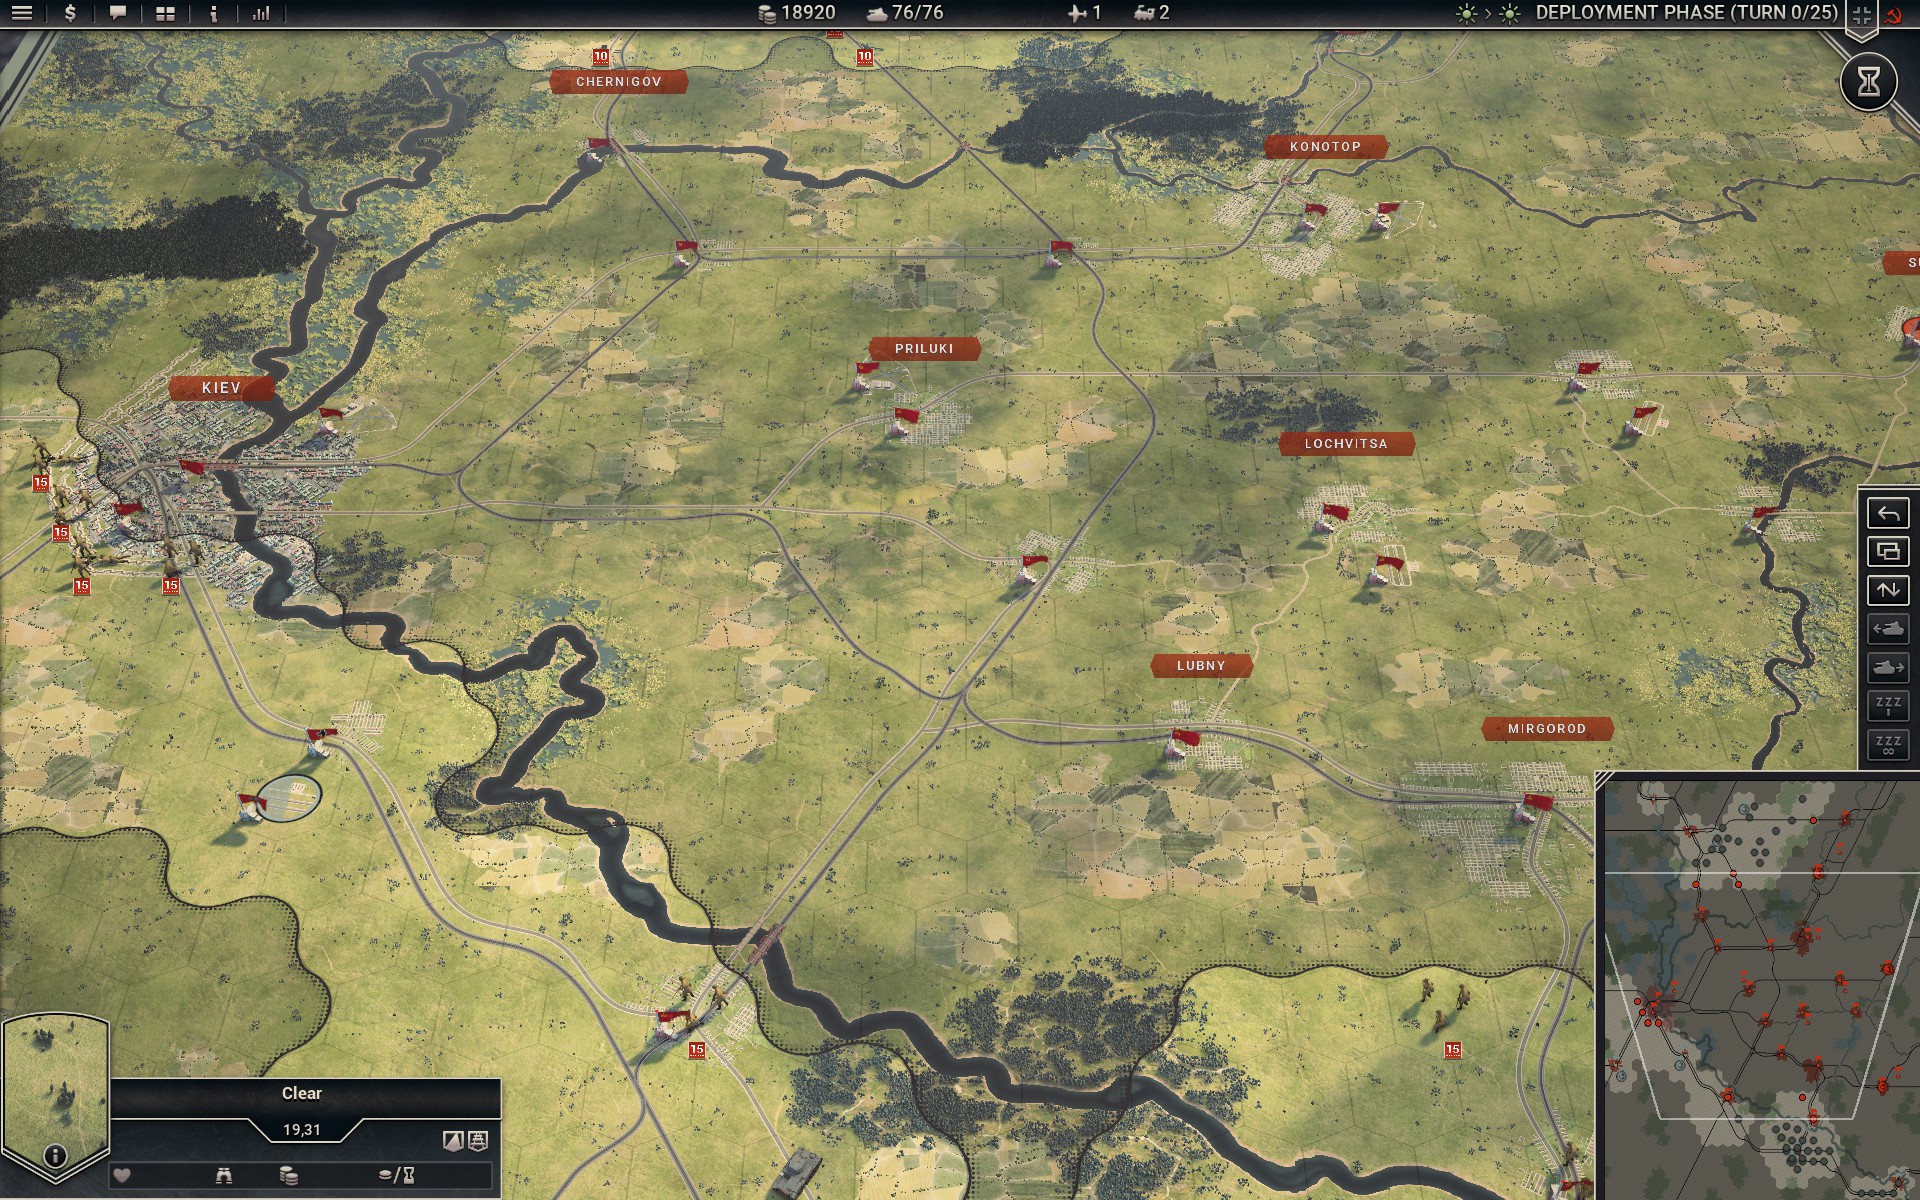
The Soviets have access to 3 supply hexes, but they are all on the eastern side of the map, and my plan is to cut these off from the main main force on the plains. To that end my ground forces will all deploy as close to Dniepropetrovsk as possible, aiming to cross the river and advance on Poltava while remaining undetected. They will then overwhelm the Soviet forces at Poltava and push north towards Sumy, where they'll hopefully be able to link up with the auxiliaries in the north. A few units will be left on the southern bank of the Dnieper to help establish the encirclement and to repel any attempts to break out. The Italian auxiliaries will move up to cut off Kiev from the West. Half the fighters, the Bf 110Ds and the Storch will be deployed to provide air cover.
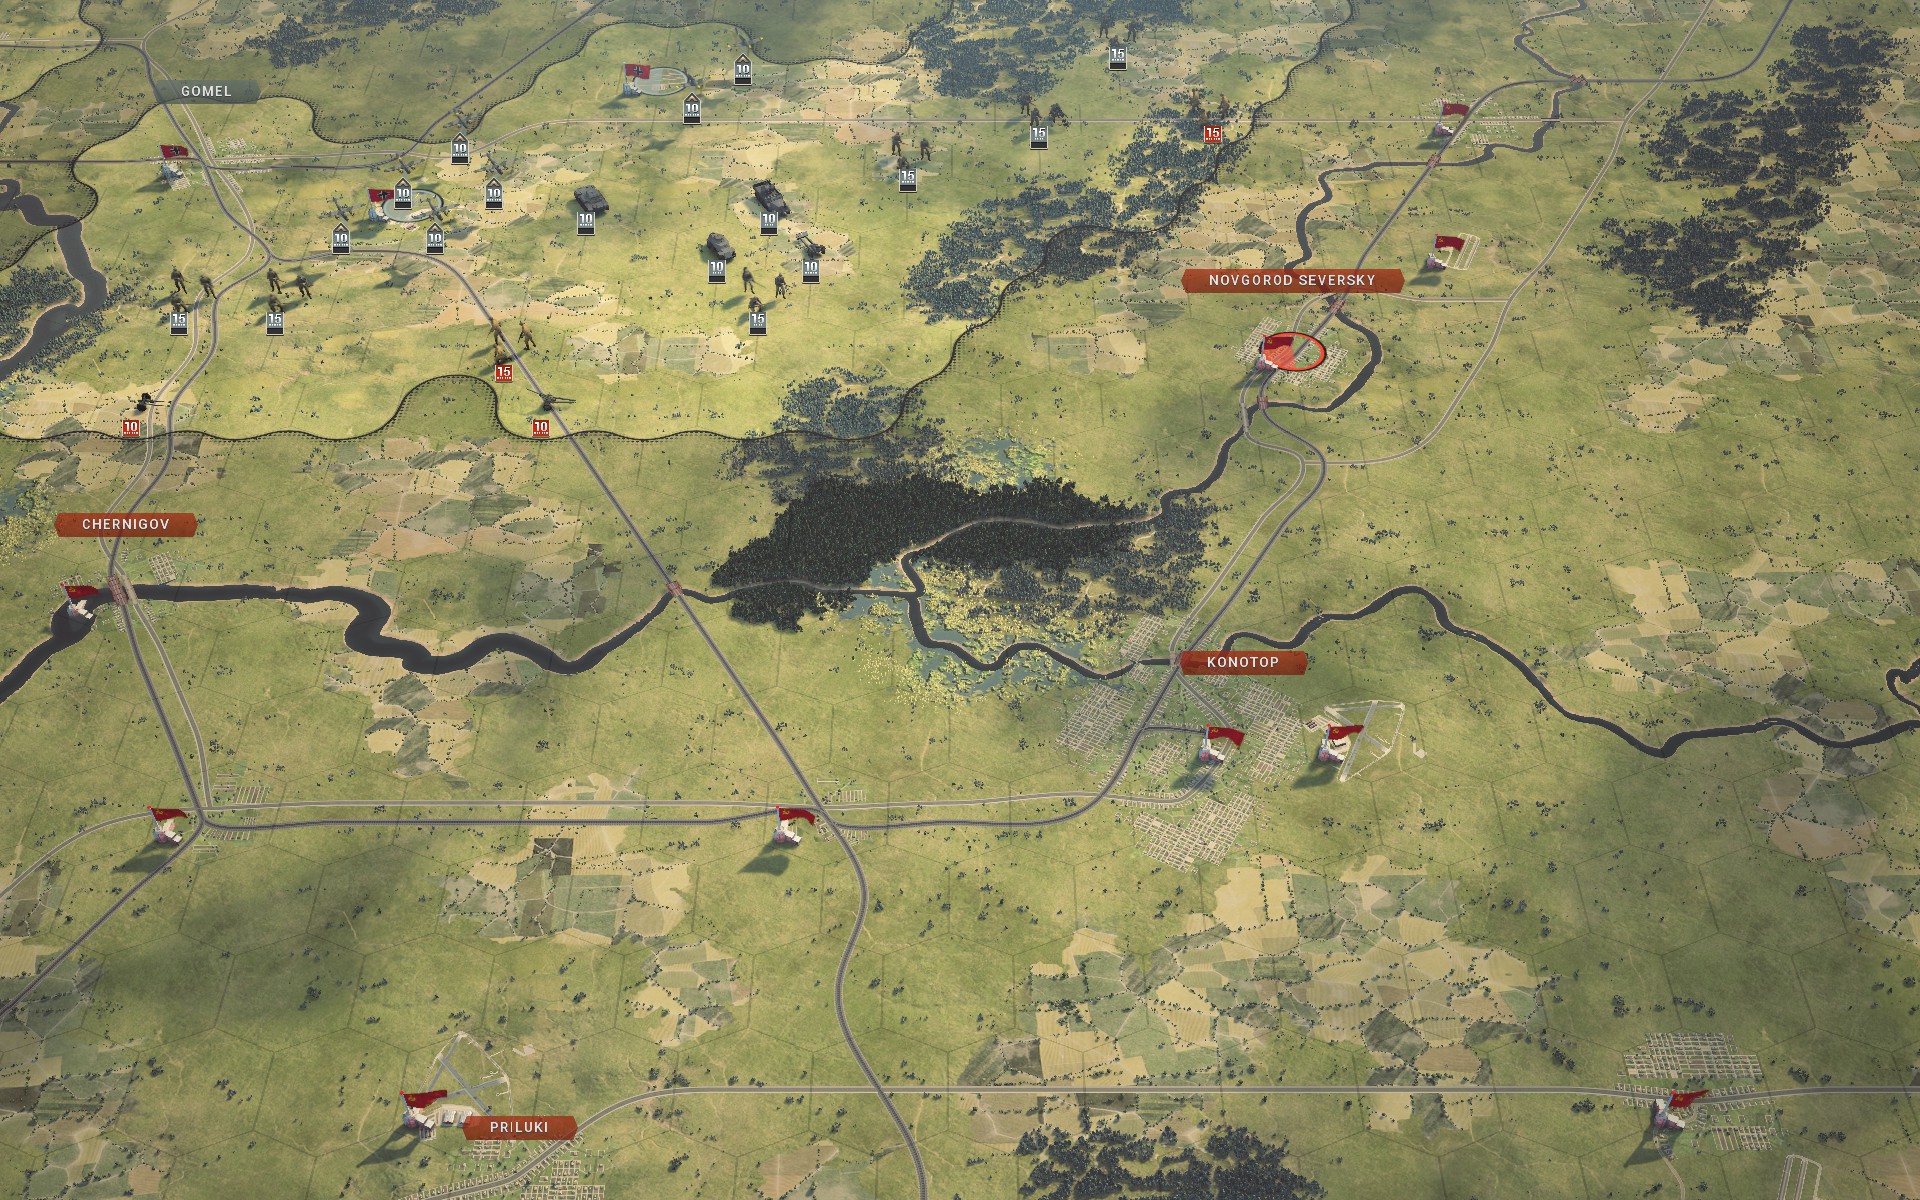
The northern auxiliaries will advance on Novgorod-Seversky, aiming to cut off supplies to Konotop and eventually linking up with my main force. A few elements will be left behind to establish a defensive line that'll cut off Soviet supplies from the north. Half the fighters have been deployed to provide air cover, and to protect the strategic bombers; there are no airfields in the south that can base them, so securing one is a priority. The Fallschirmjäger will fly along the eastern edge of the map to link up with the auxiliaries.
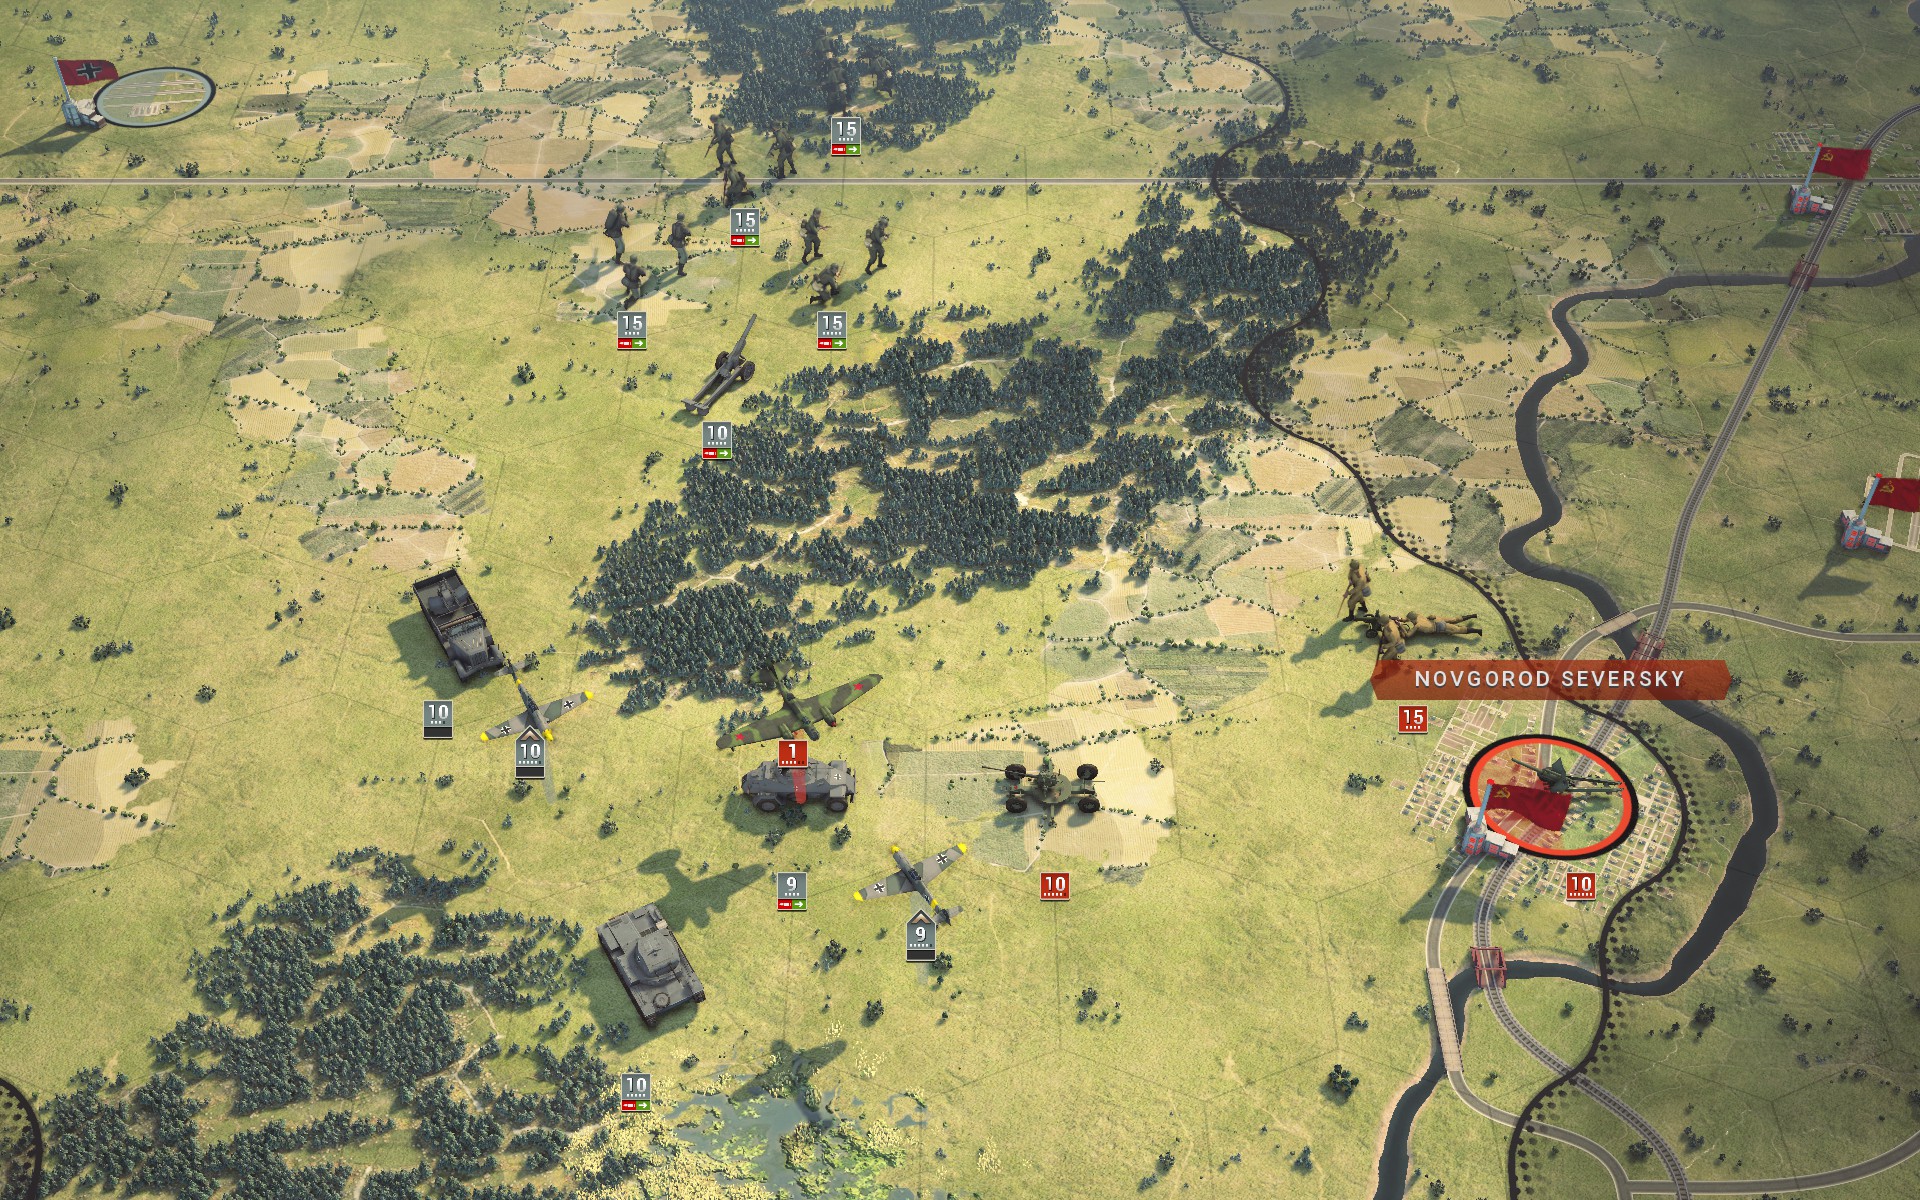
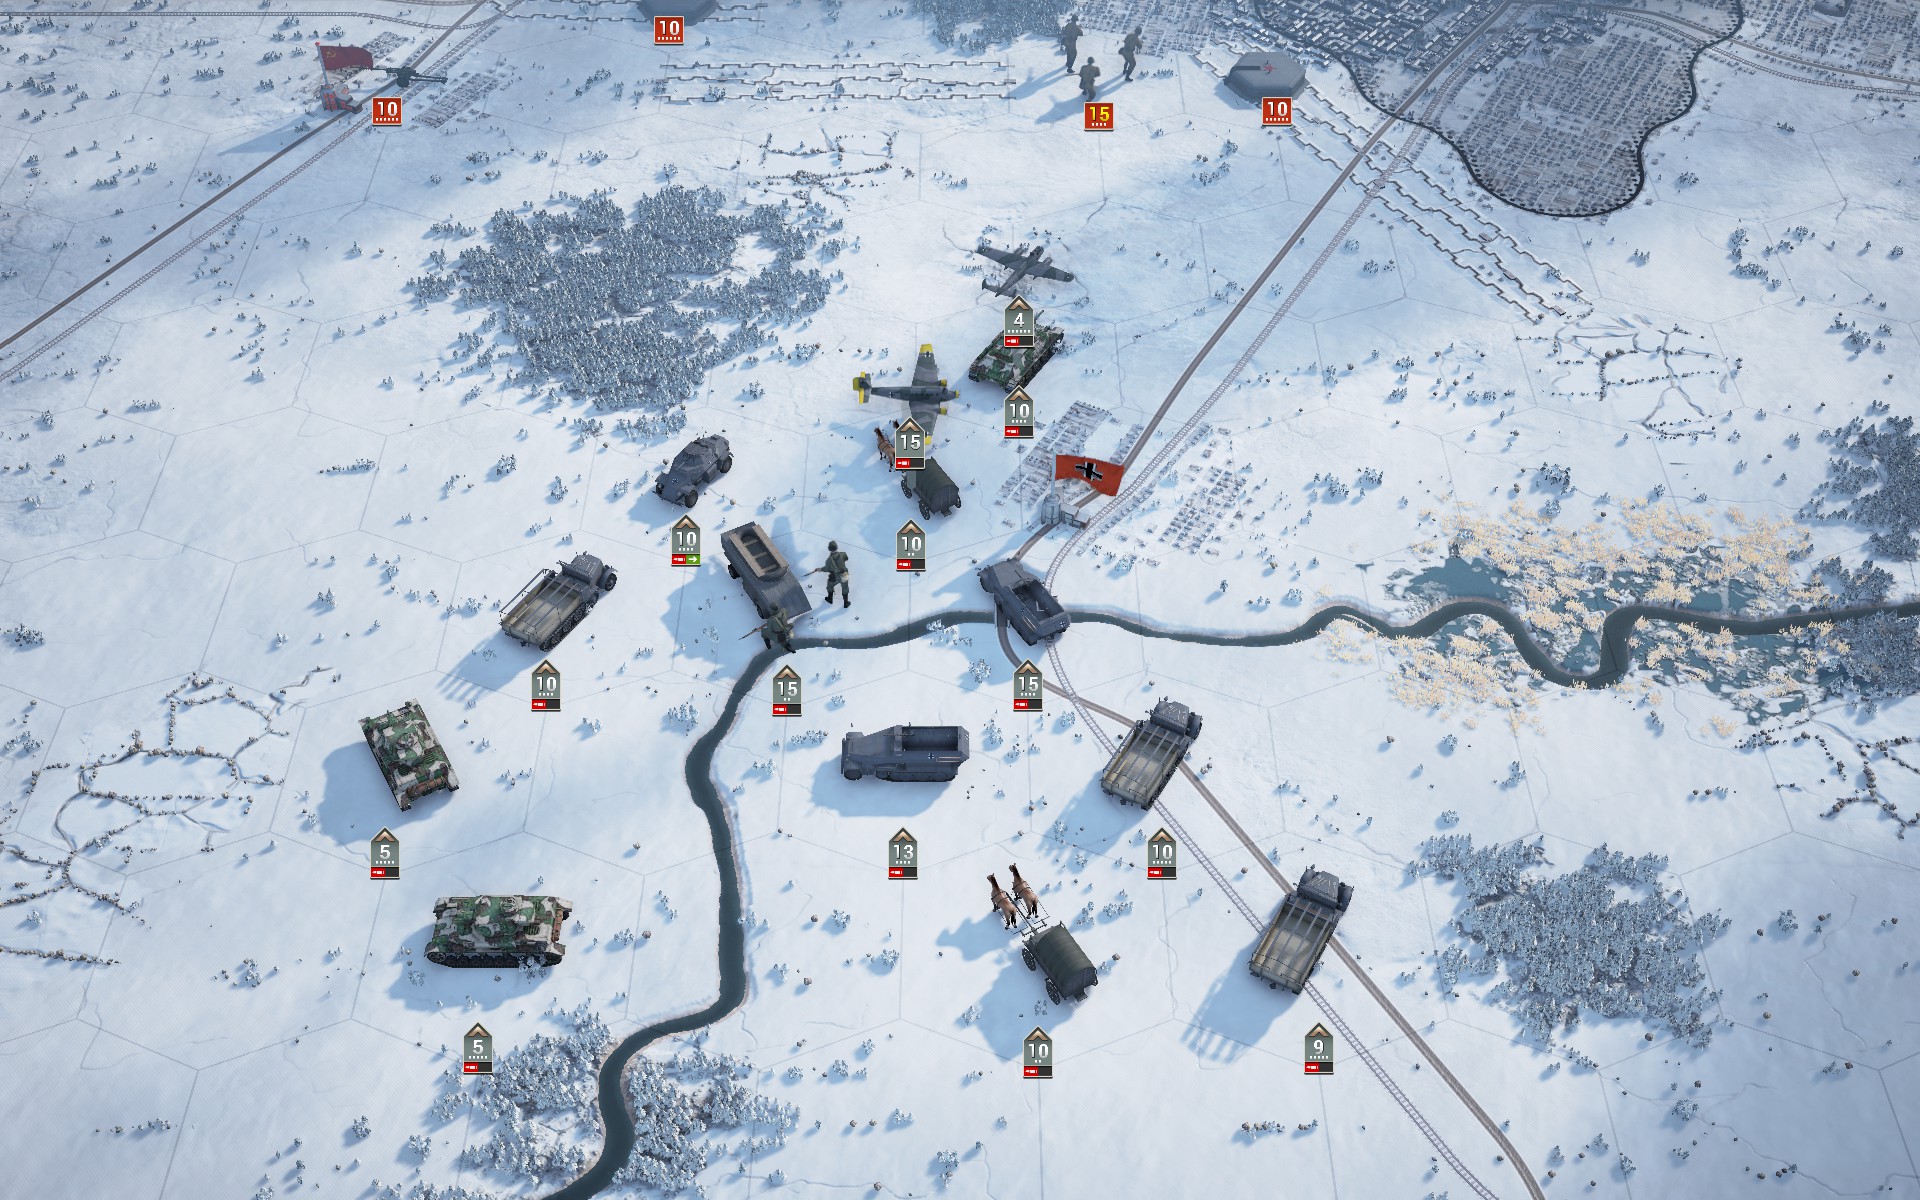
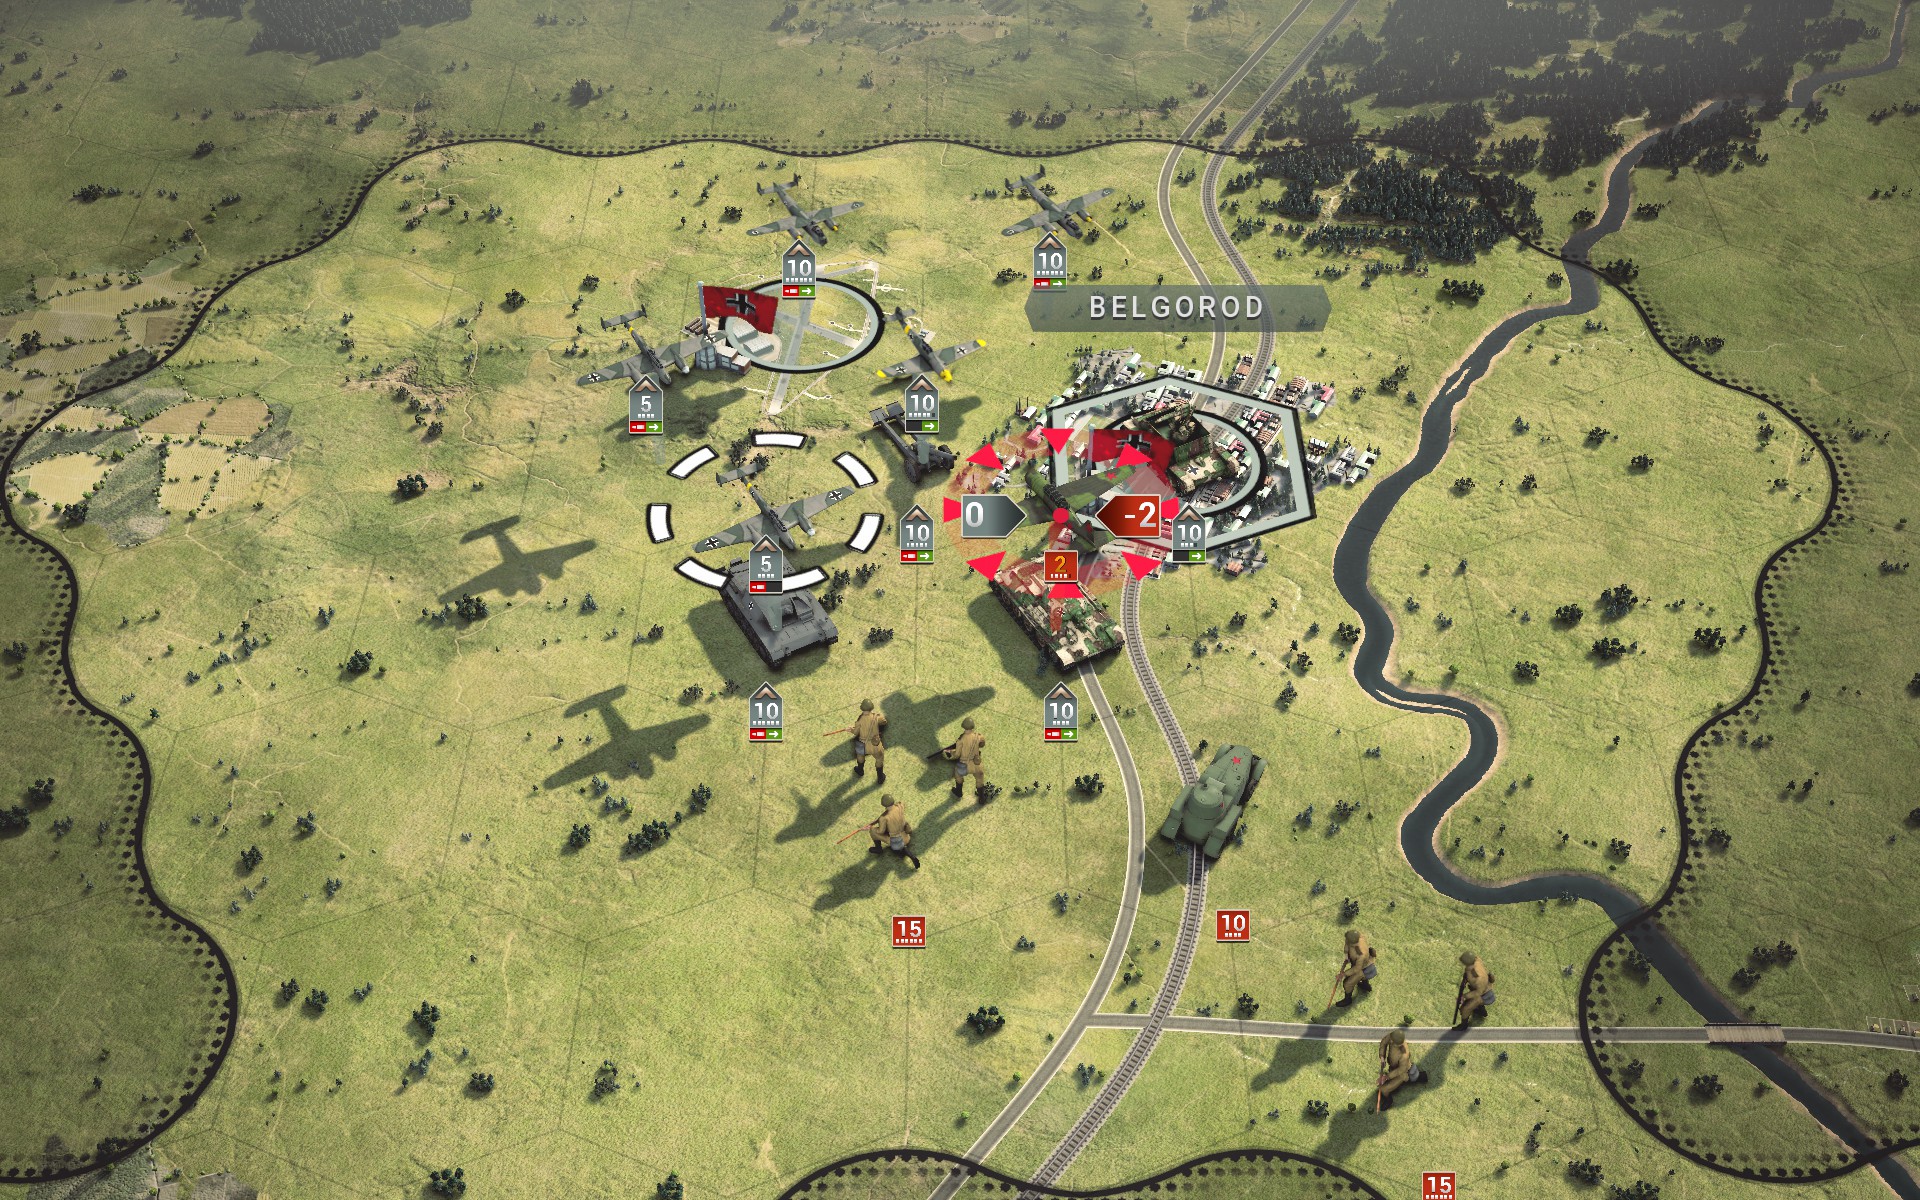
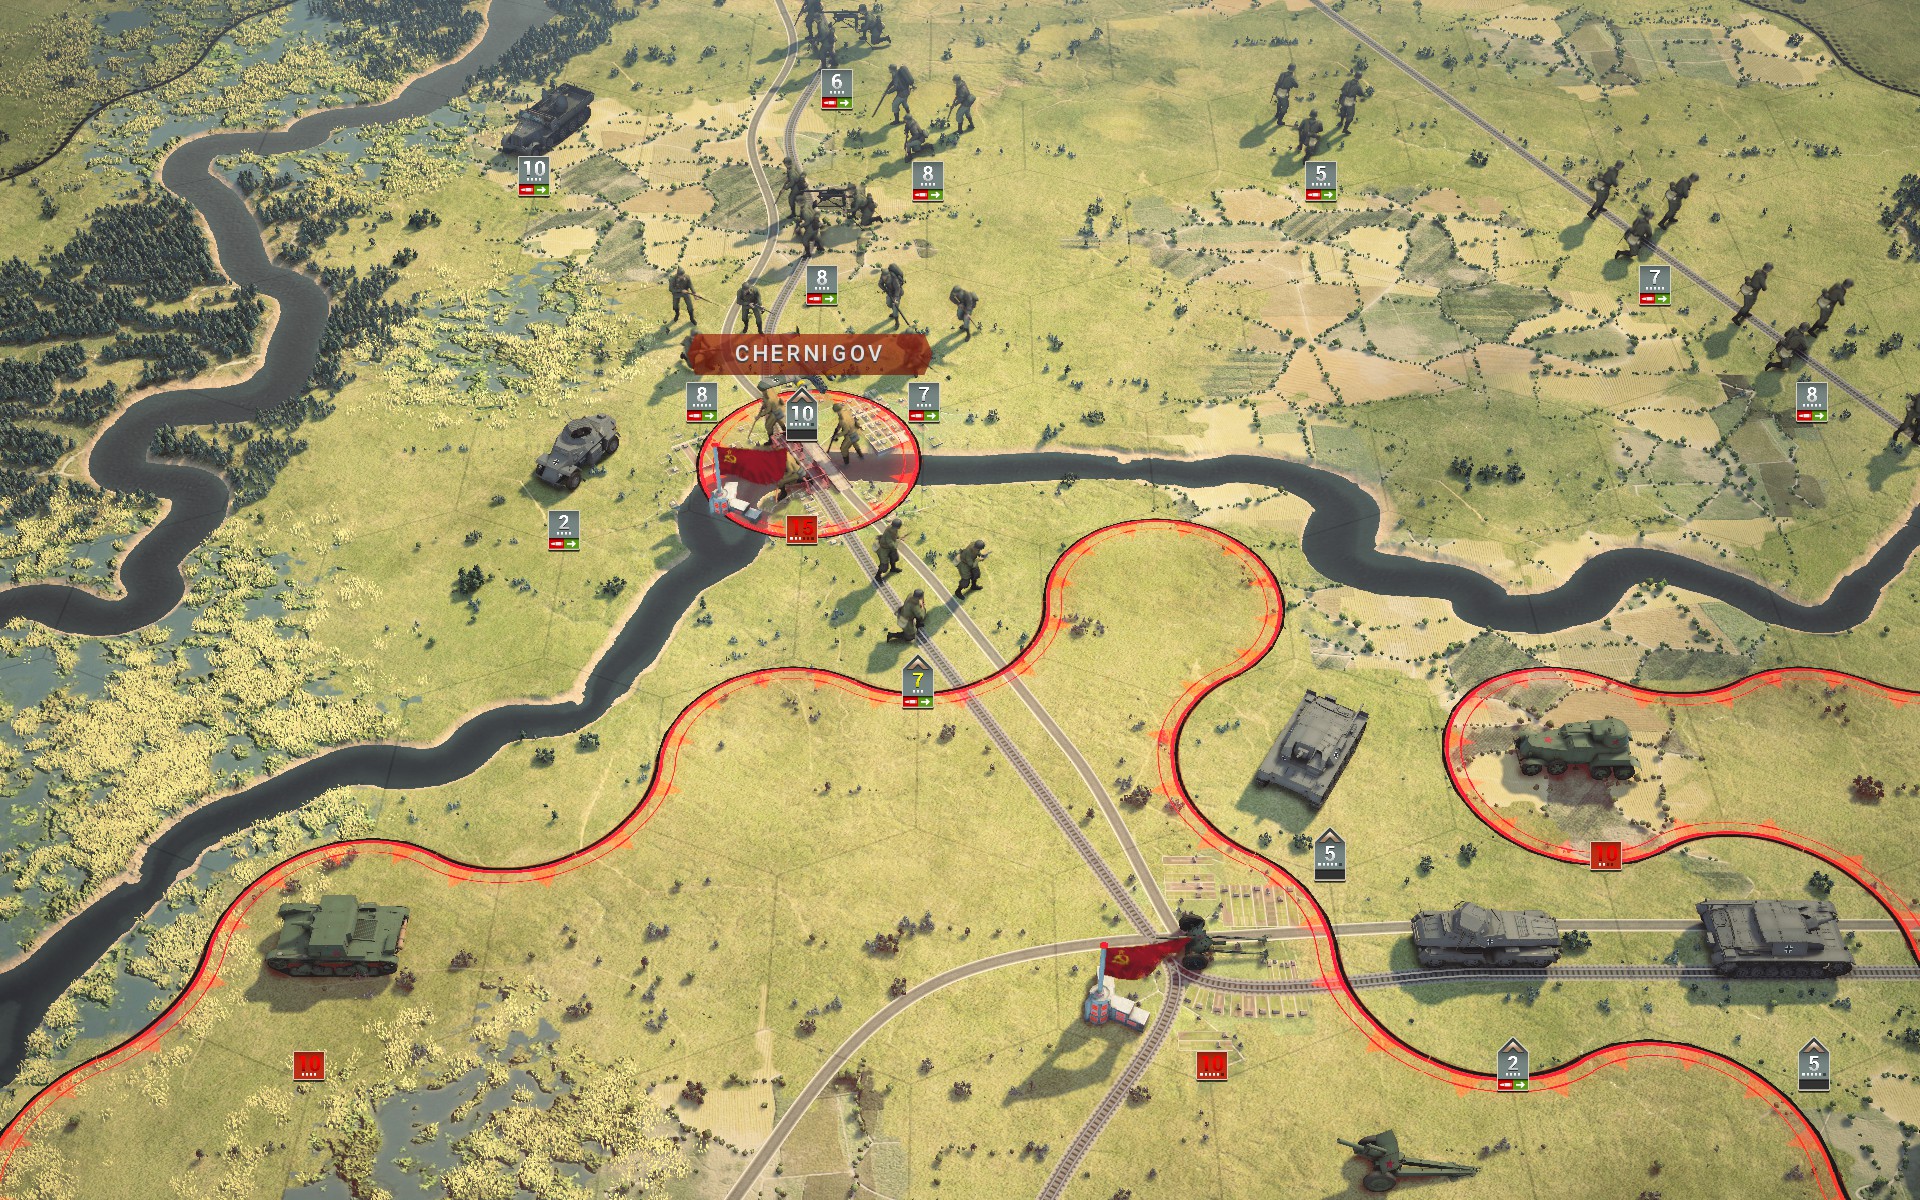
The auxiliaries begin their advance on Novgorod-Seversky and the Luftwaffe sees some action. The Panzer heads to cut off Konotop.
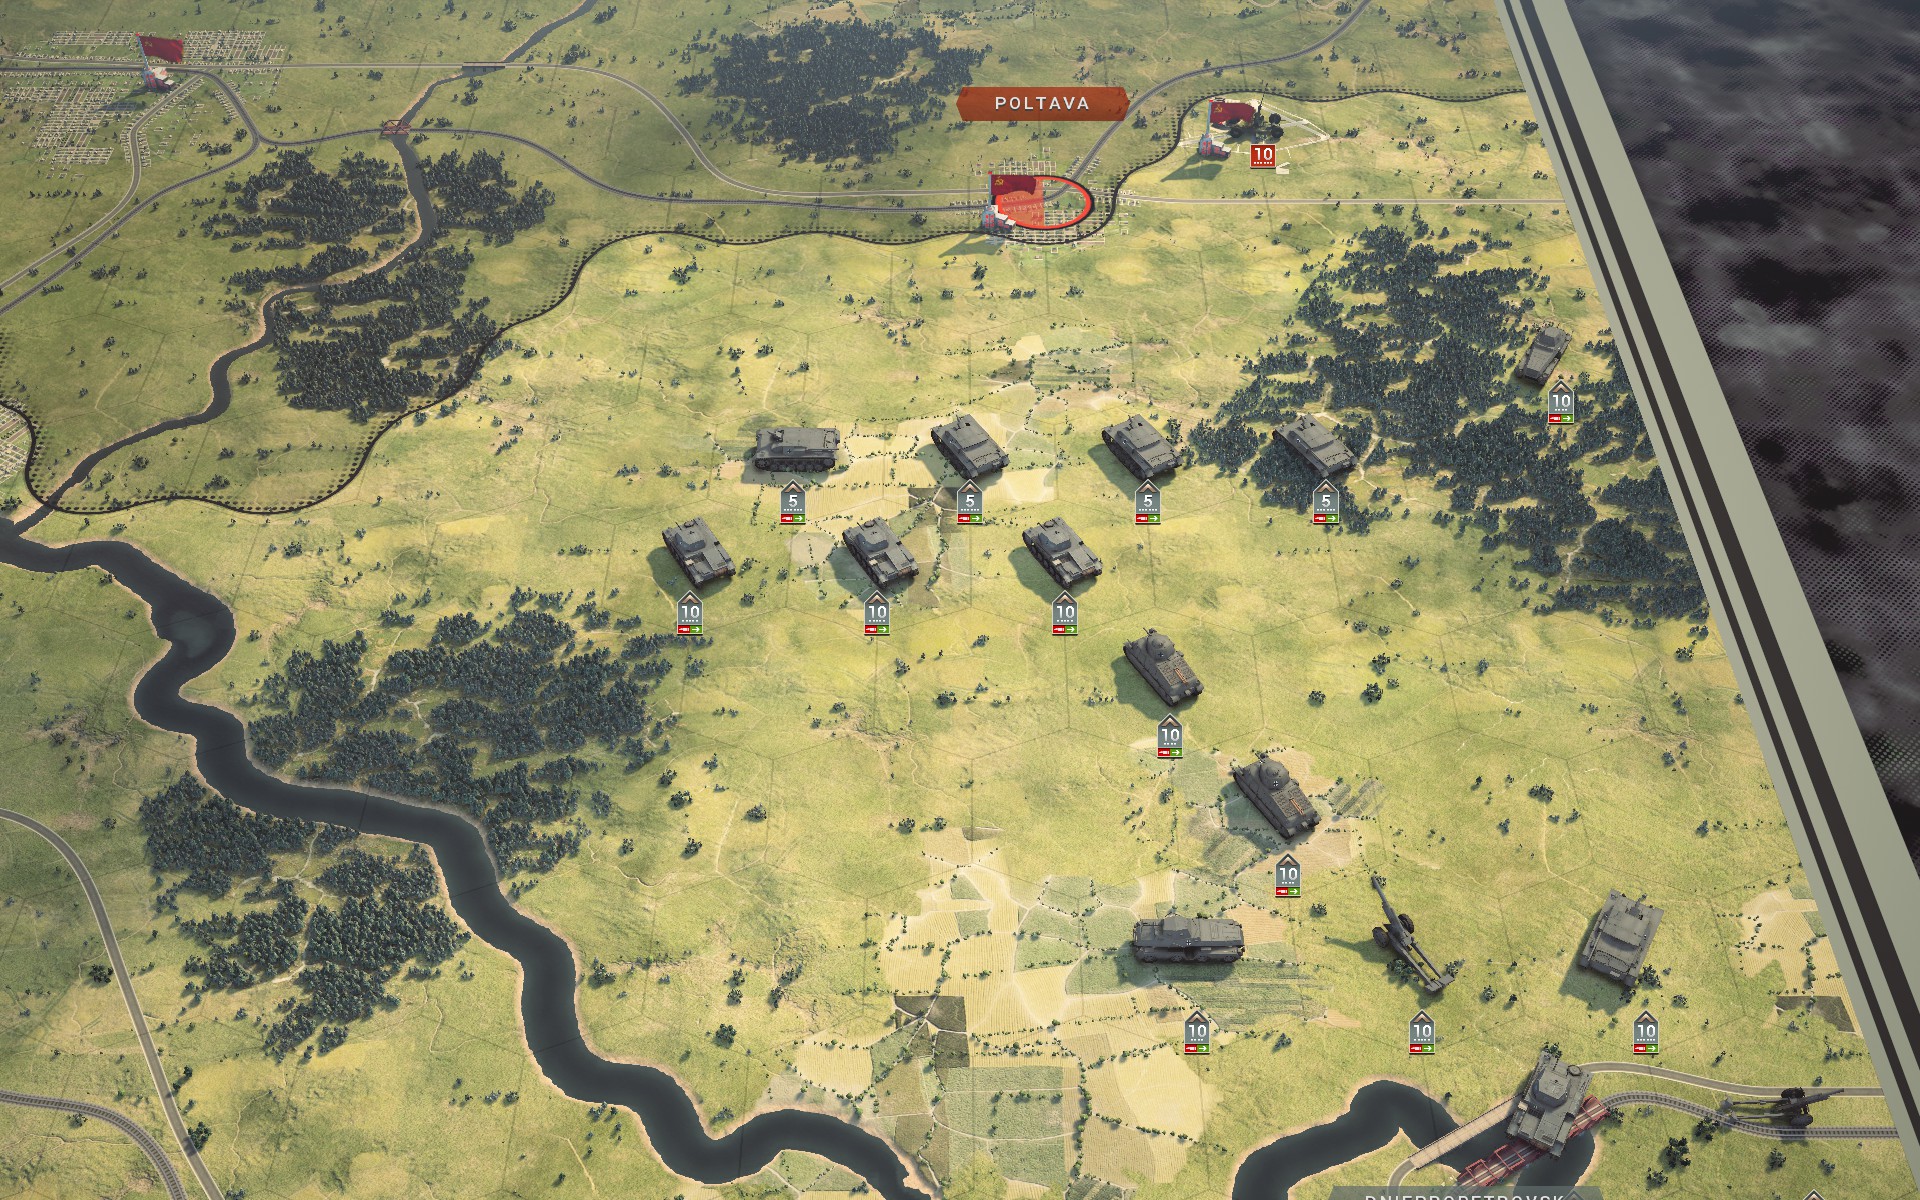
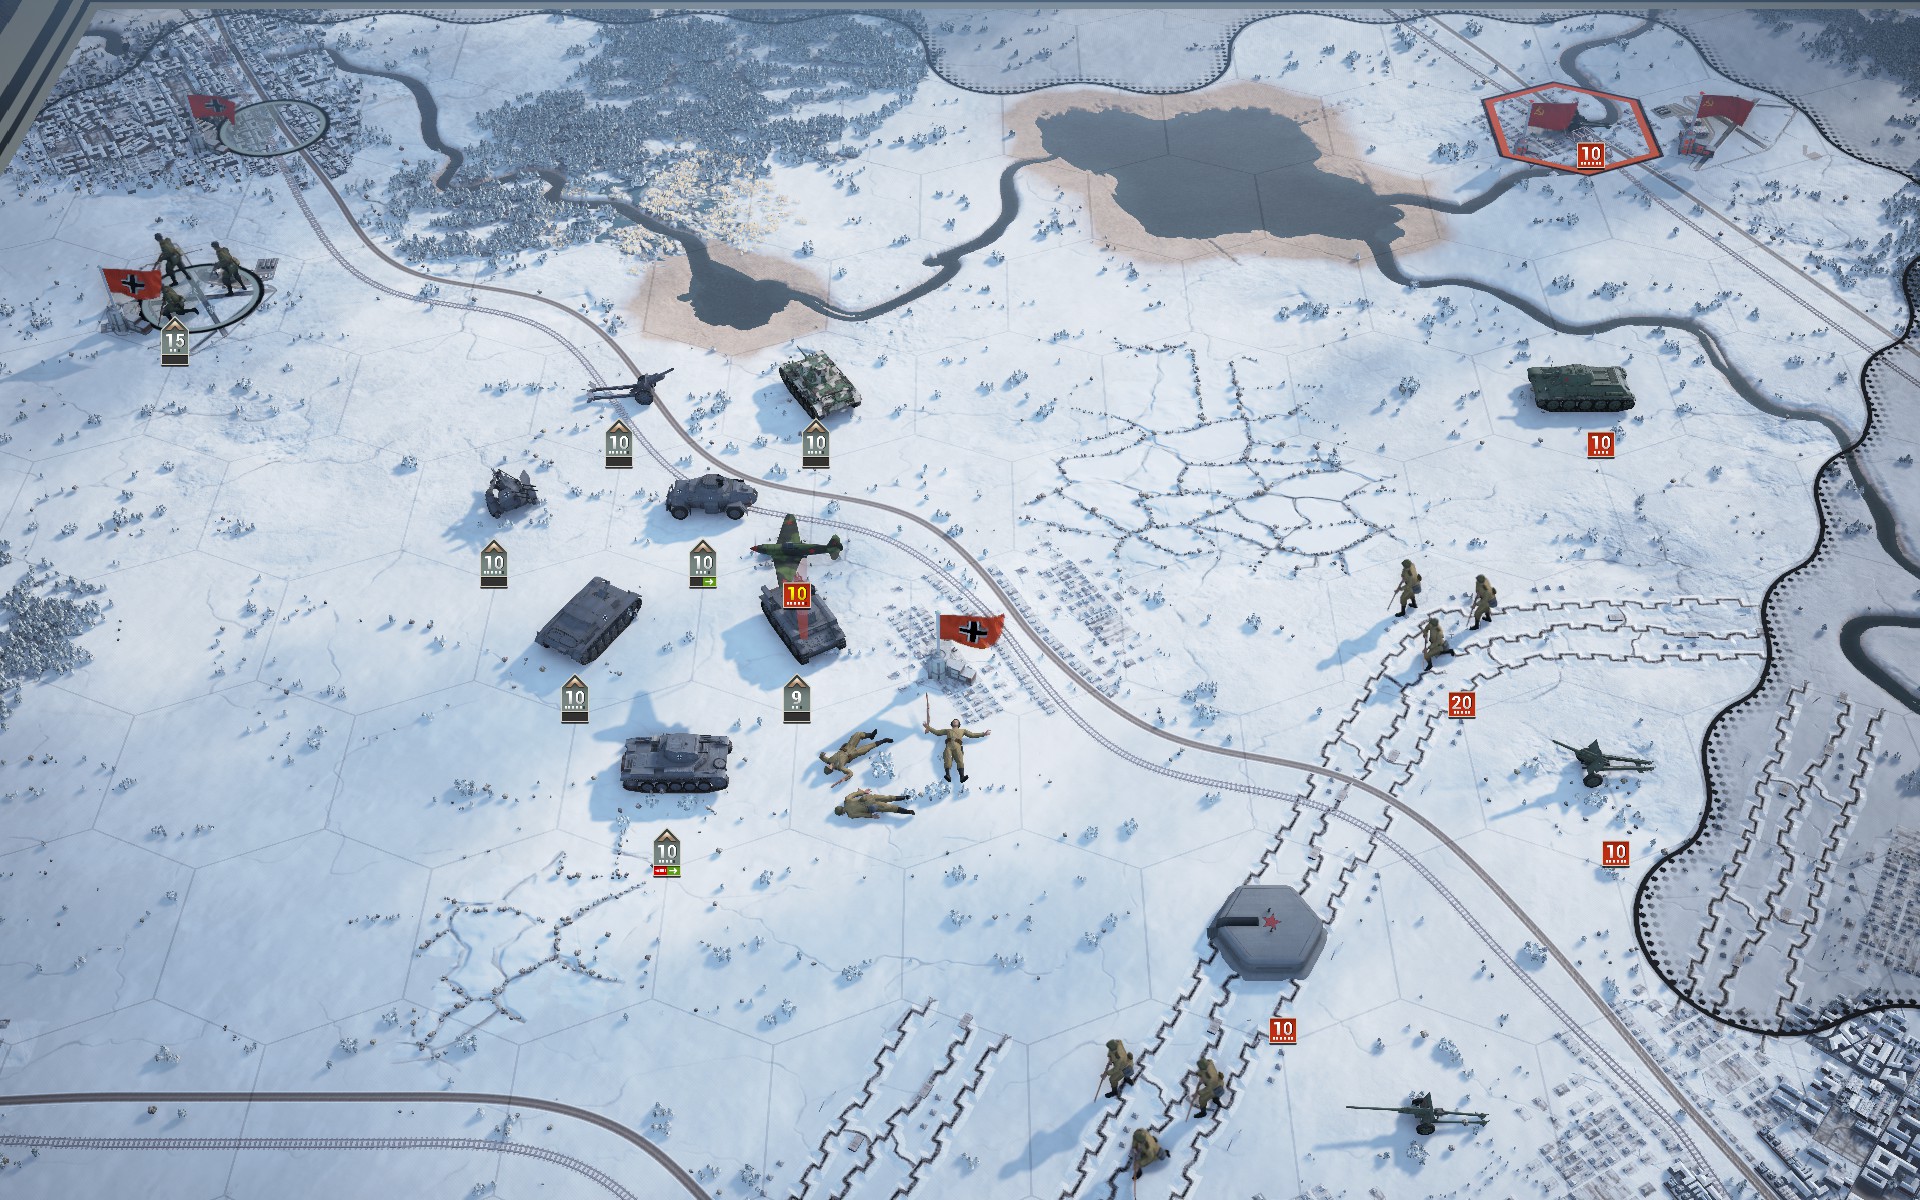
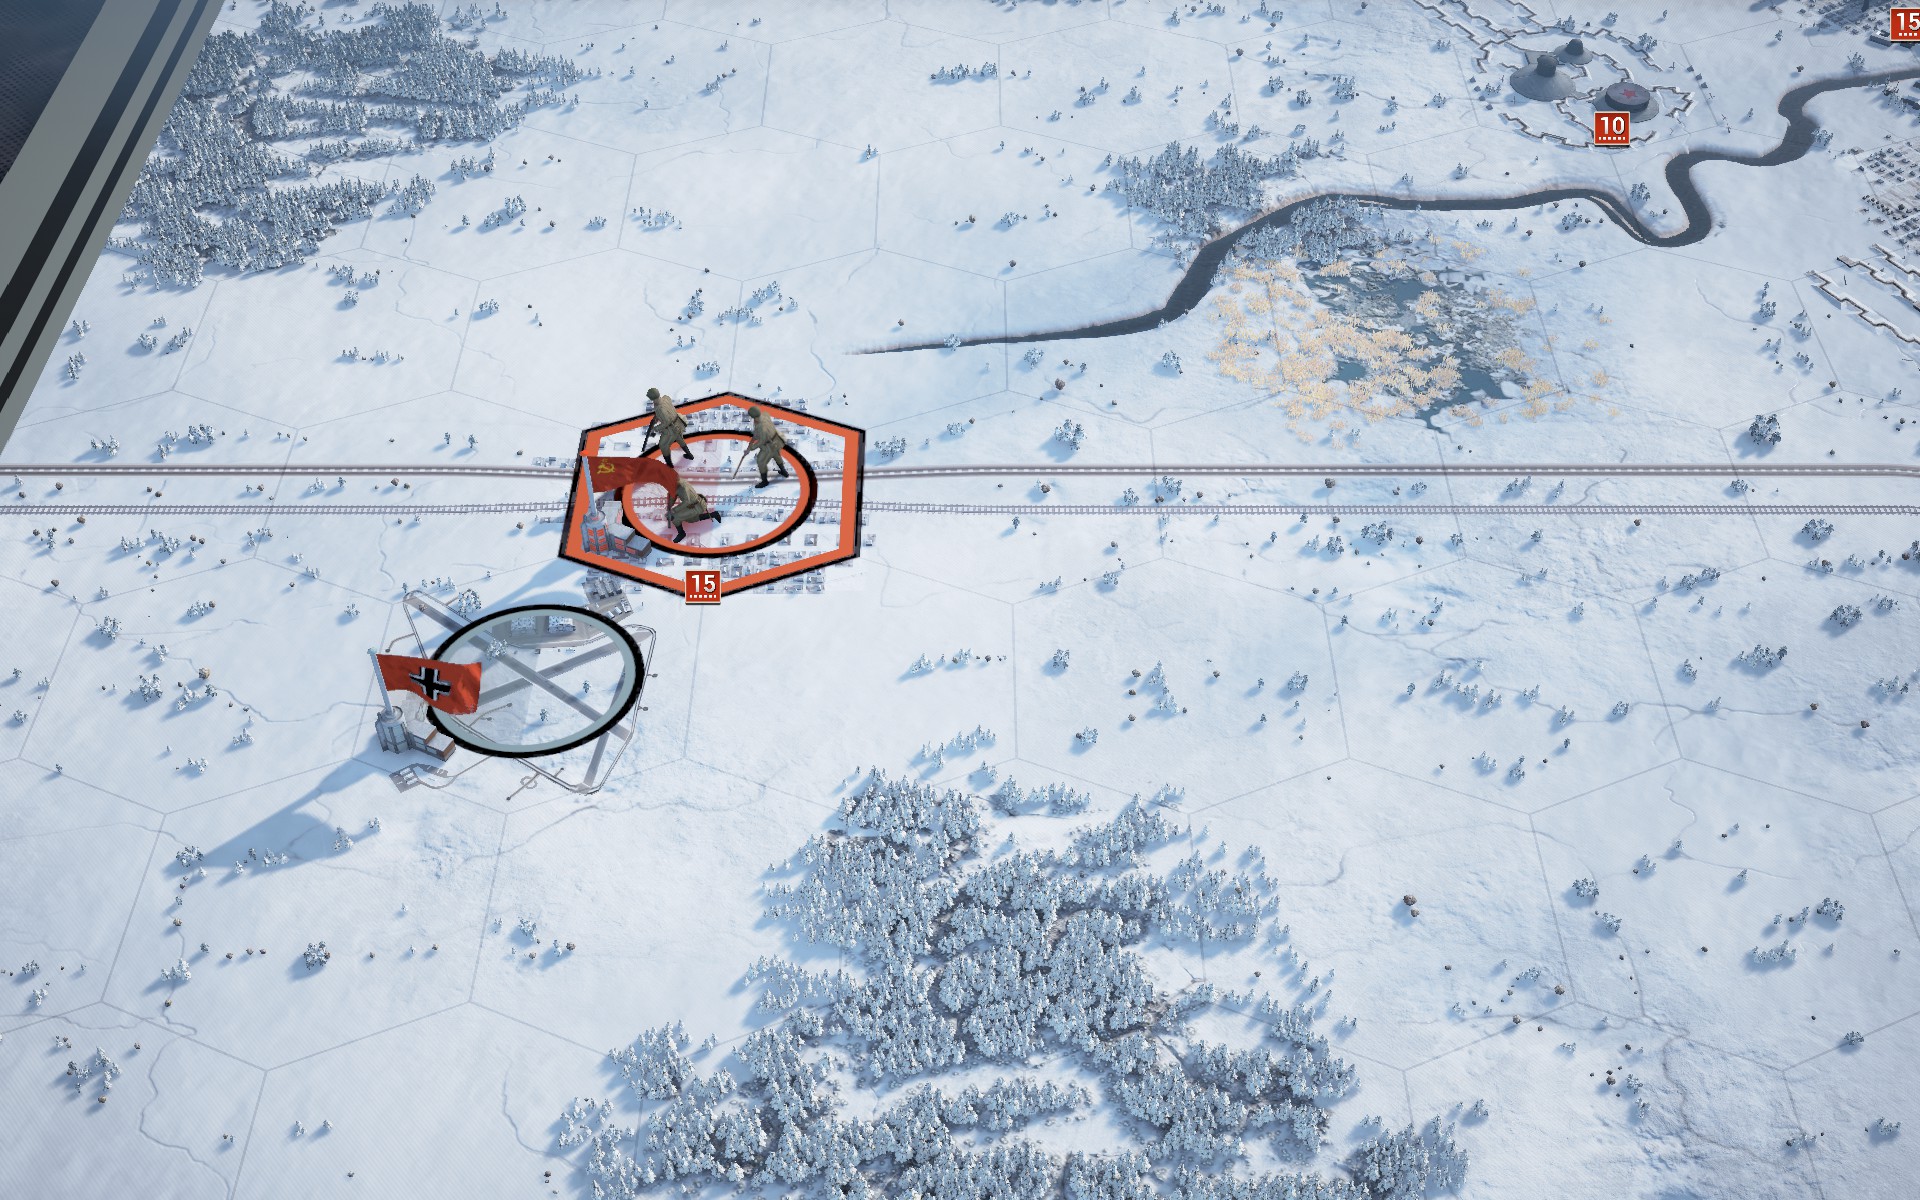
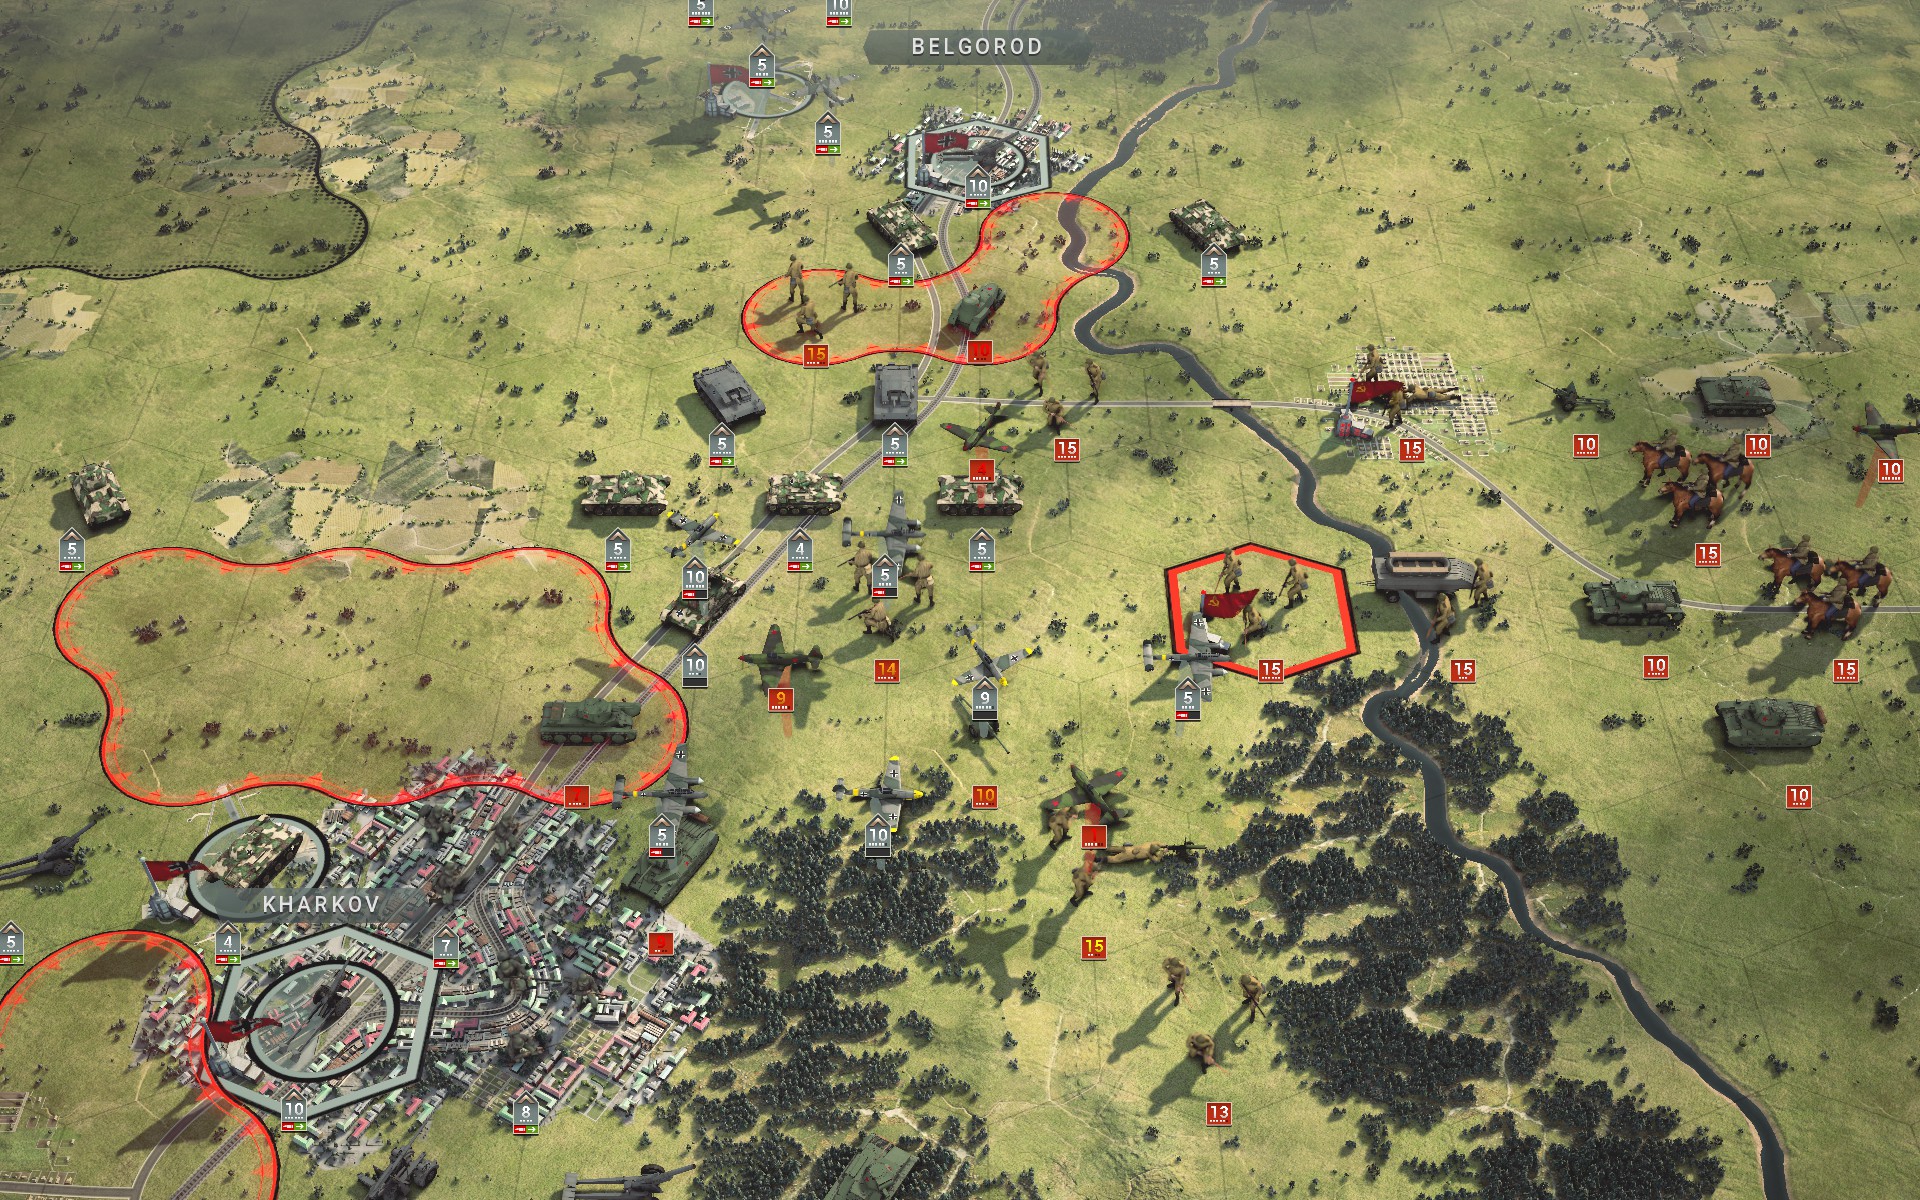
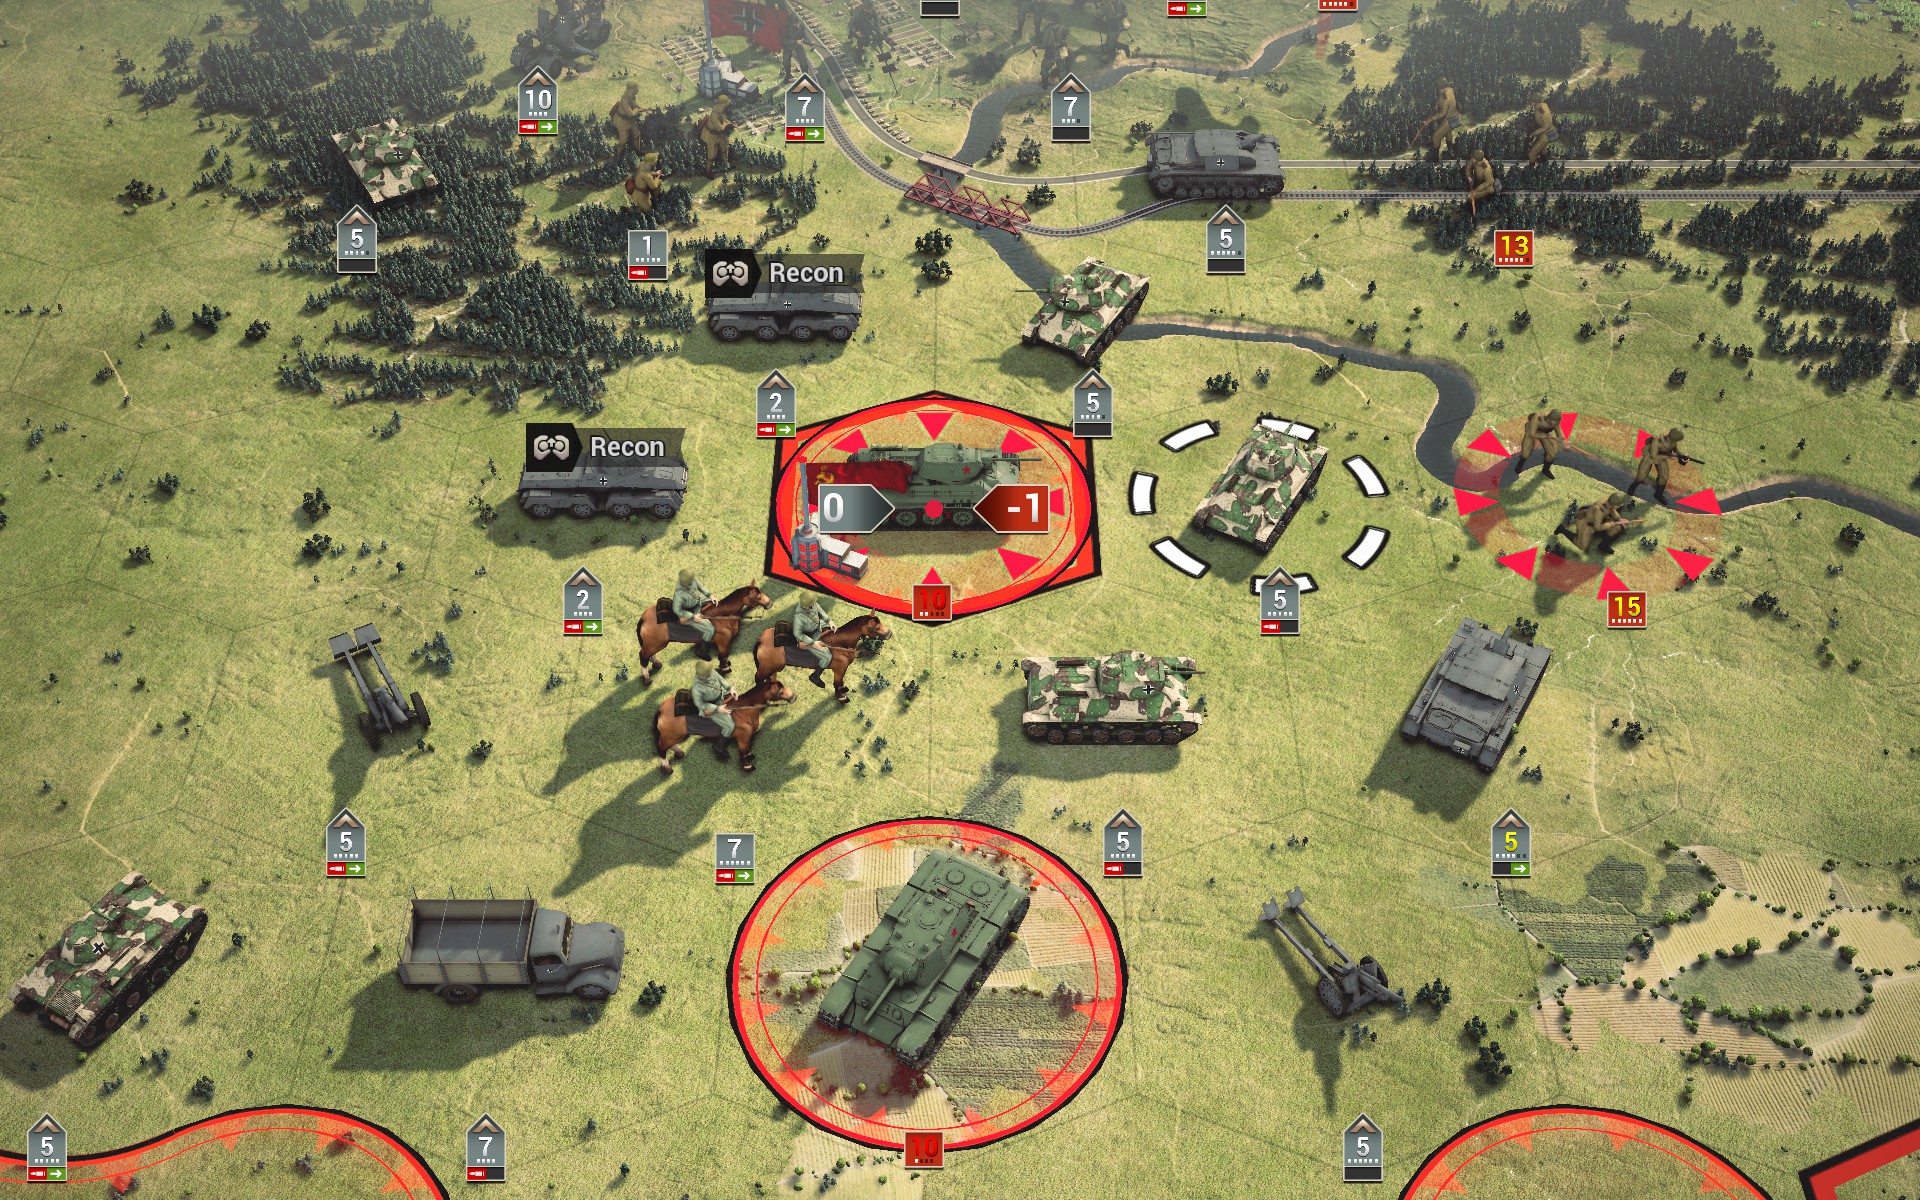
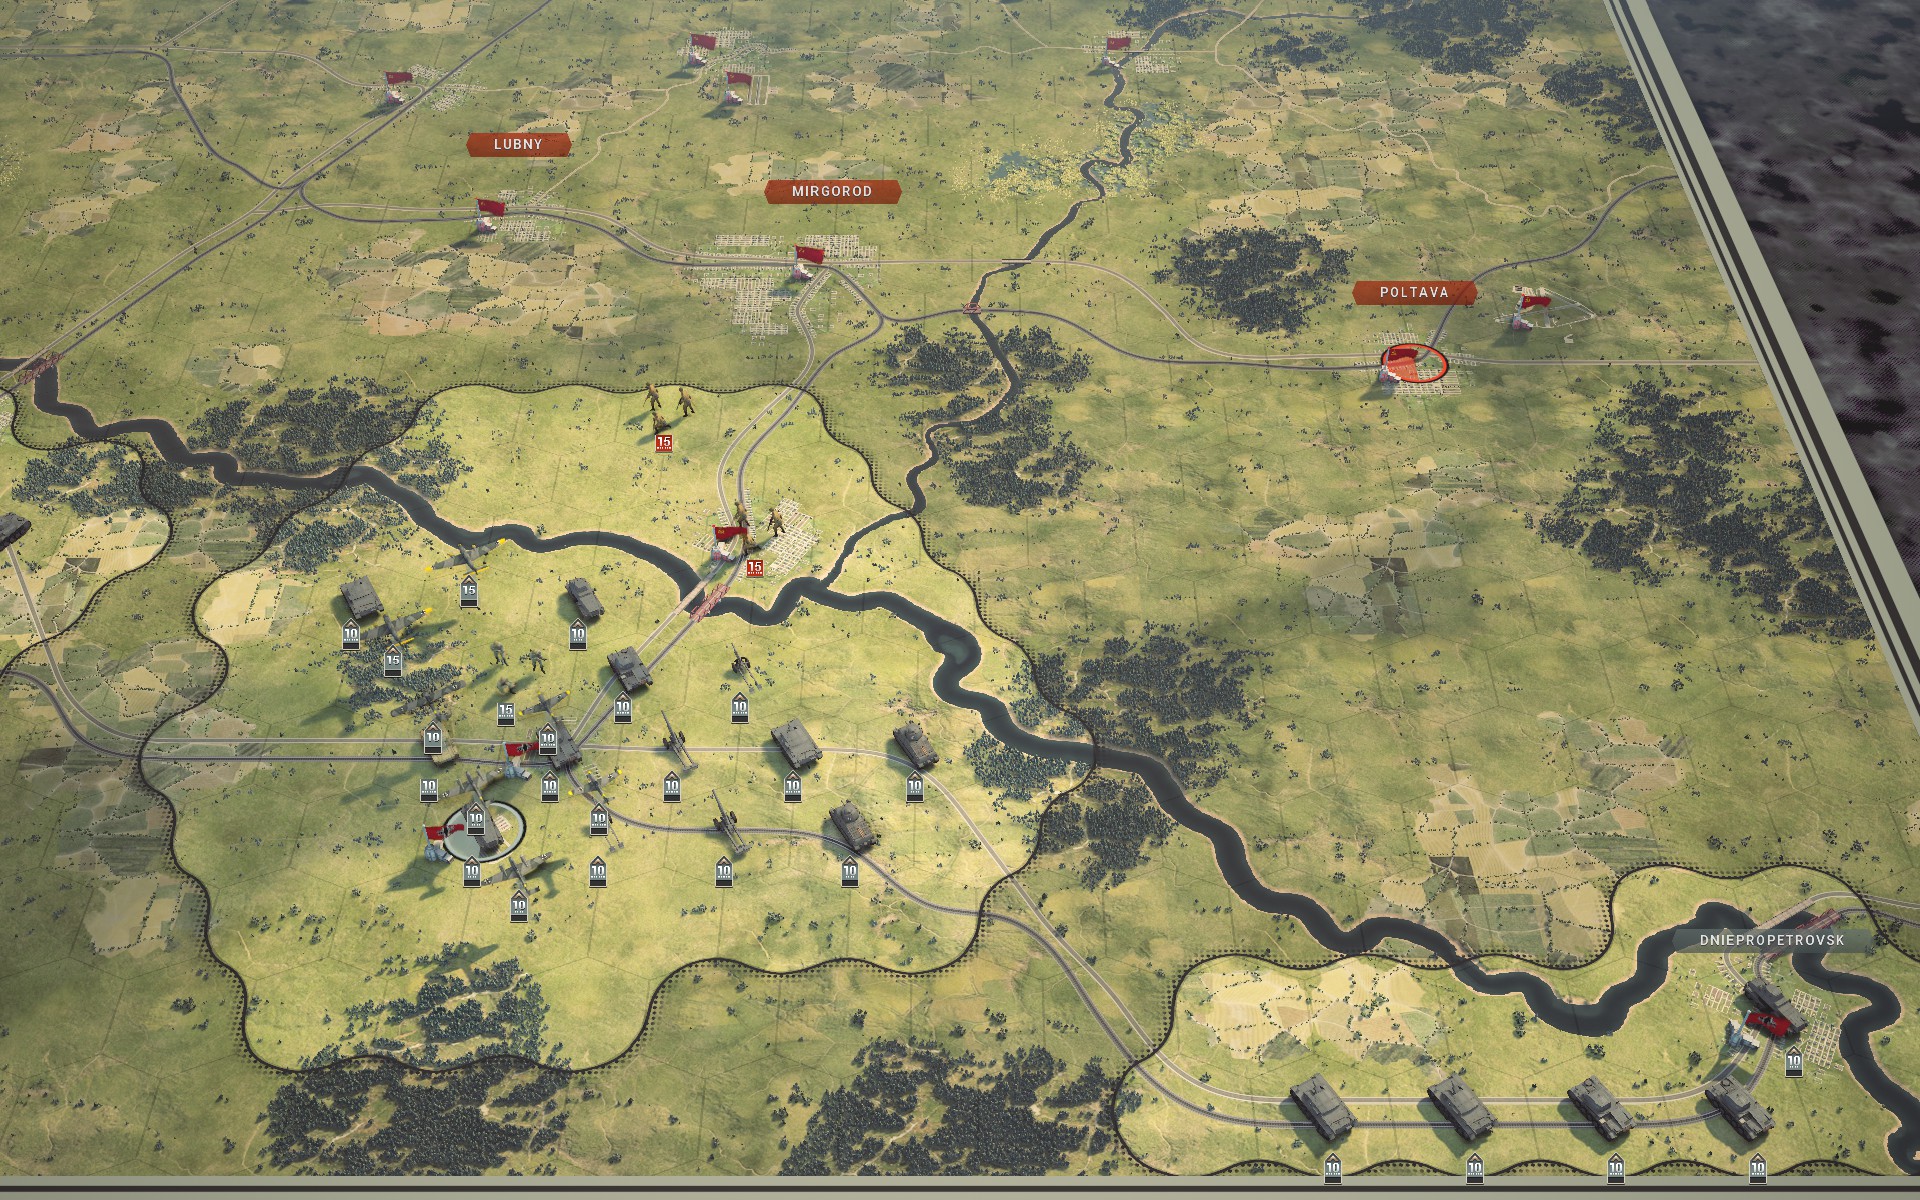
My core streams across the Dnieper, taking up positions just south of Poltava. As a Swede, Poltava is a city I associate with the definite end of the Swedish Empire -- yes, we had an empire in the days of hallow antiquity, also known as the second half of the 17th century -- but right now I'm commanding the van of the Wehrmacht, and at any rate it had been some 230 years since the ambitions of Charles XII were dashed at the Battle of Poltava.
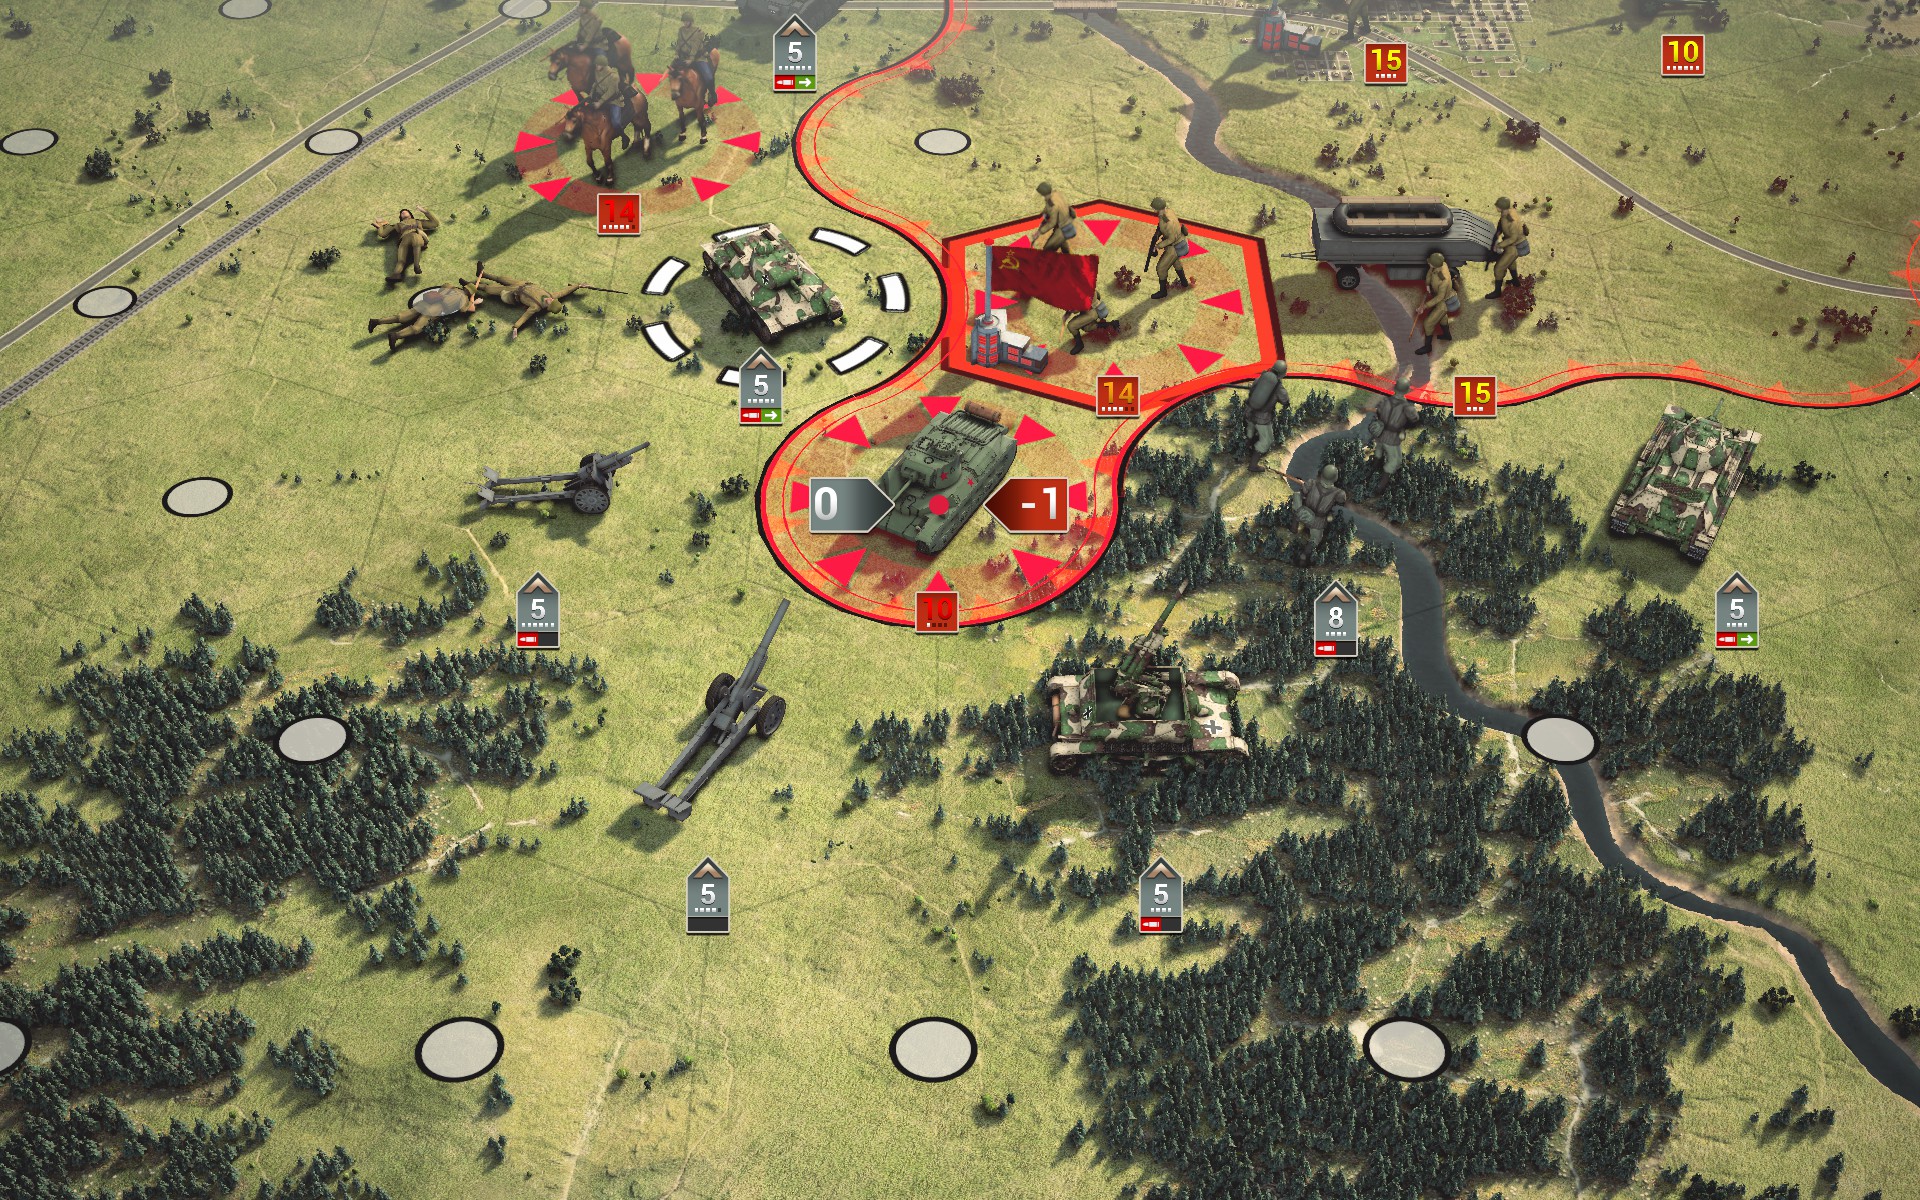
In the north, Soviet forces counterattack, leaving only smoking wrecks of one of the detached recons. This leaves them dangerously exposed, however.
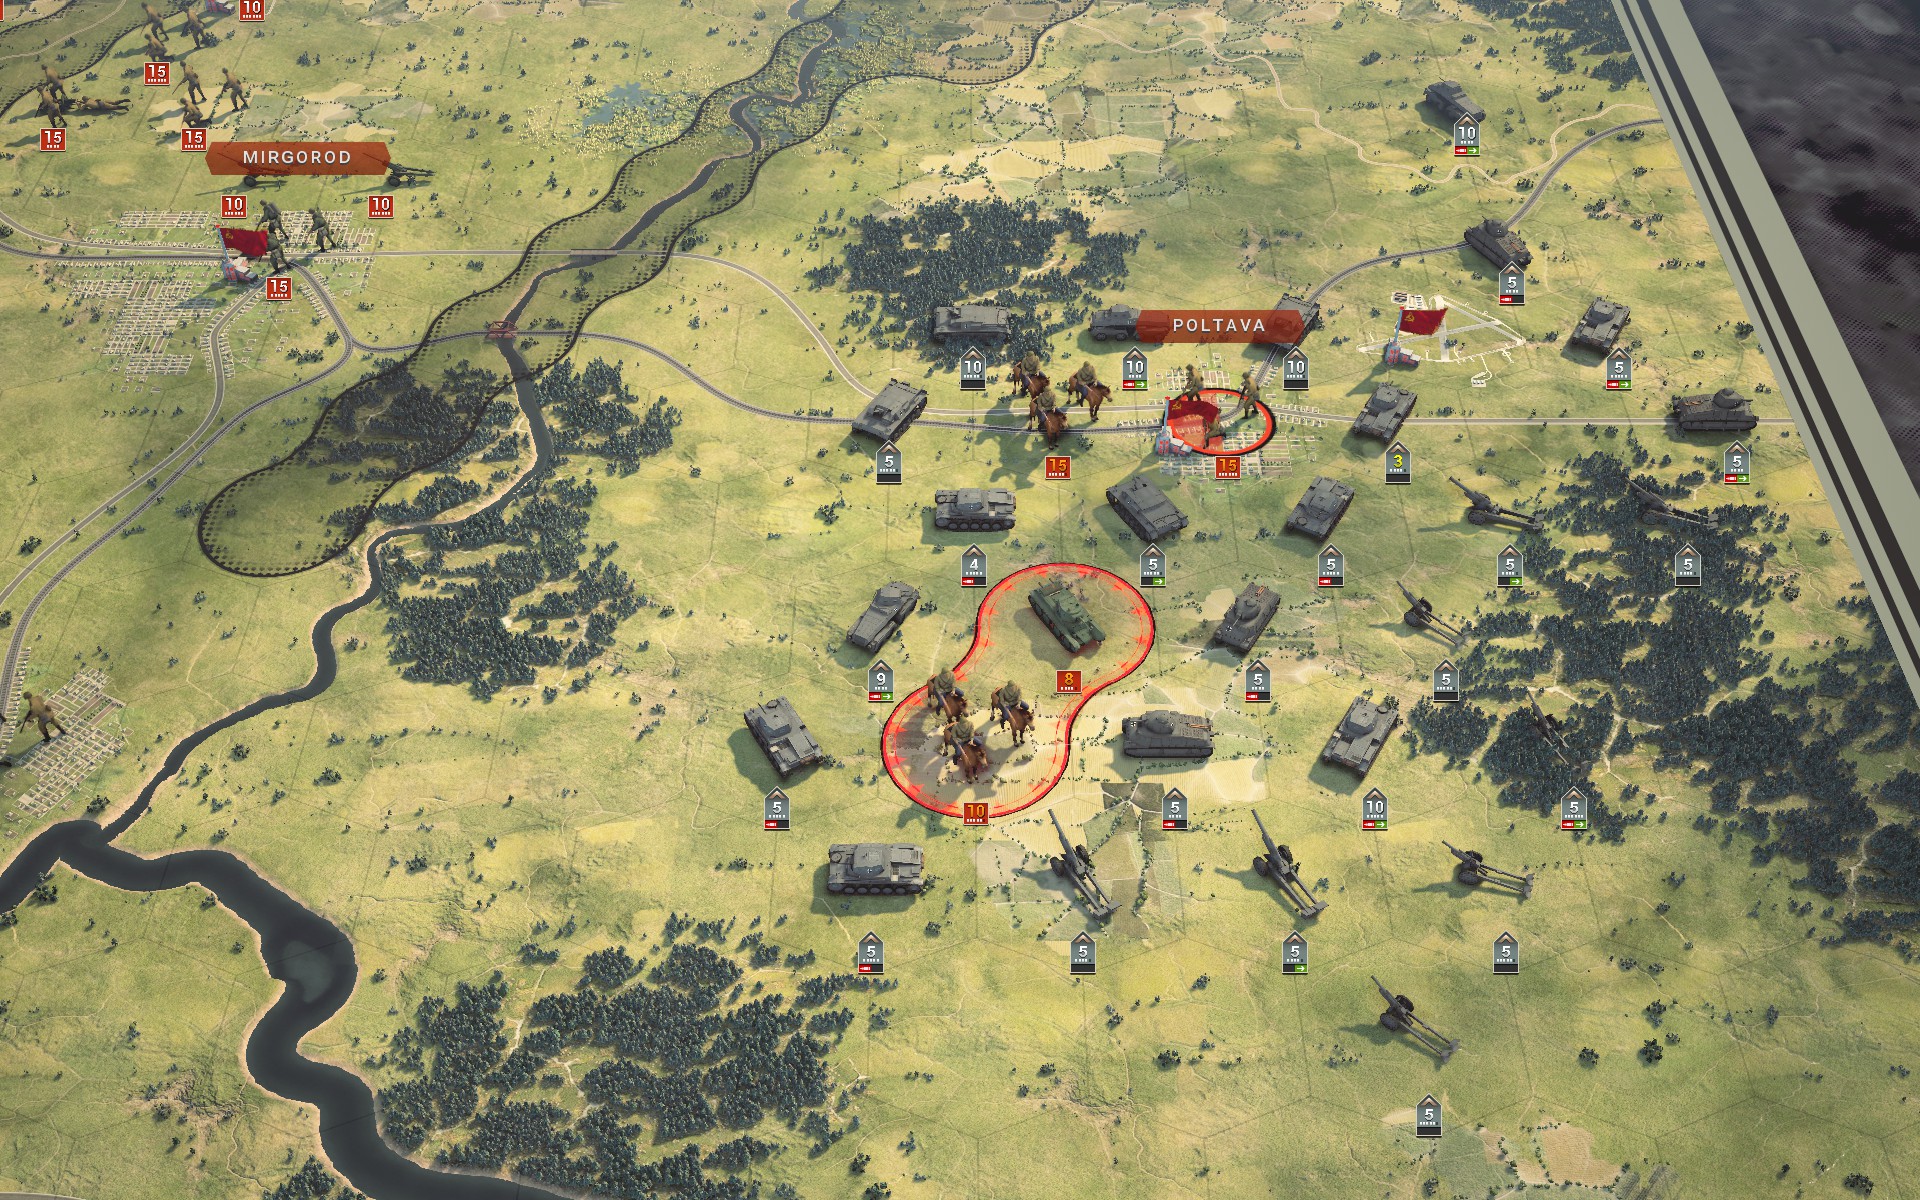
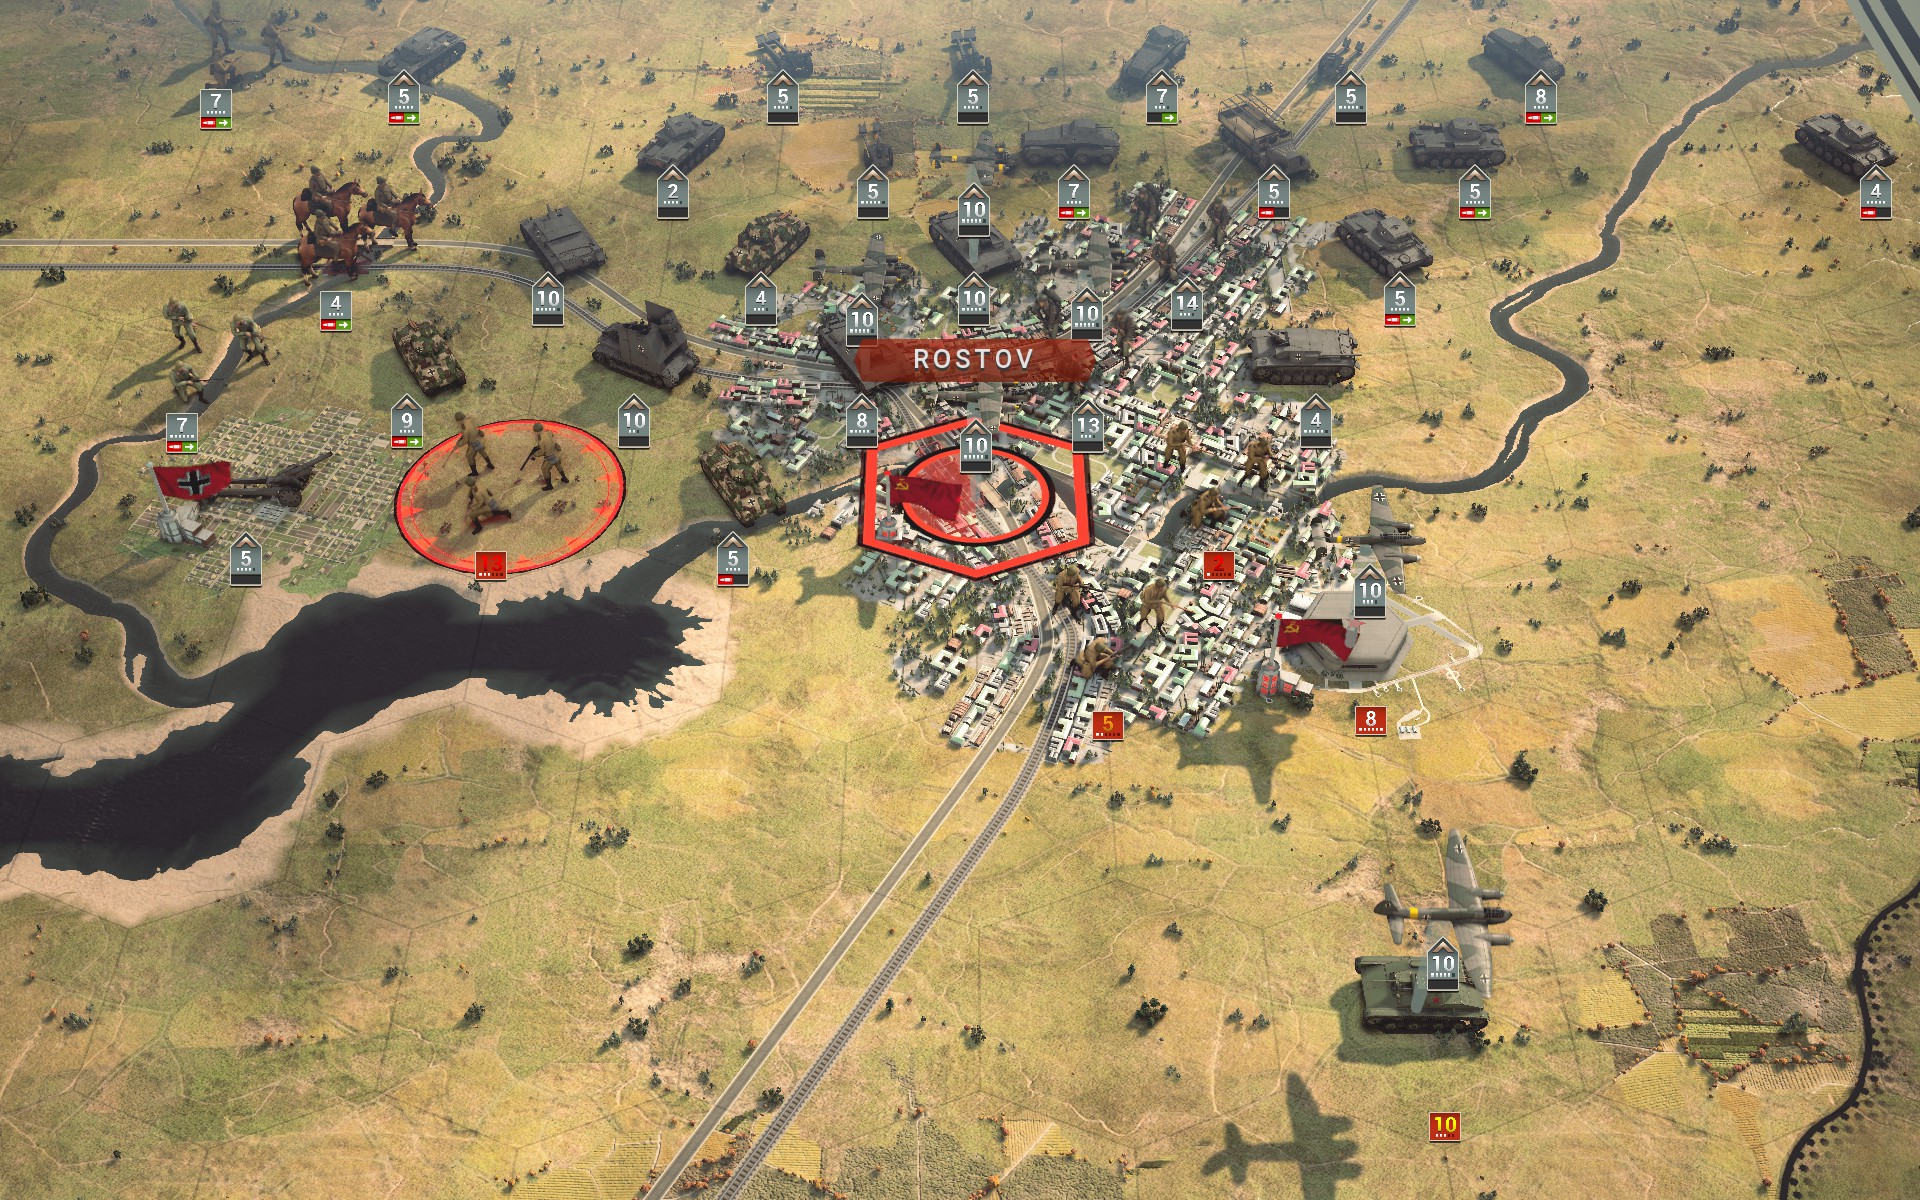
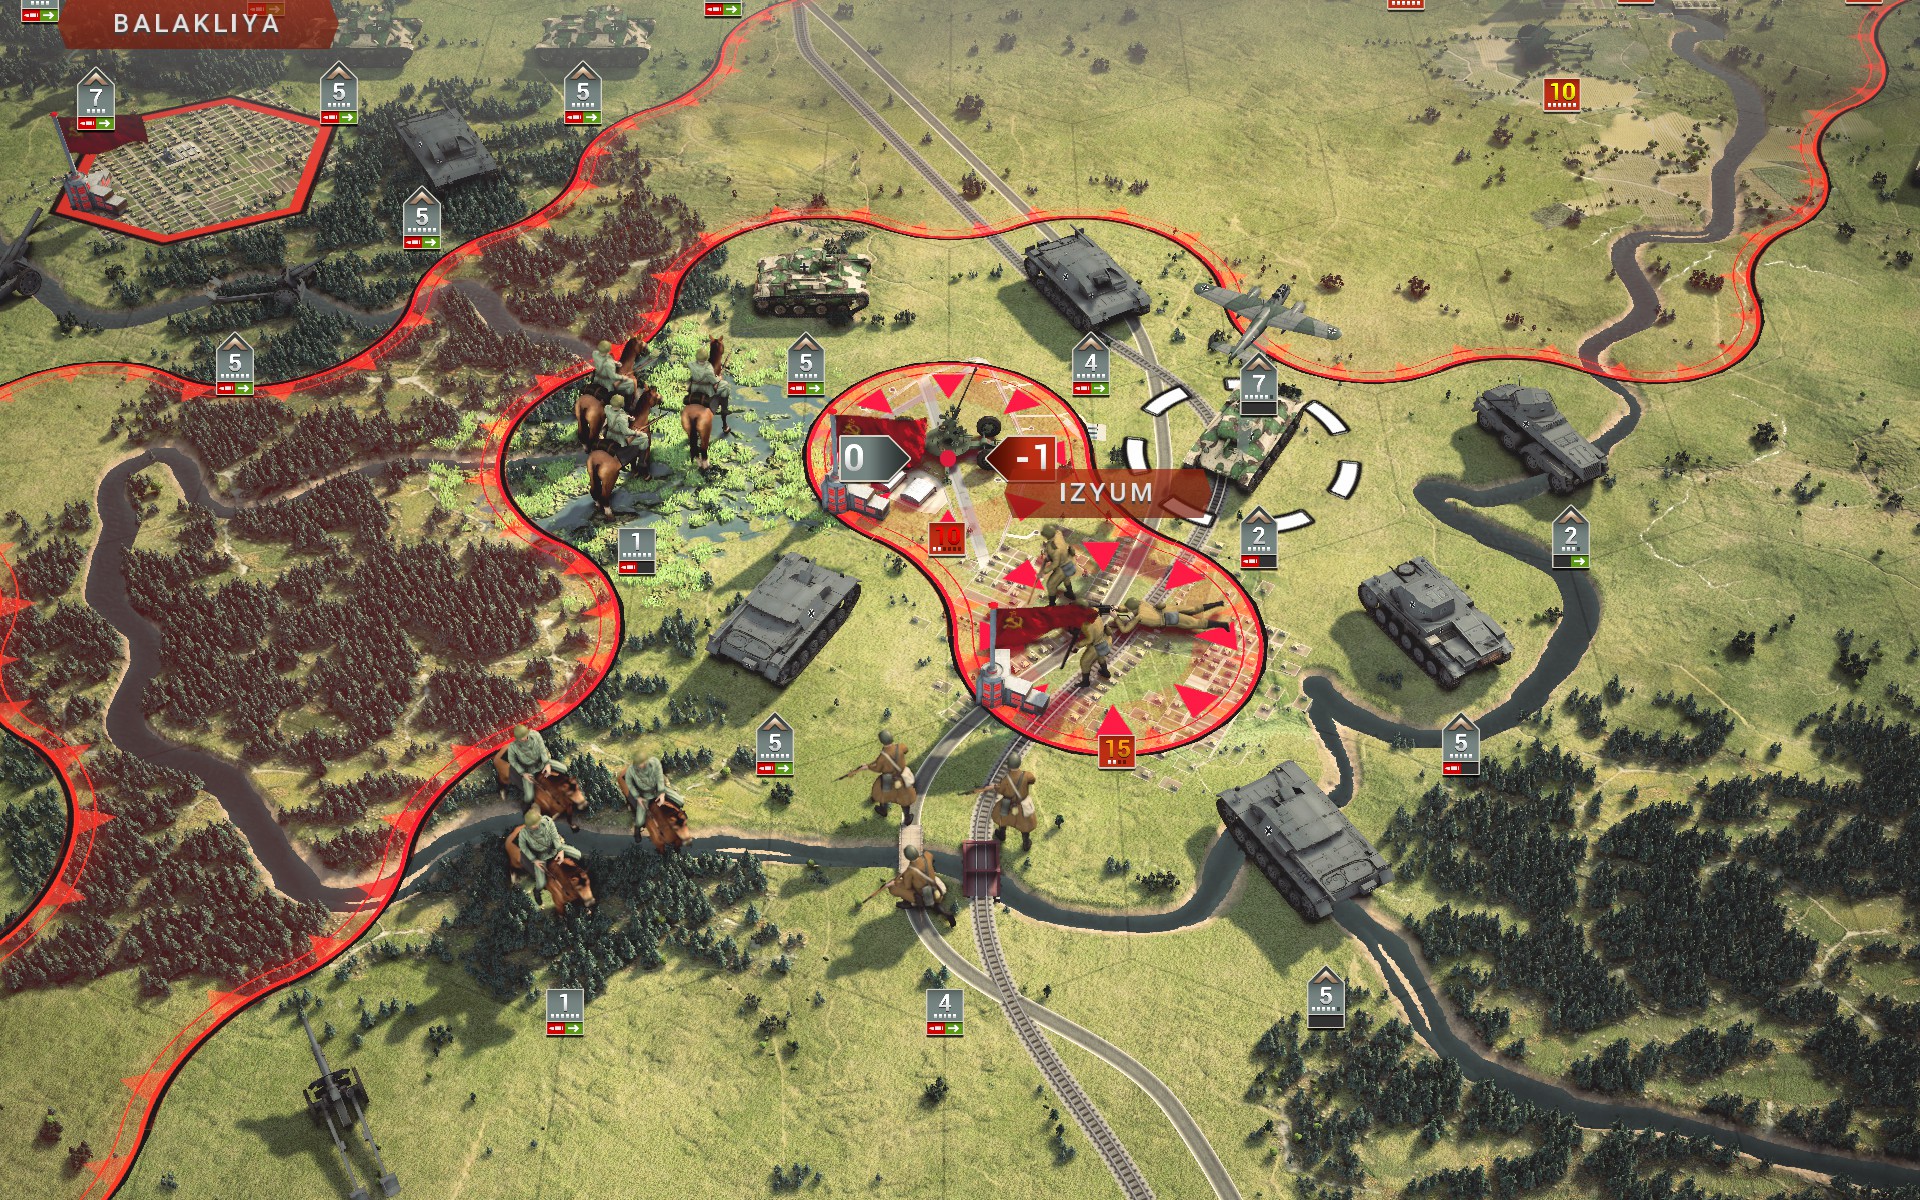
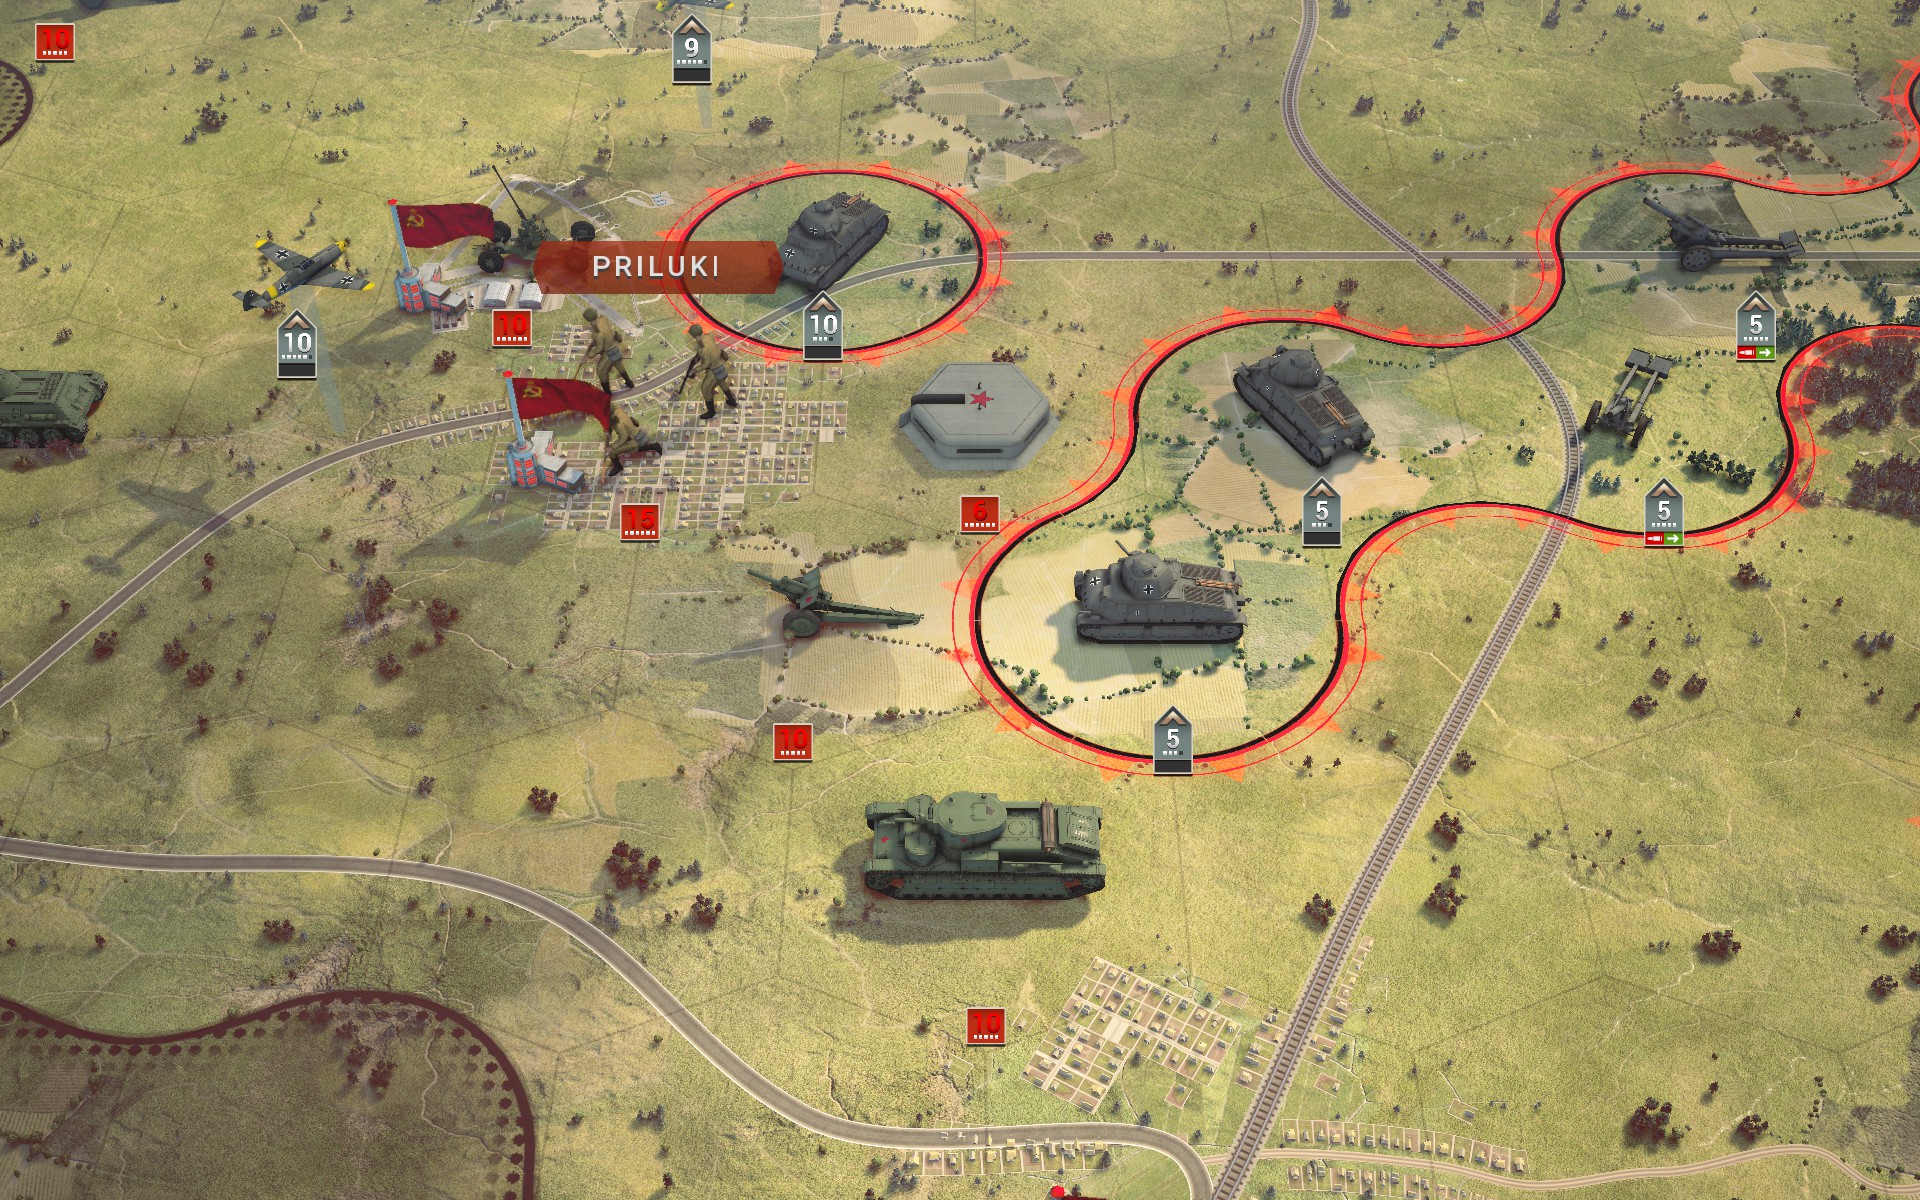
At Poltava, the defenders are quickly encircled. Shells rain down on the city as I order an assault; as it's a supply hex I cannot encircle it, and I don't want to risk getting bogged down here.
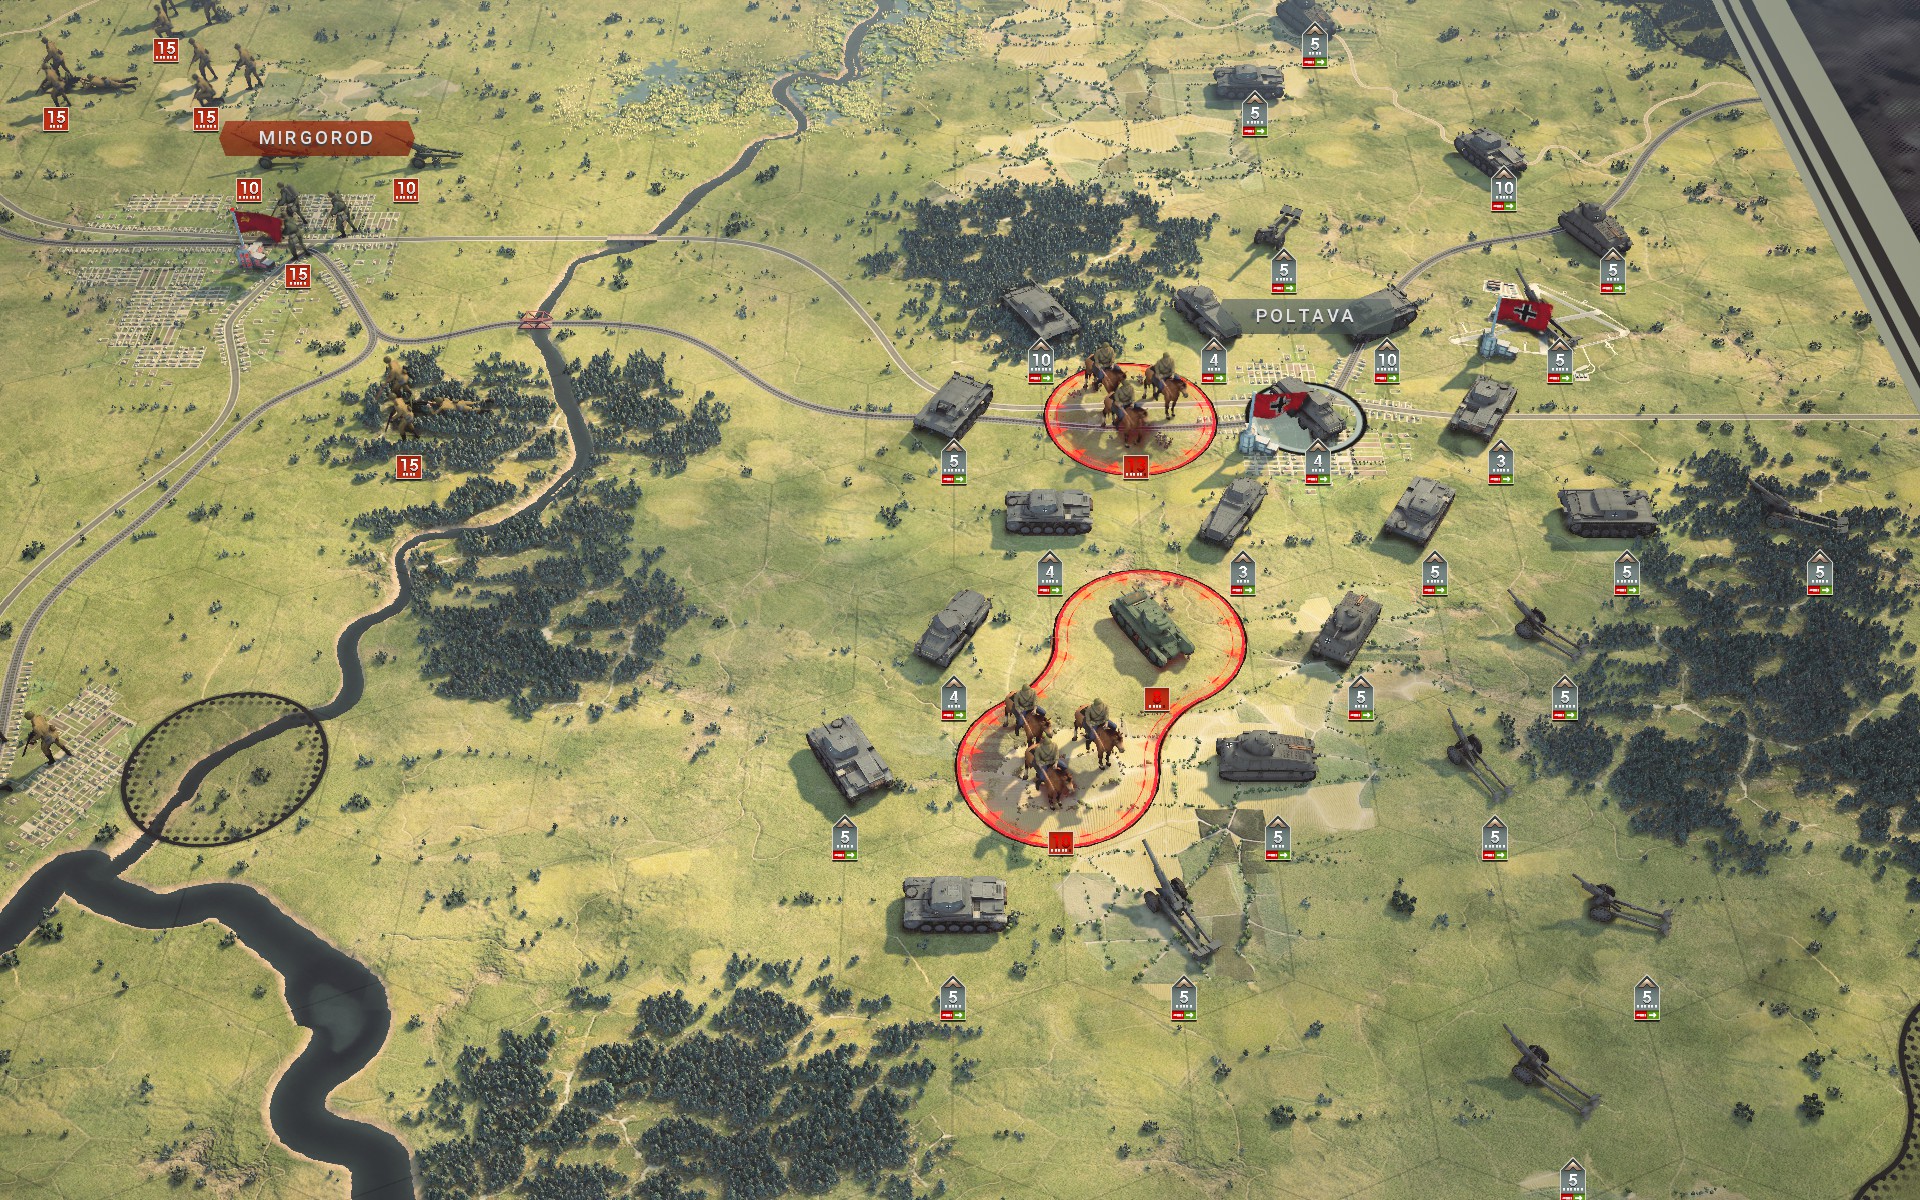
The remaining Soviet forces are fully suppressed as Poltava falls, with my forces suffering minor losses.
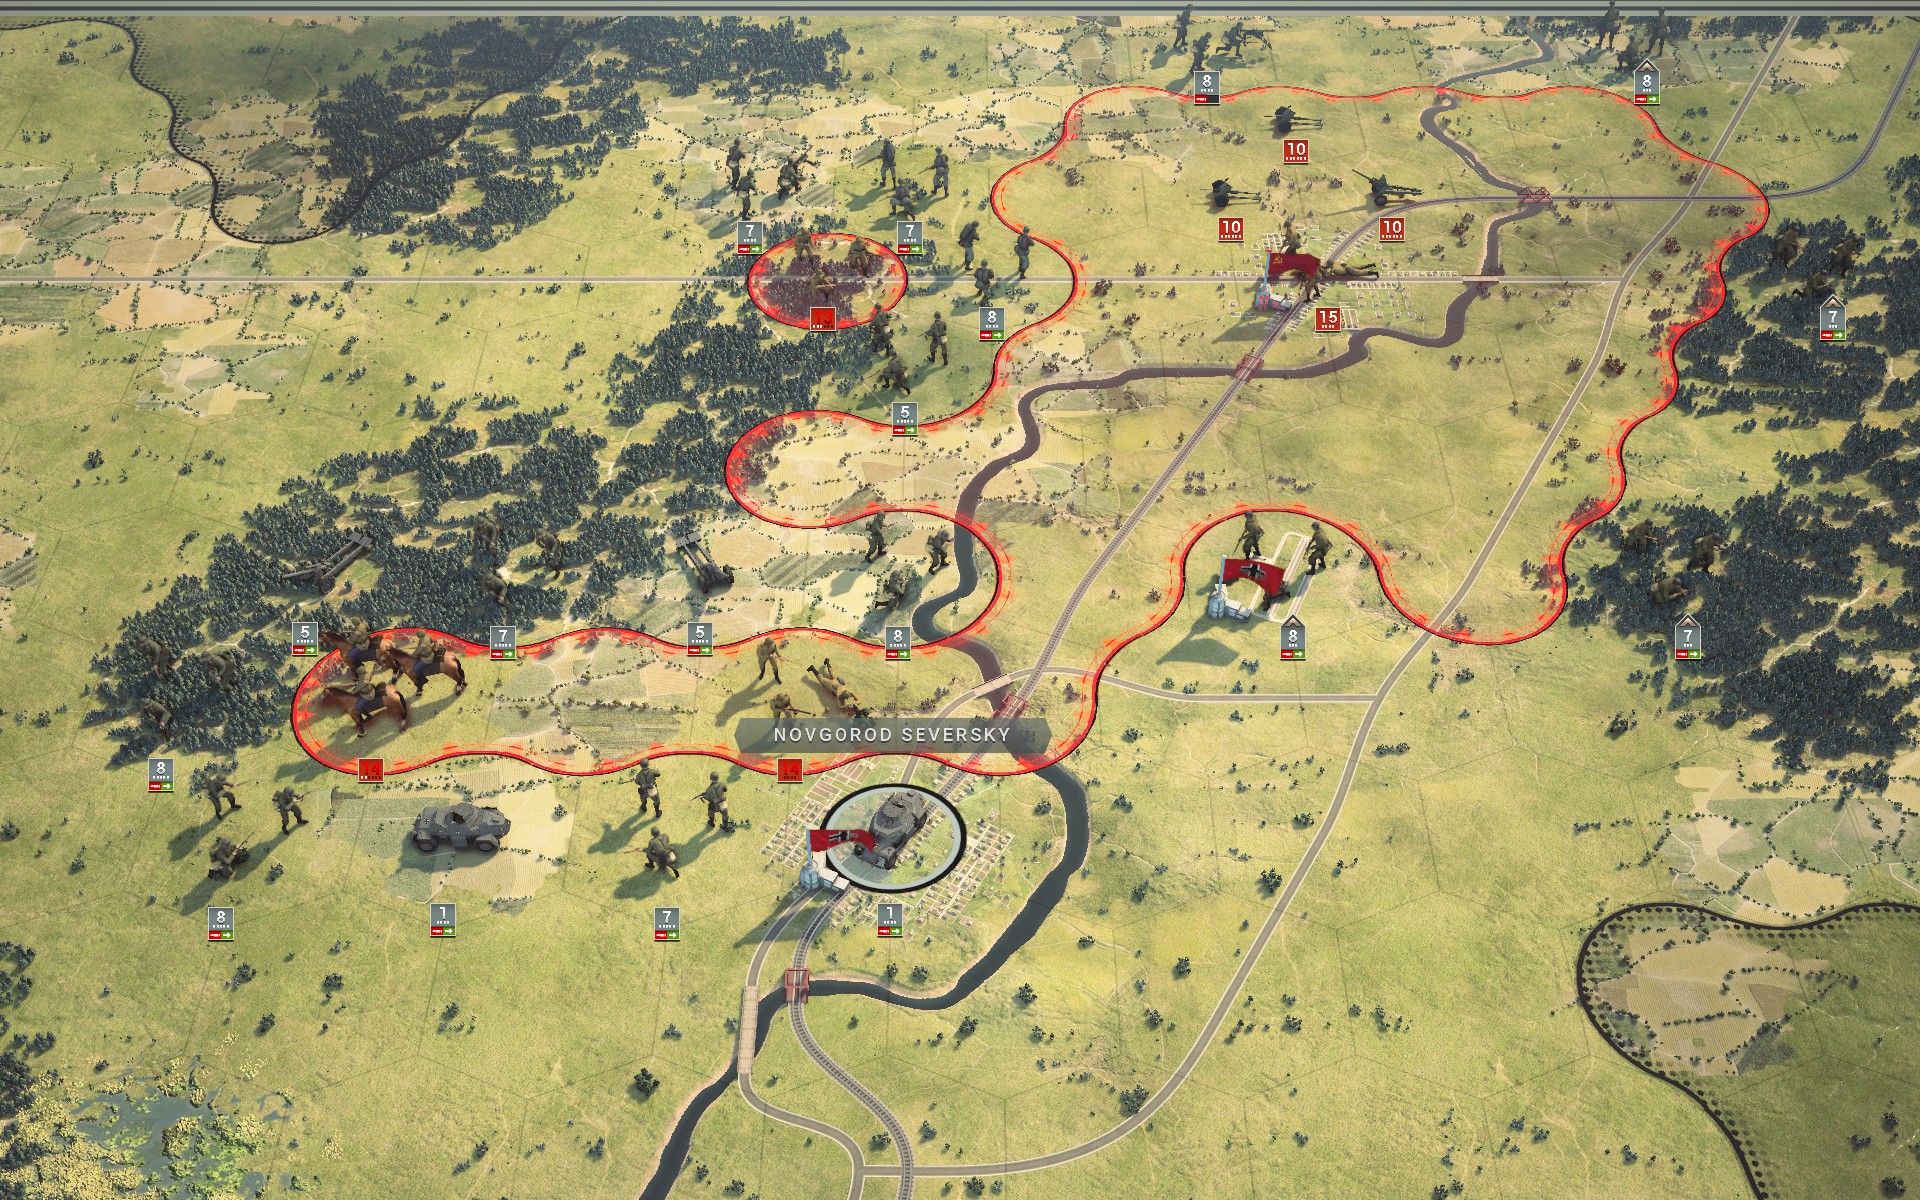
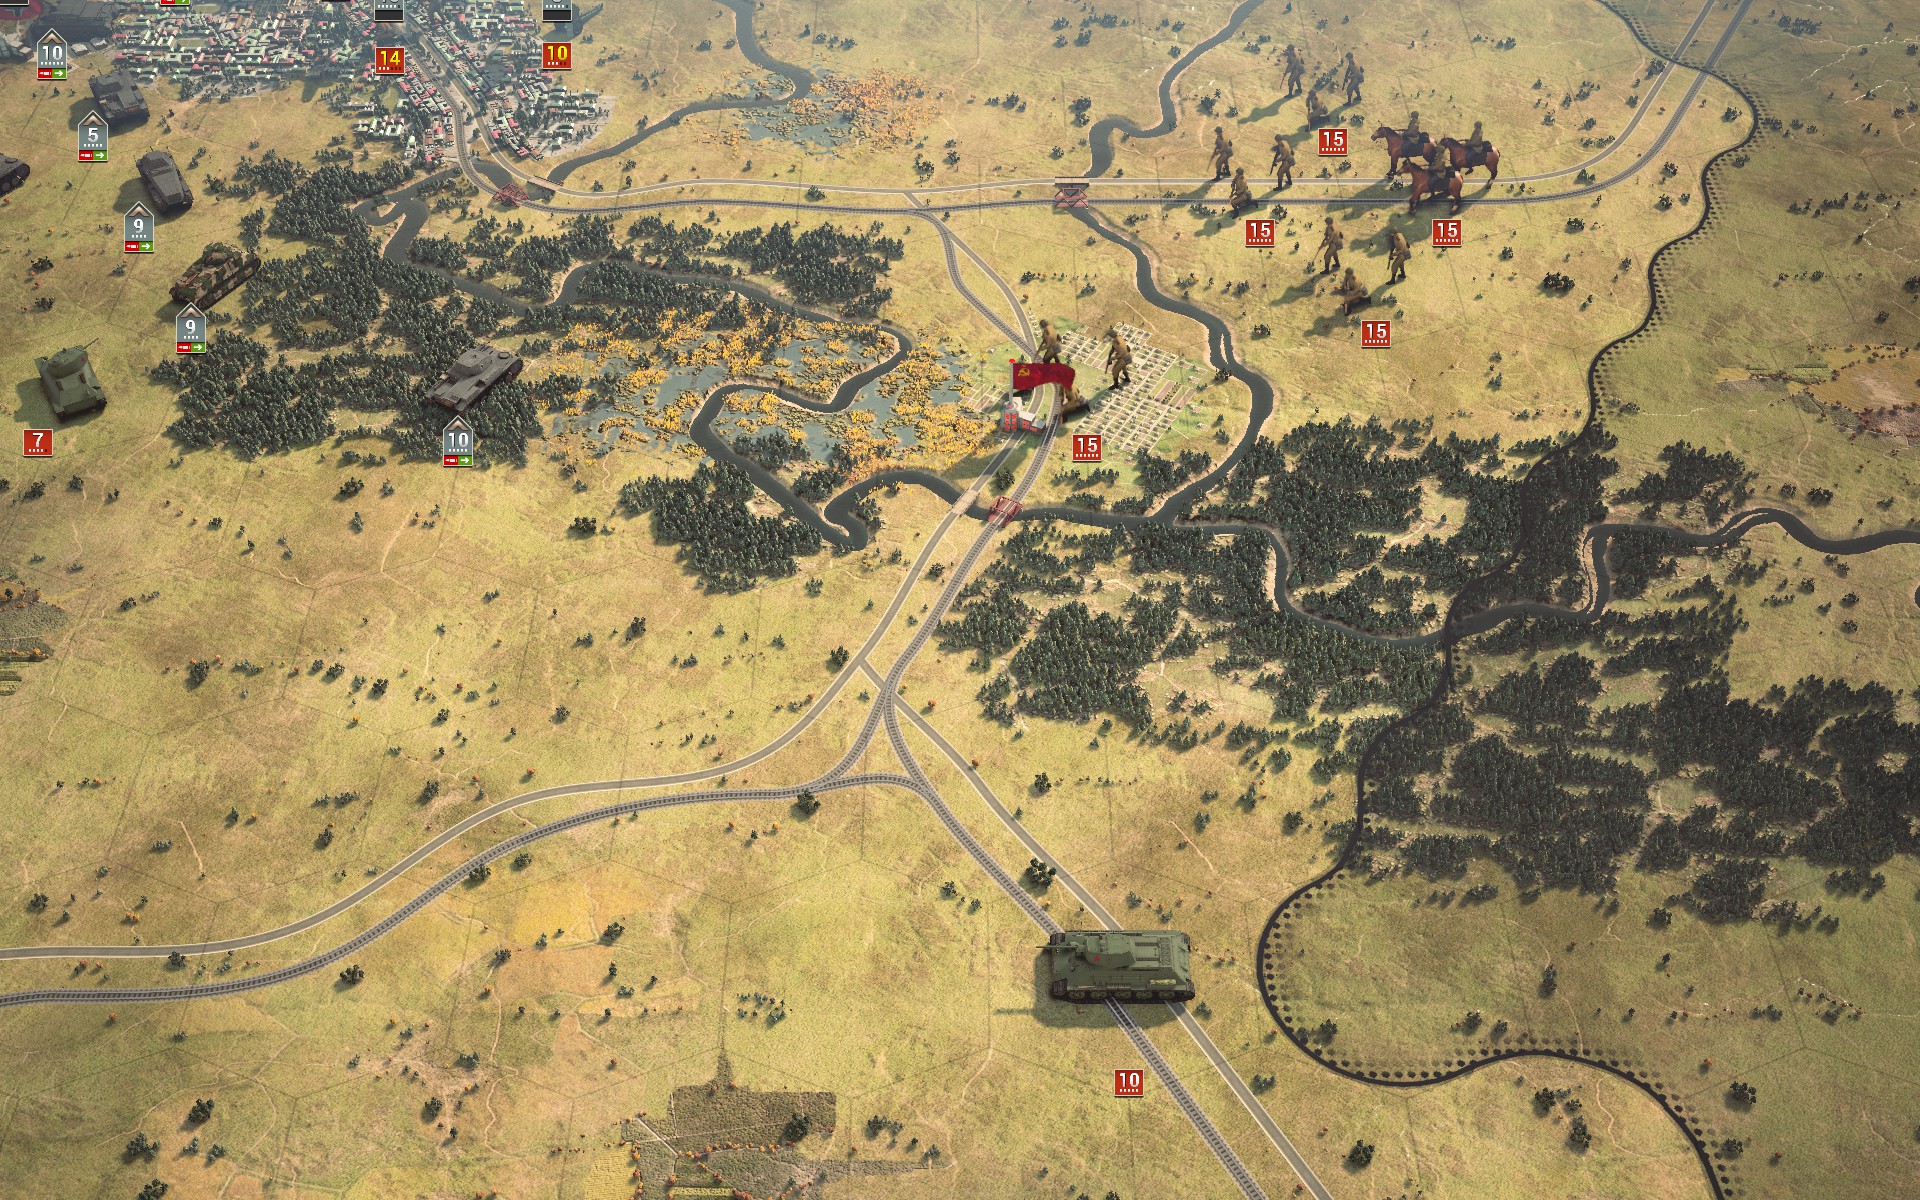
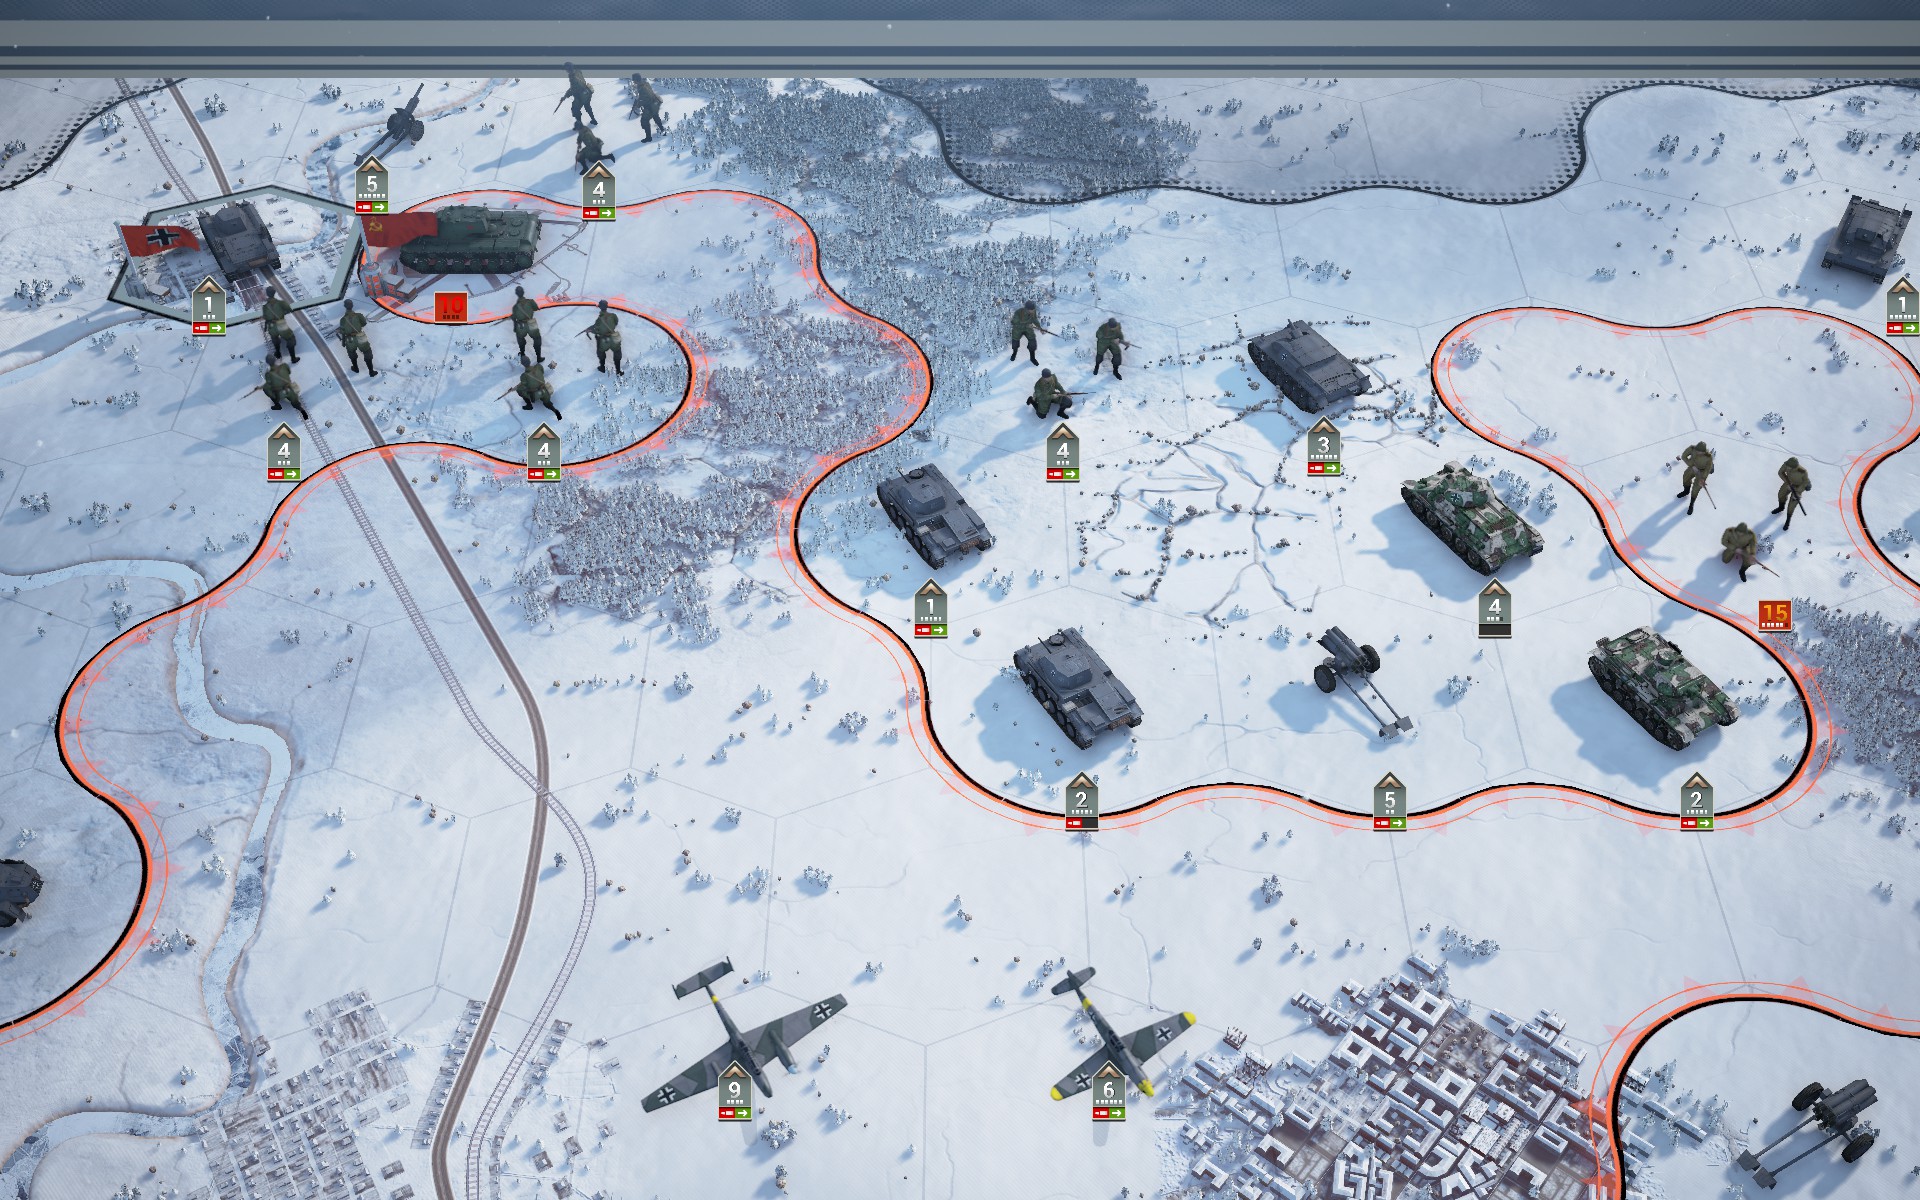
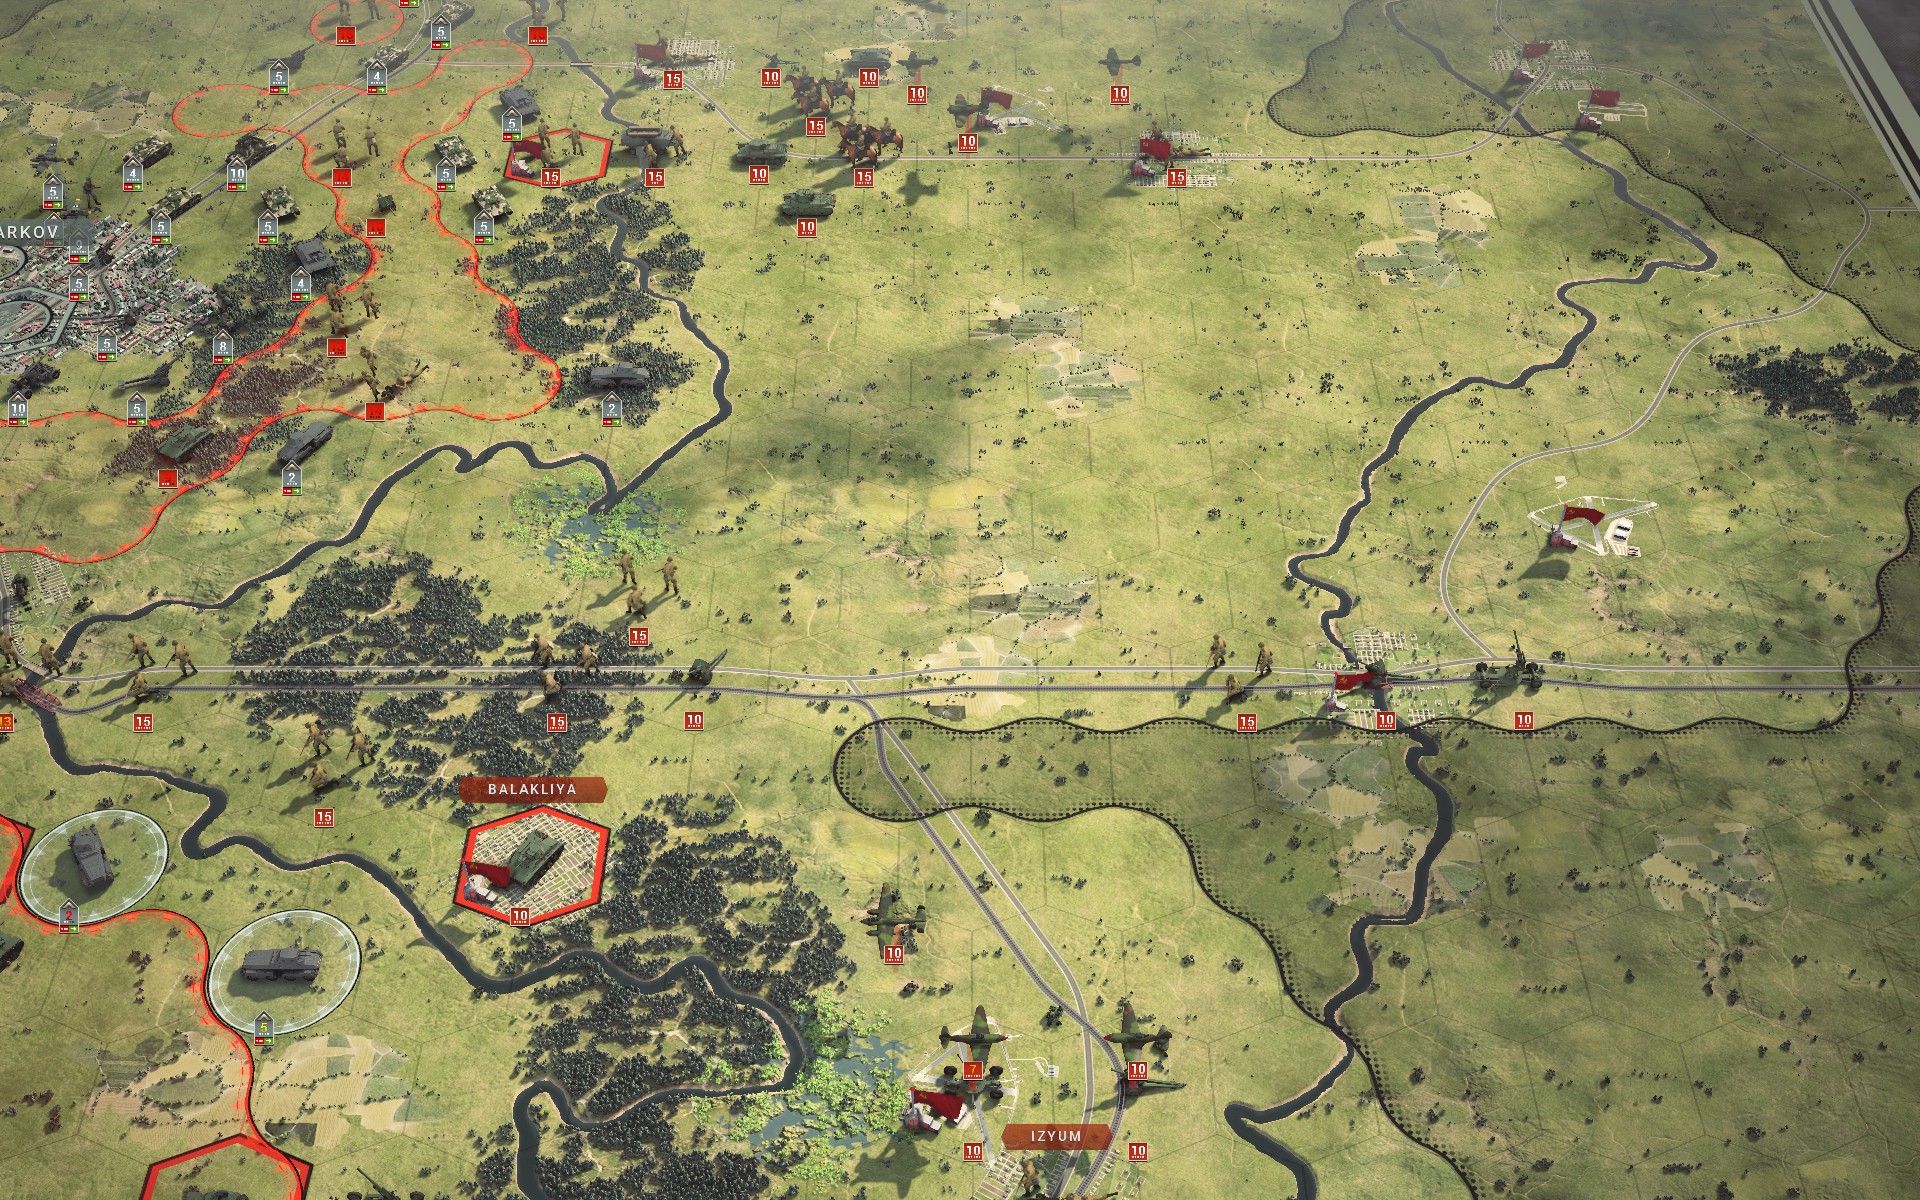
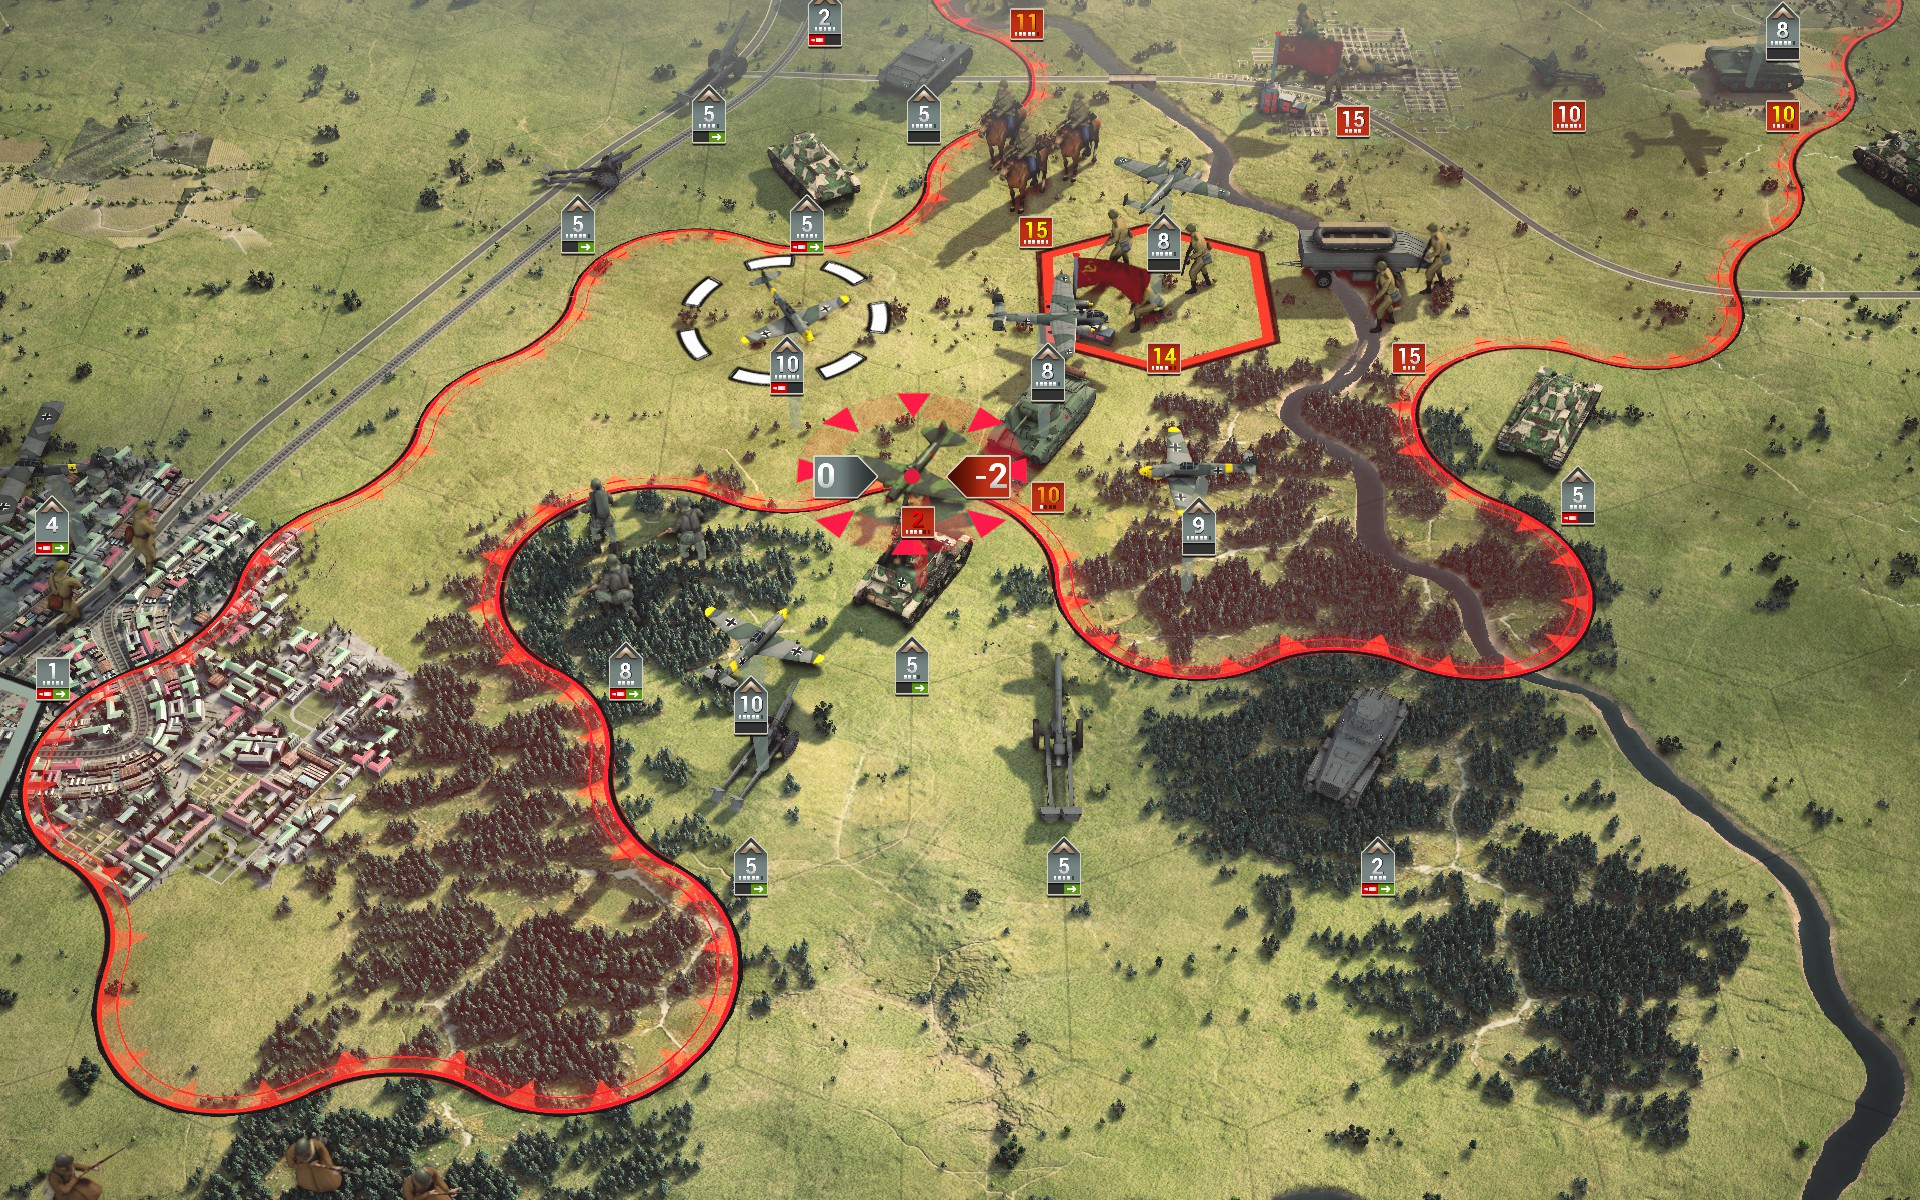
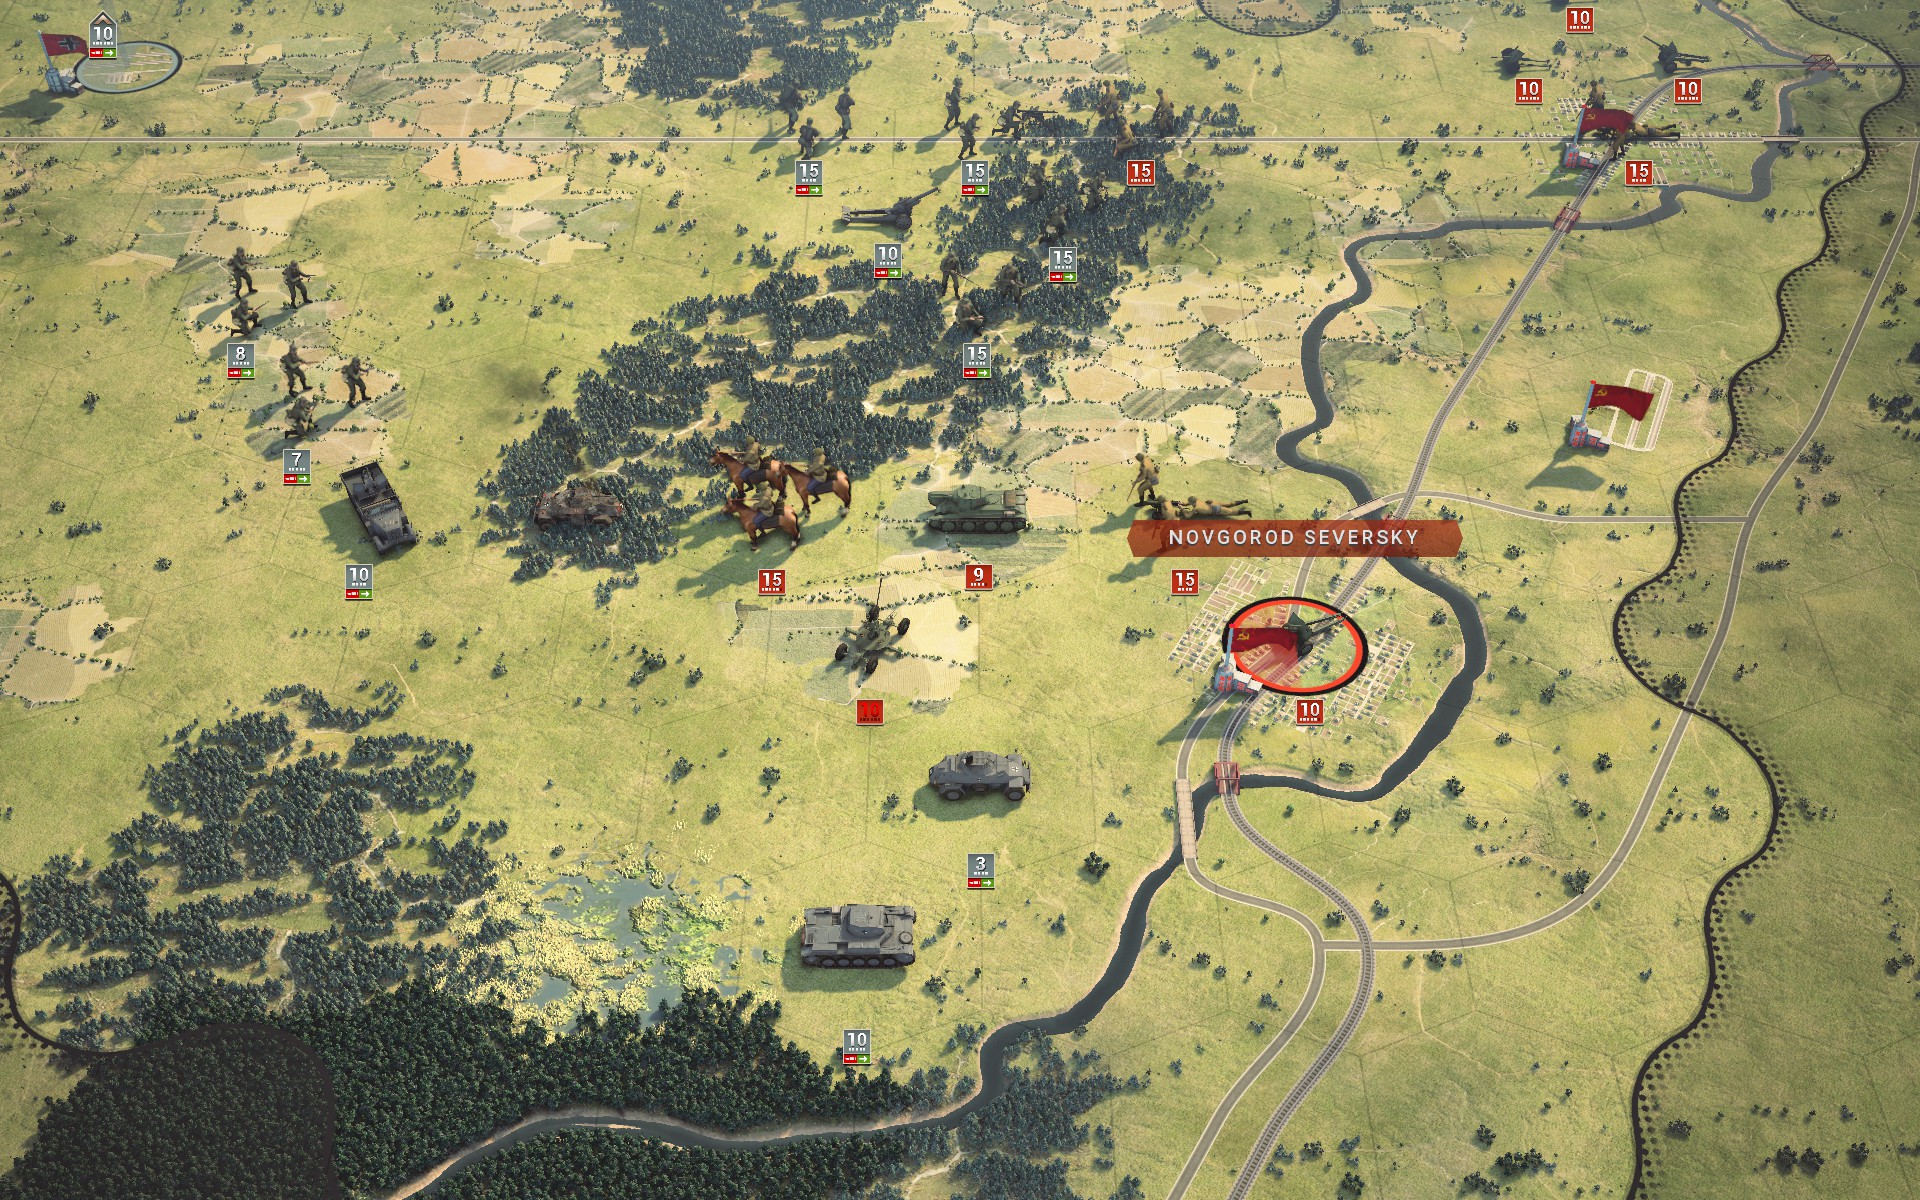
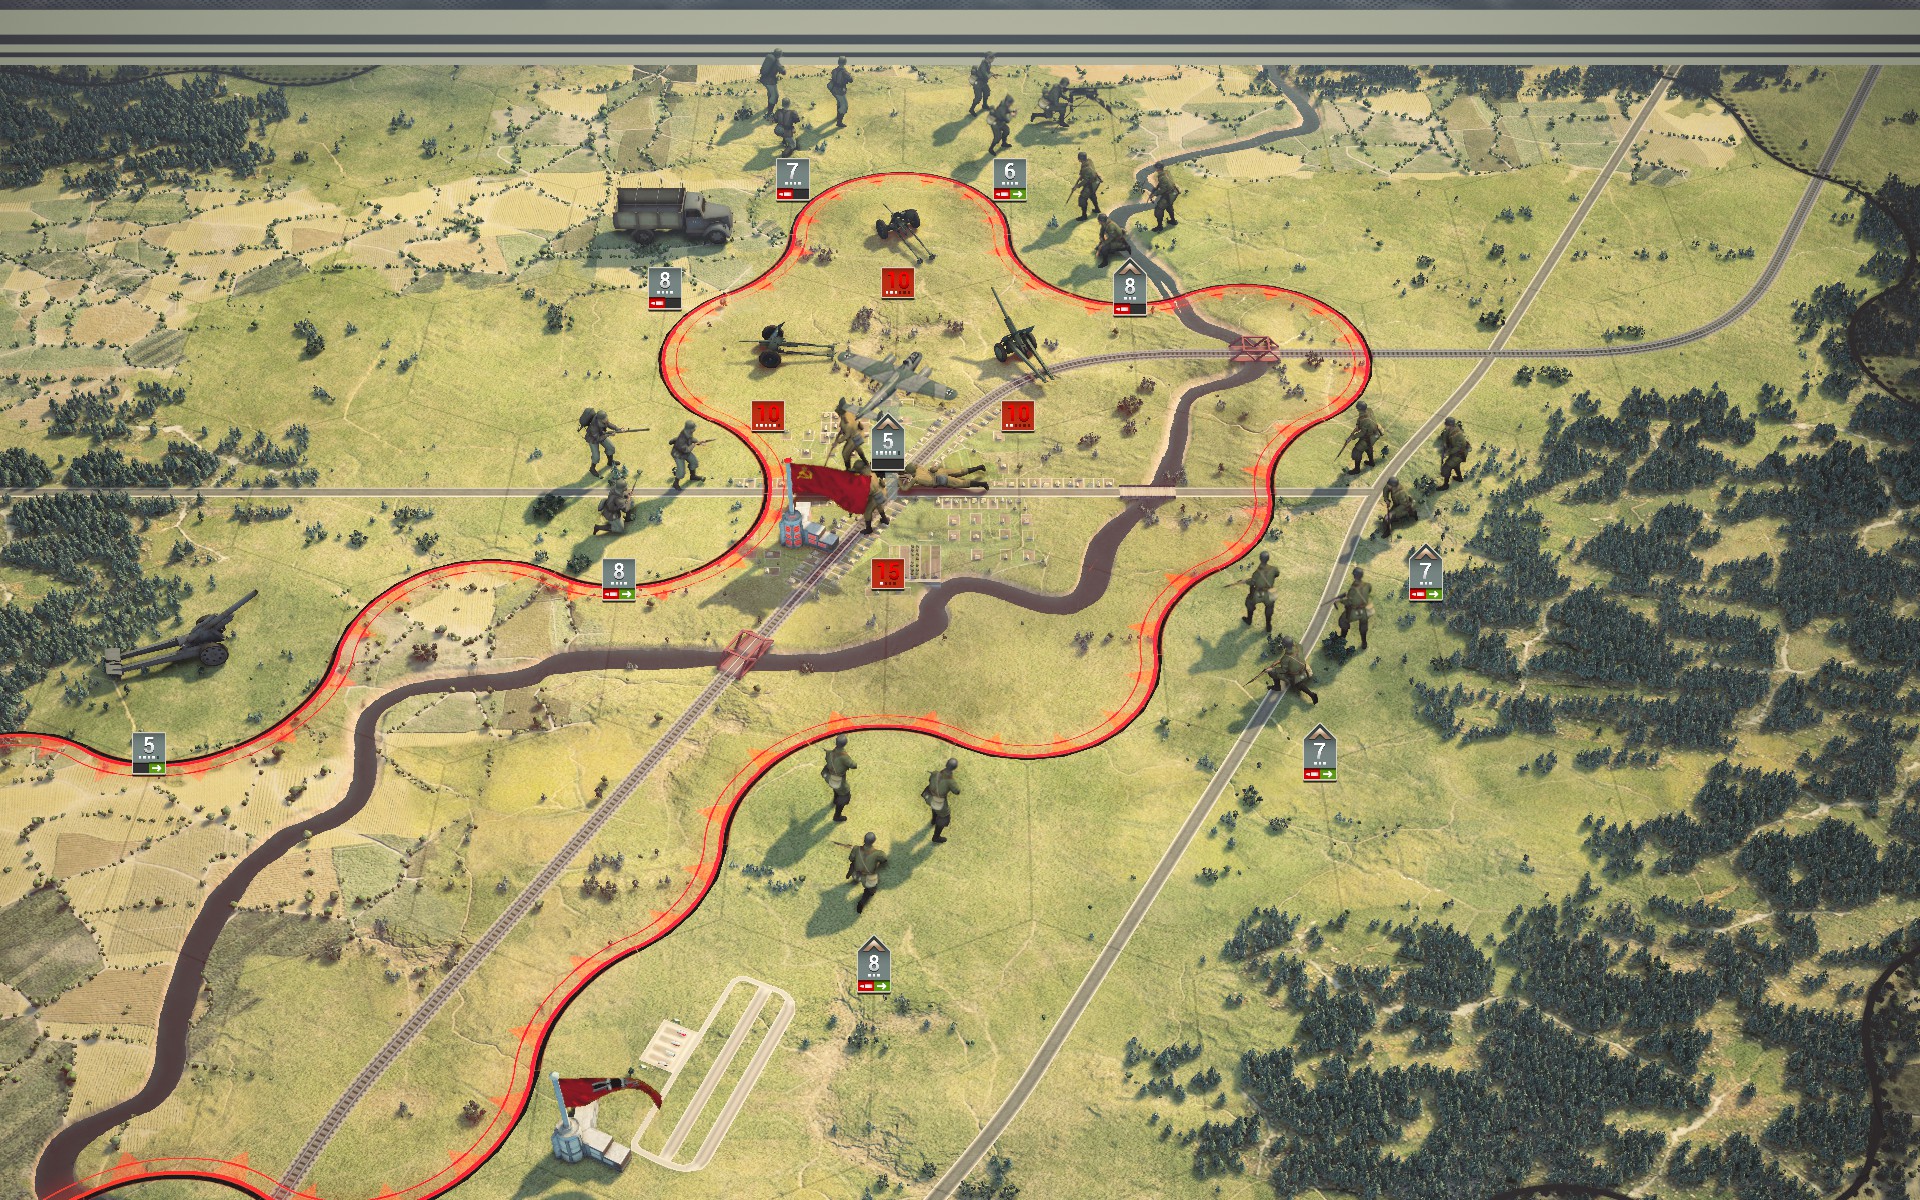
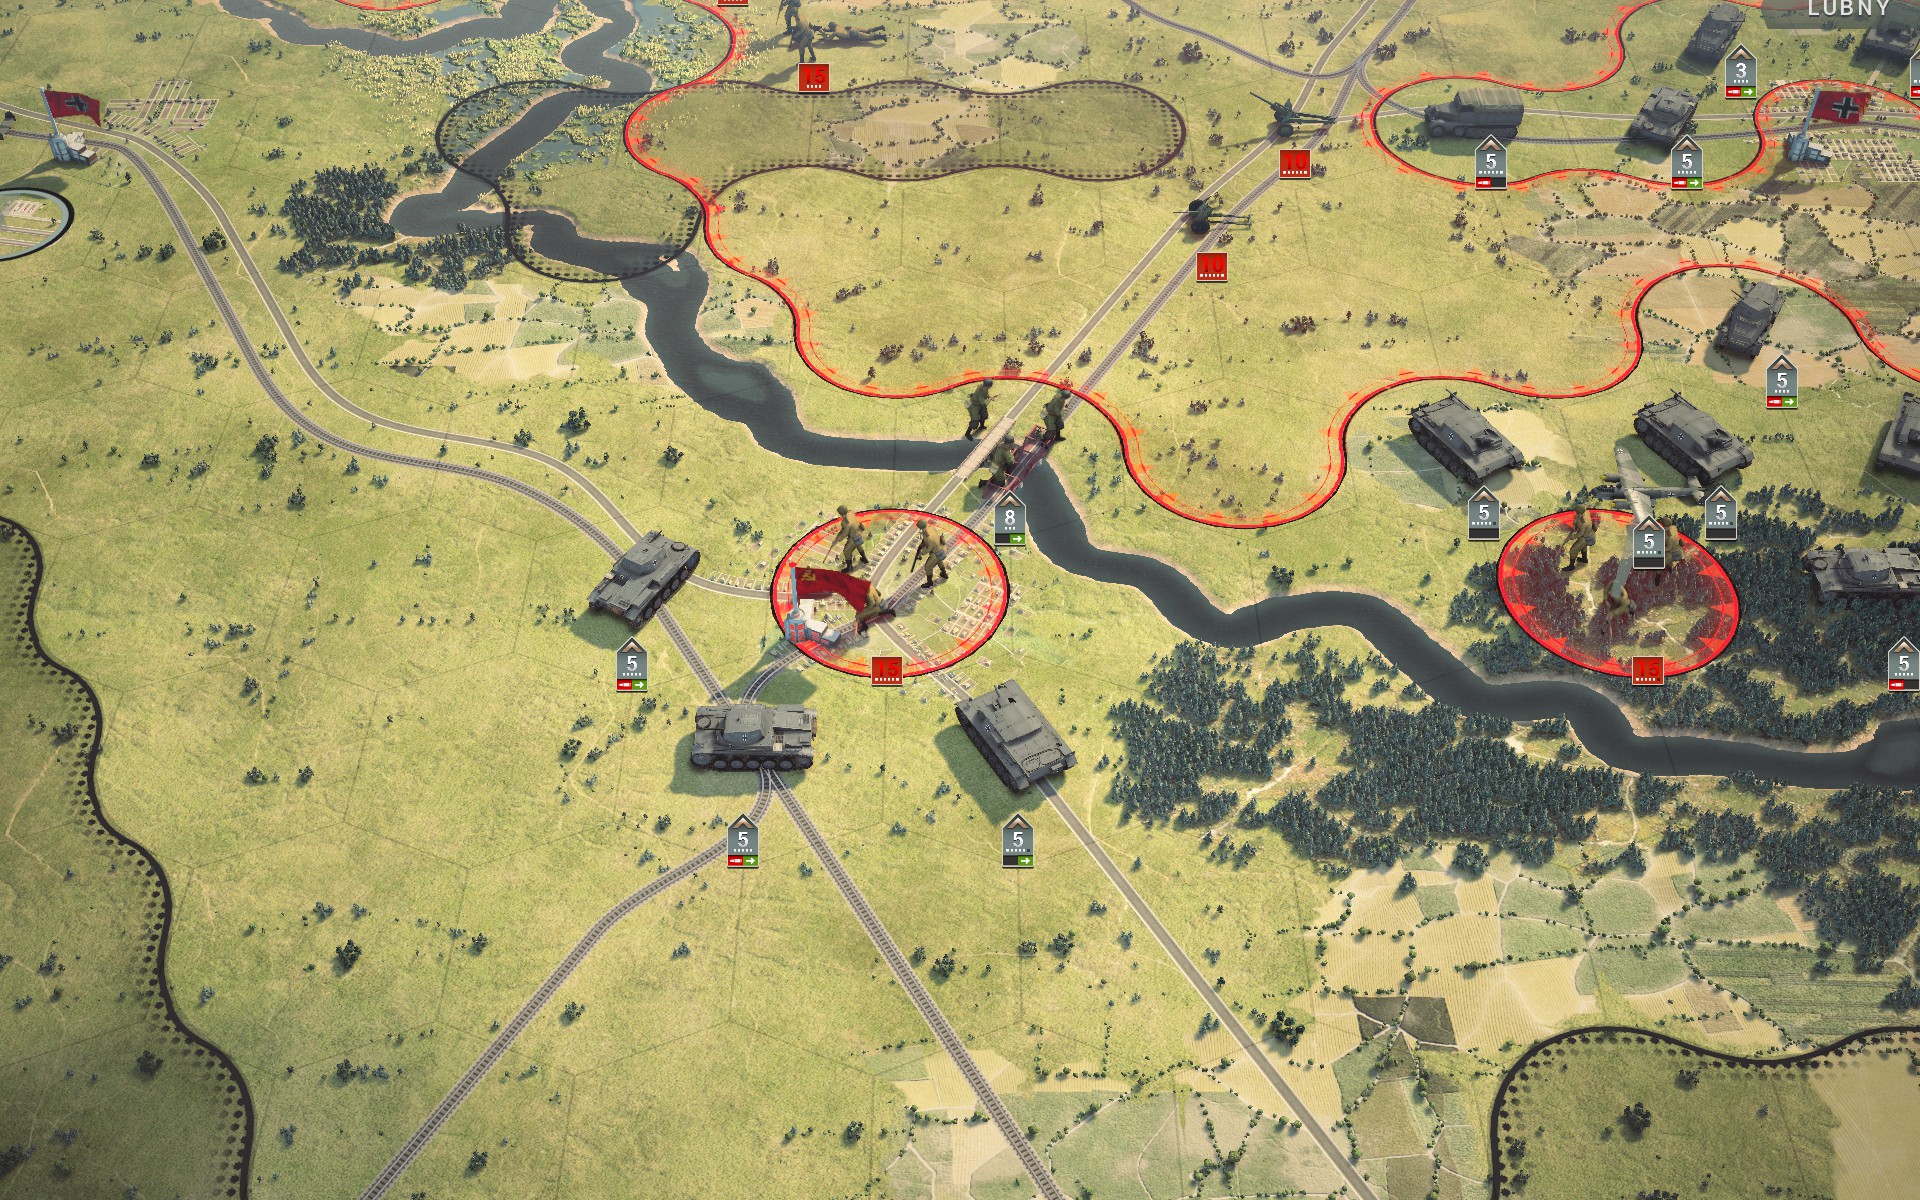
Novgorod-Seversky falls to the auxiliaries as the Fallschirmjäger arrive to set up a cordon on the other side of the river, encircling the remaining Soviet forces.
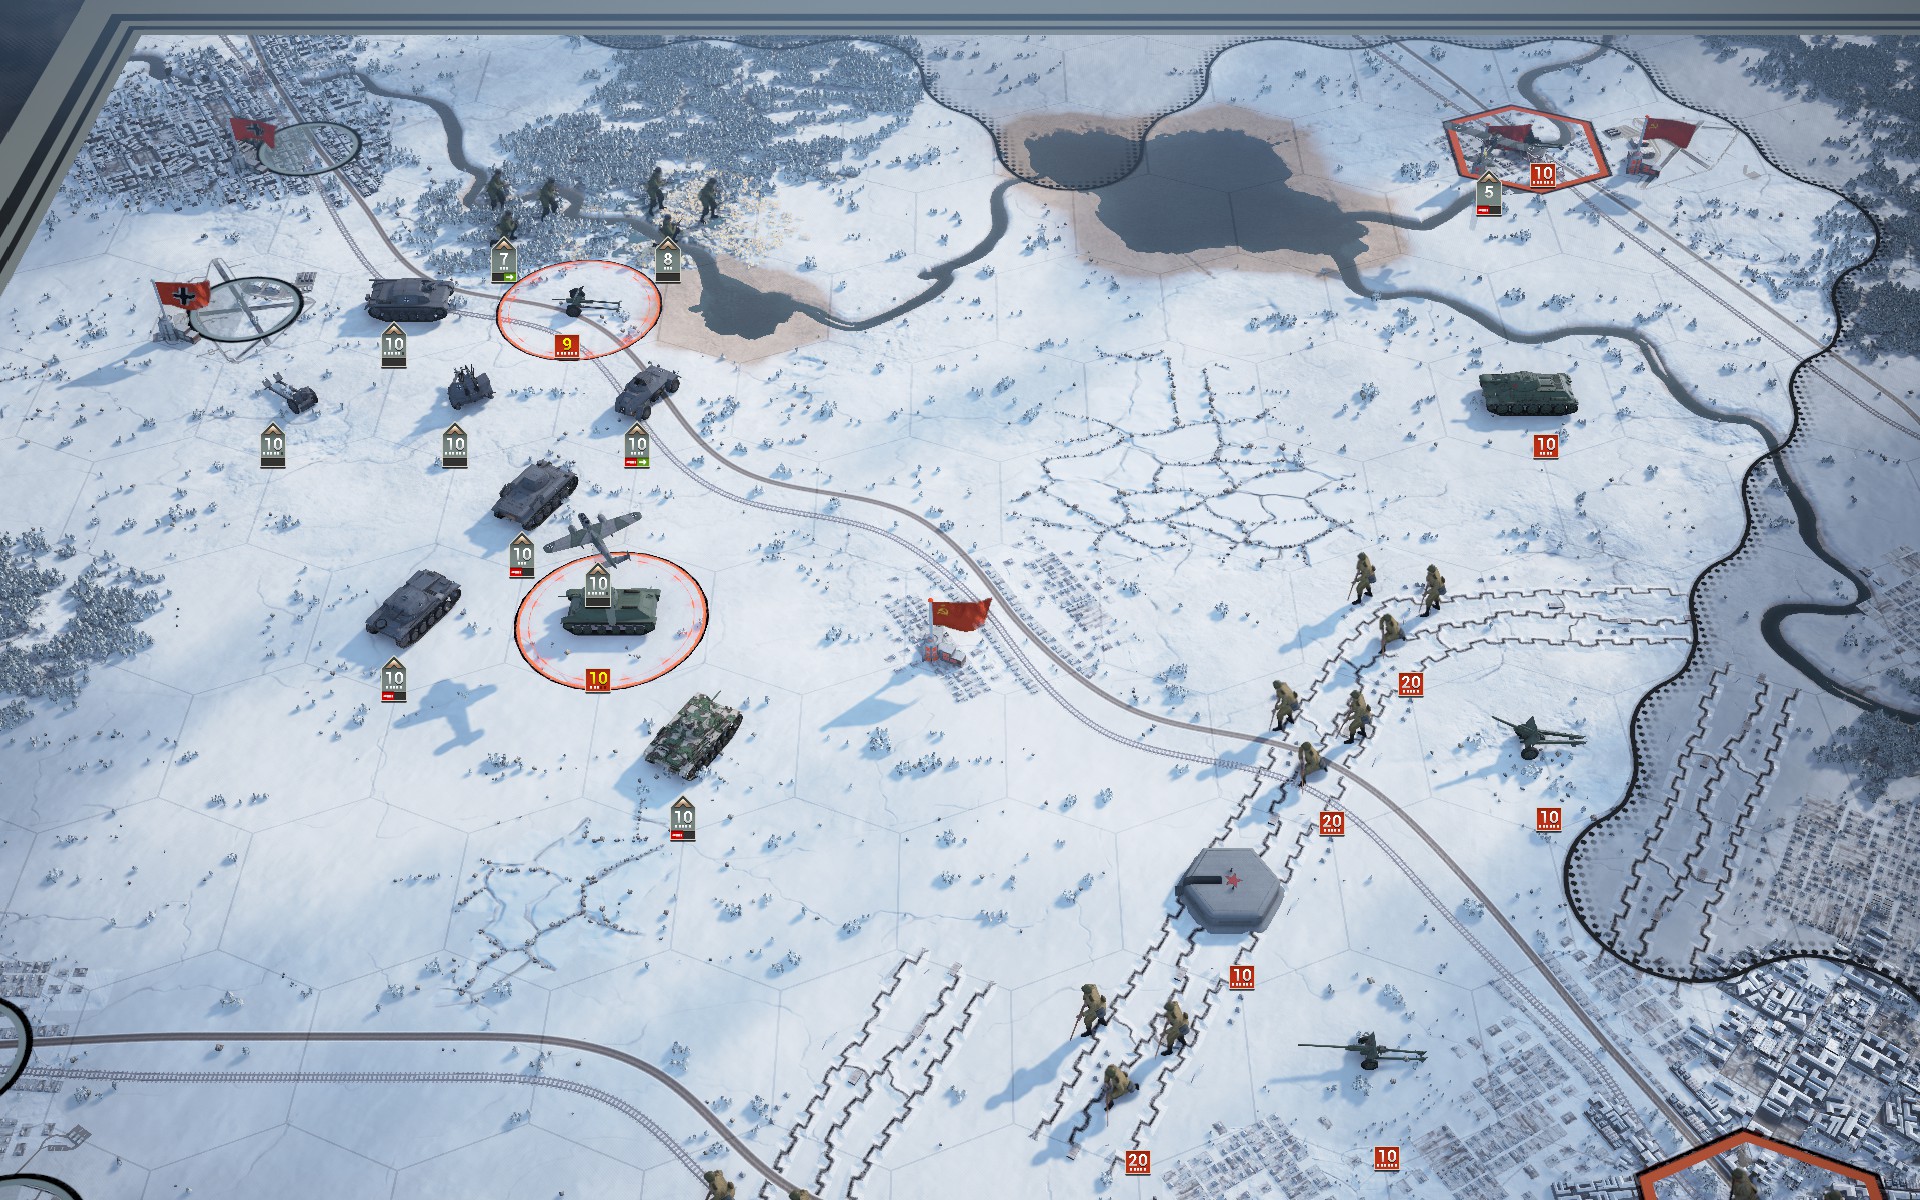
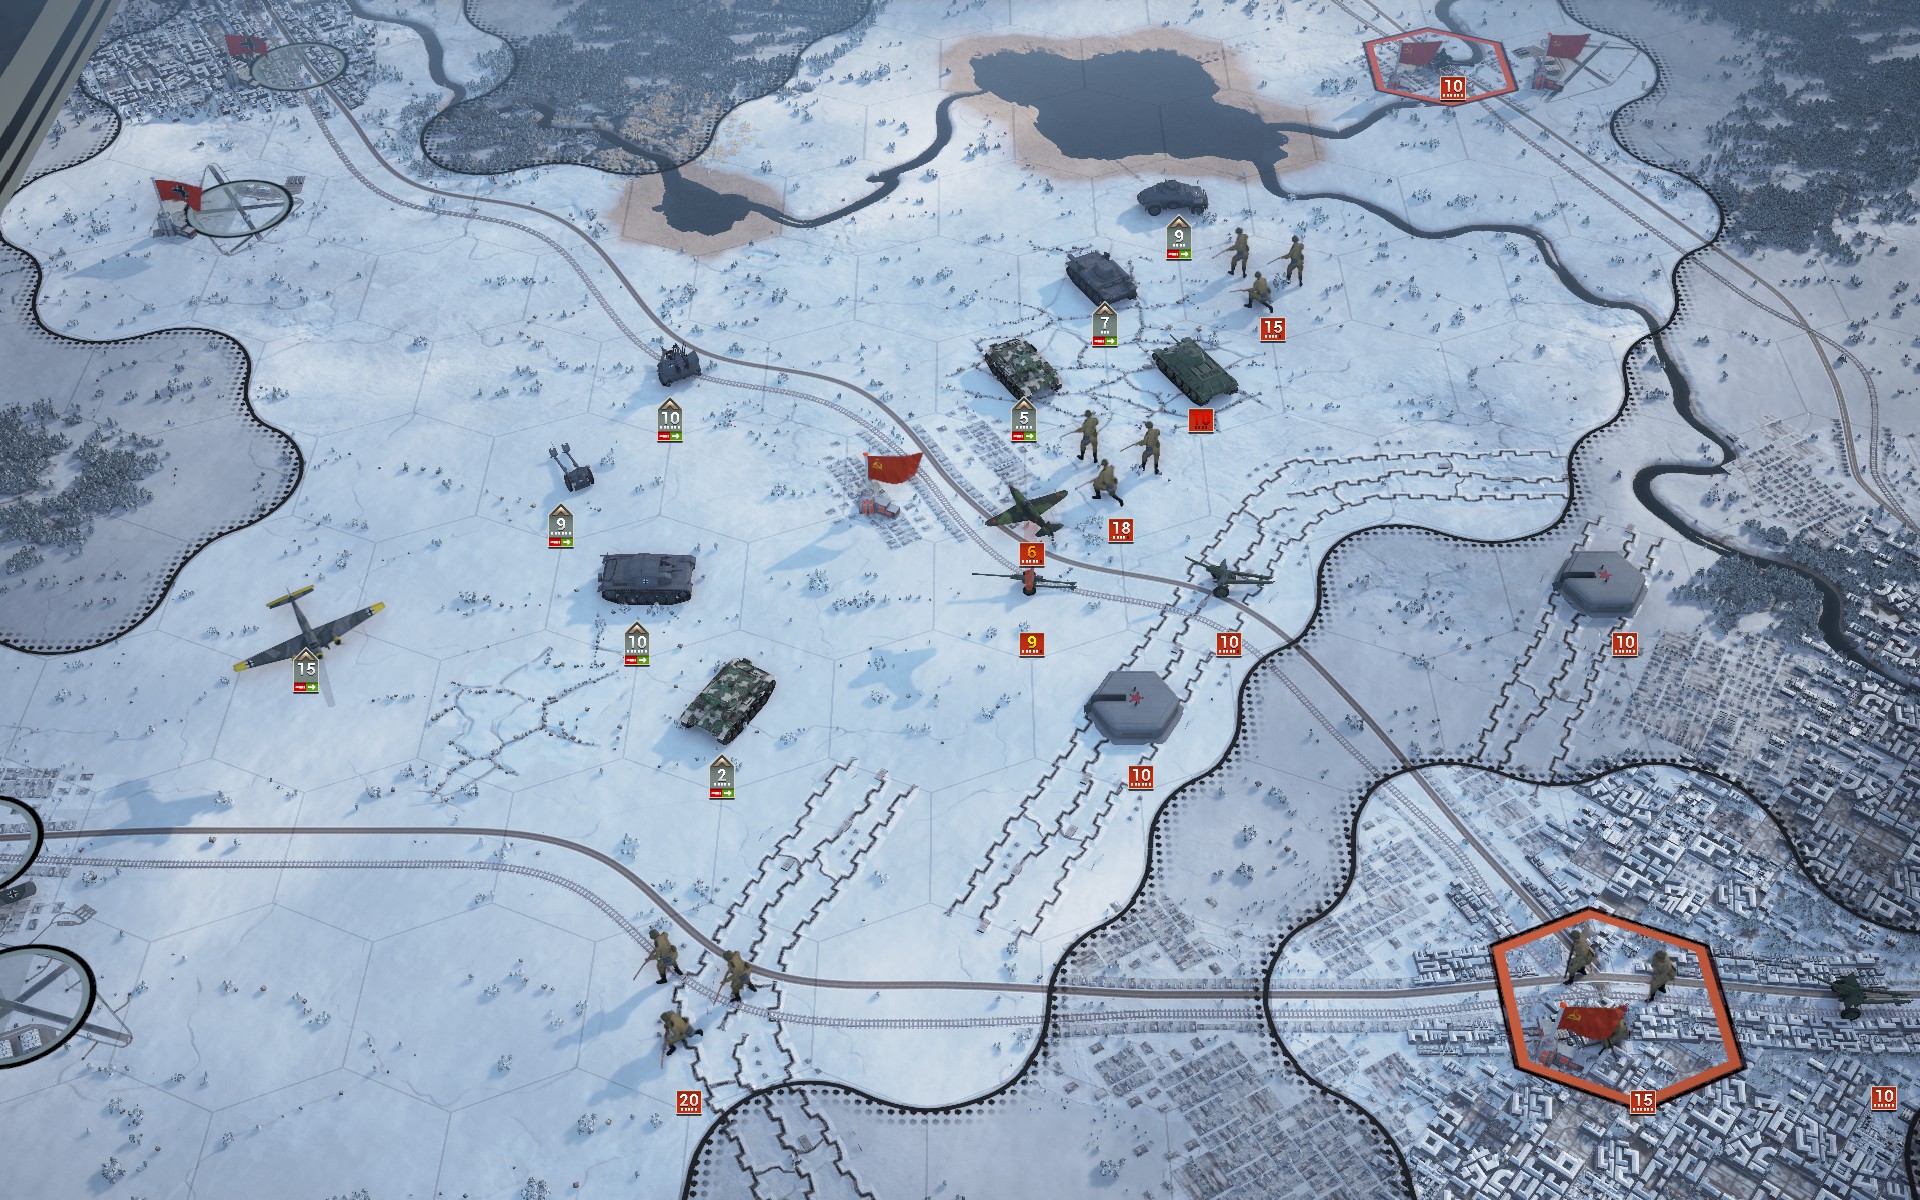
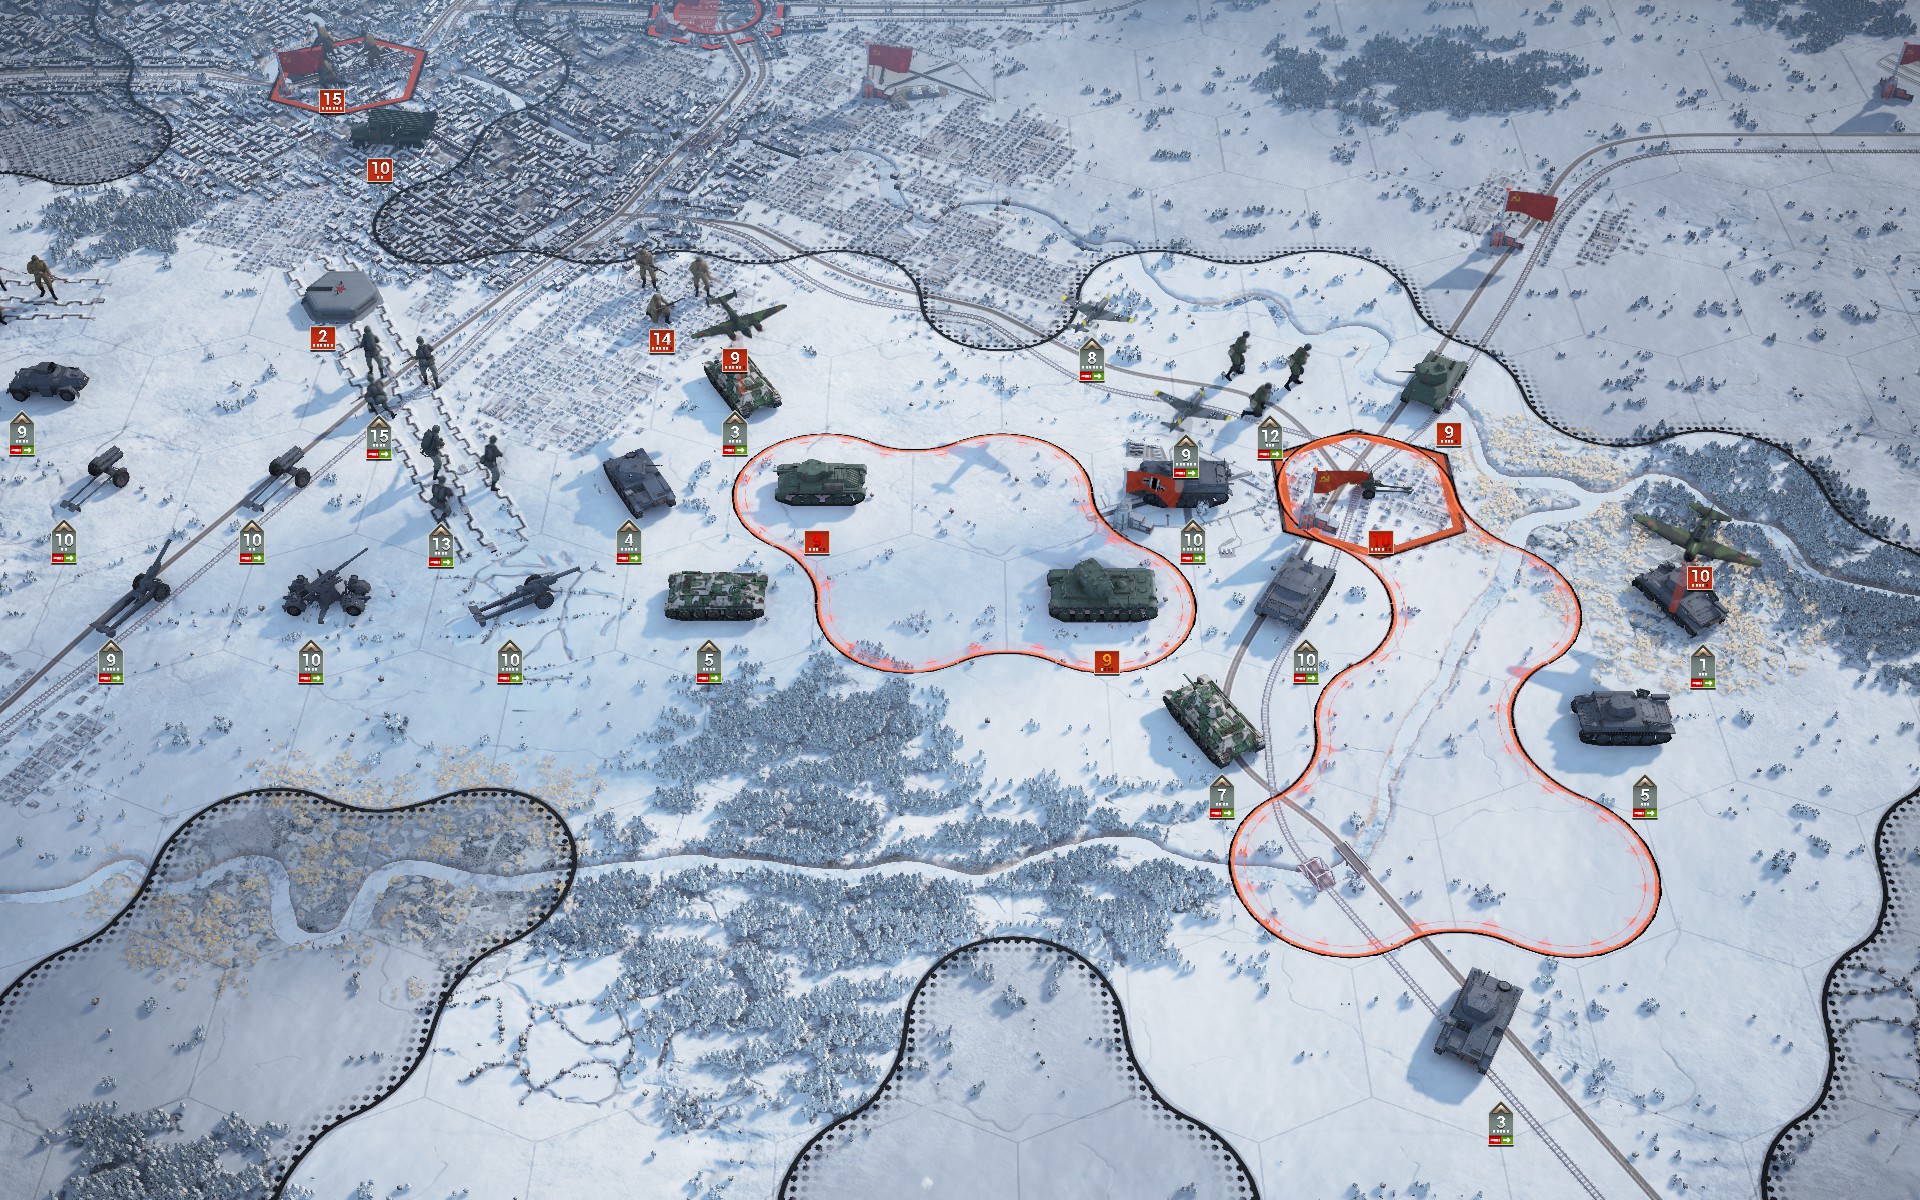
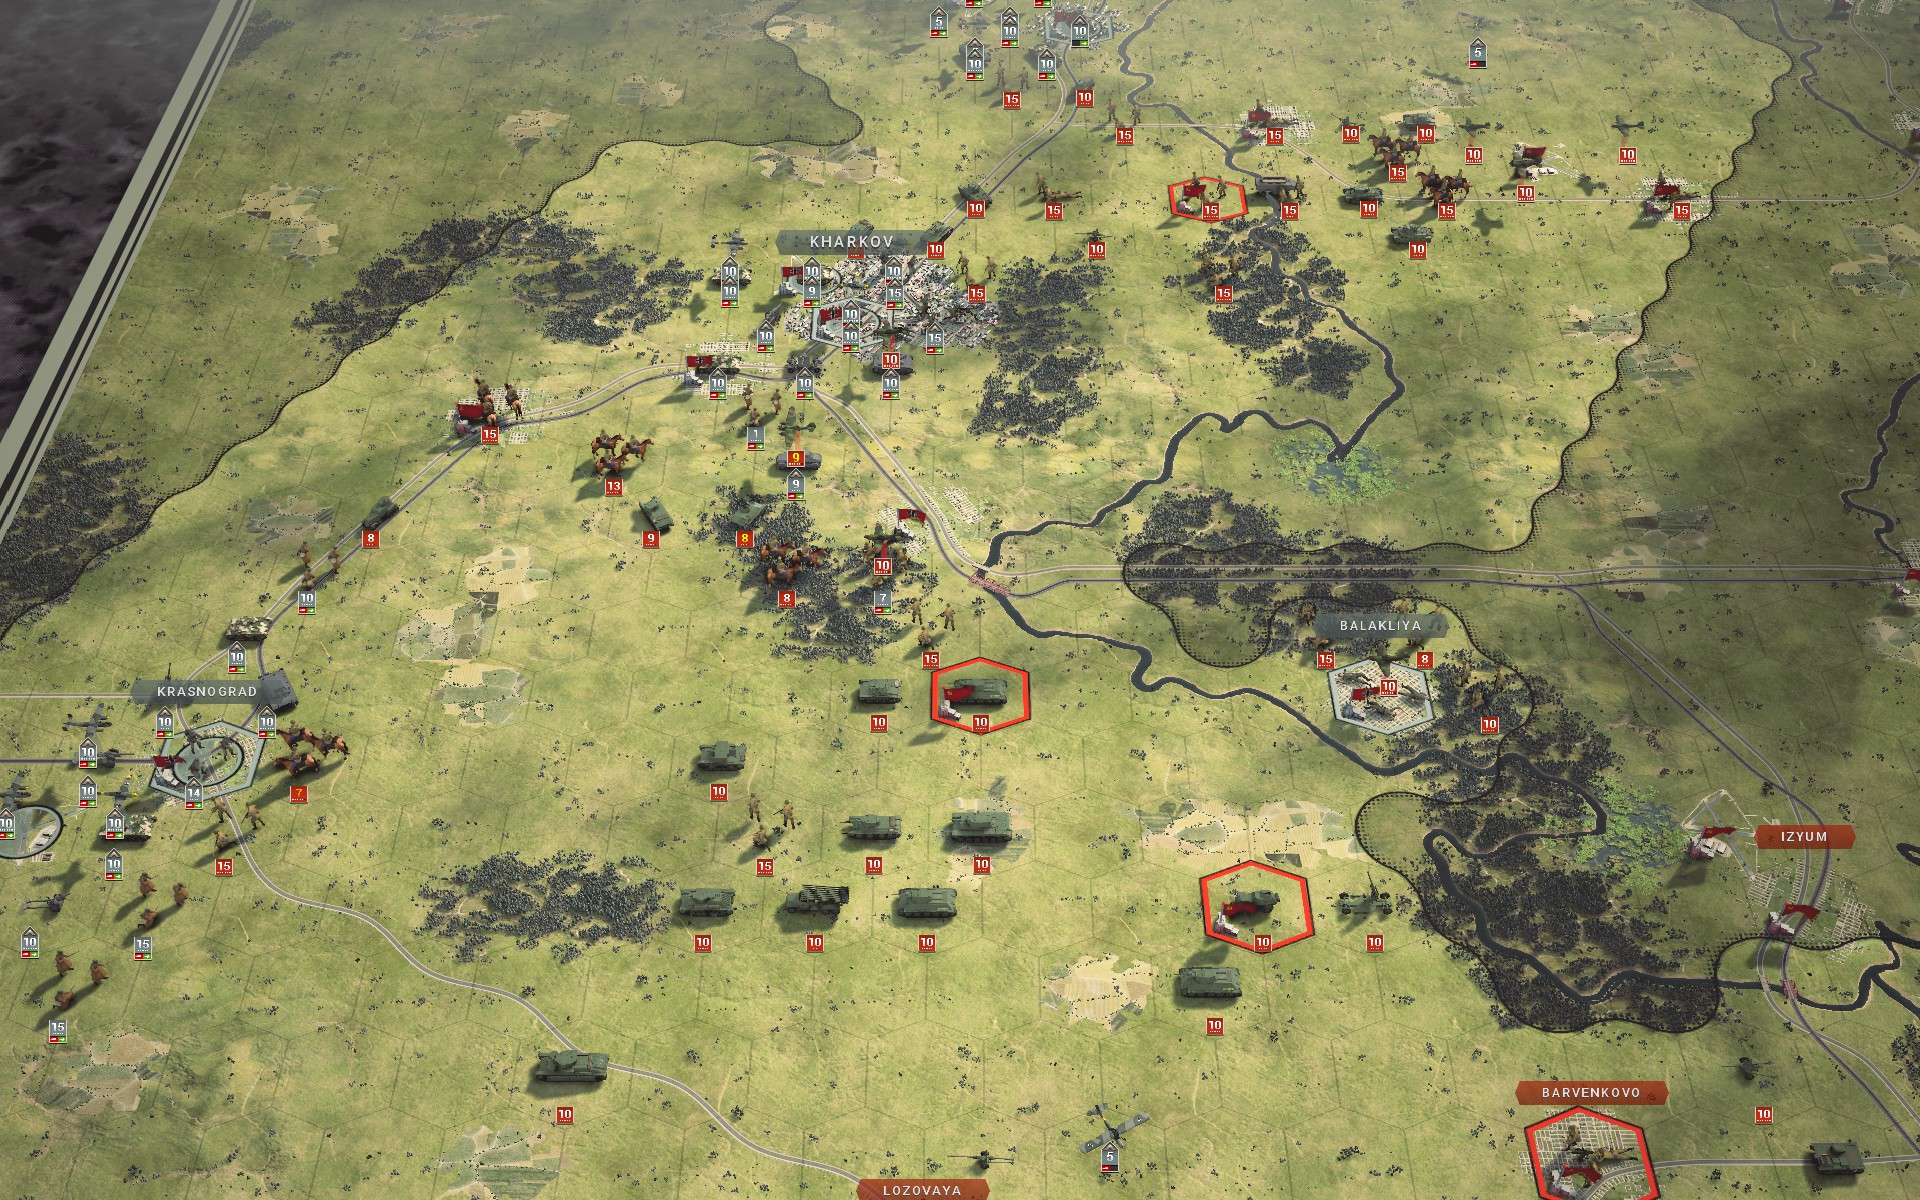
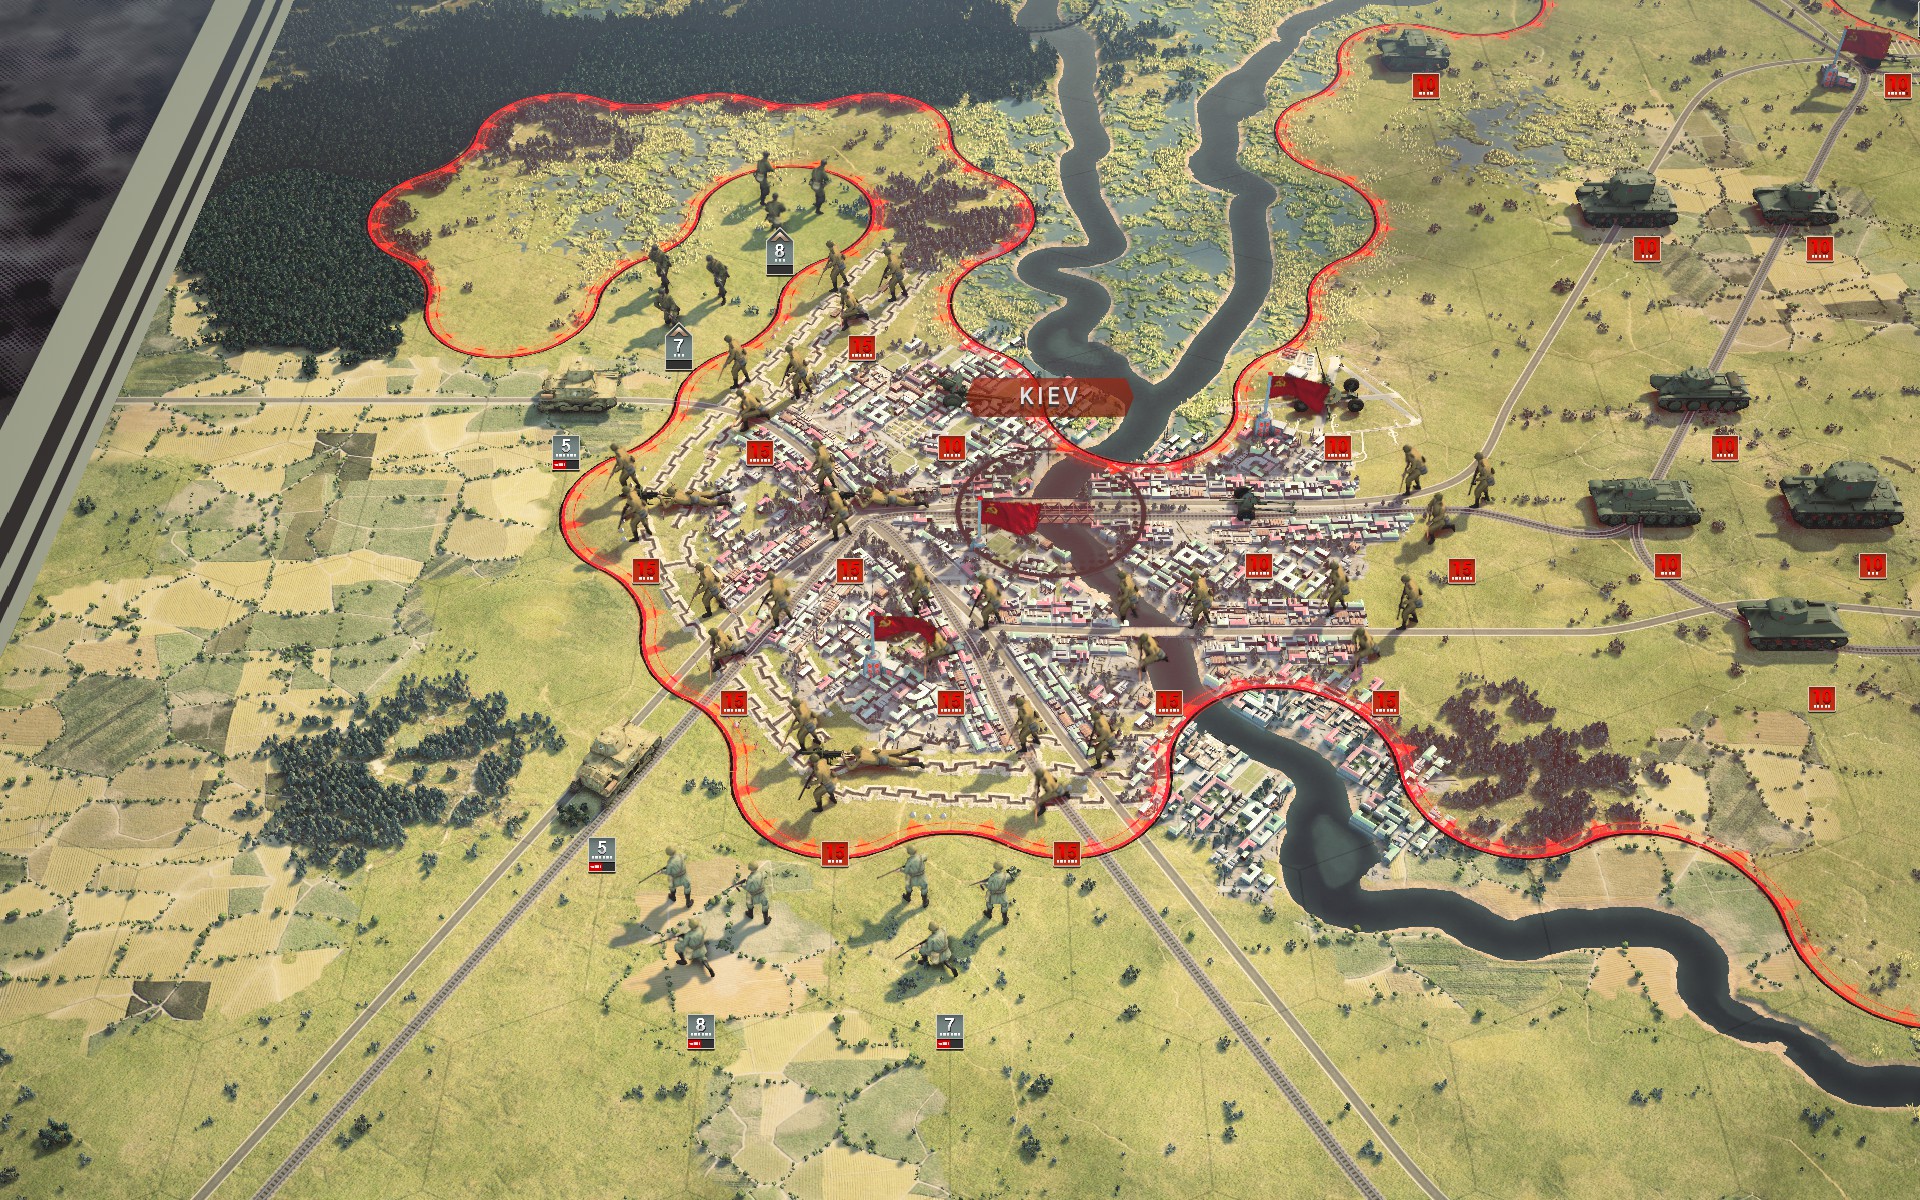
There is a large concentration of Soviet armour just east of Kiev, but fortunately they haven't made a move.
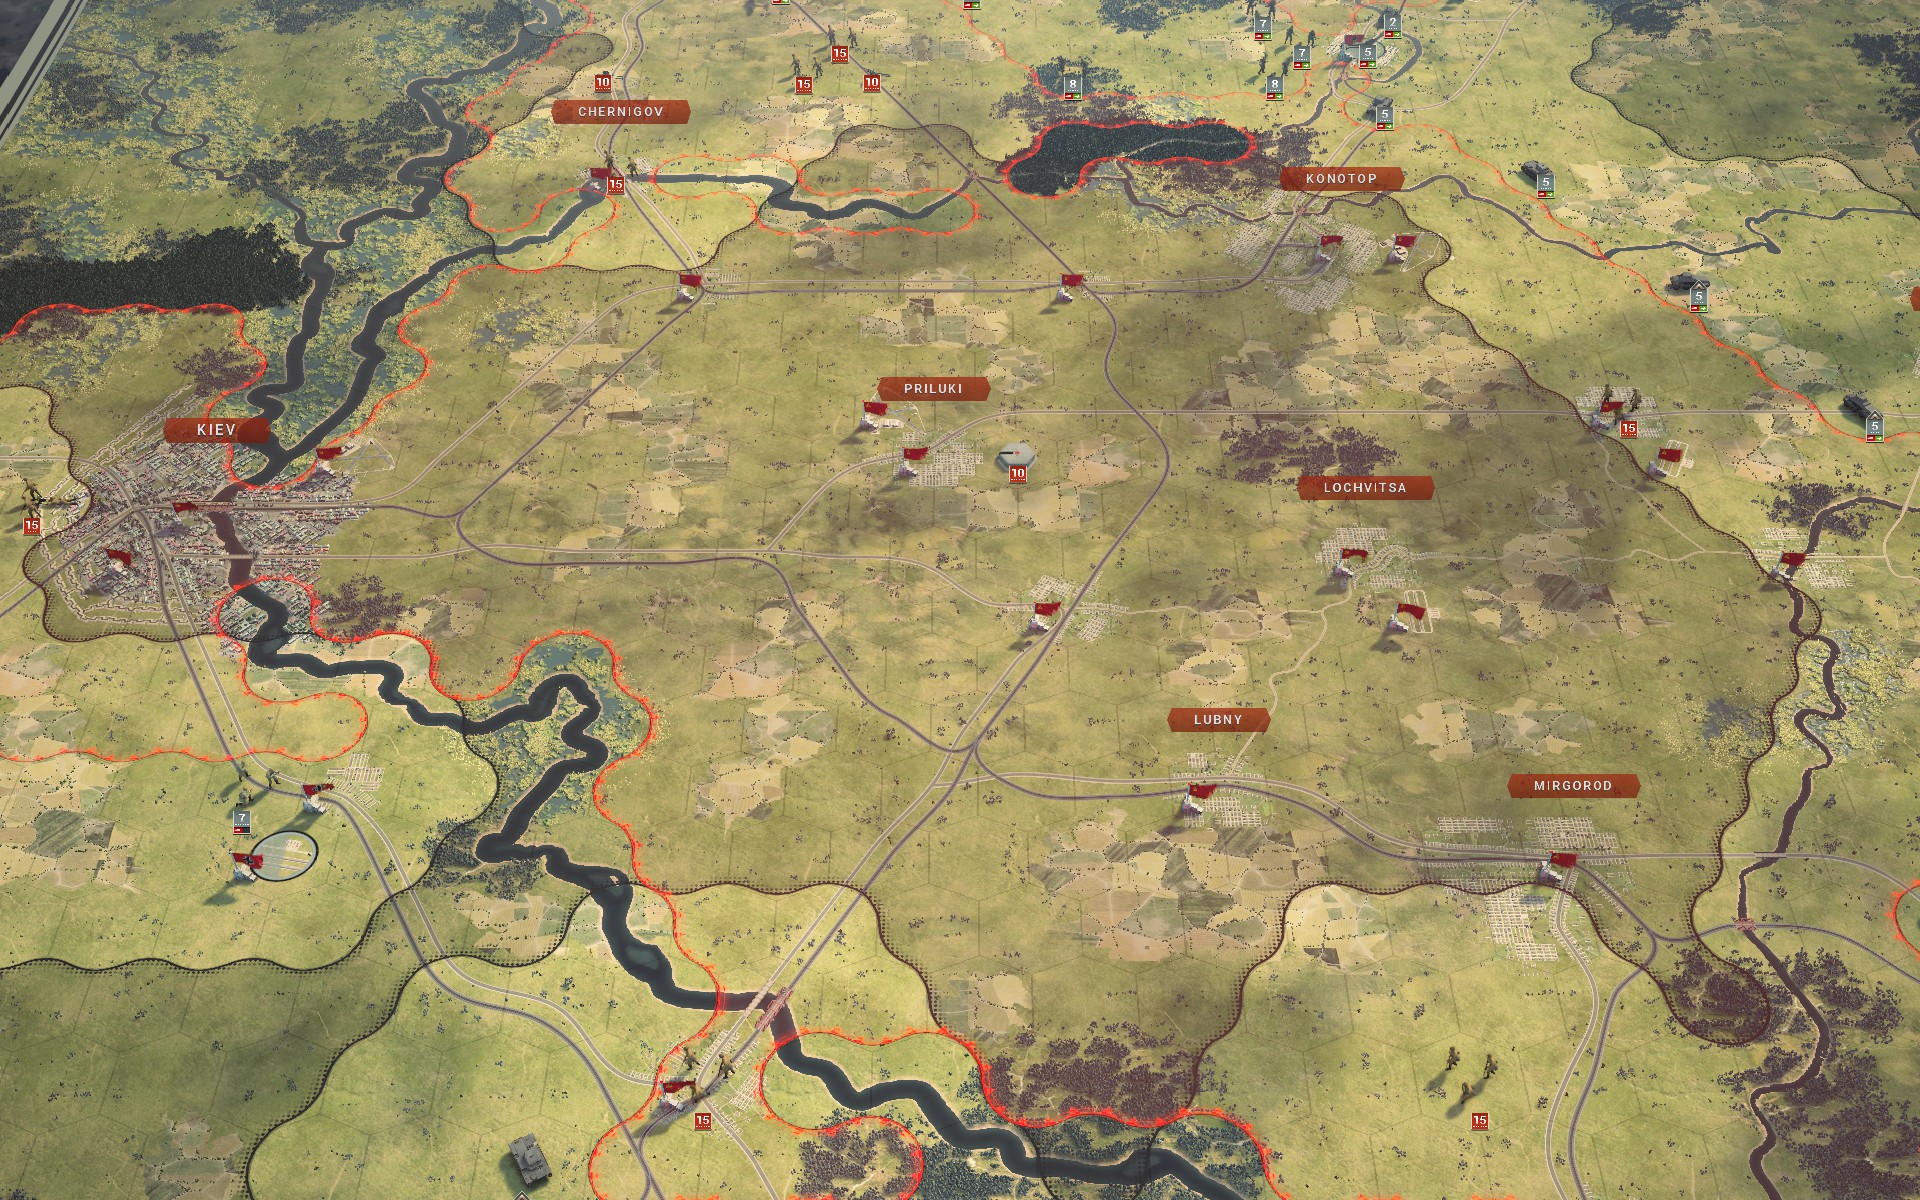
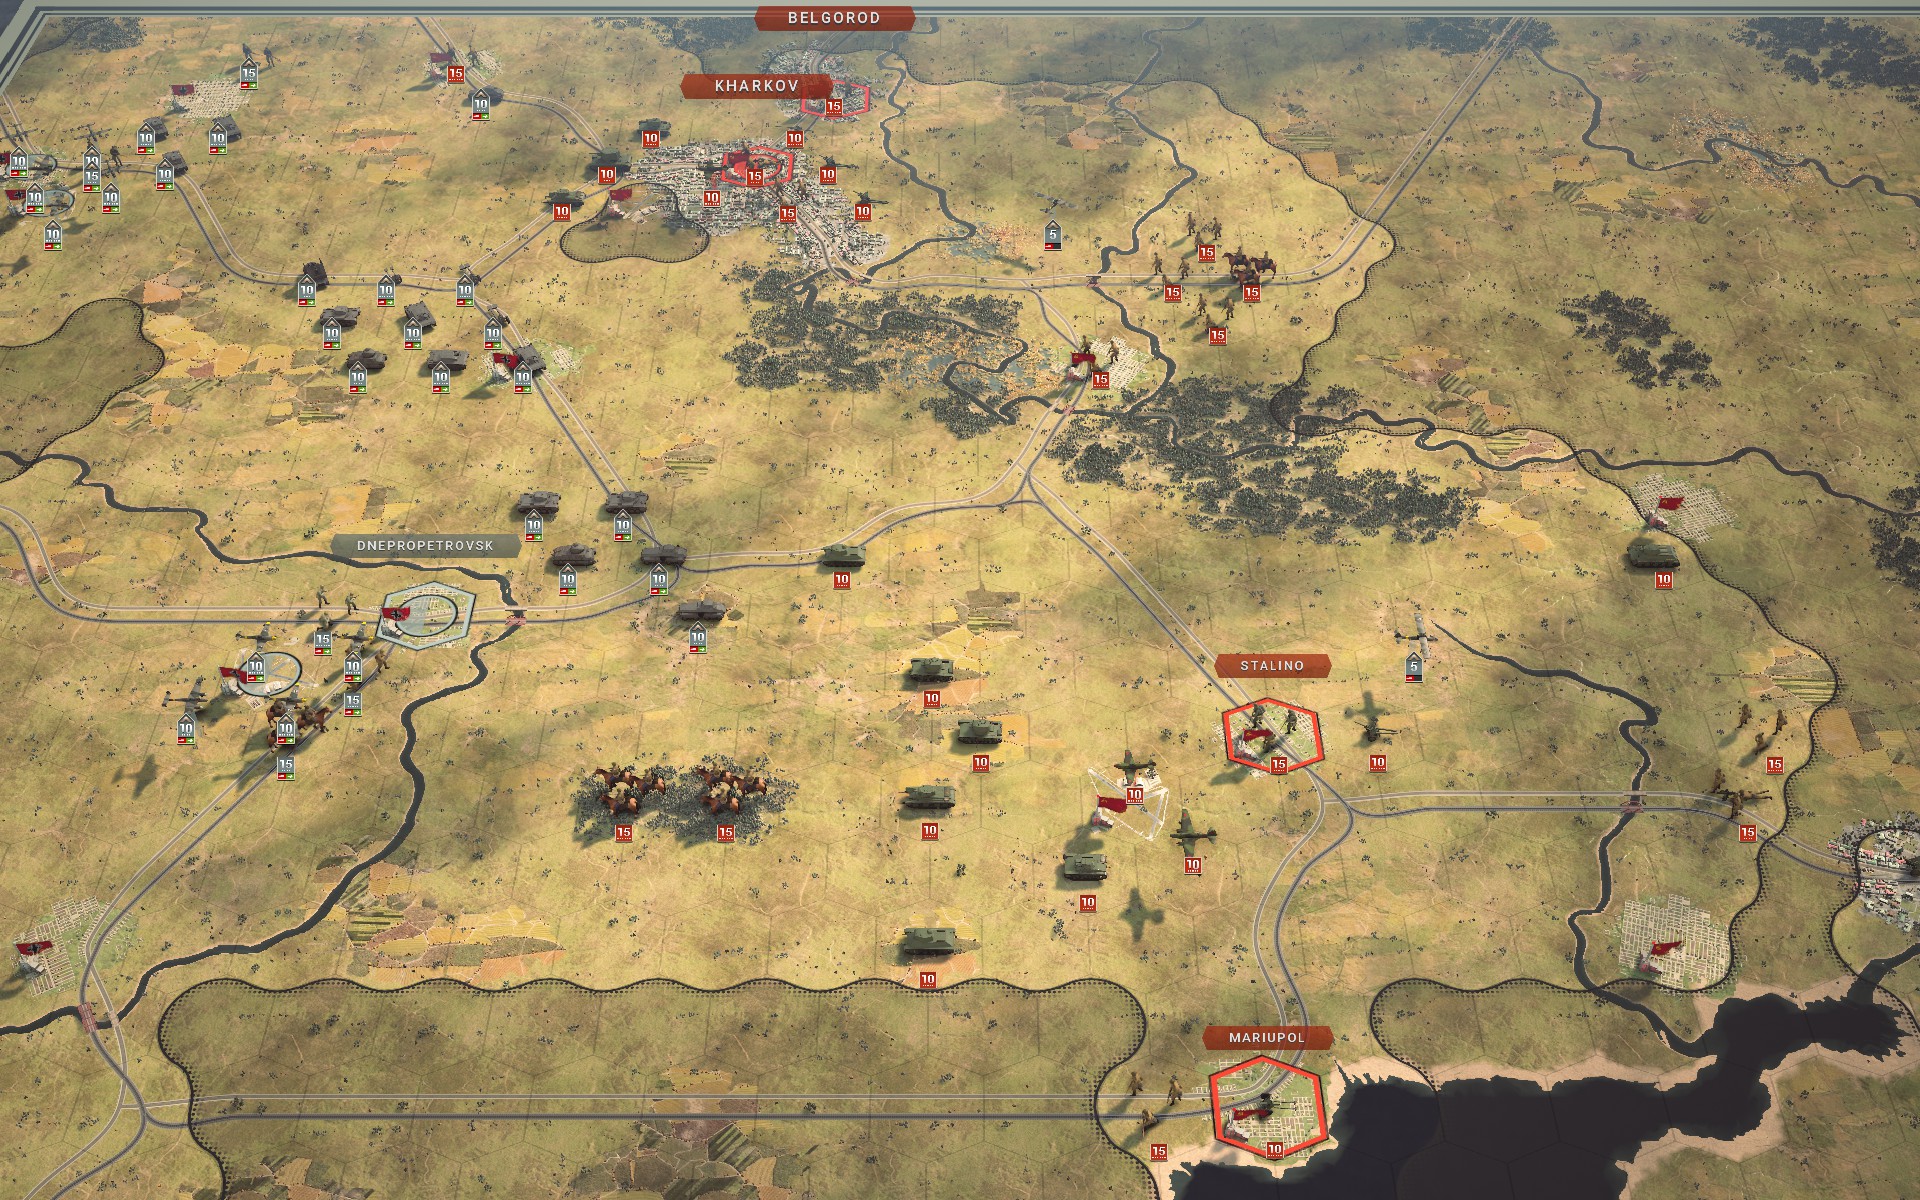
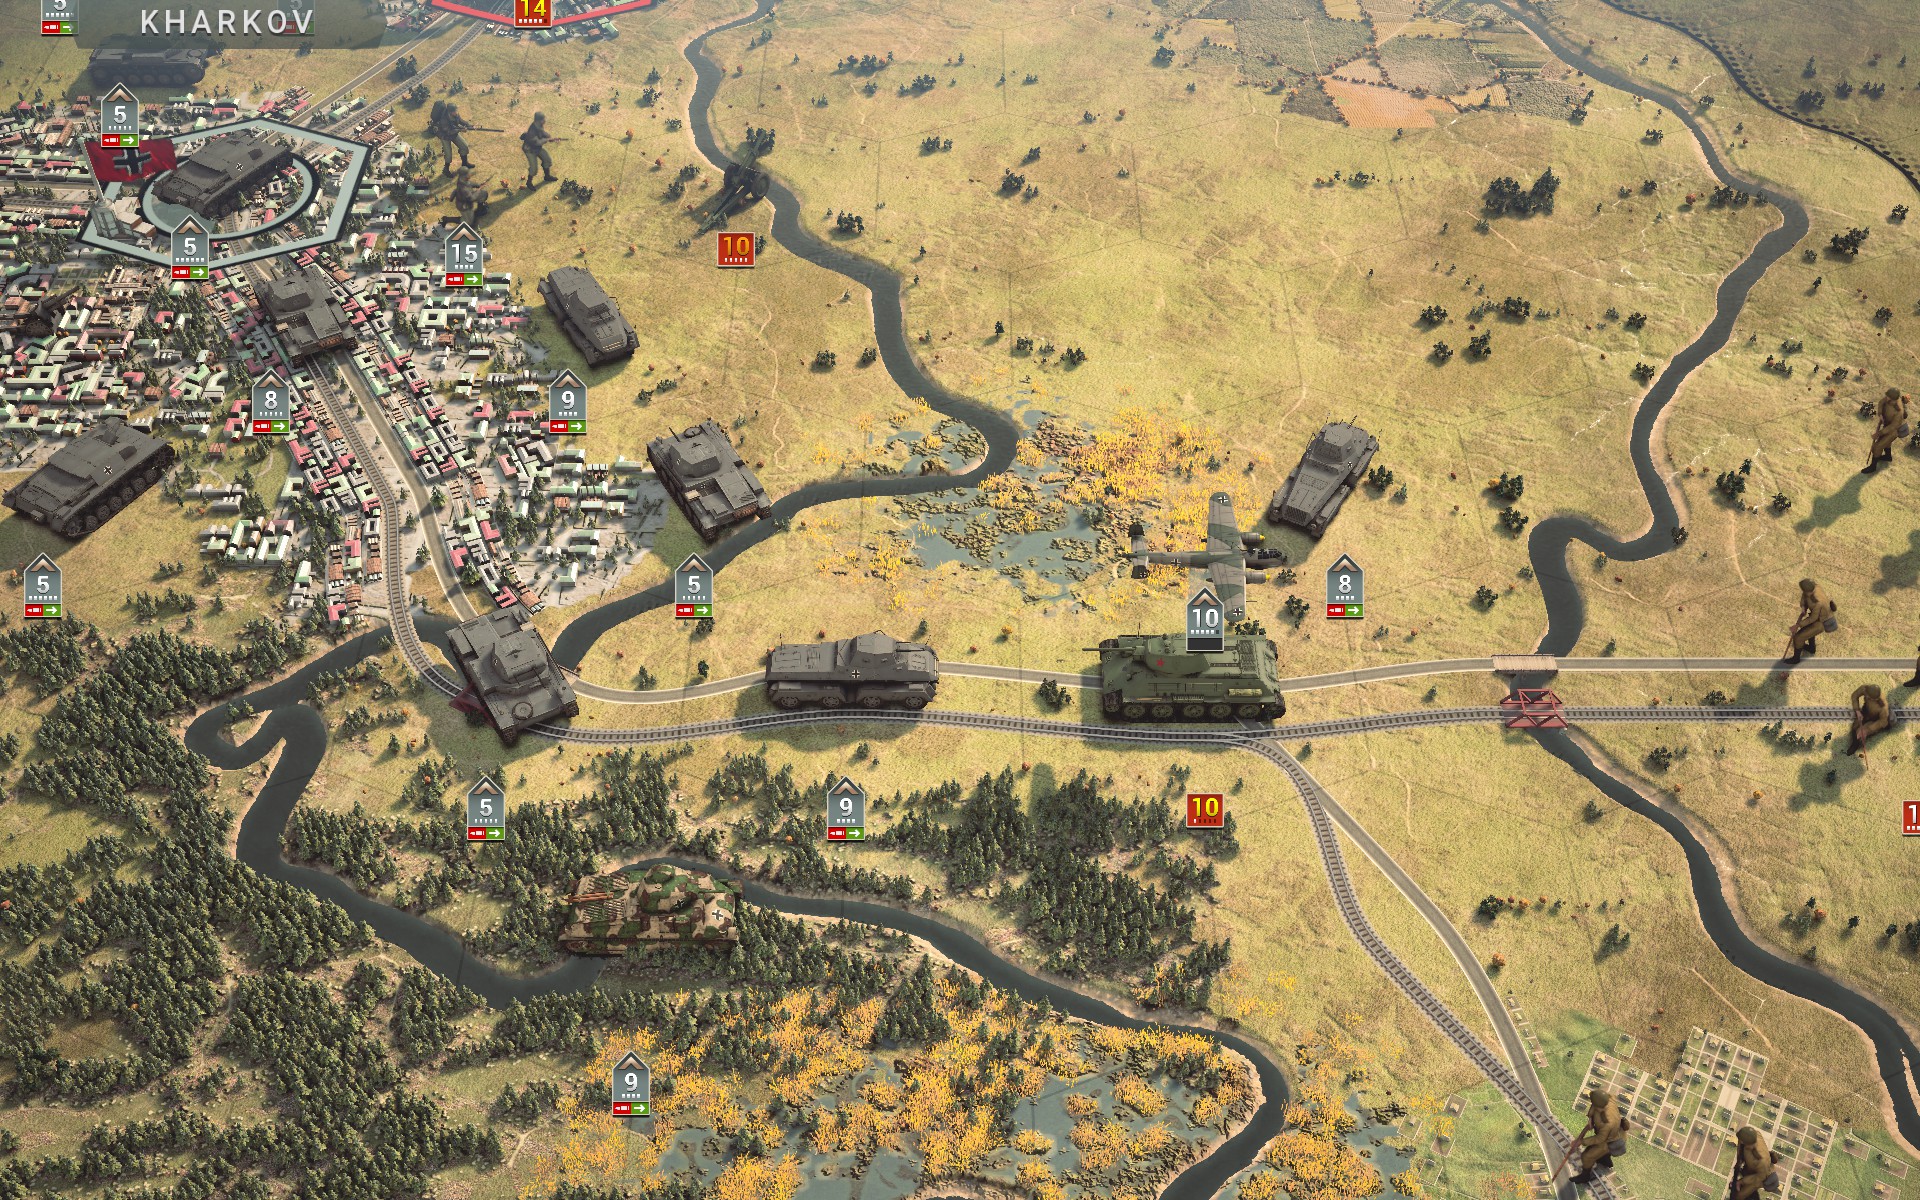
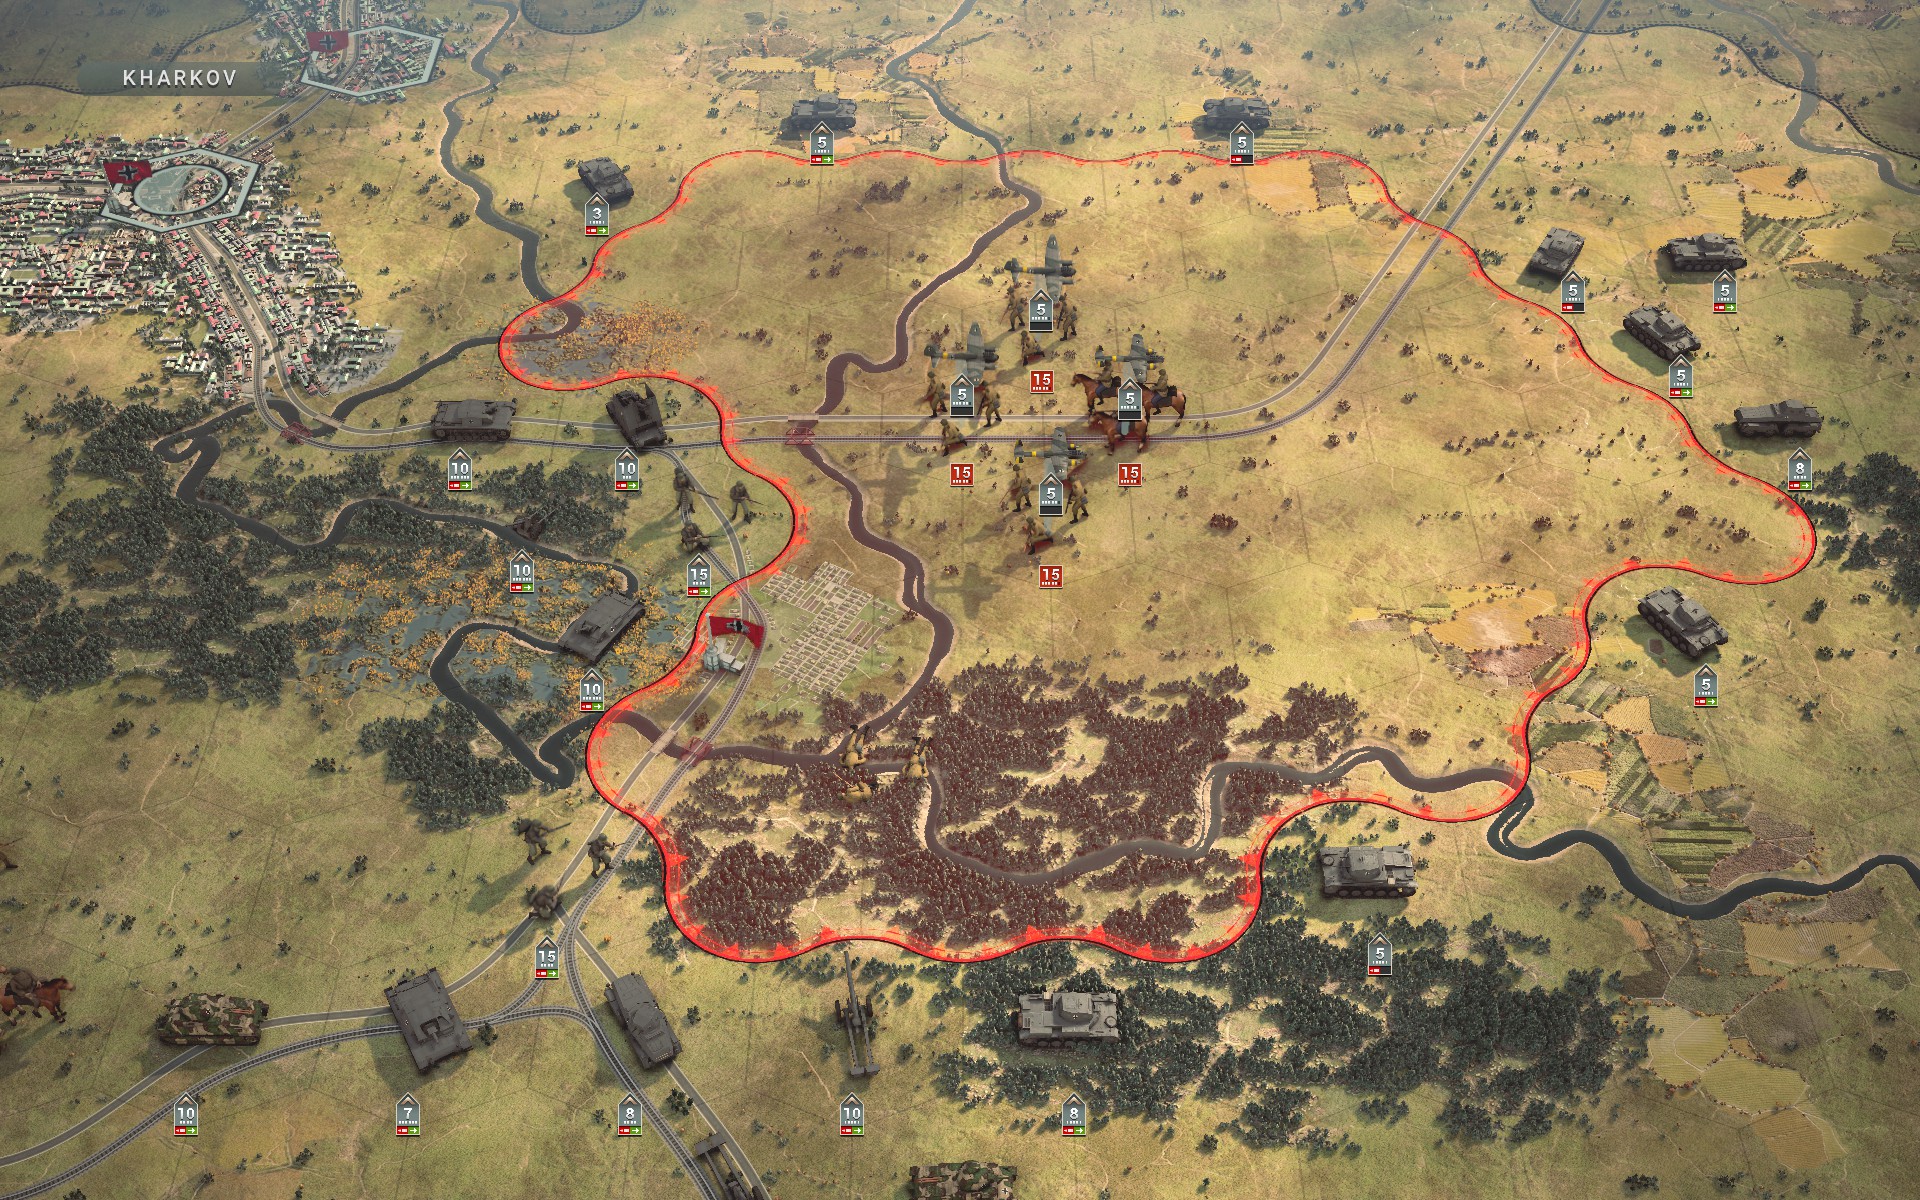
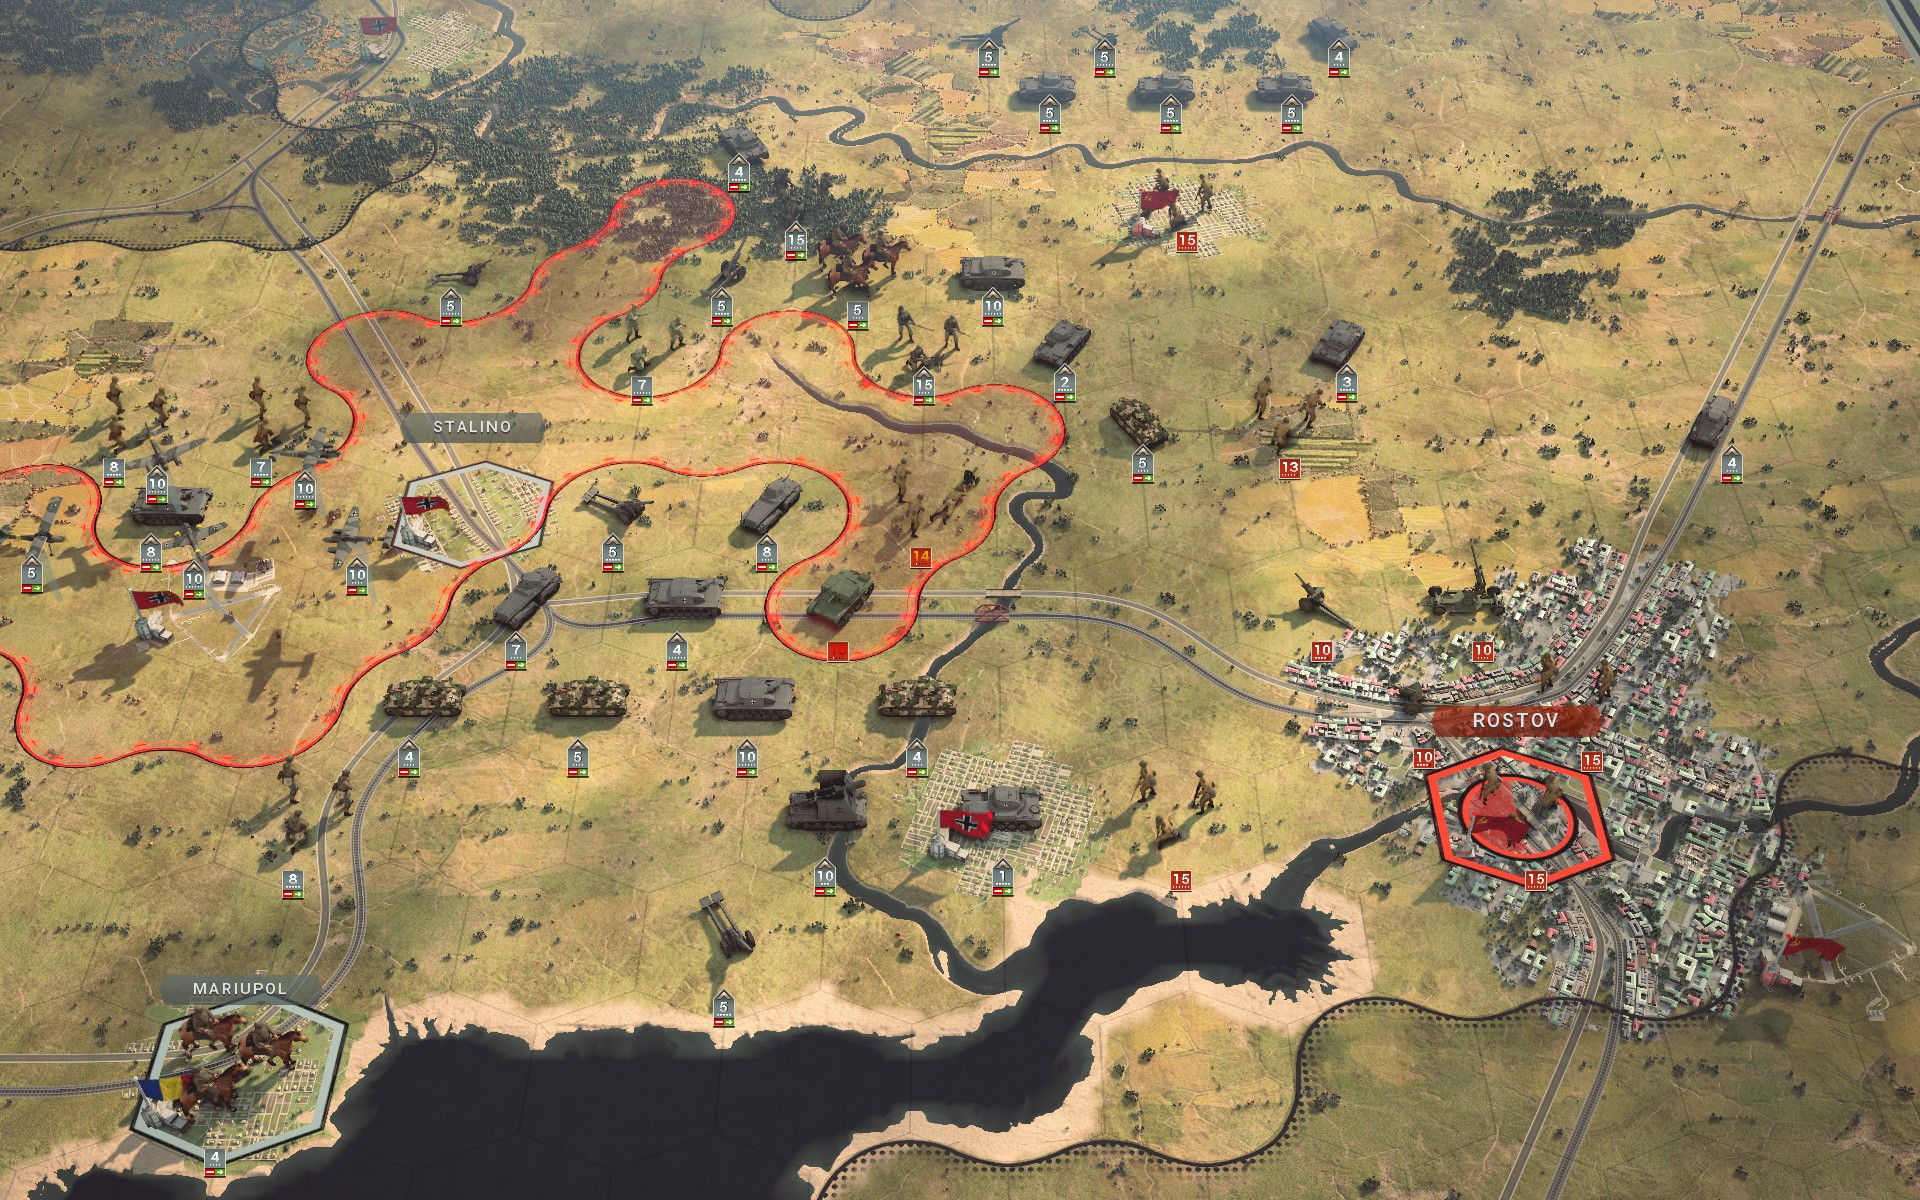
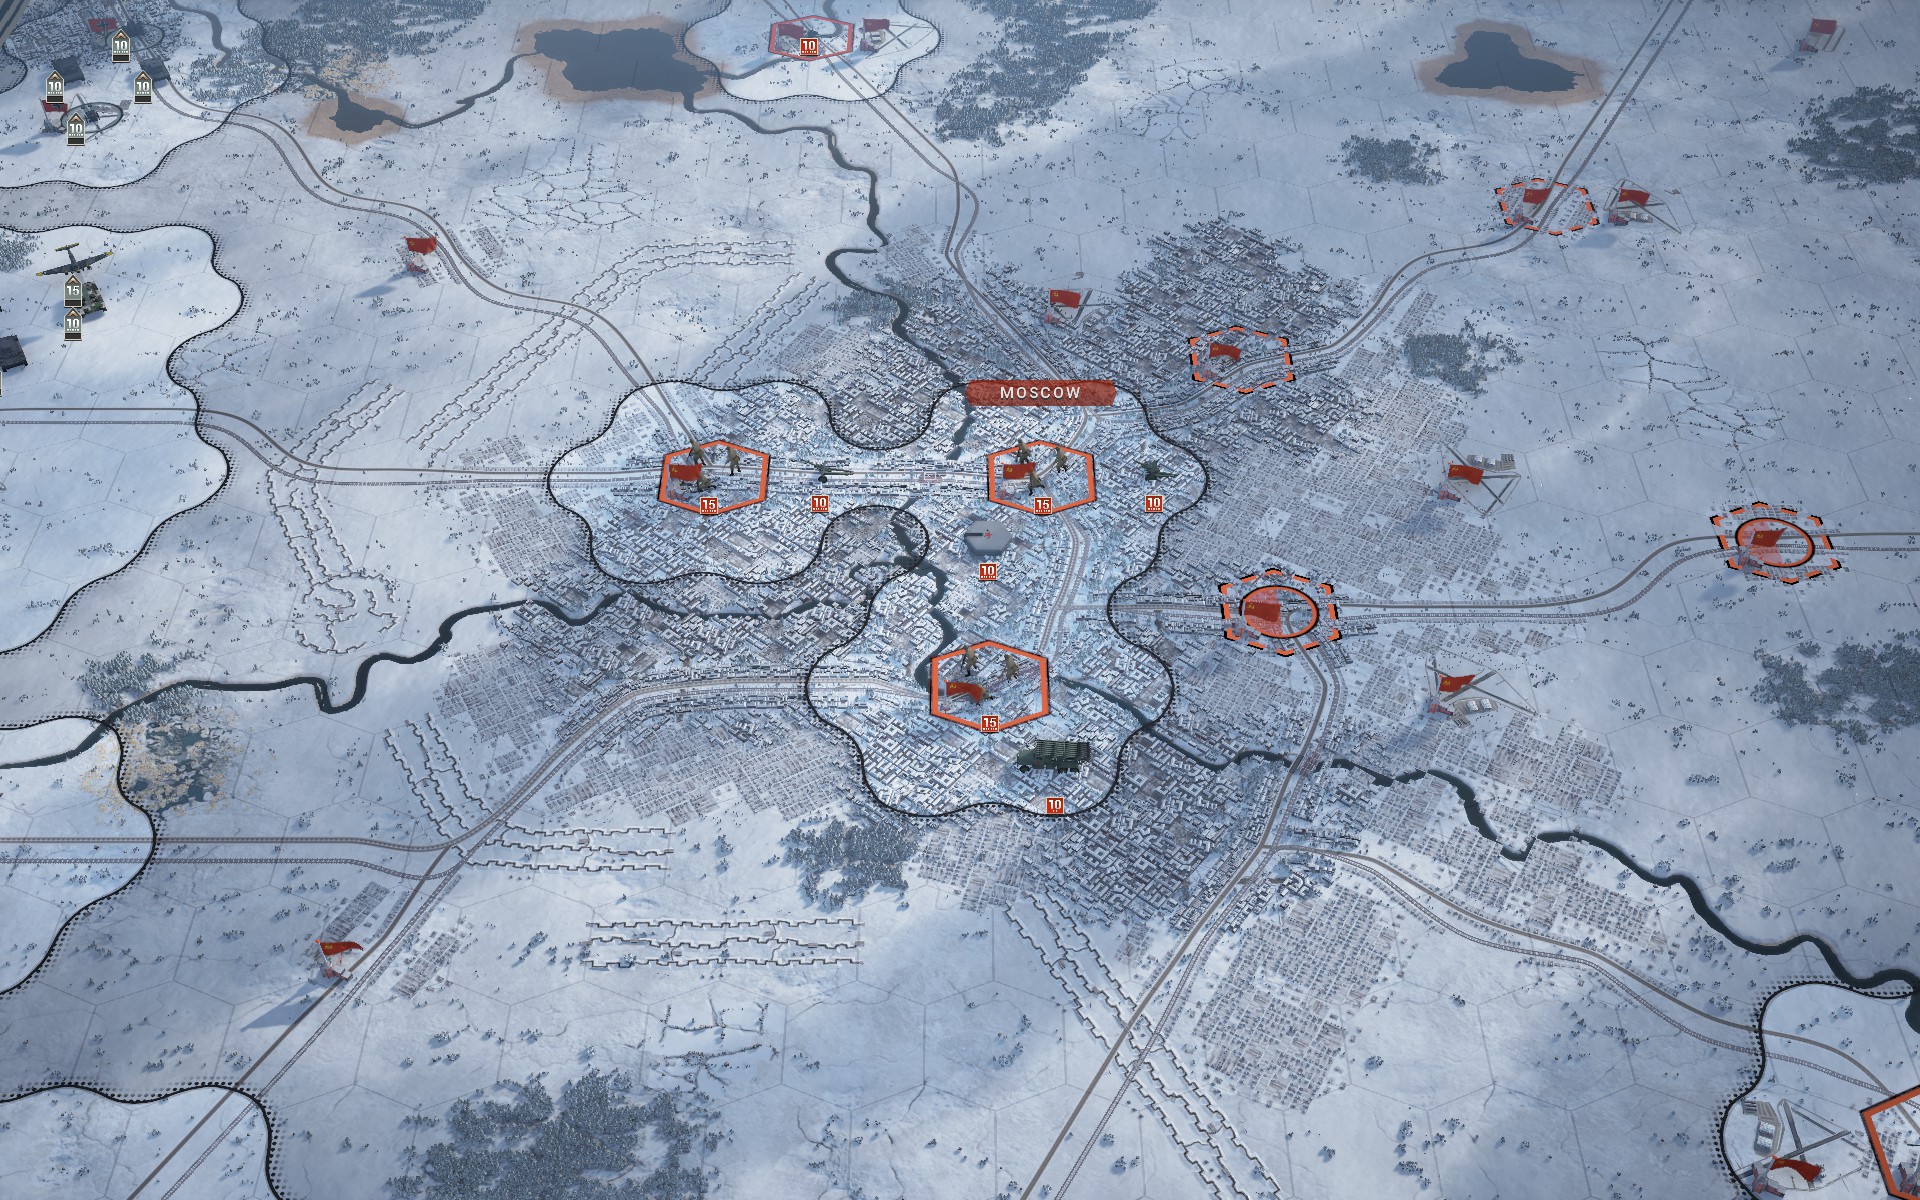
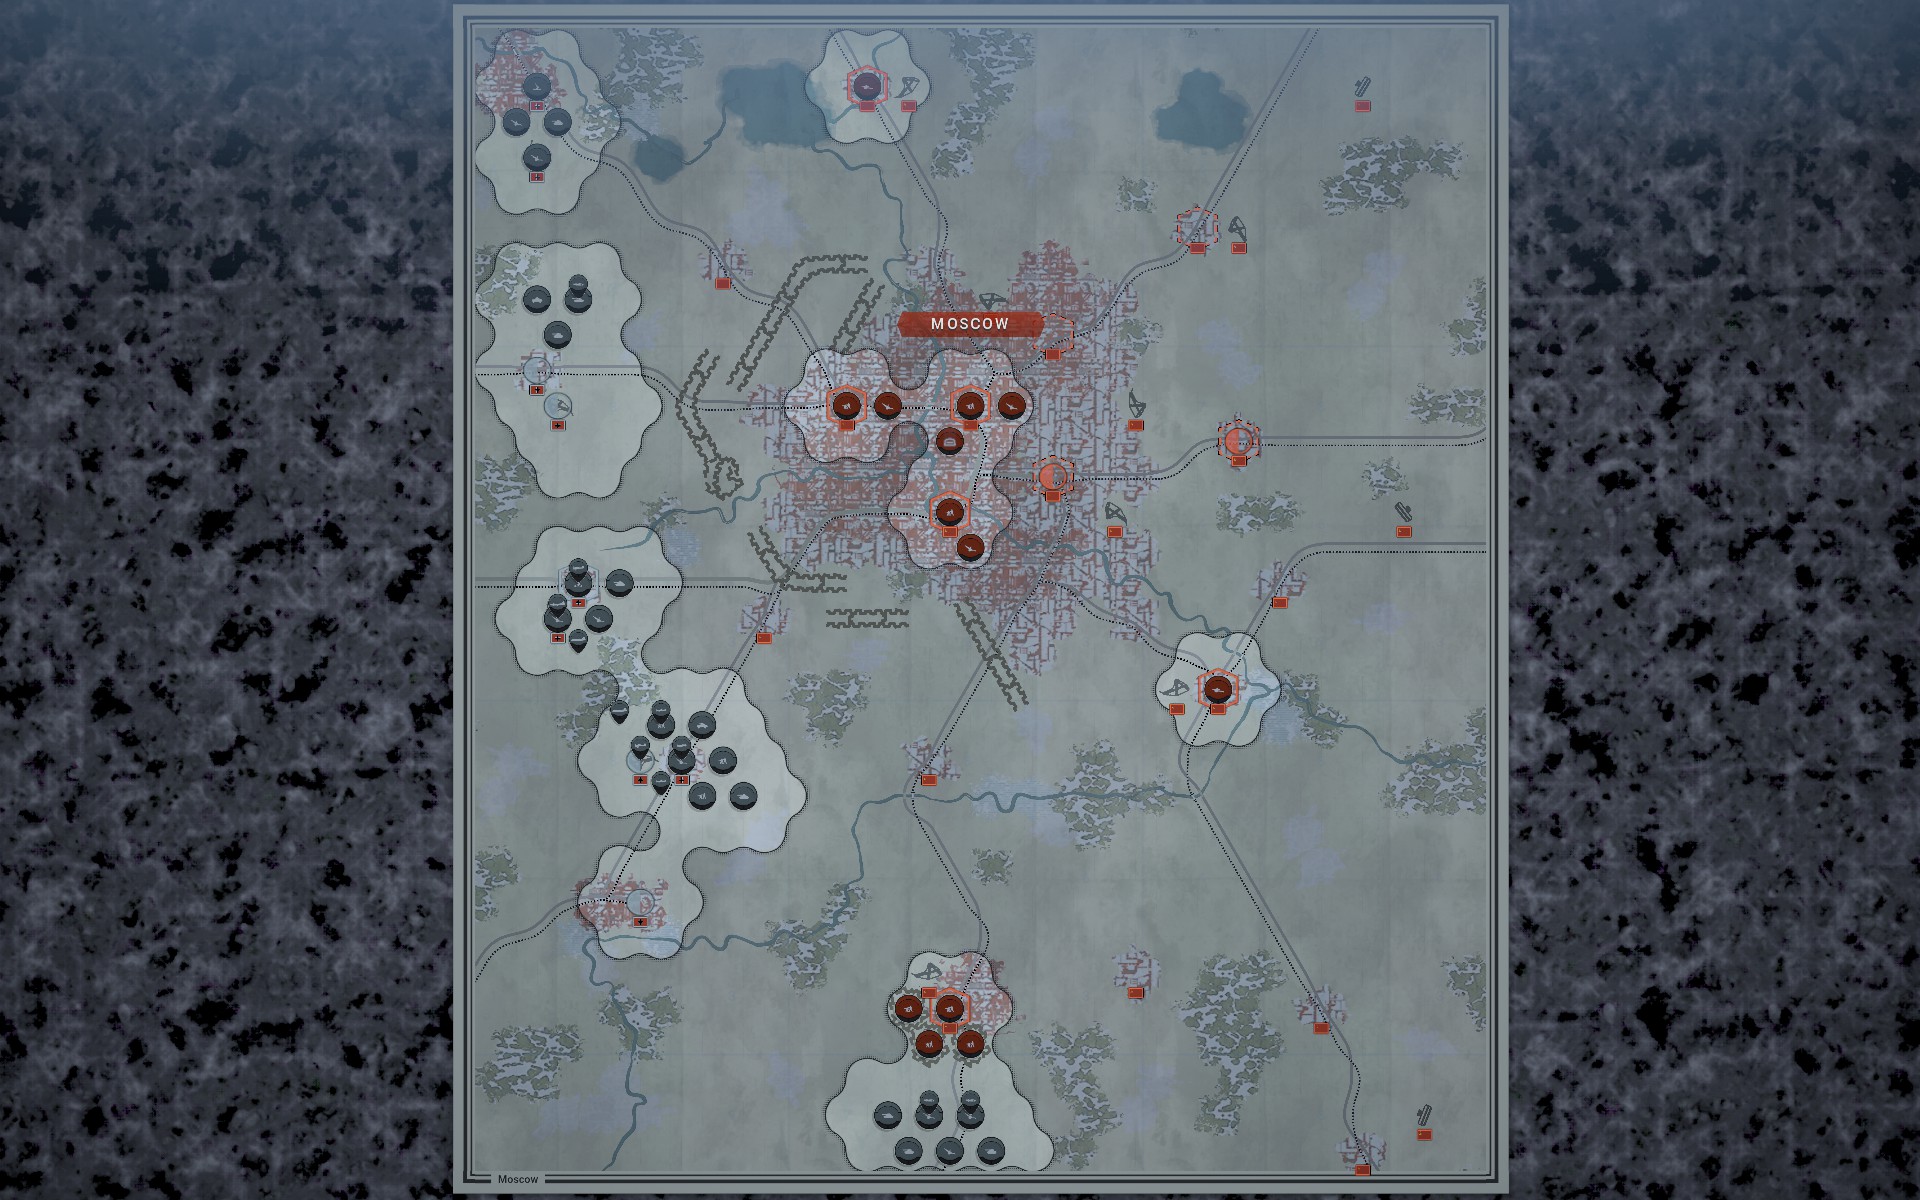
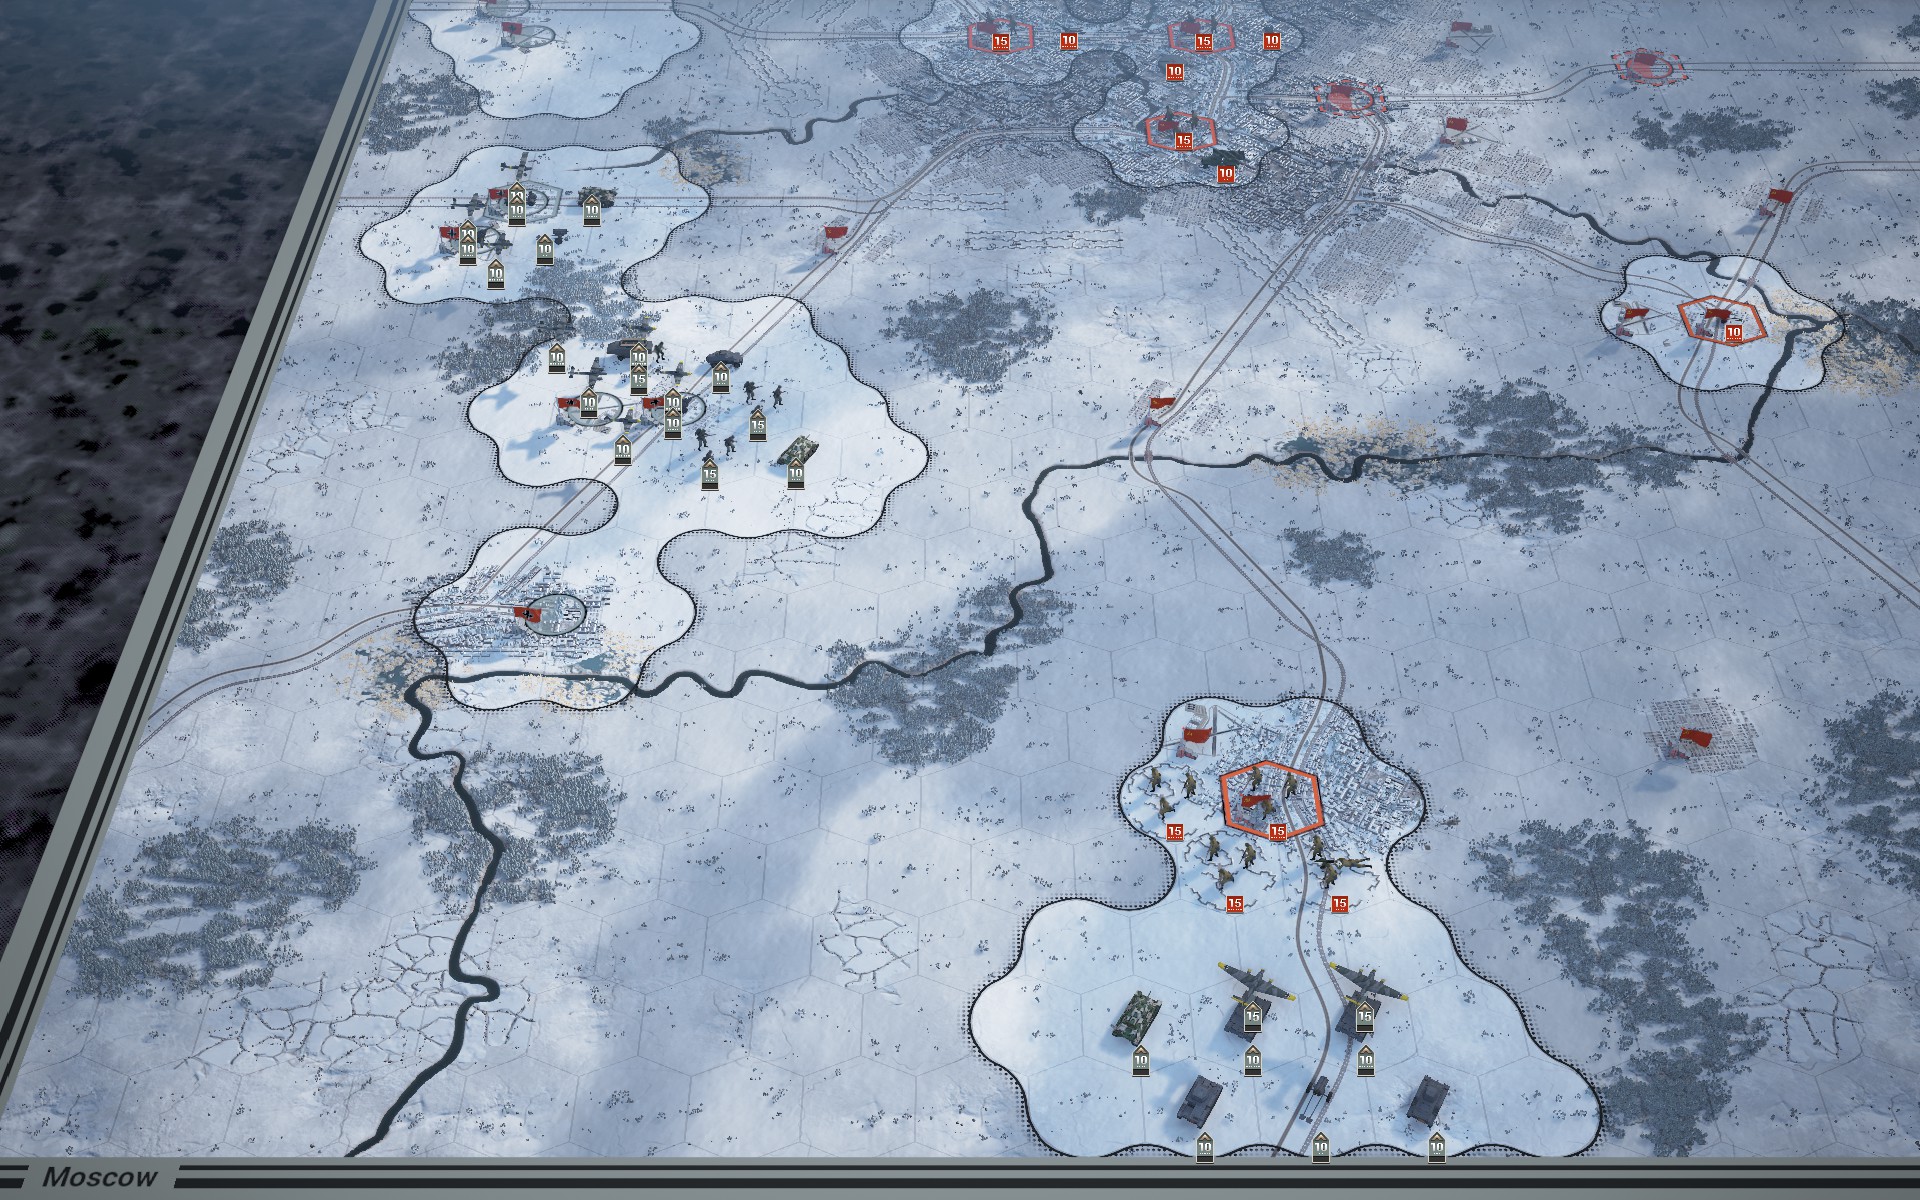
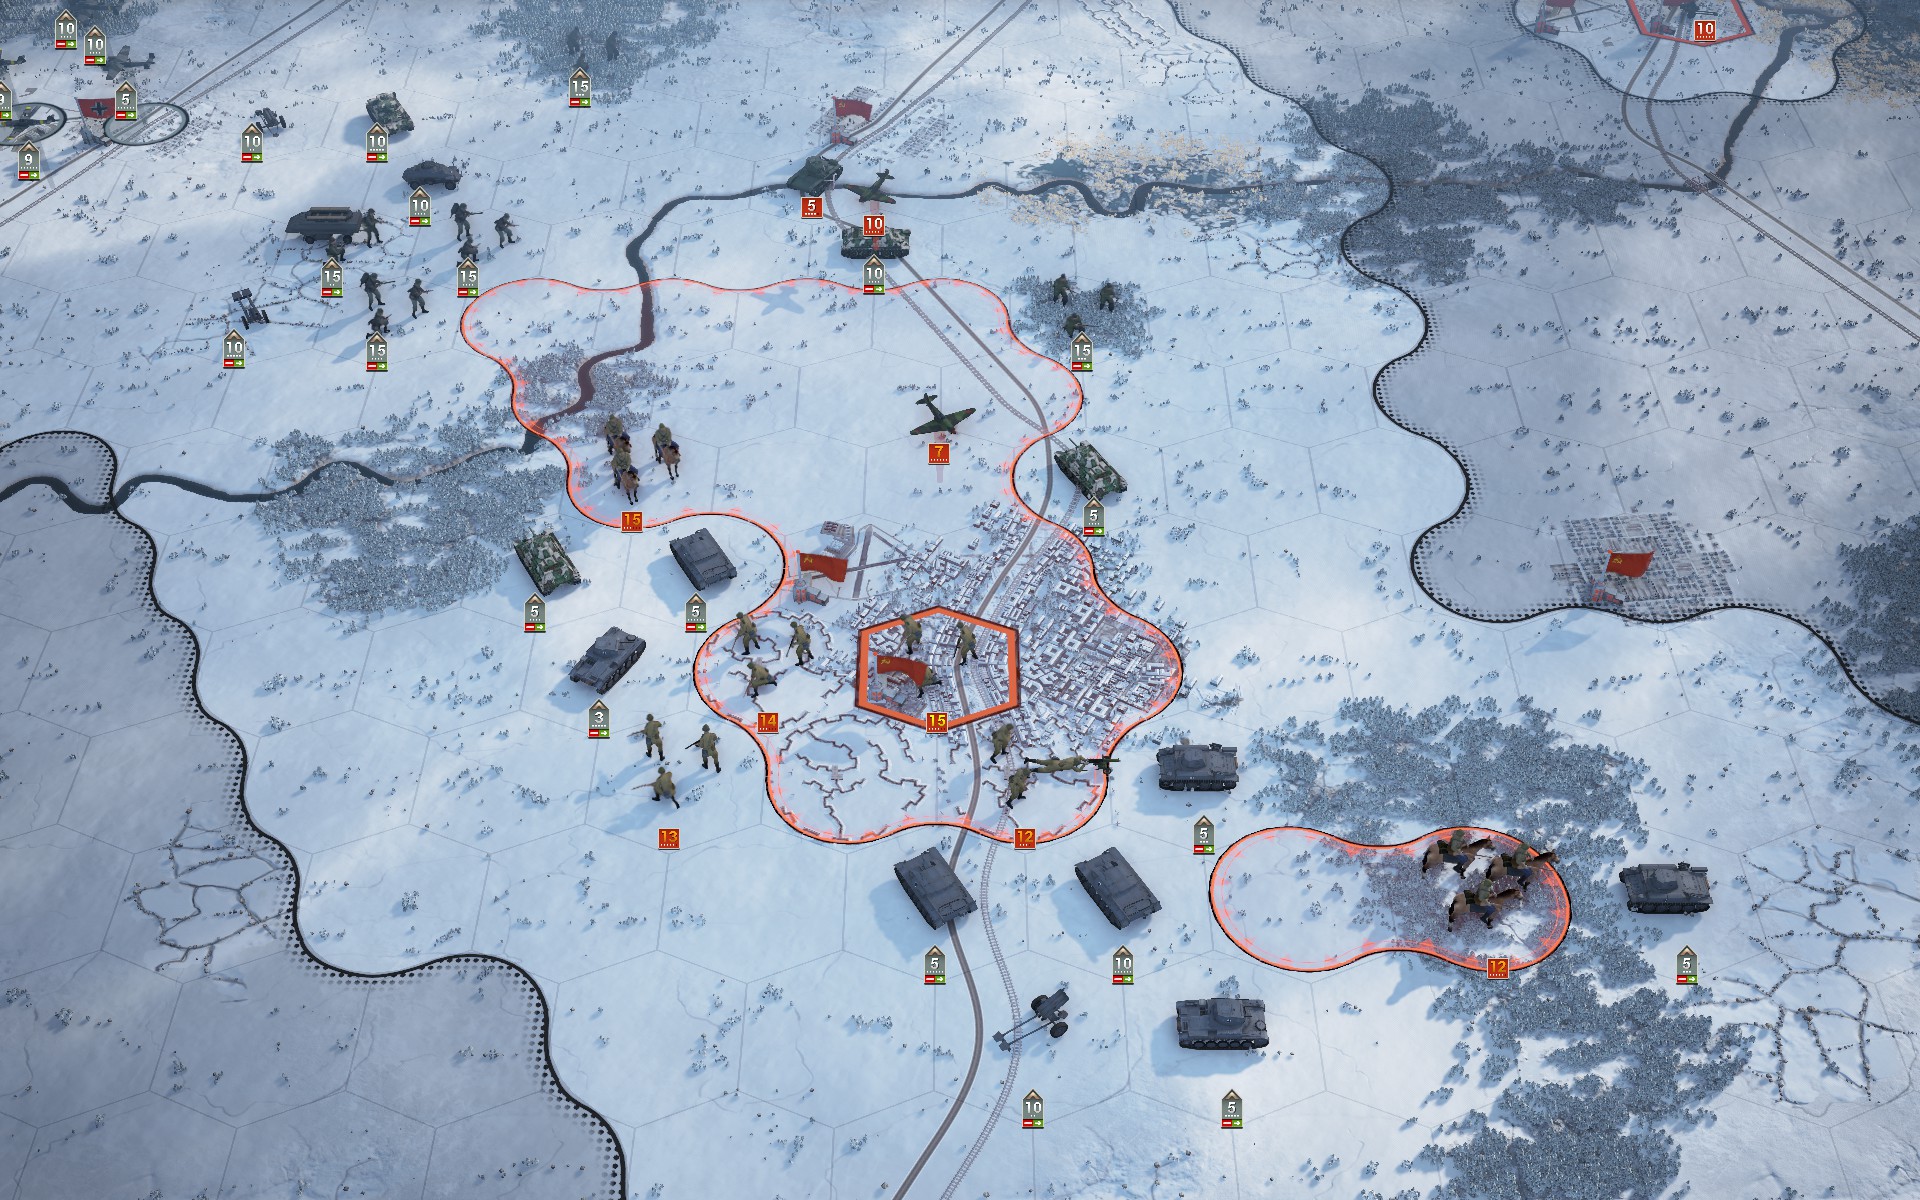
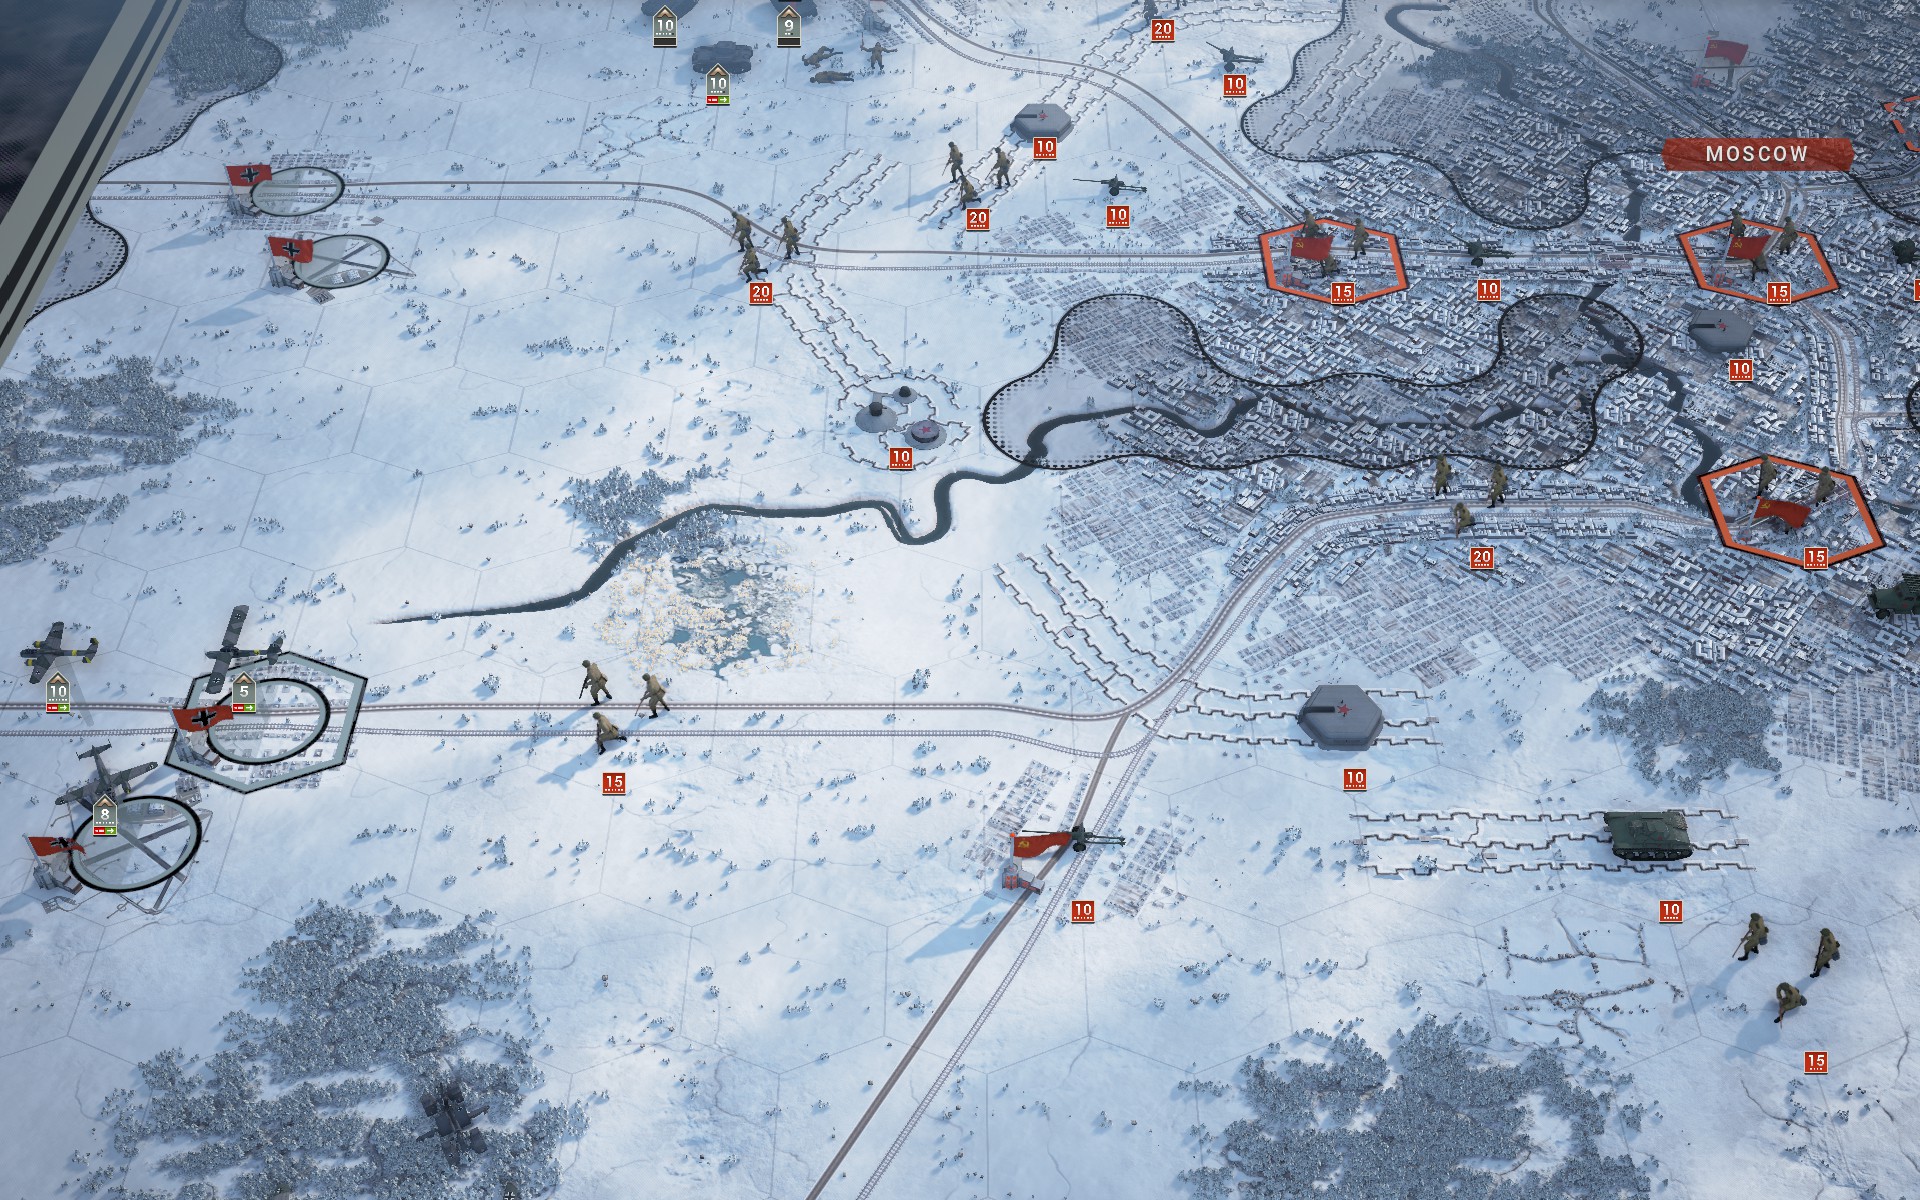
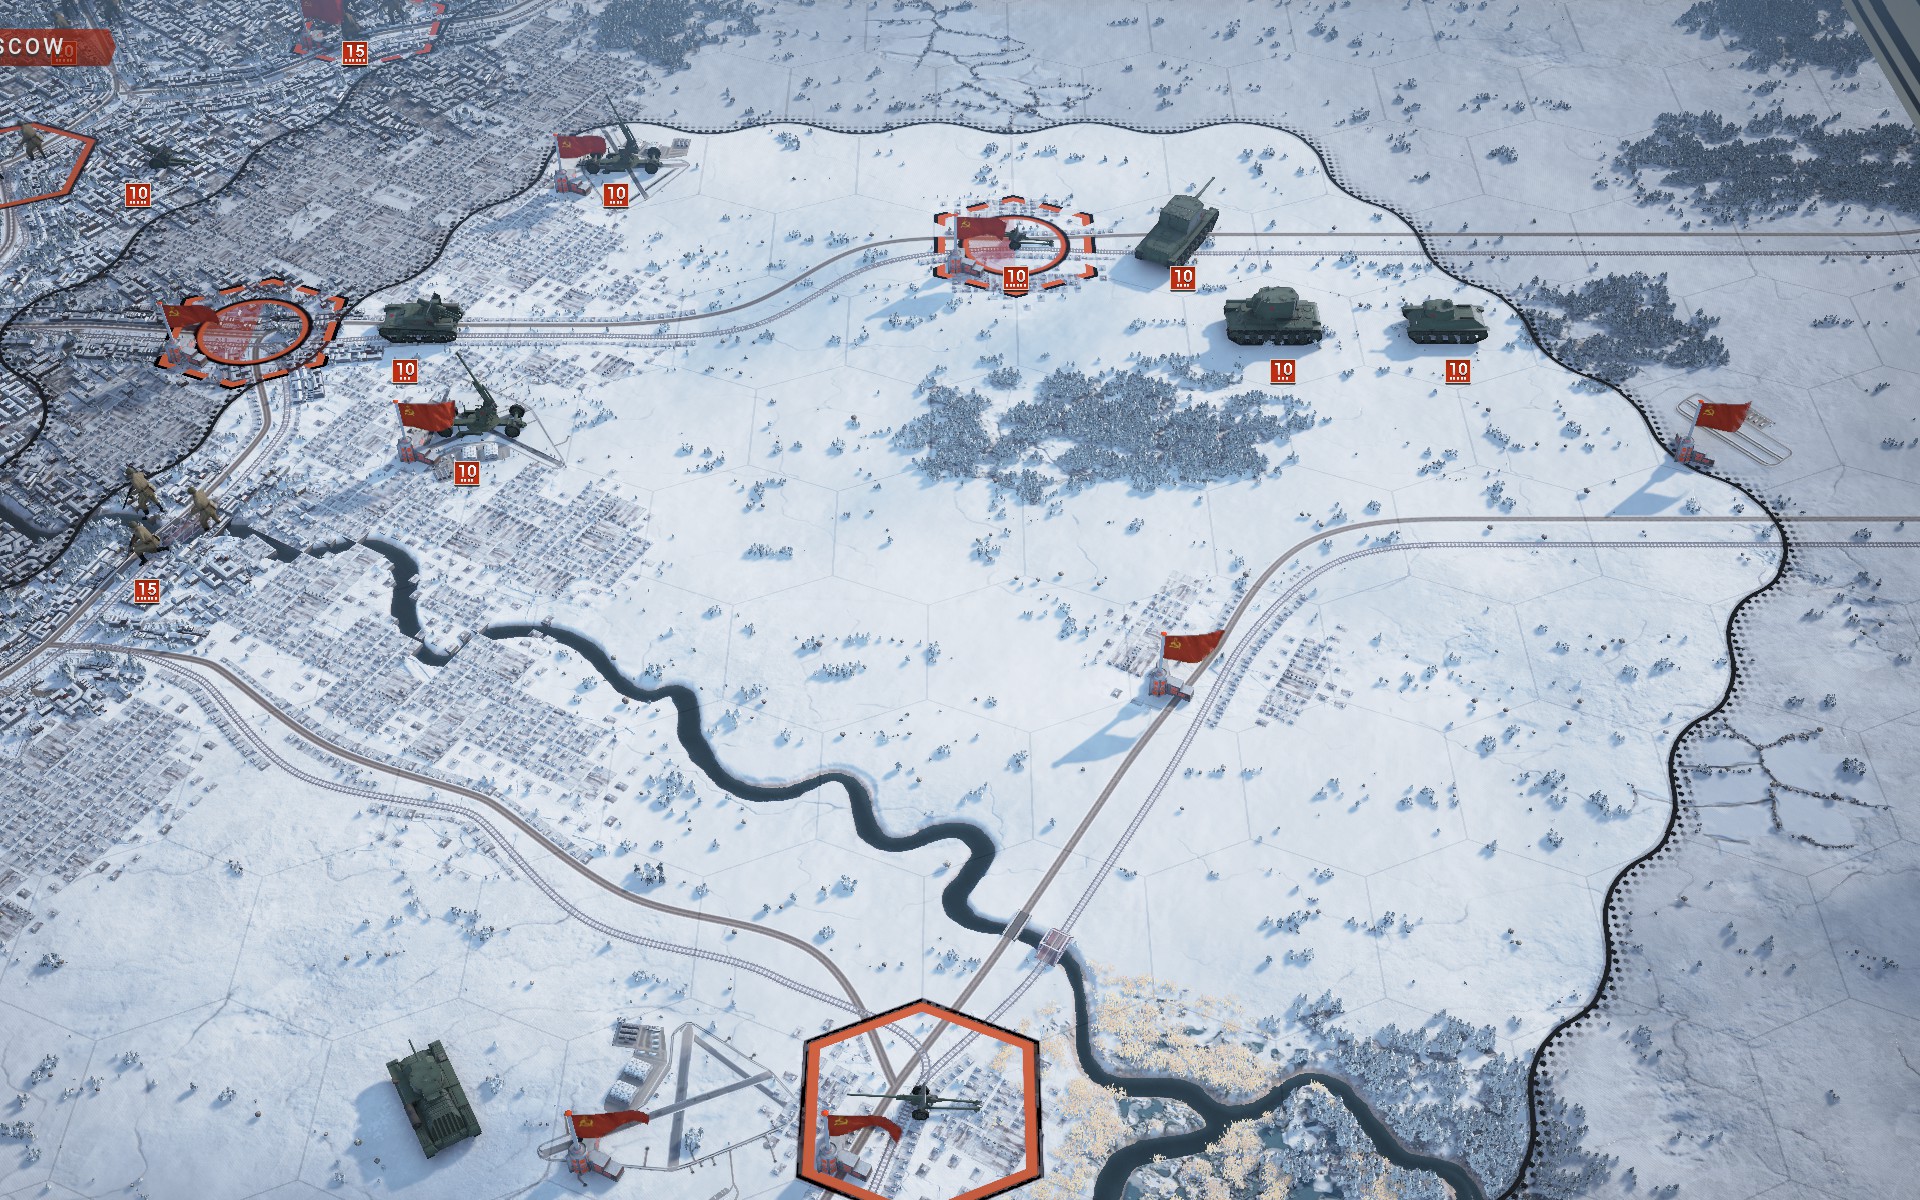
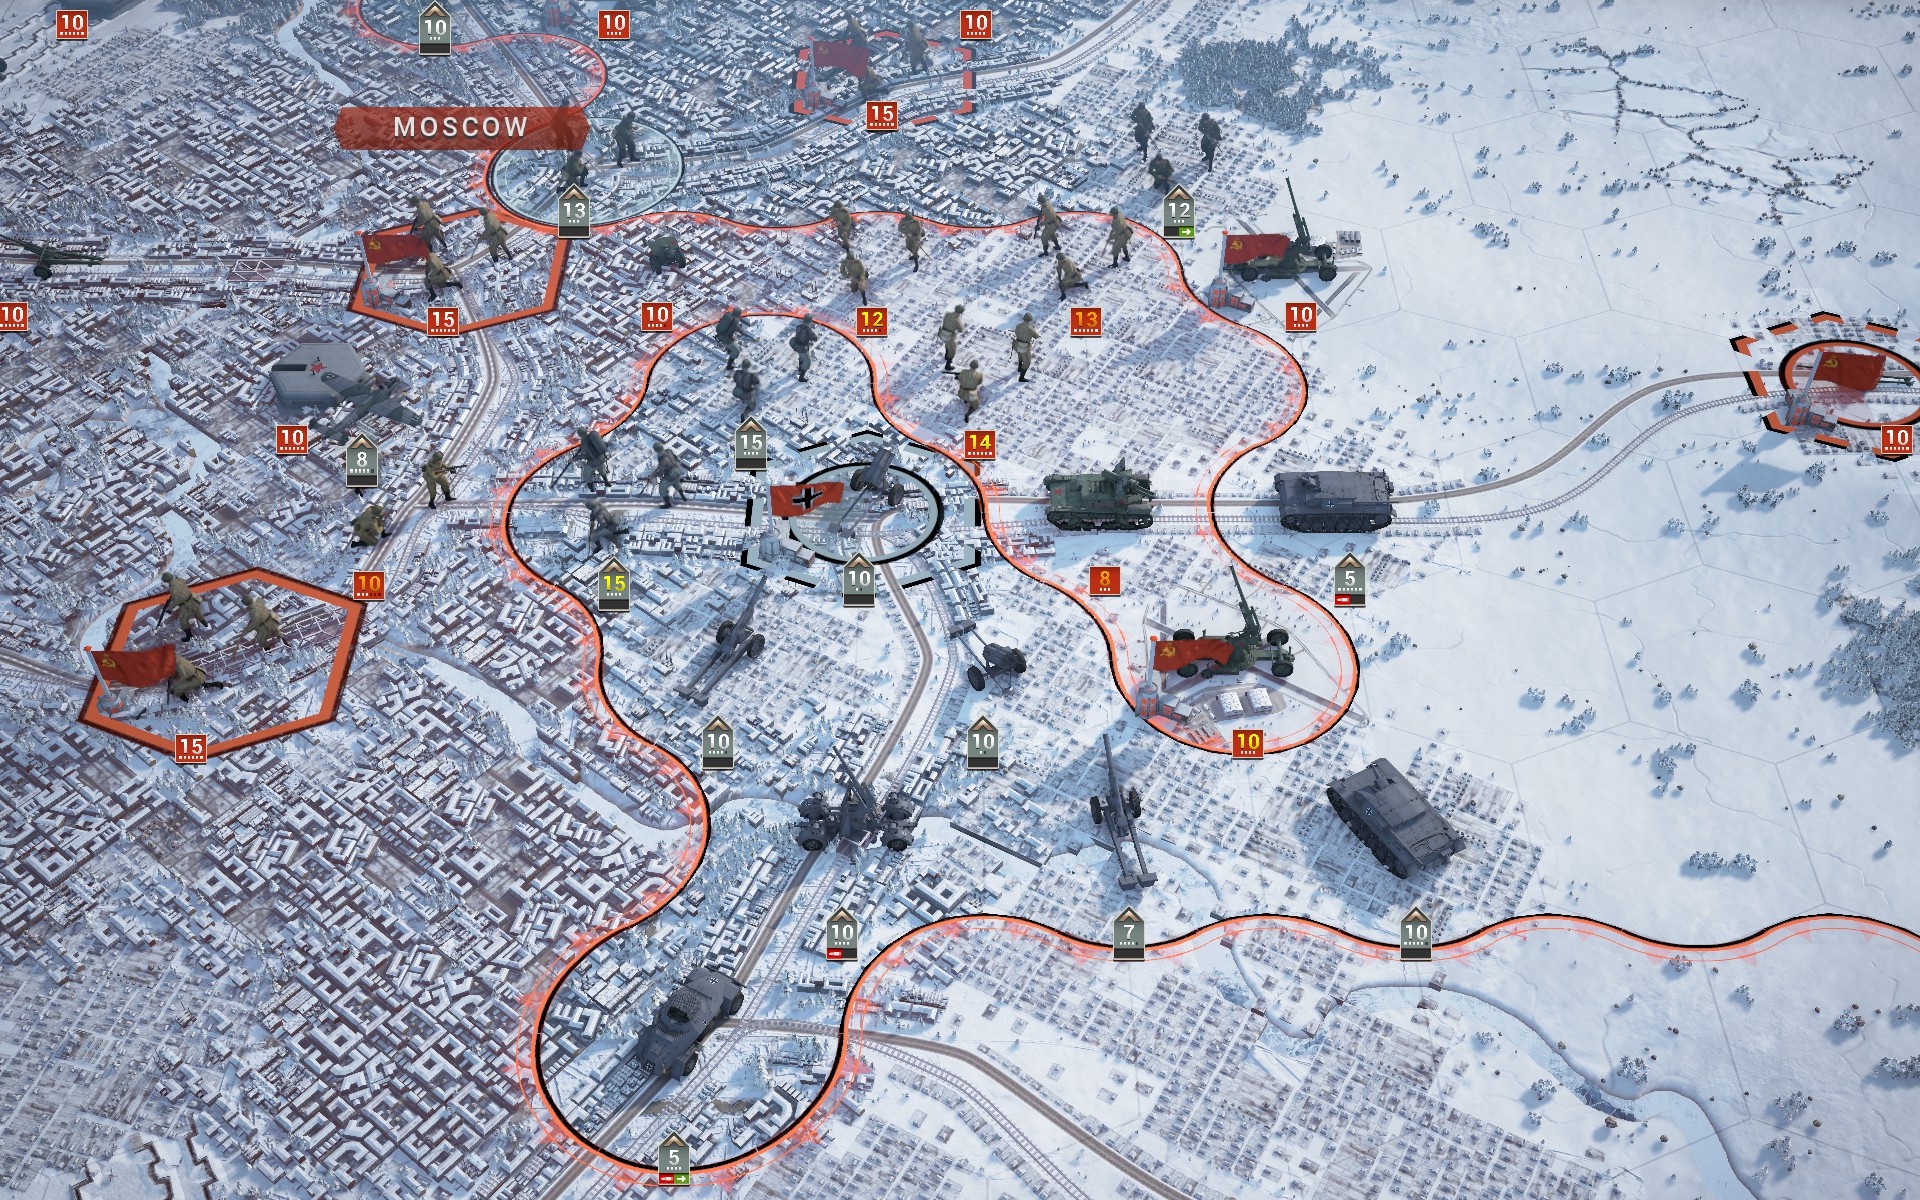
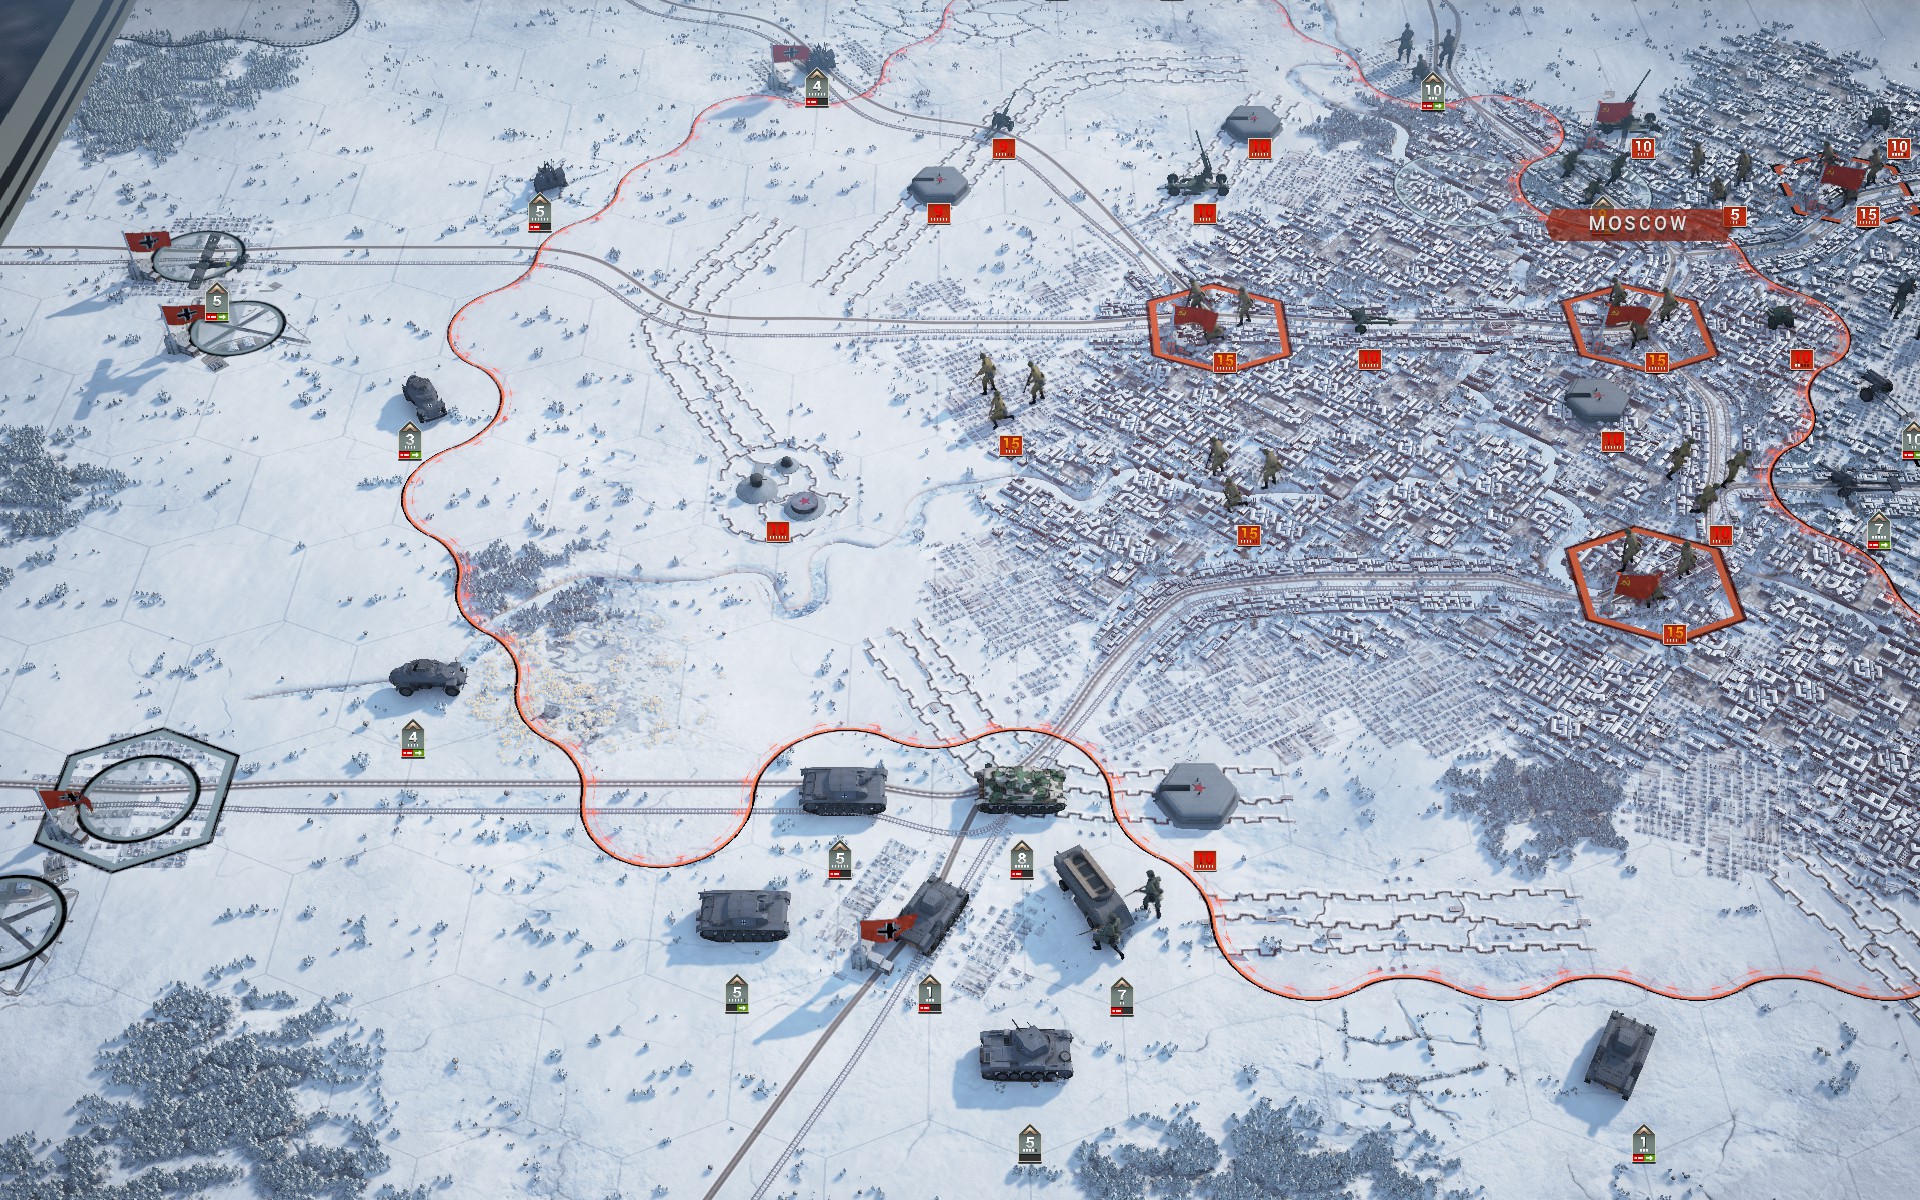
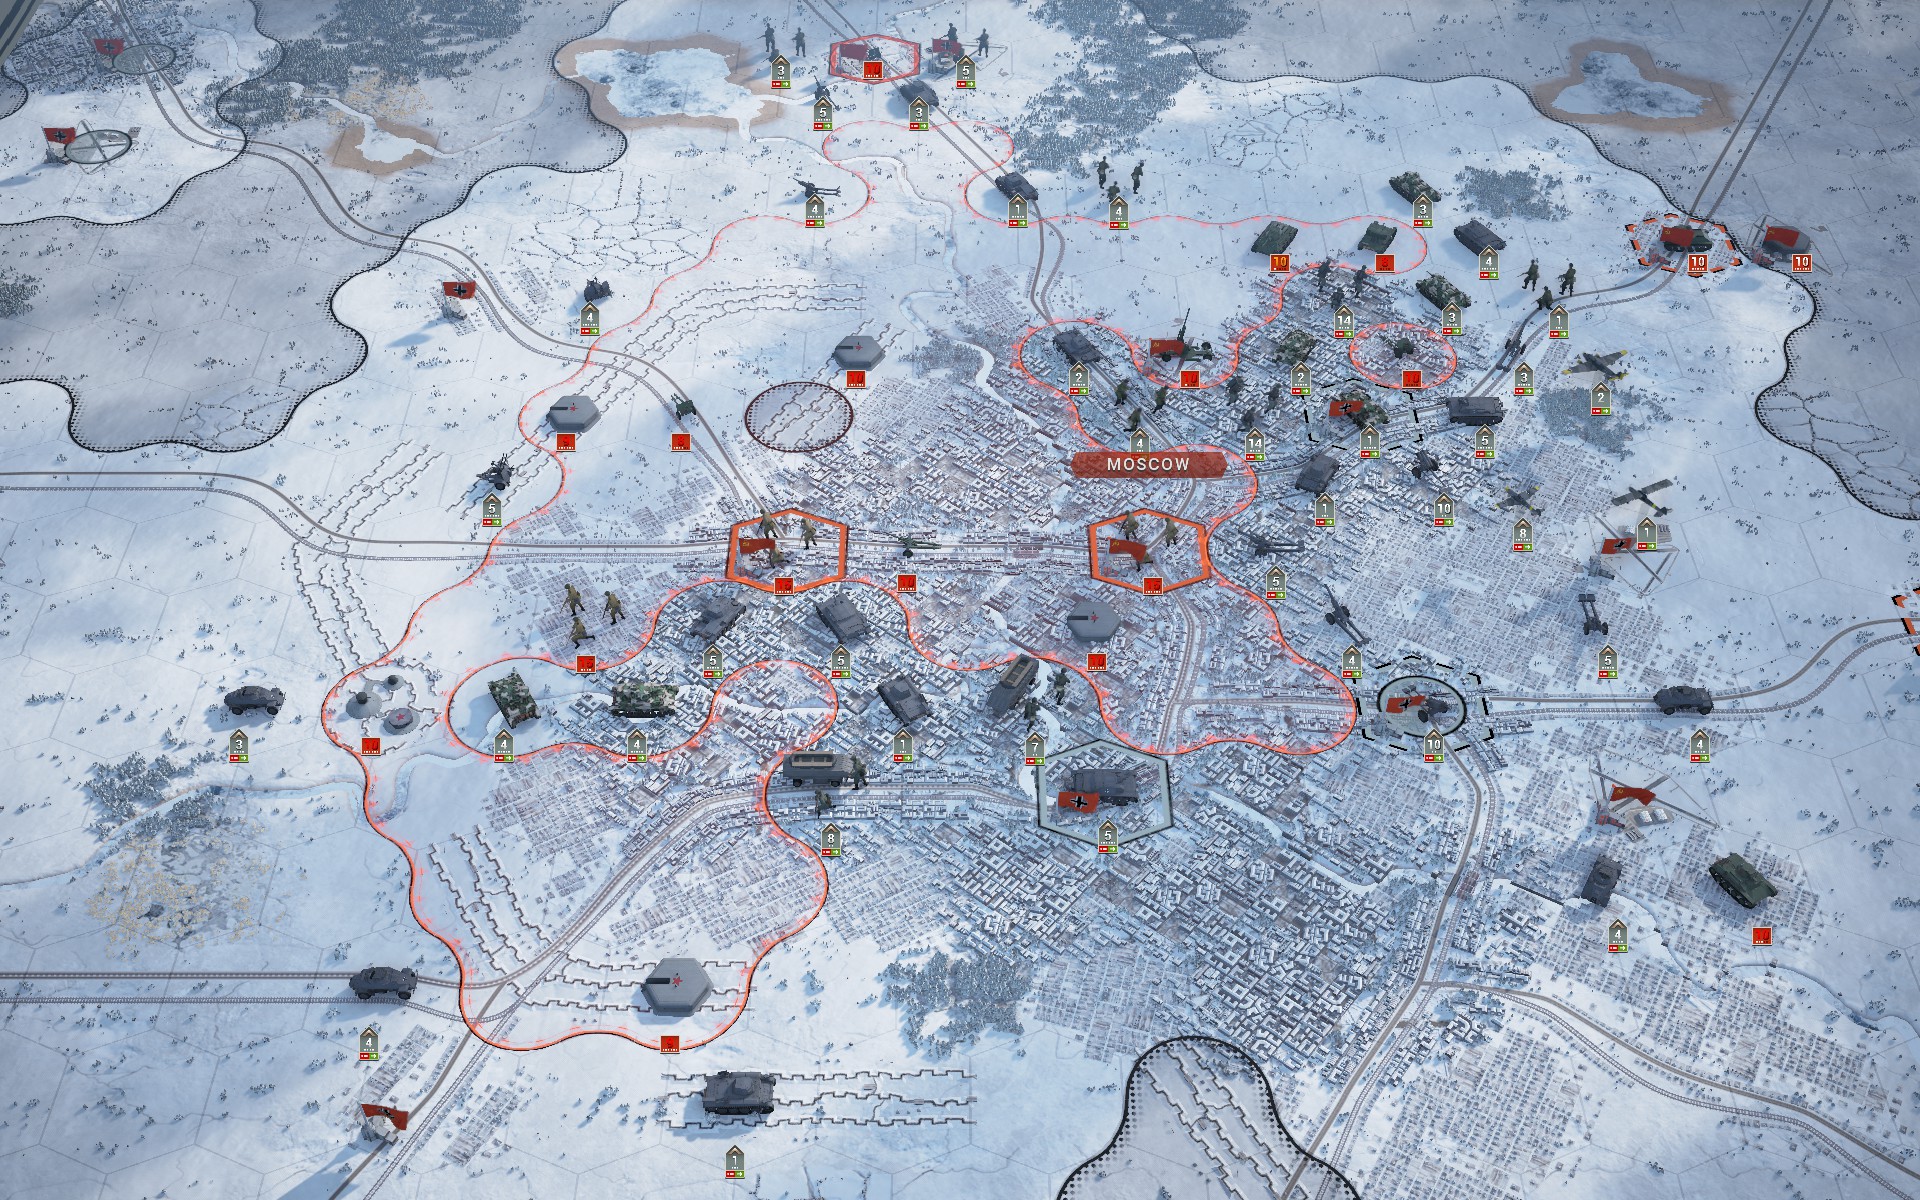
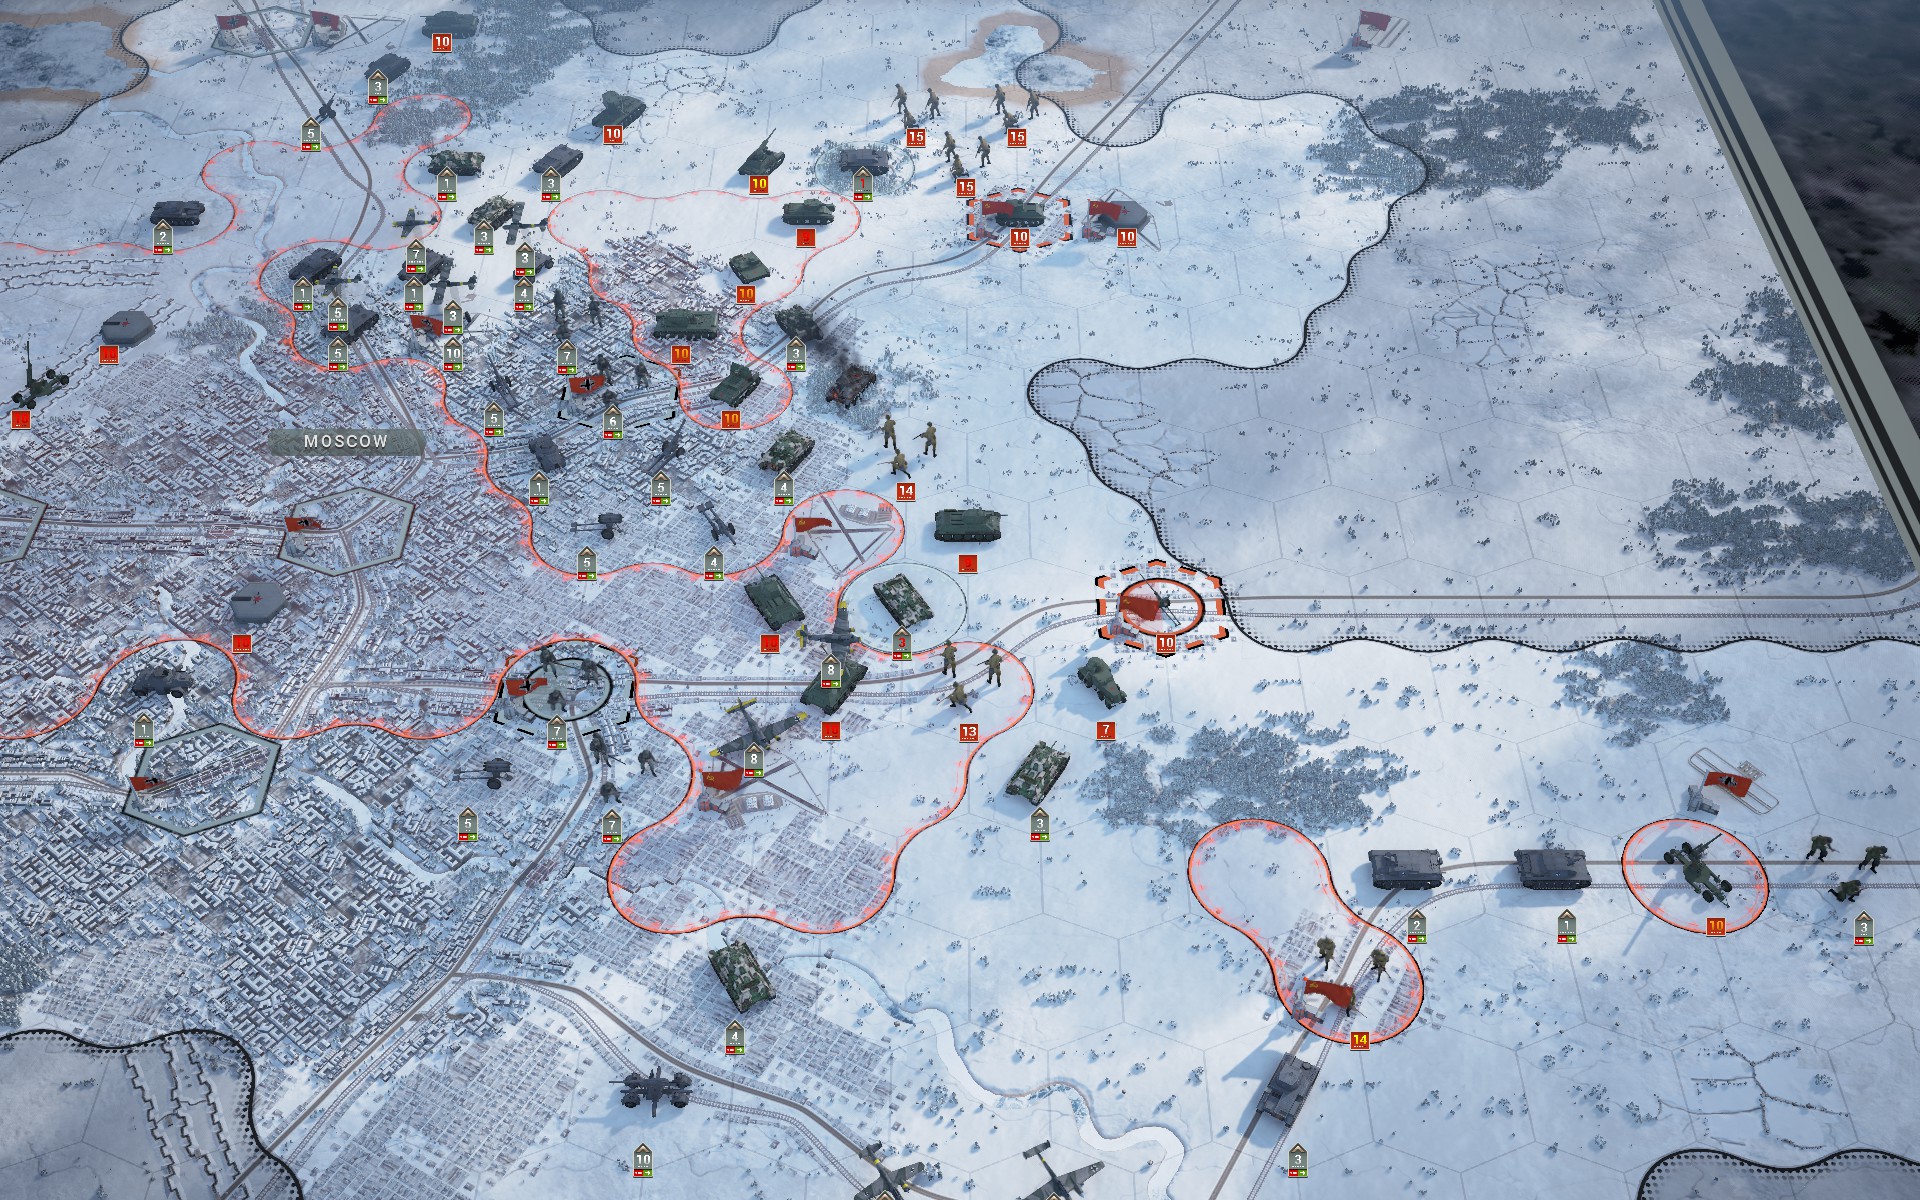
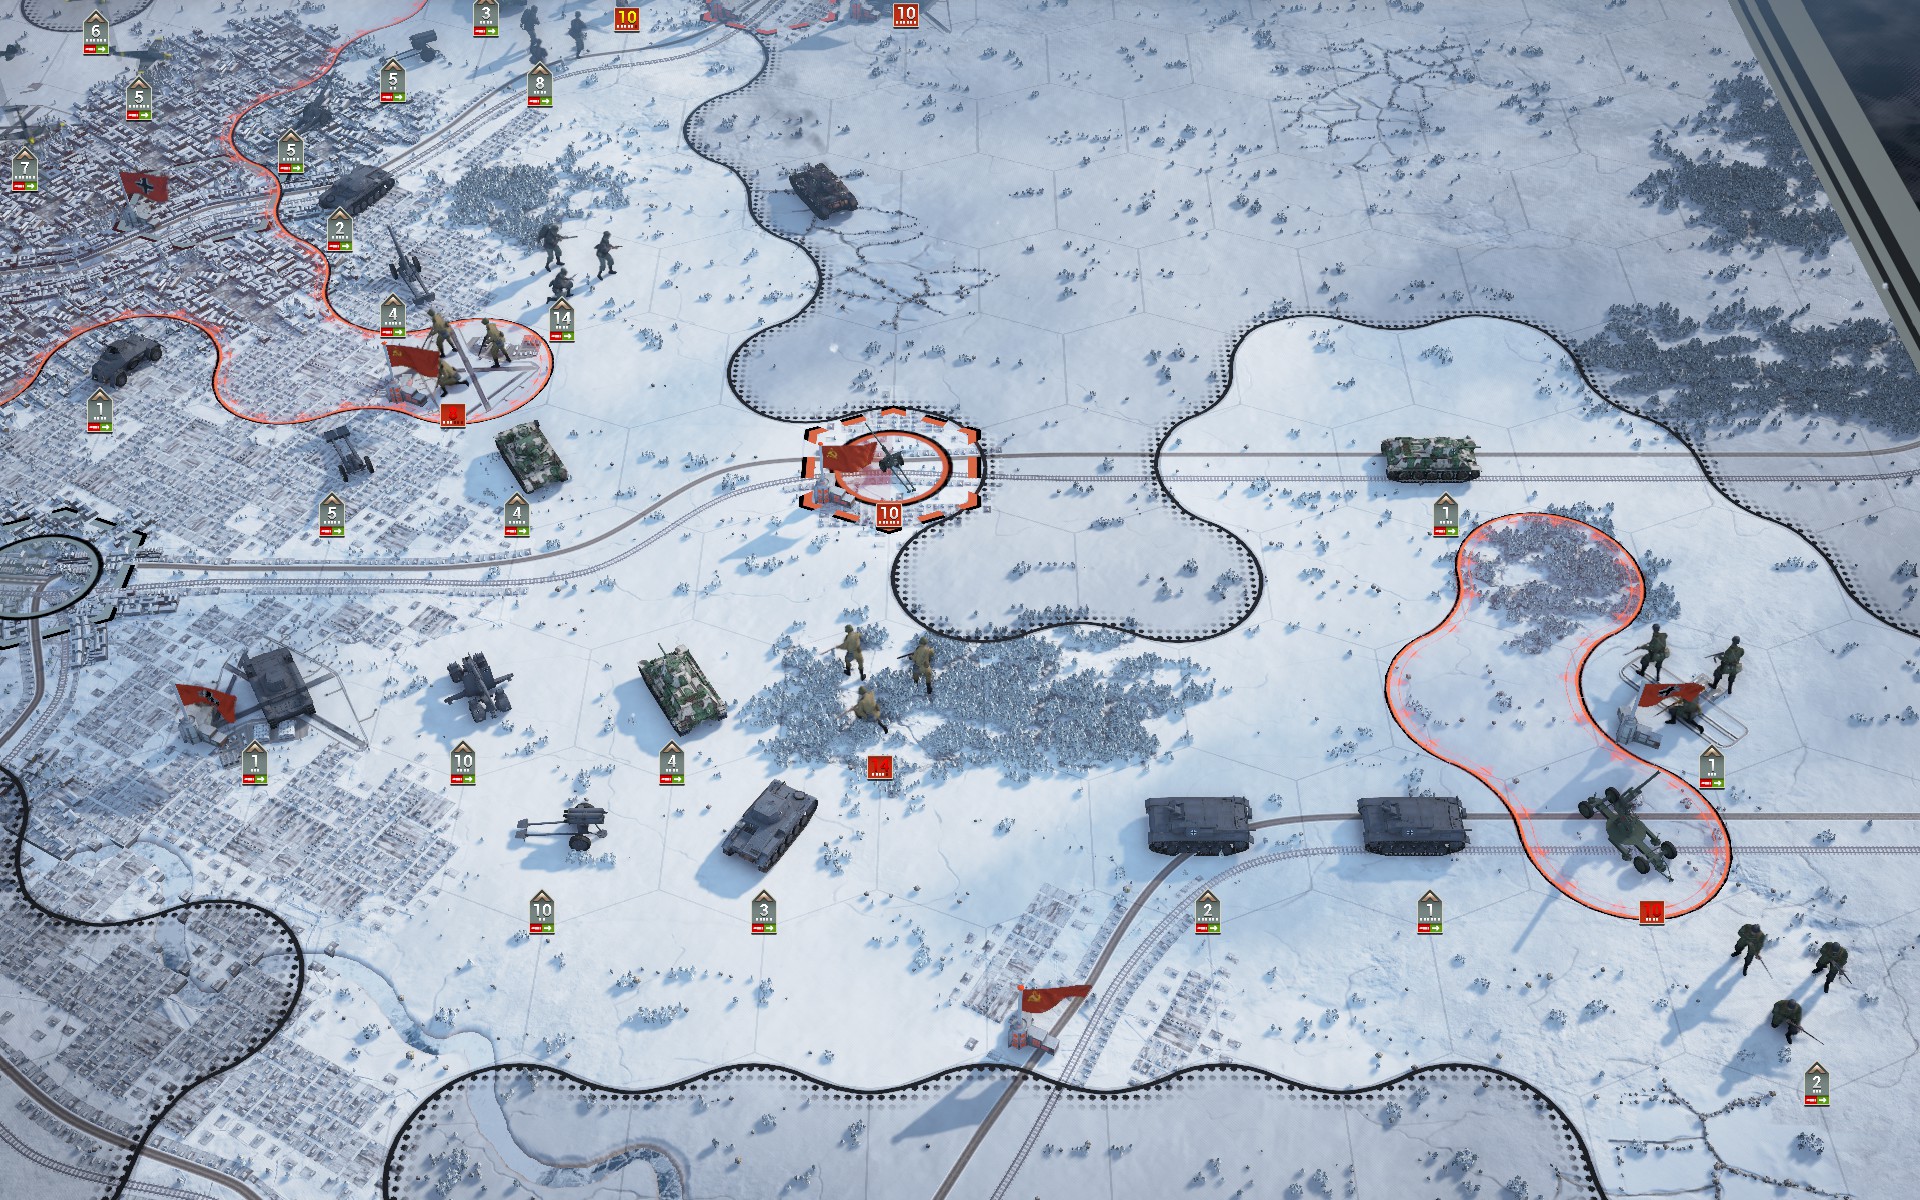
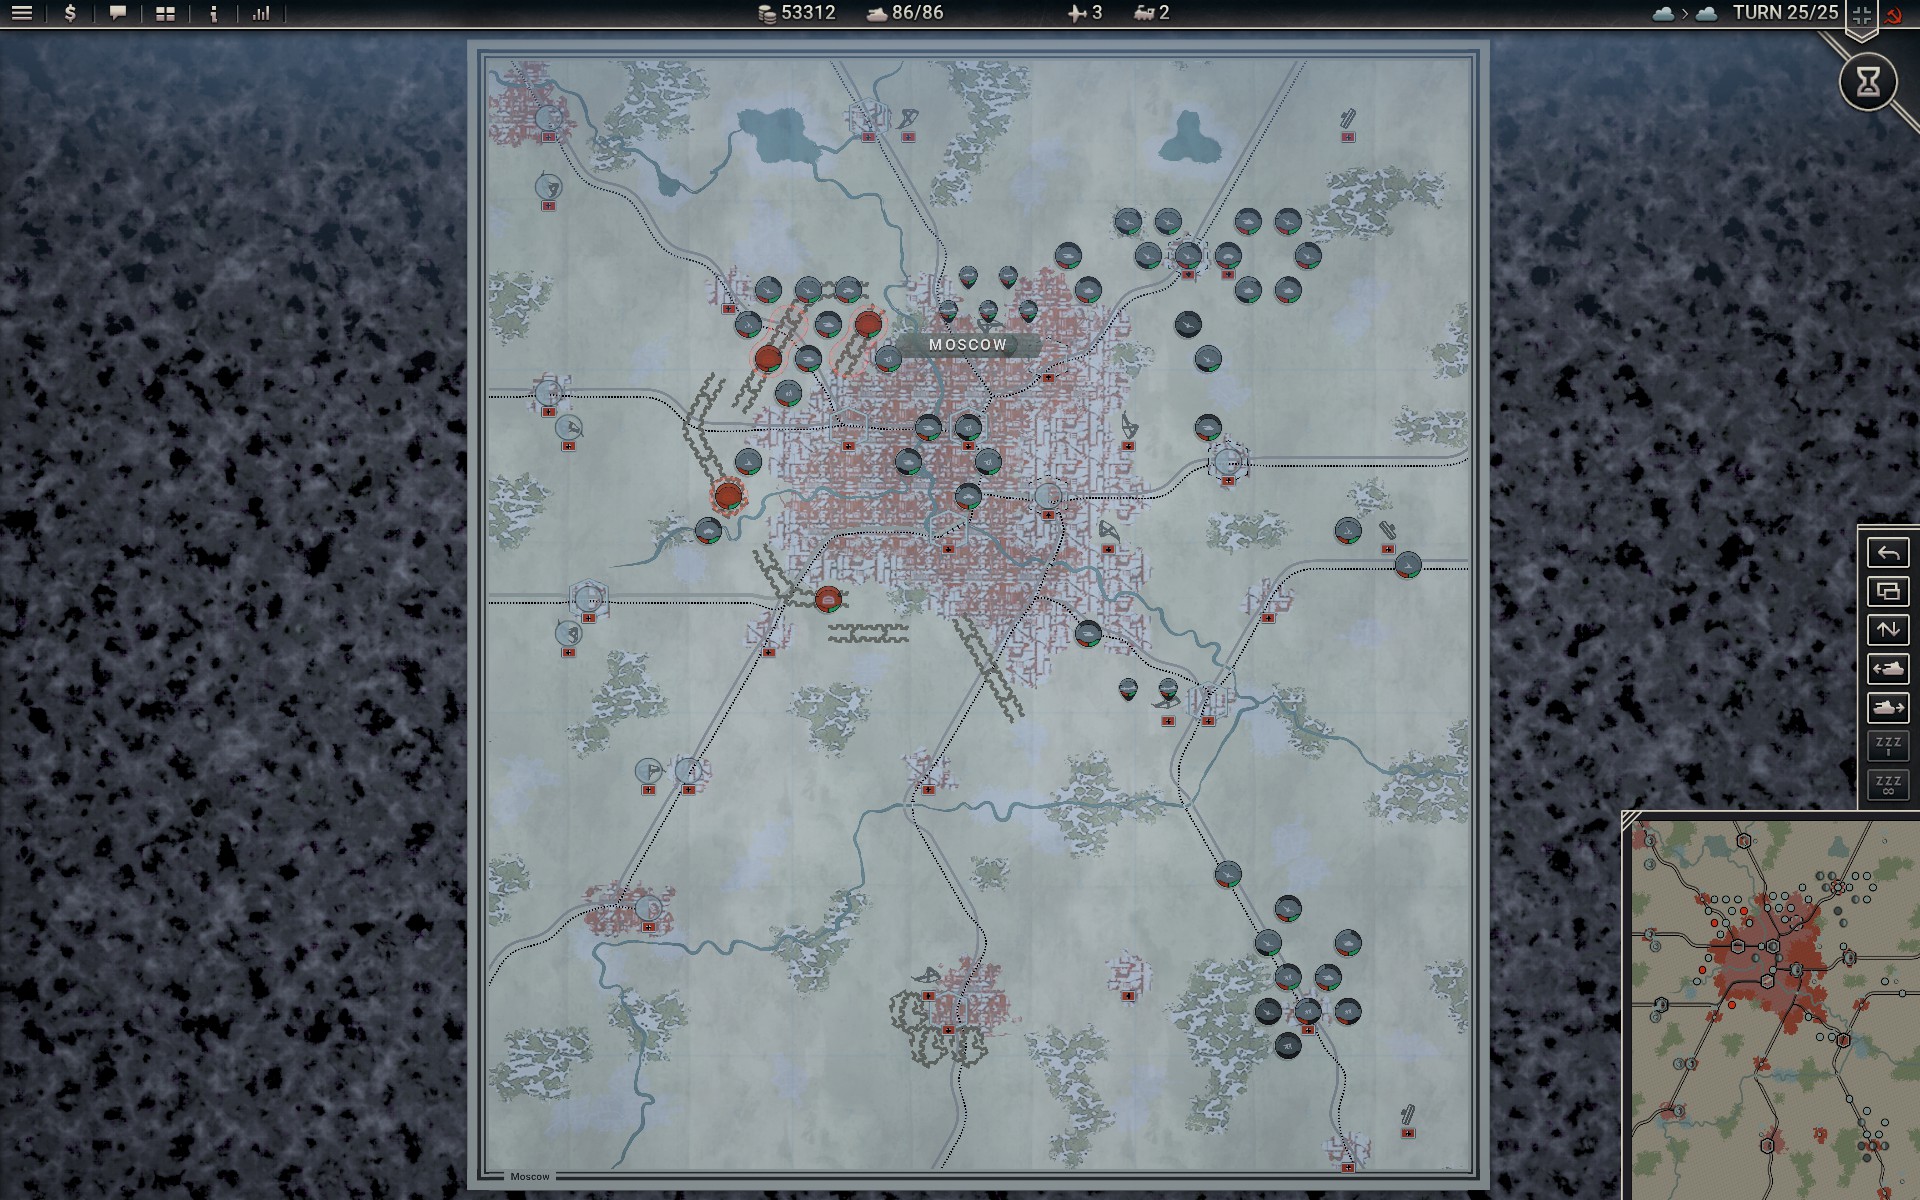
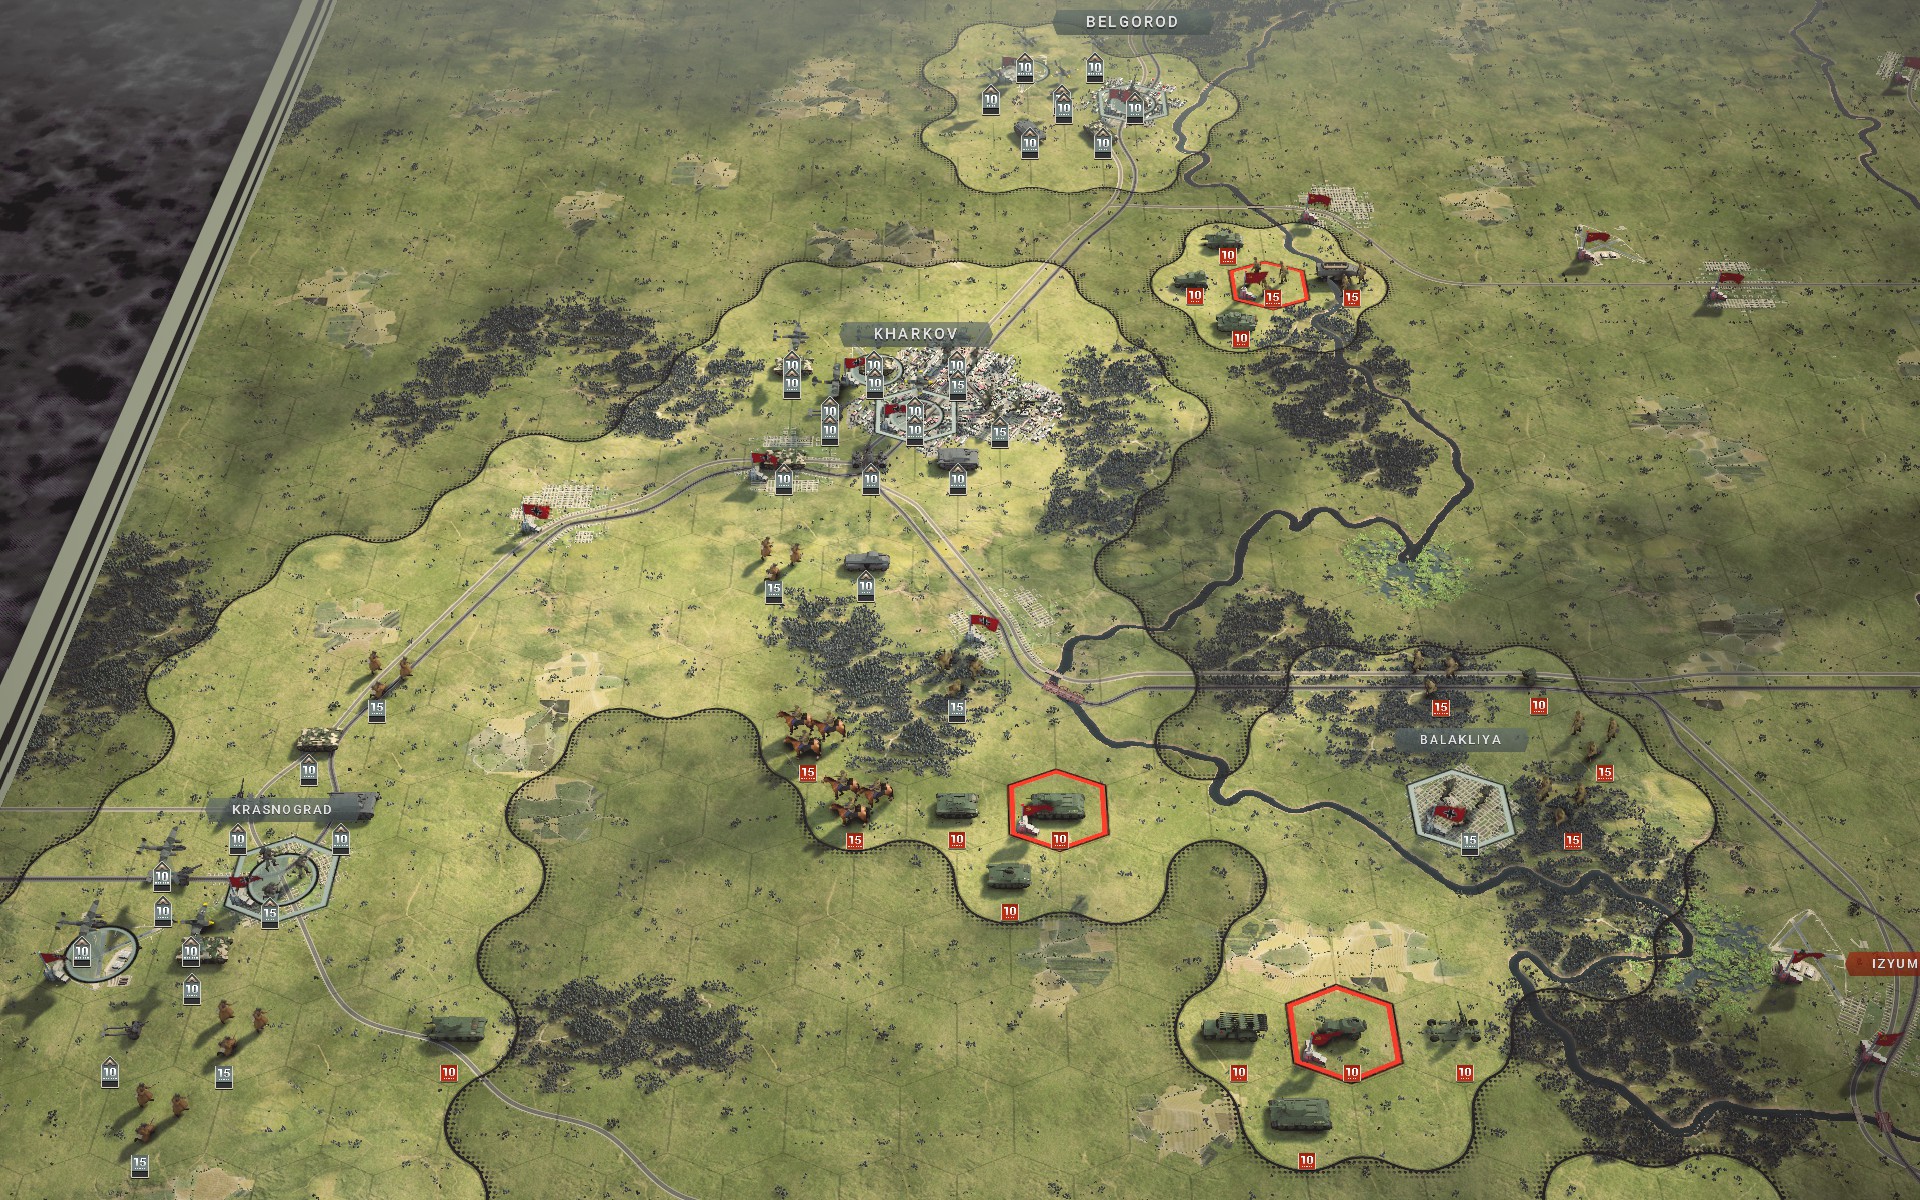
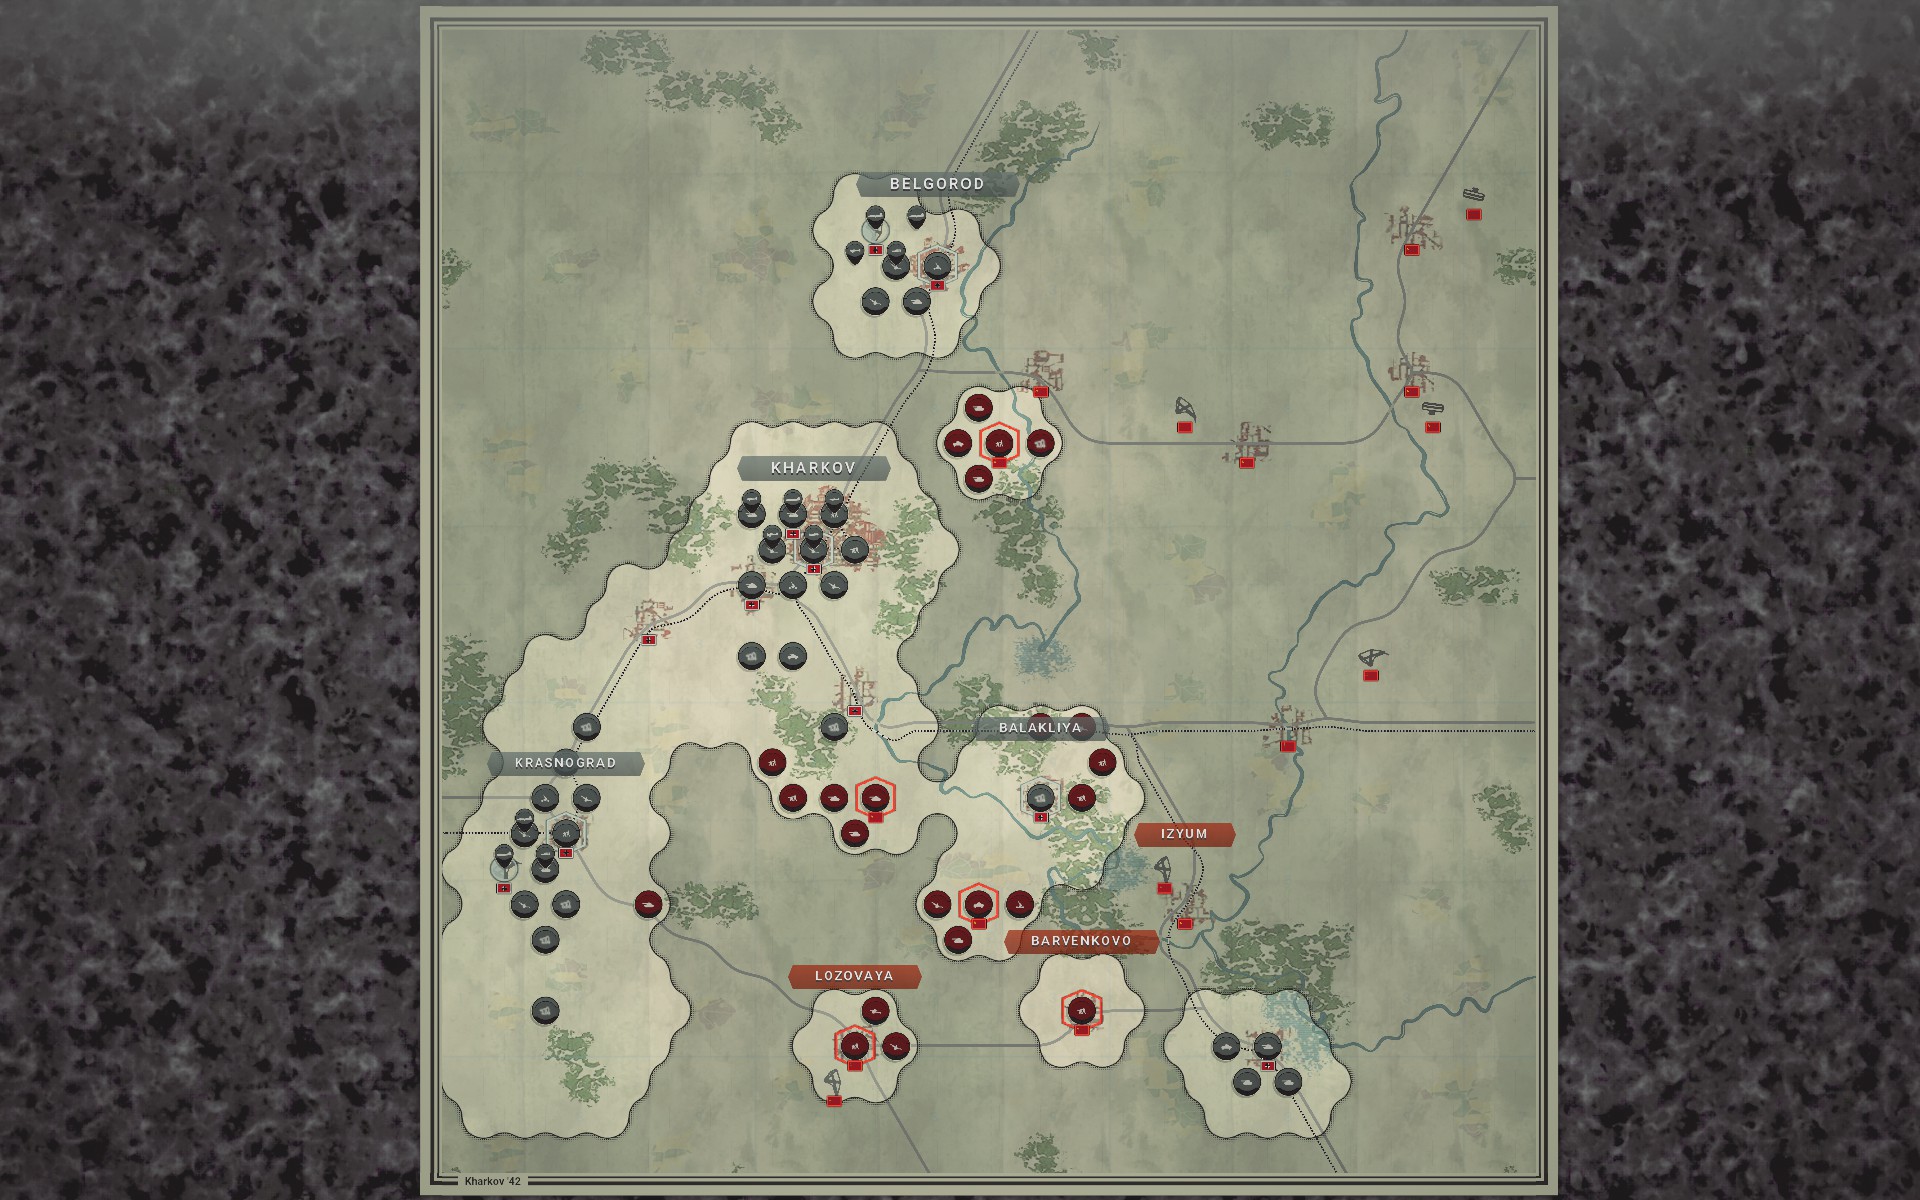
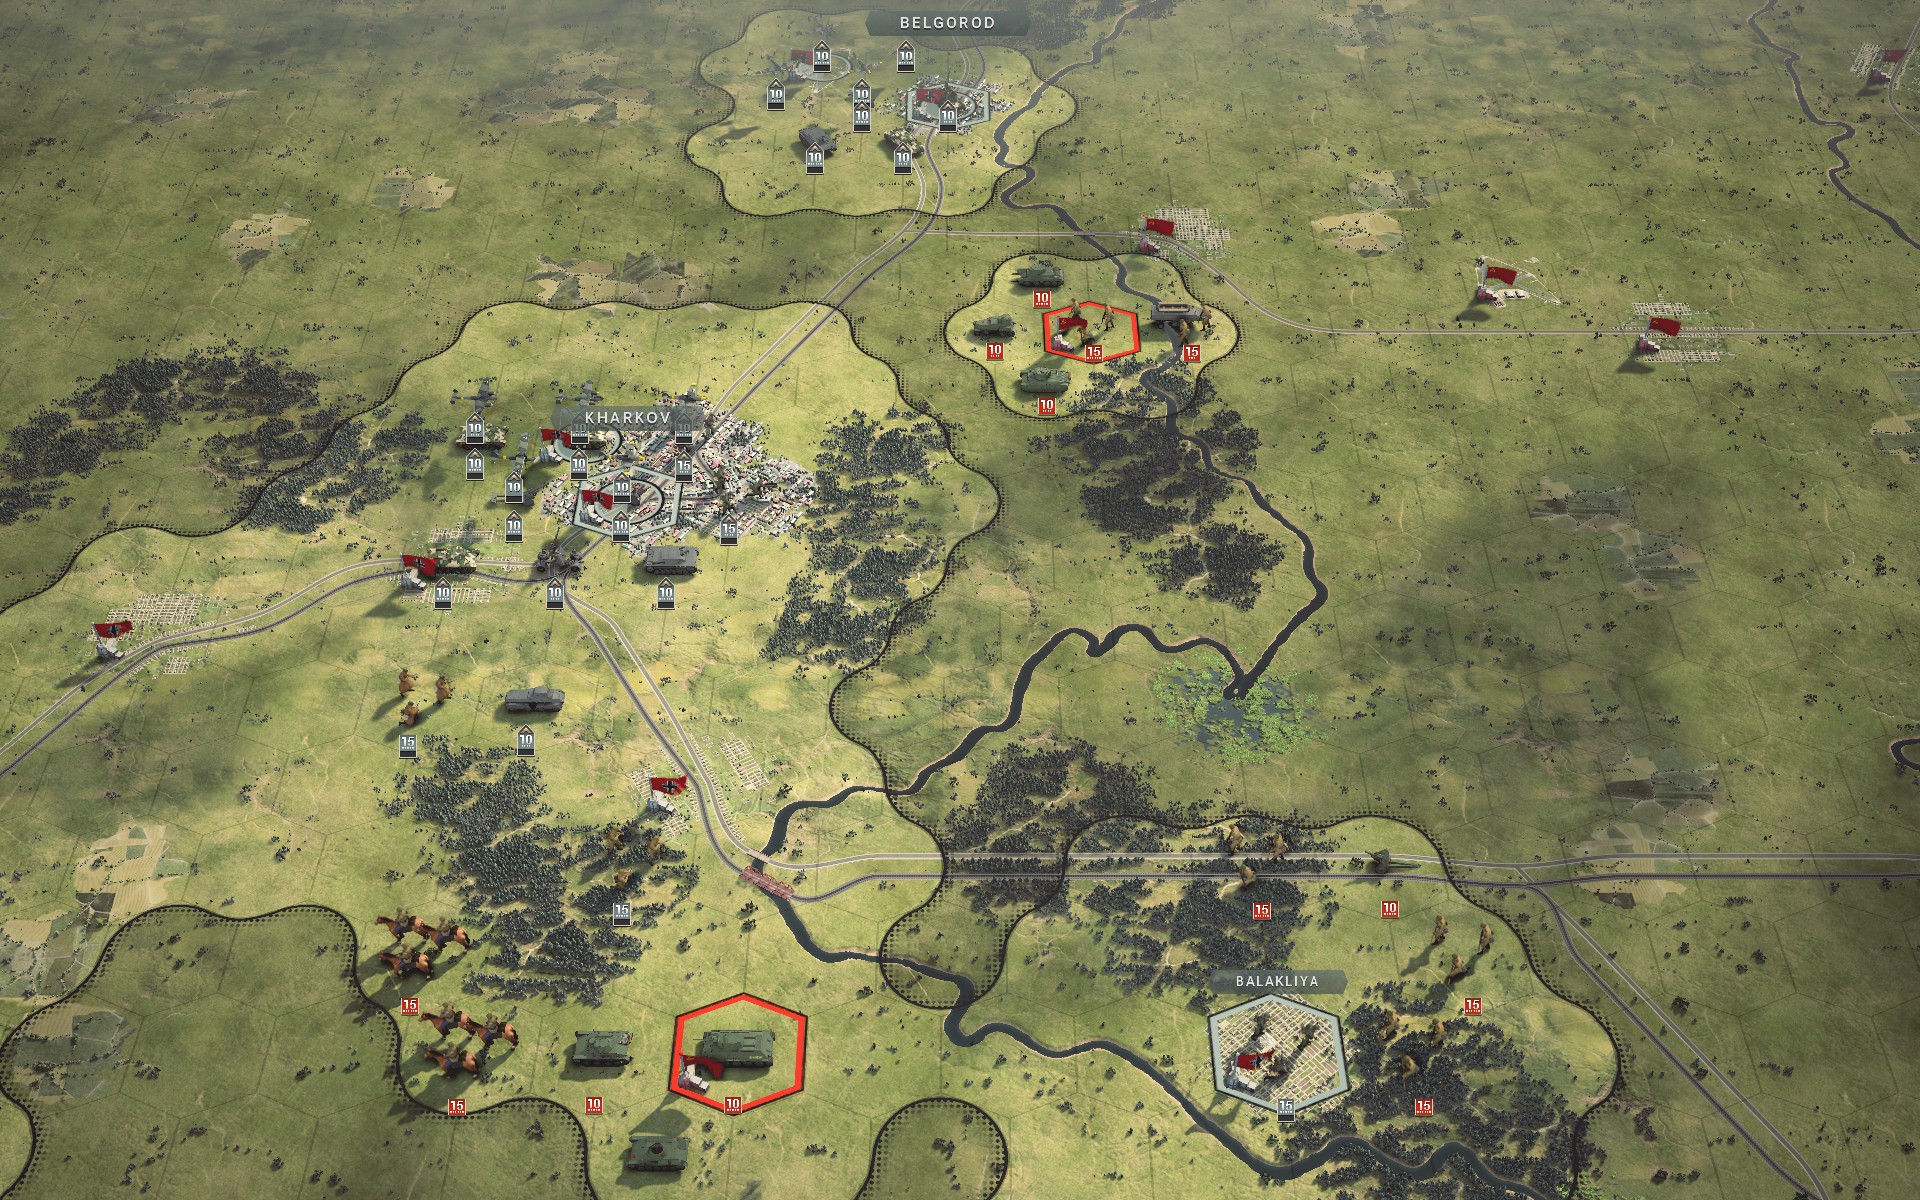
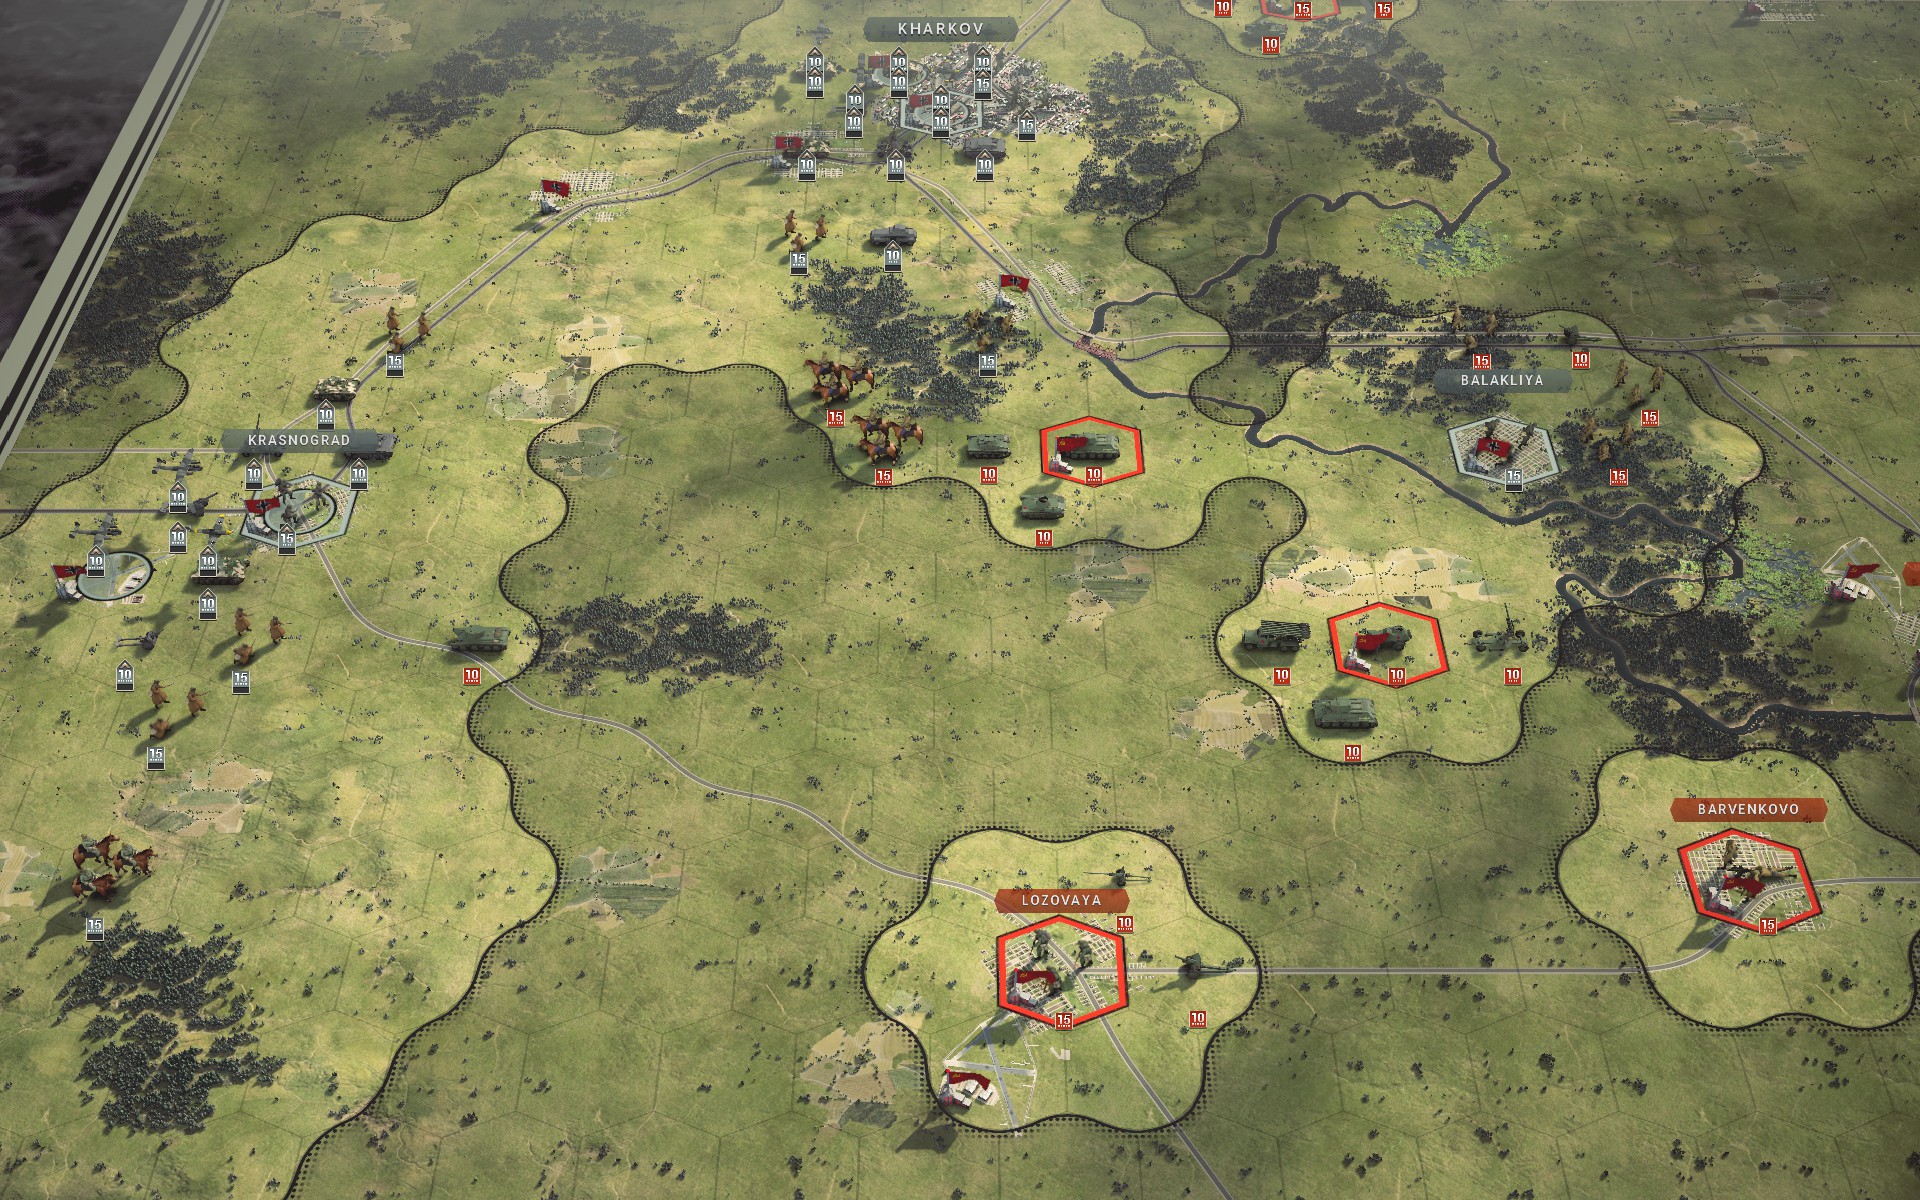
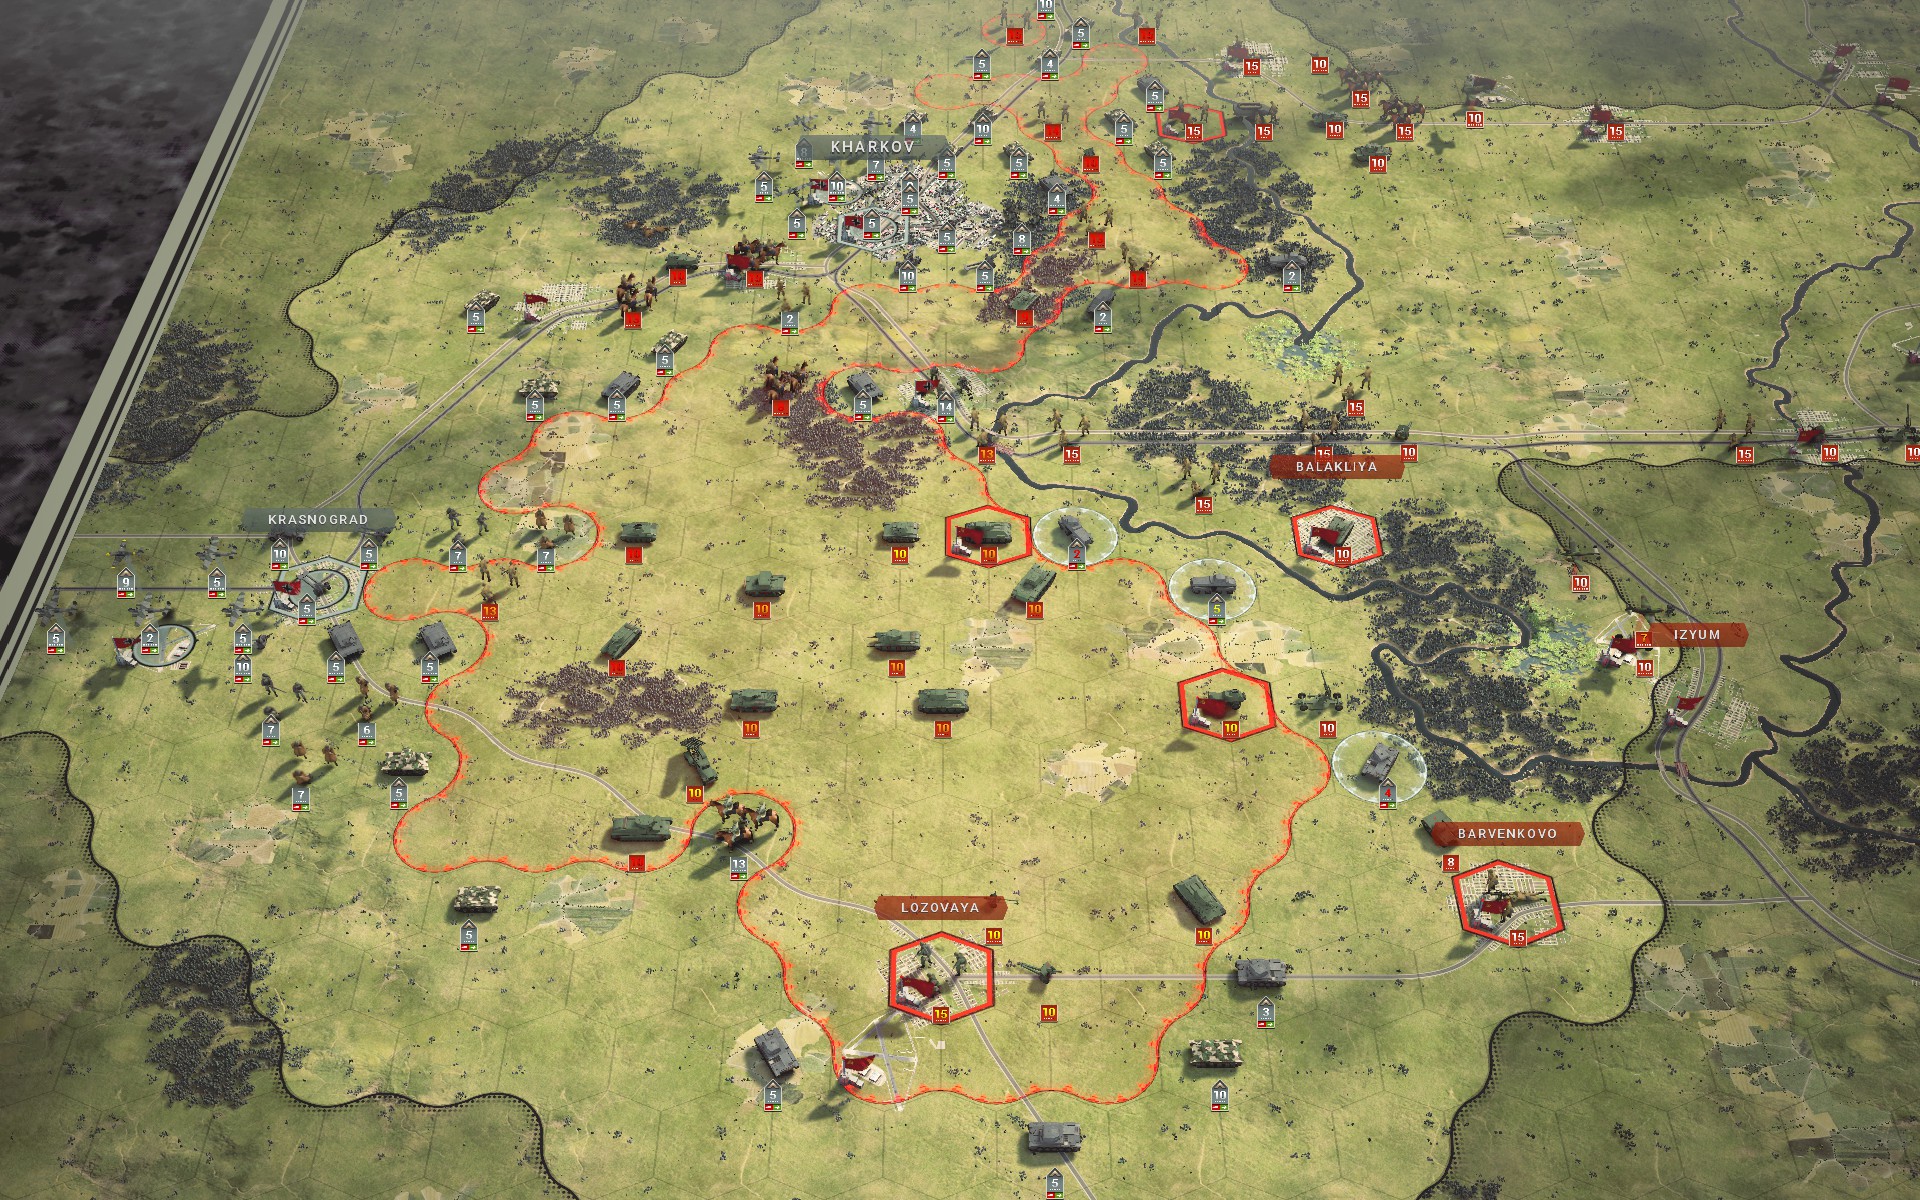
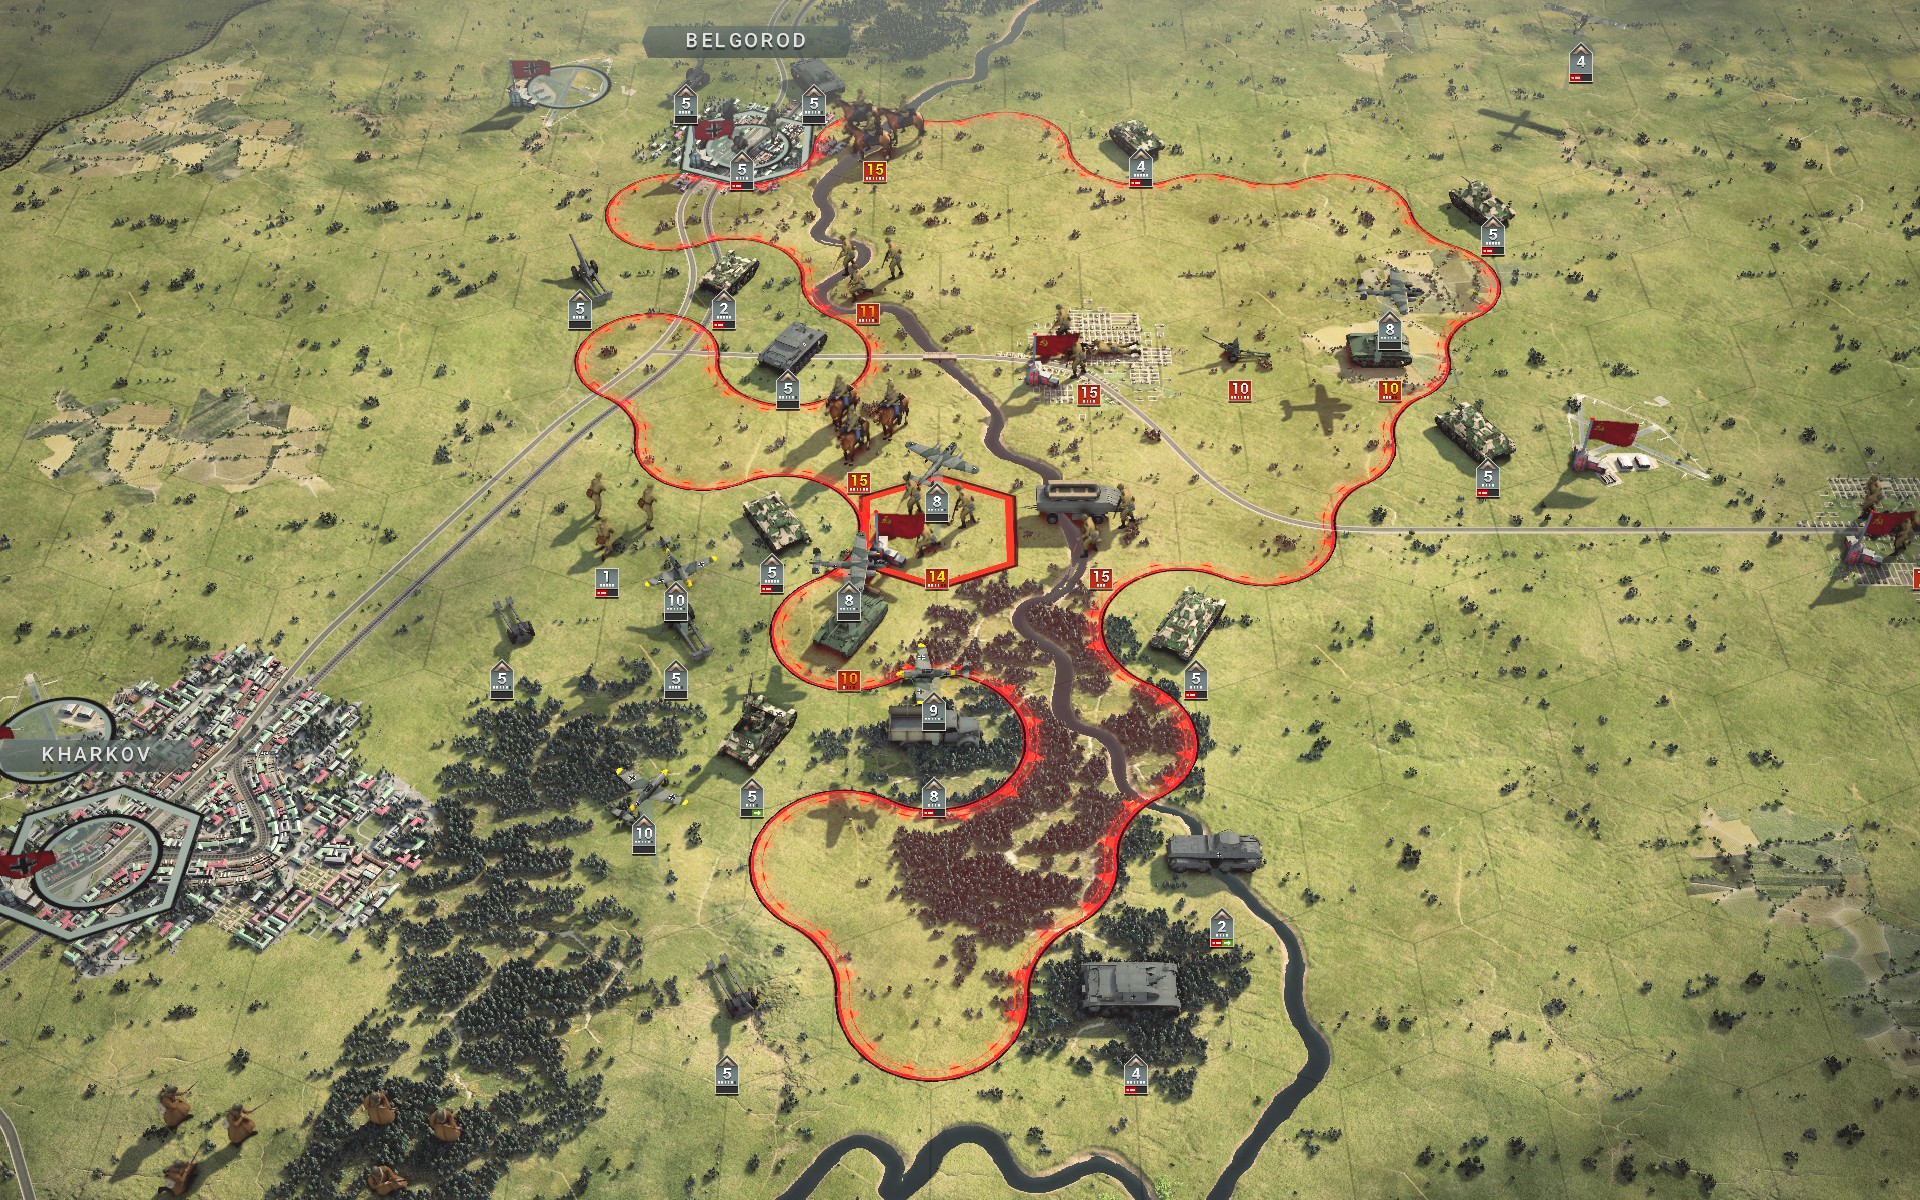
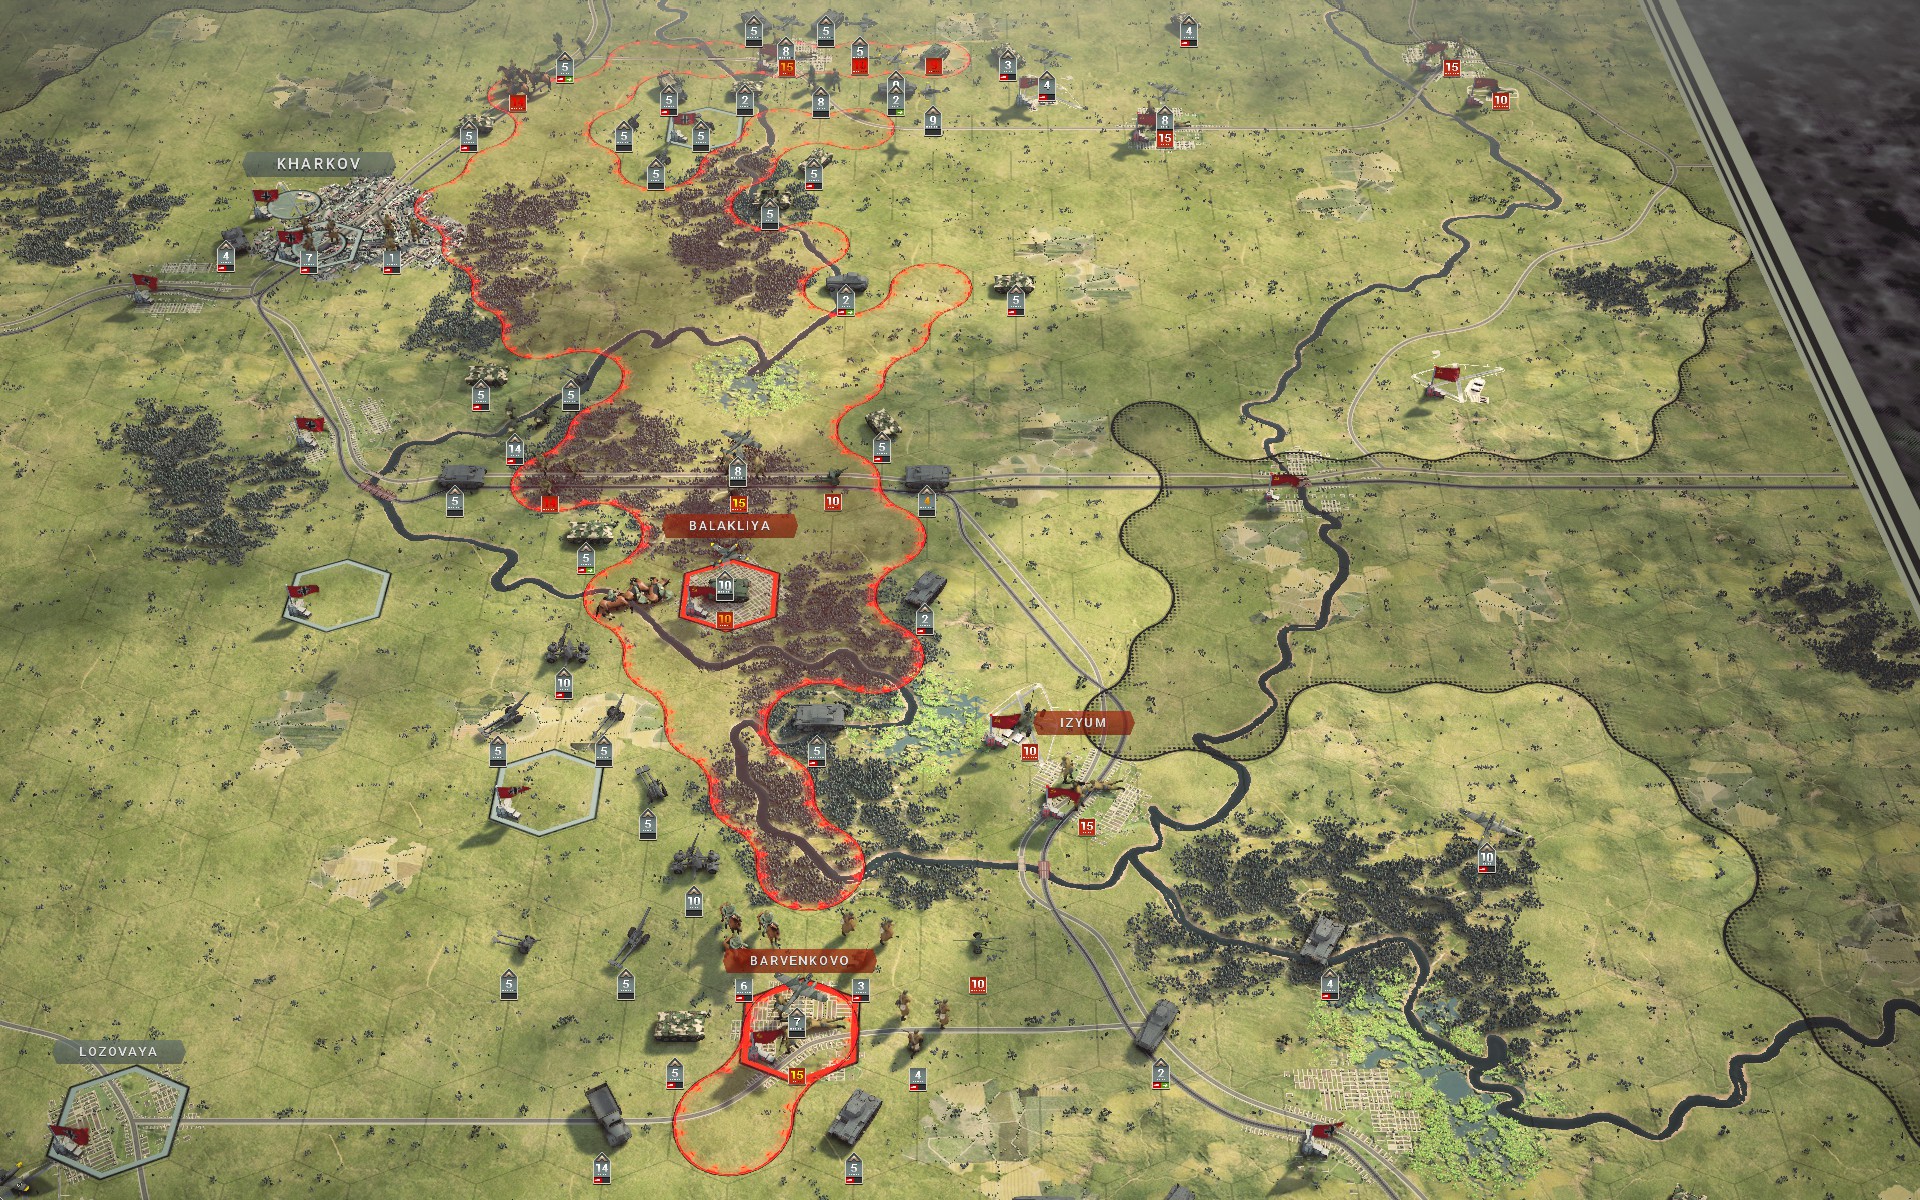
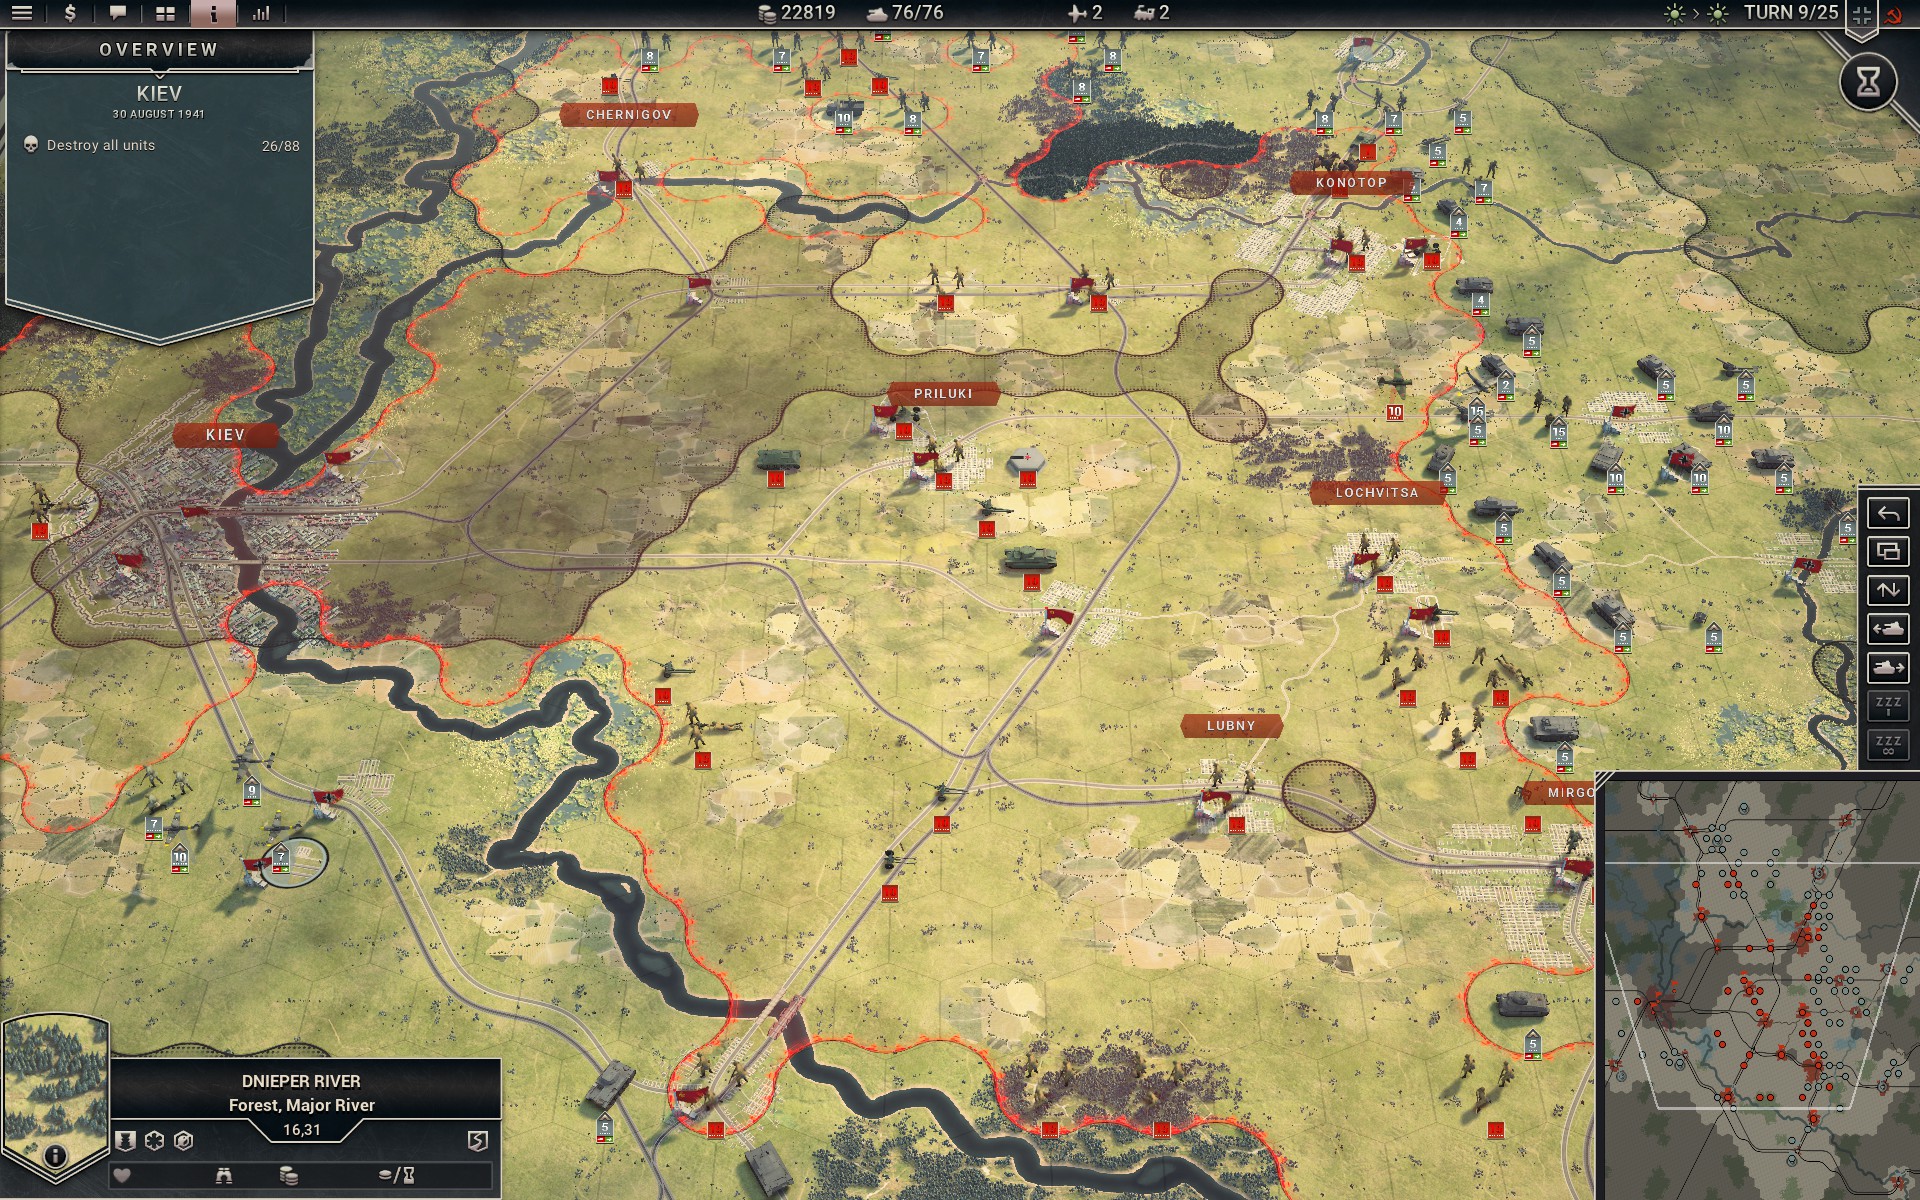
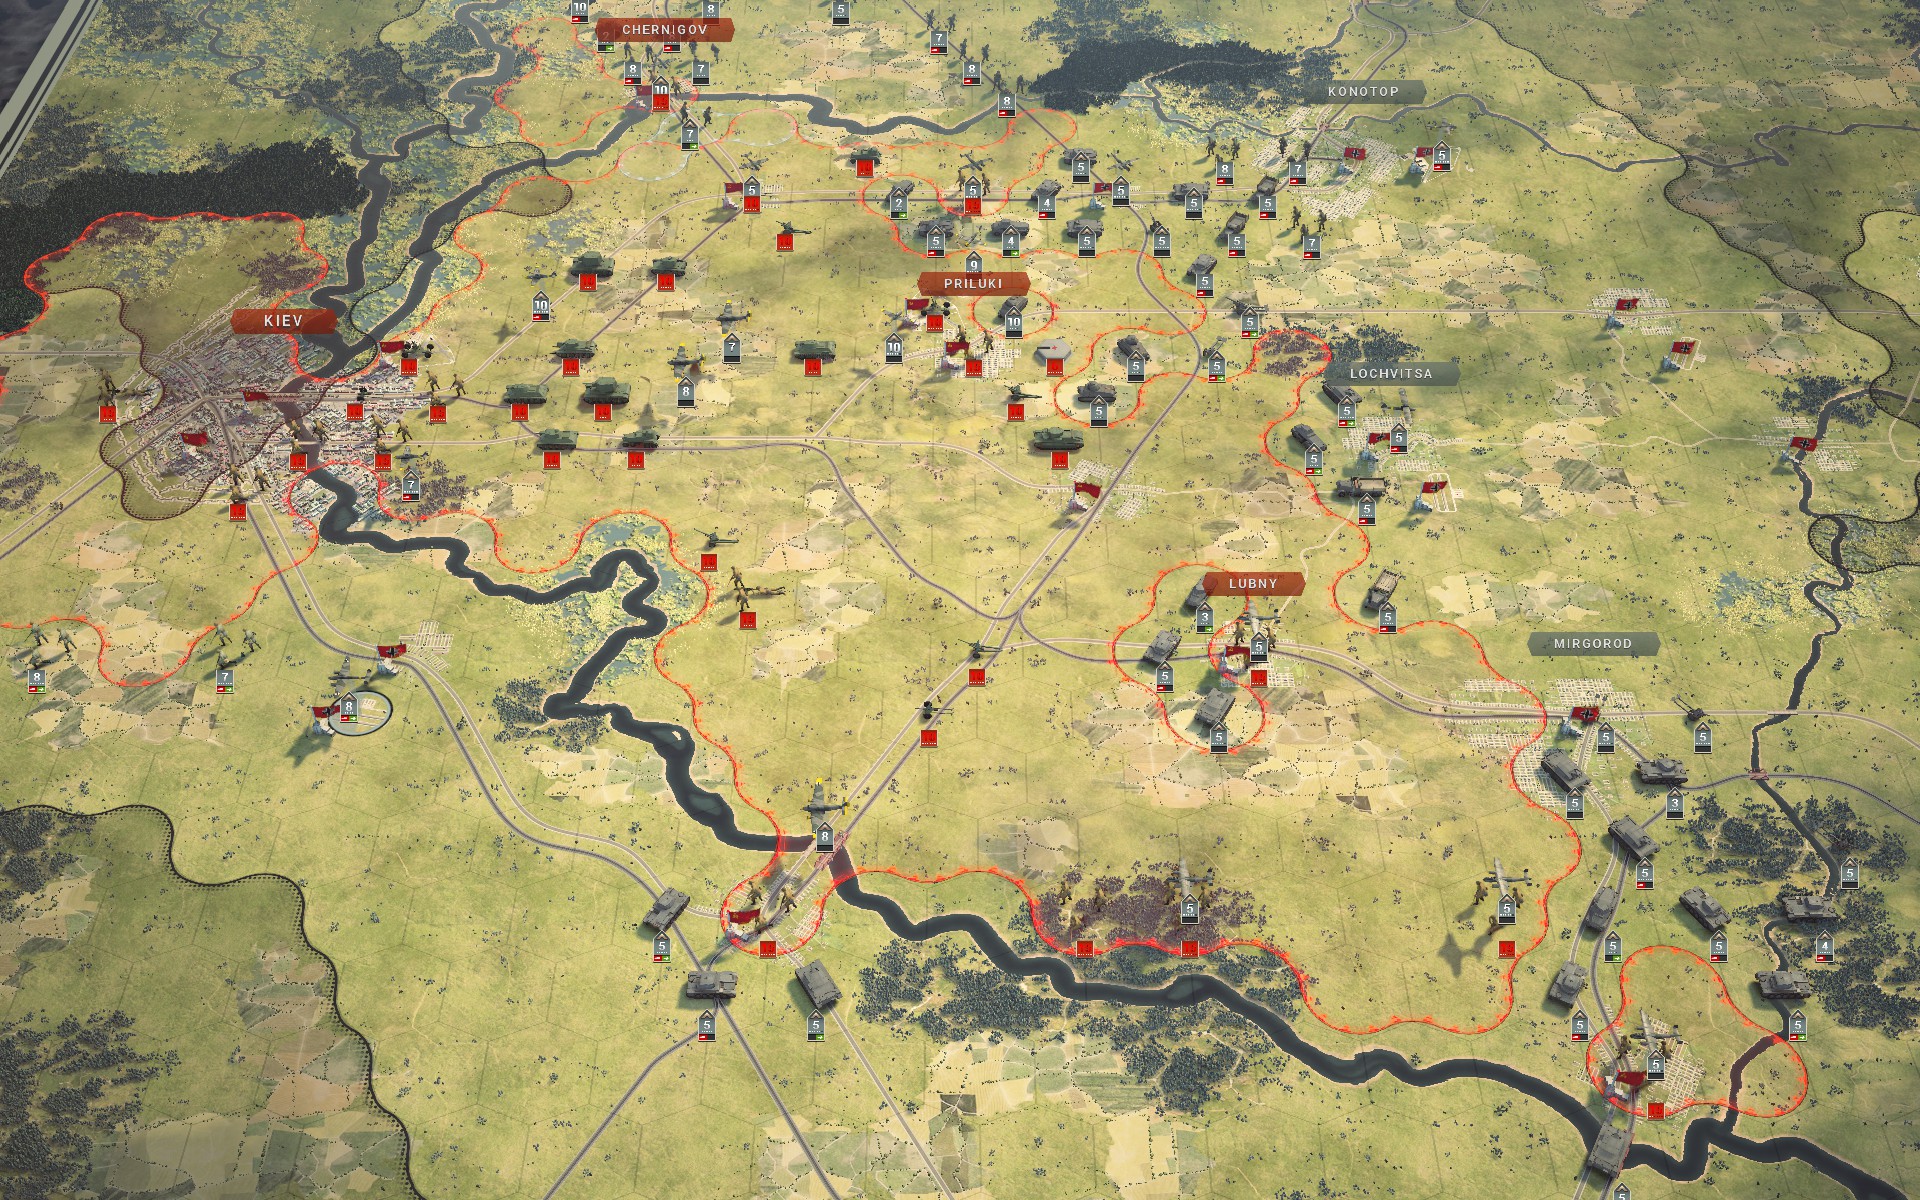
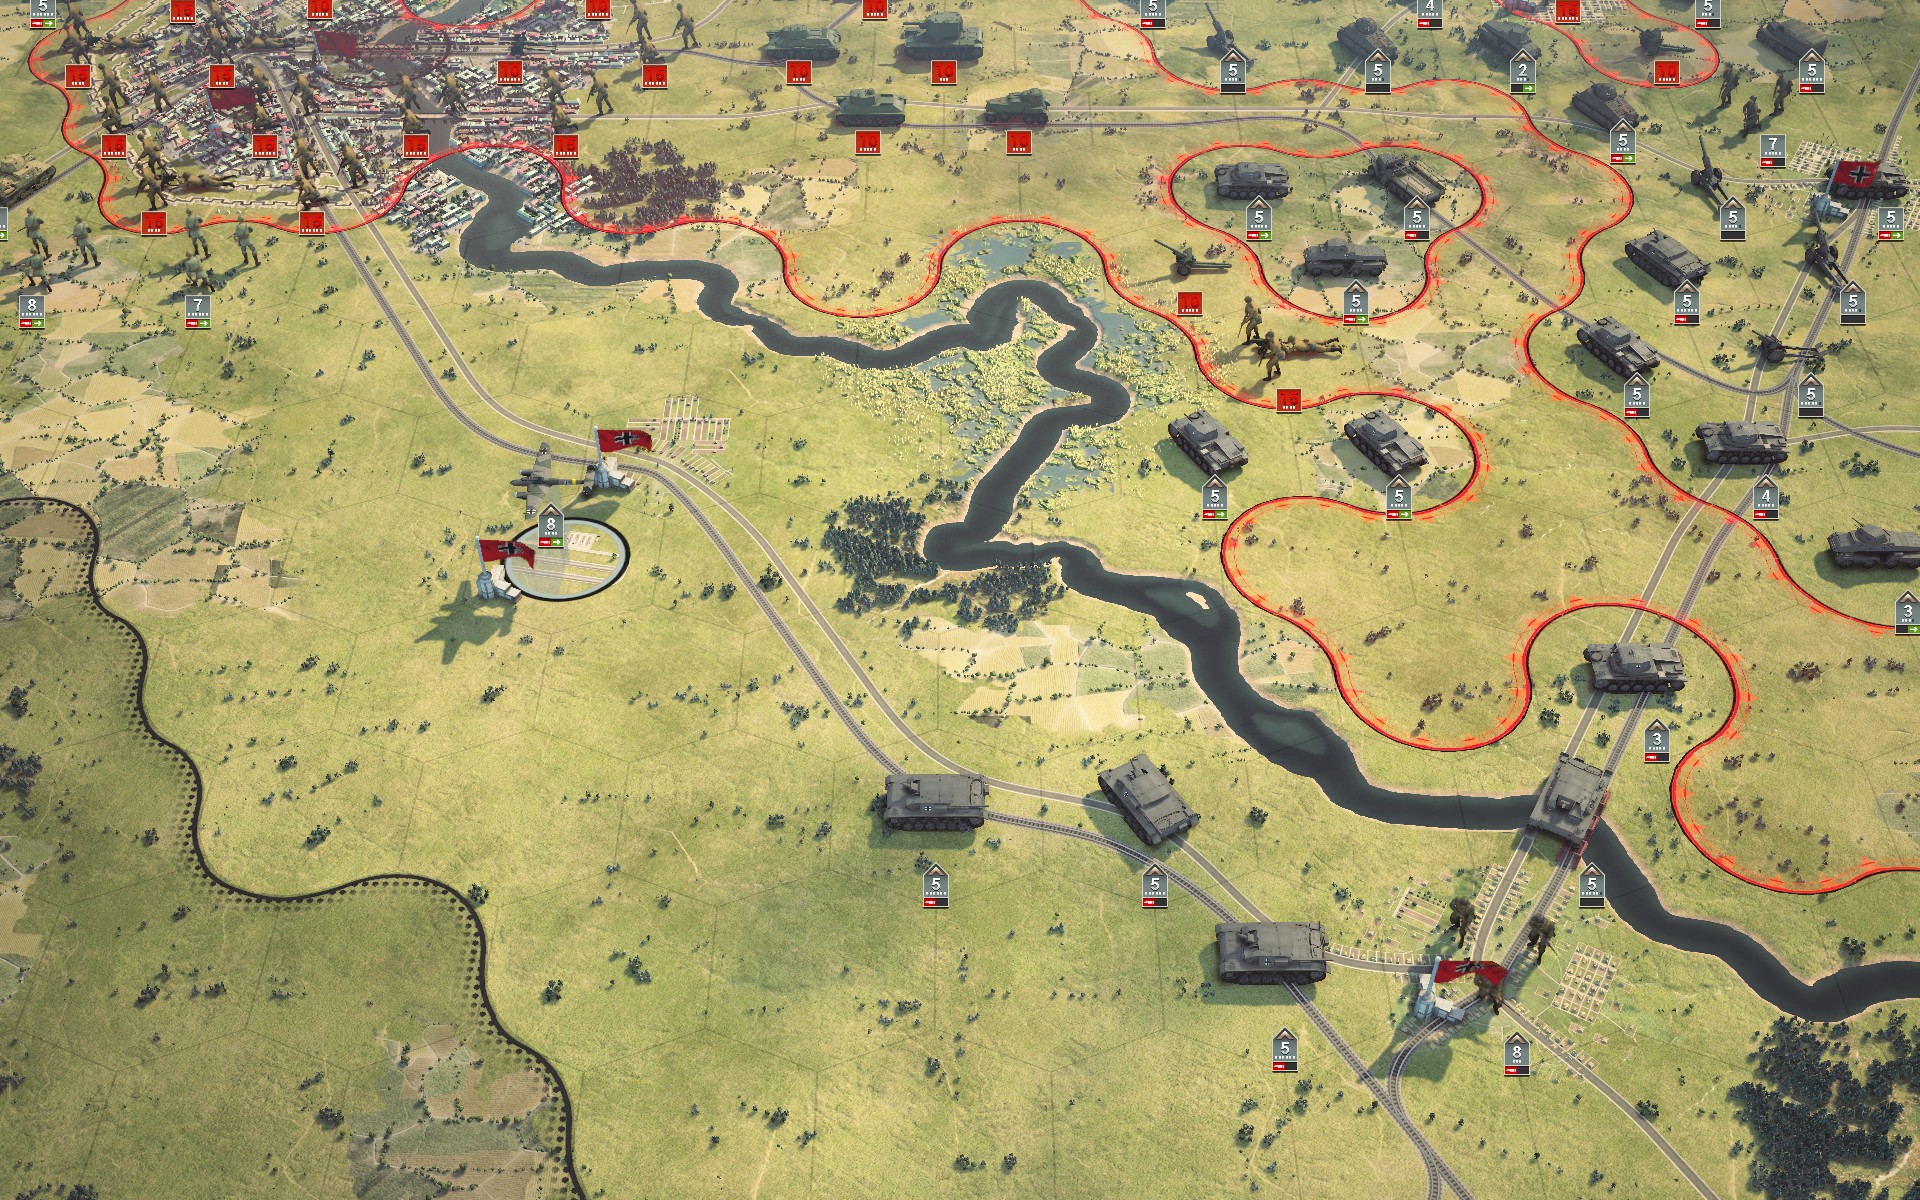
The grand encirclement is established. Note the value of terrain; both major rivers and thick forests block supplies.
The northern pocket is about to collapse.
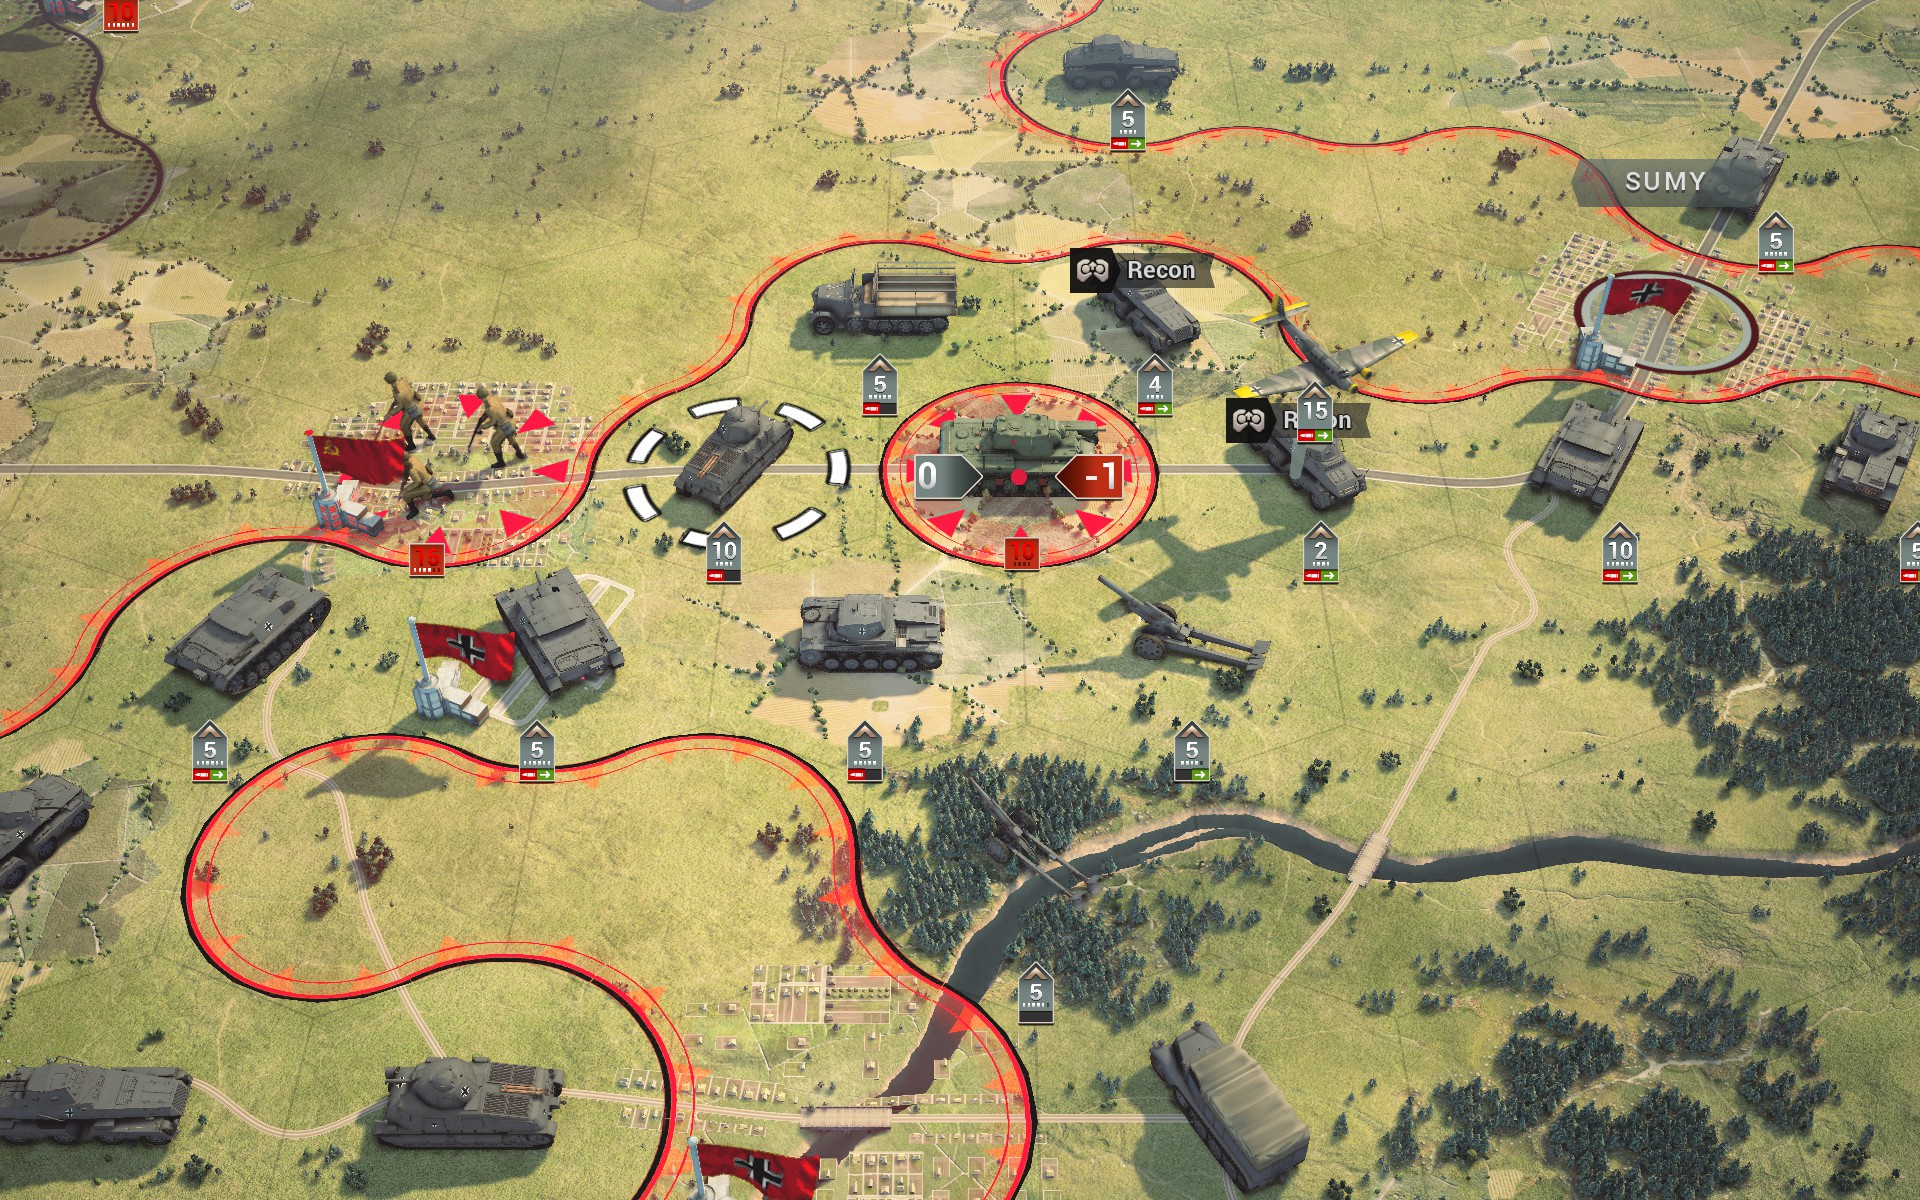
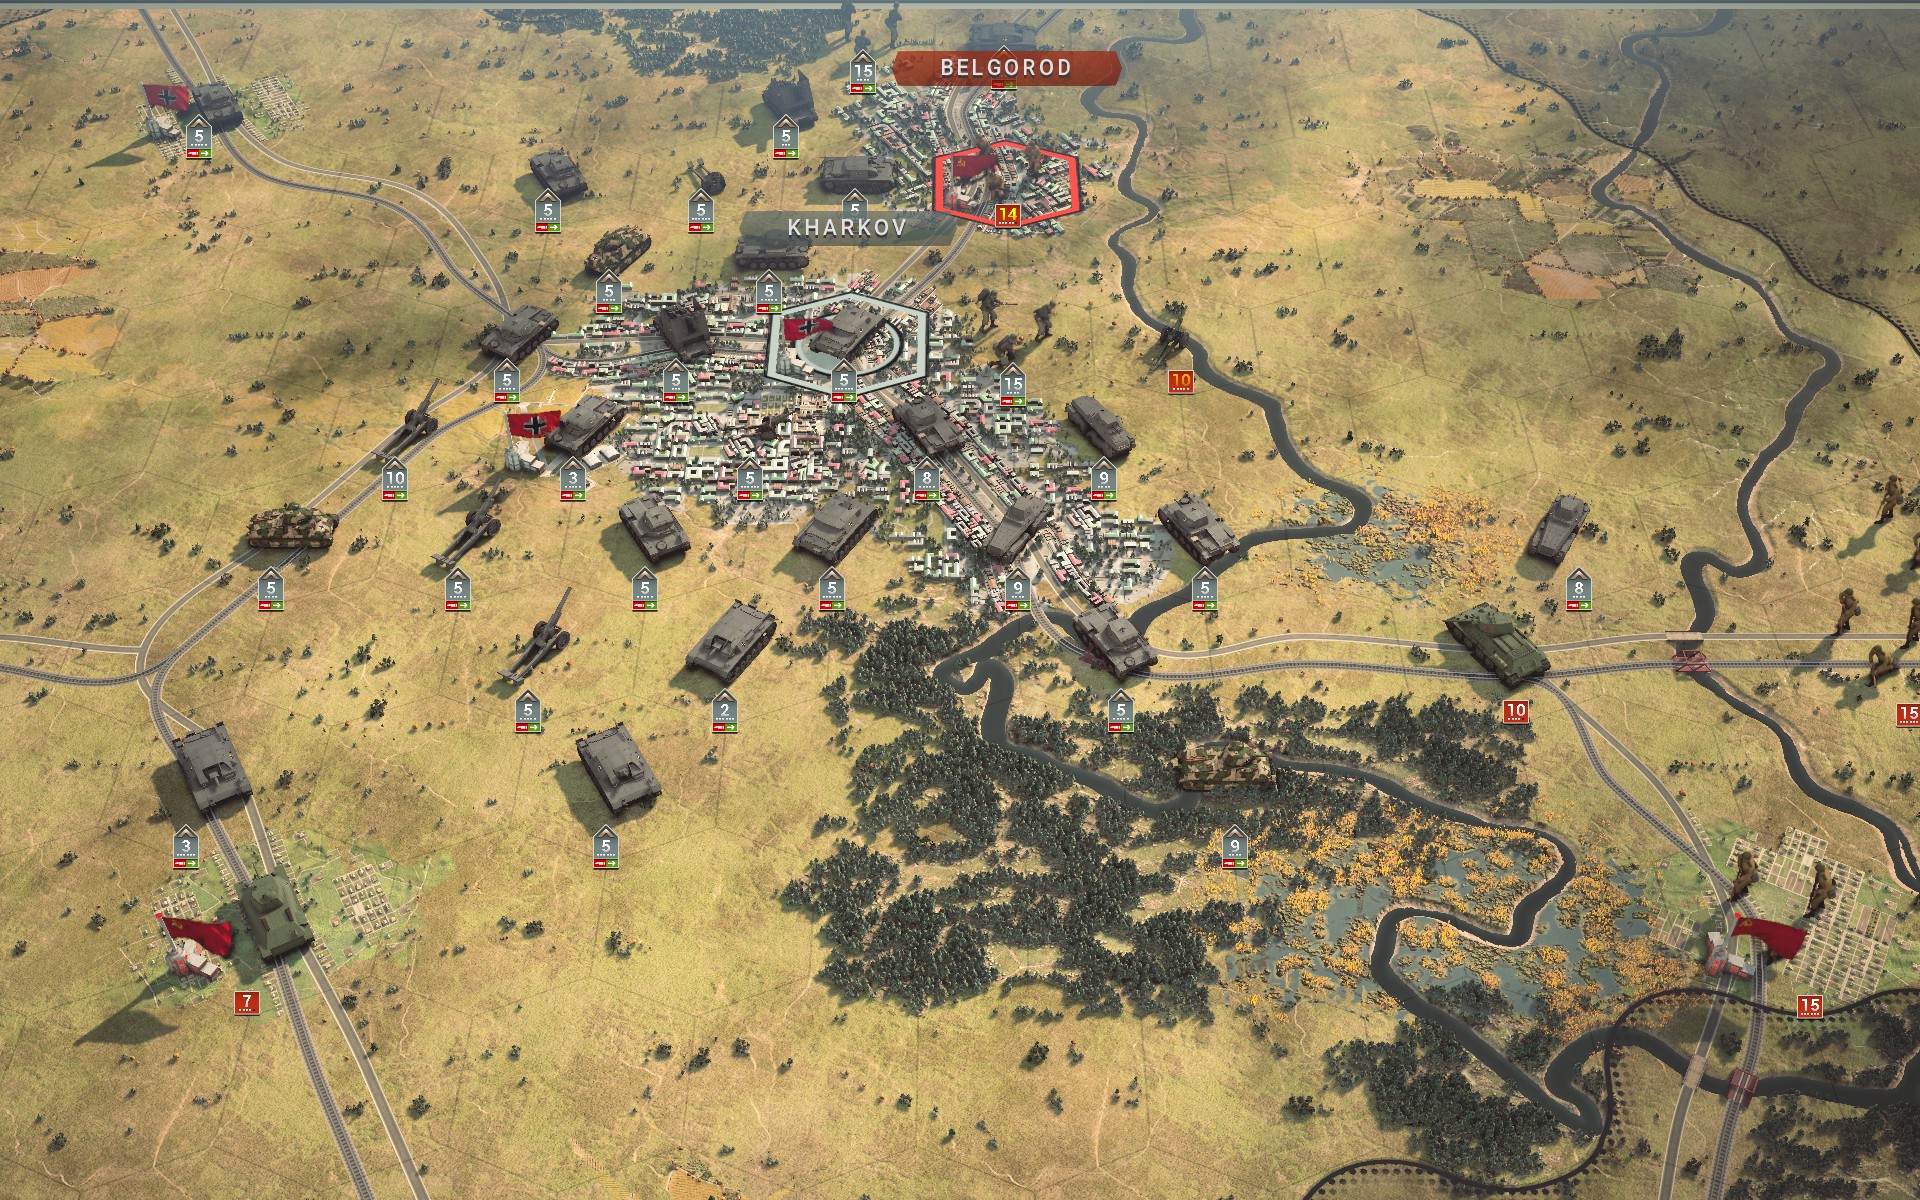
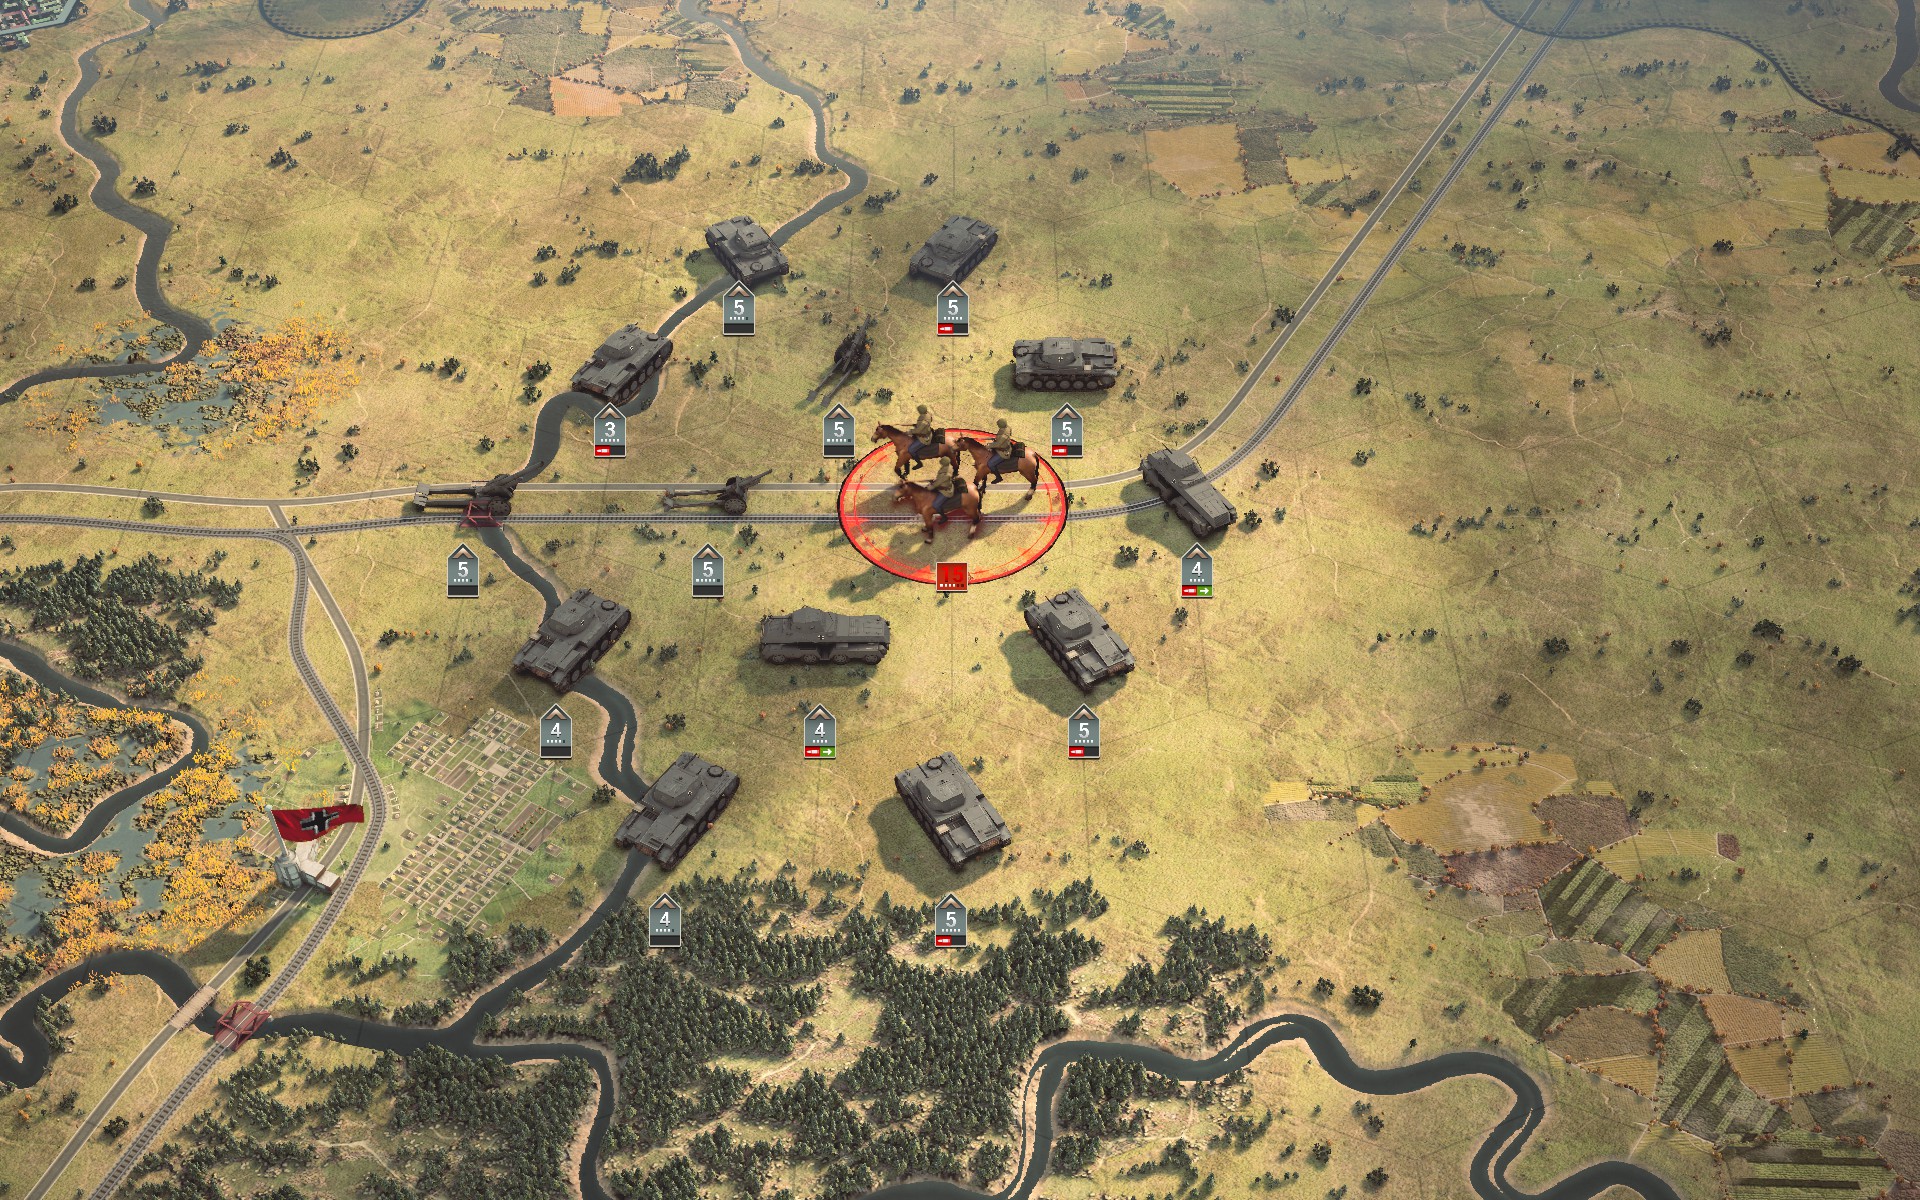
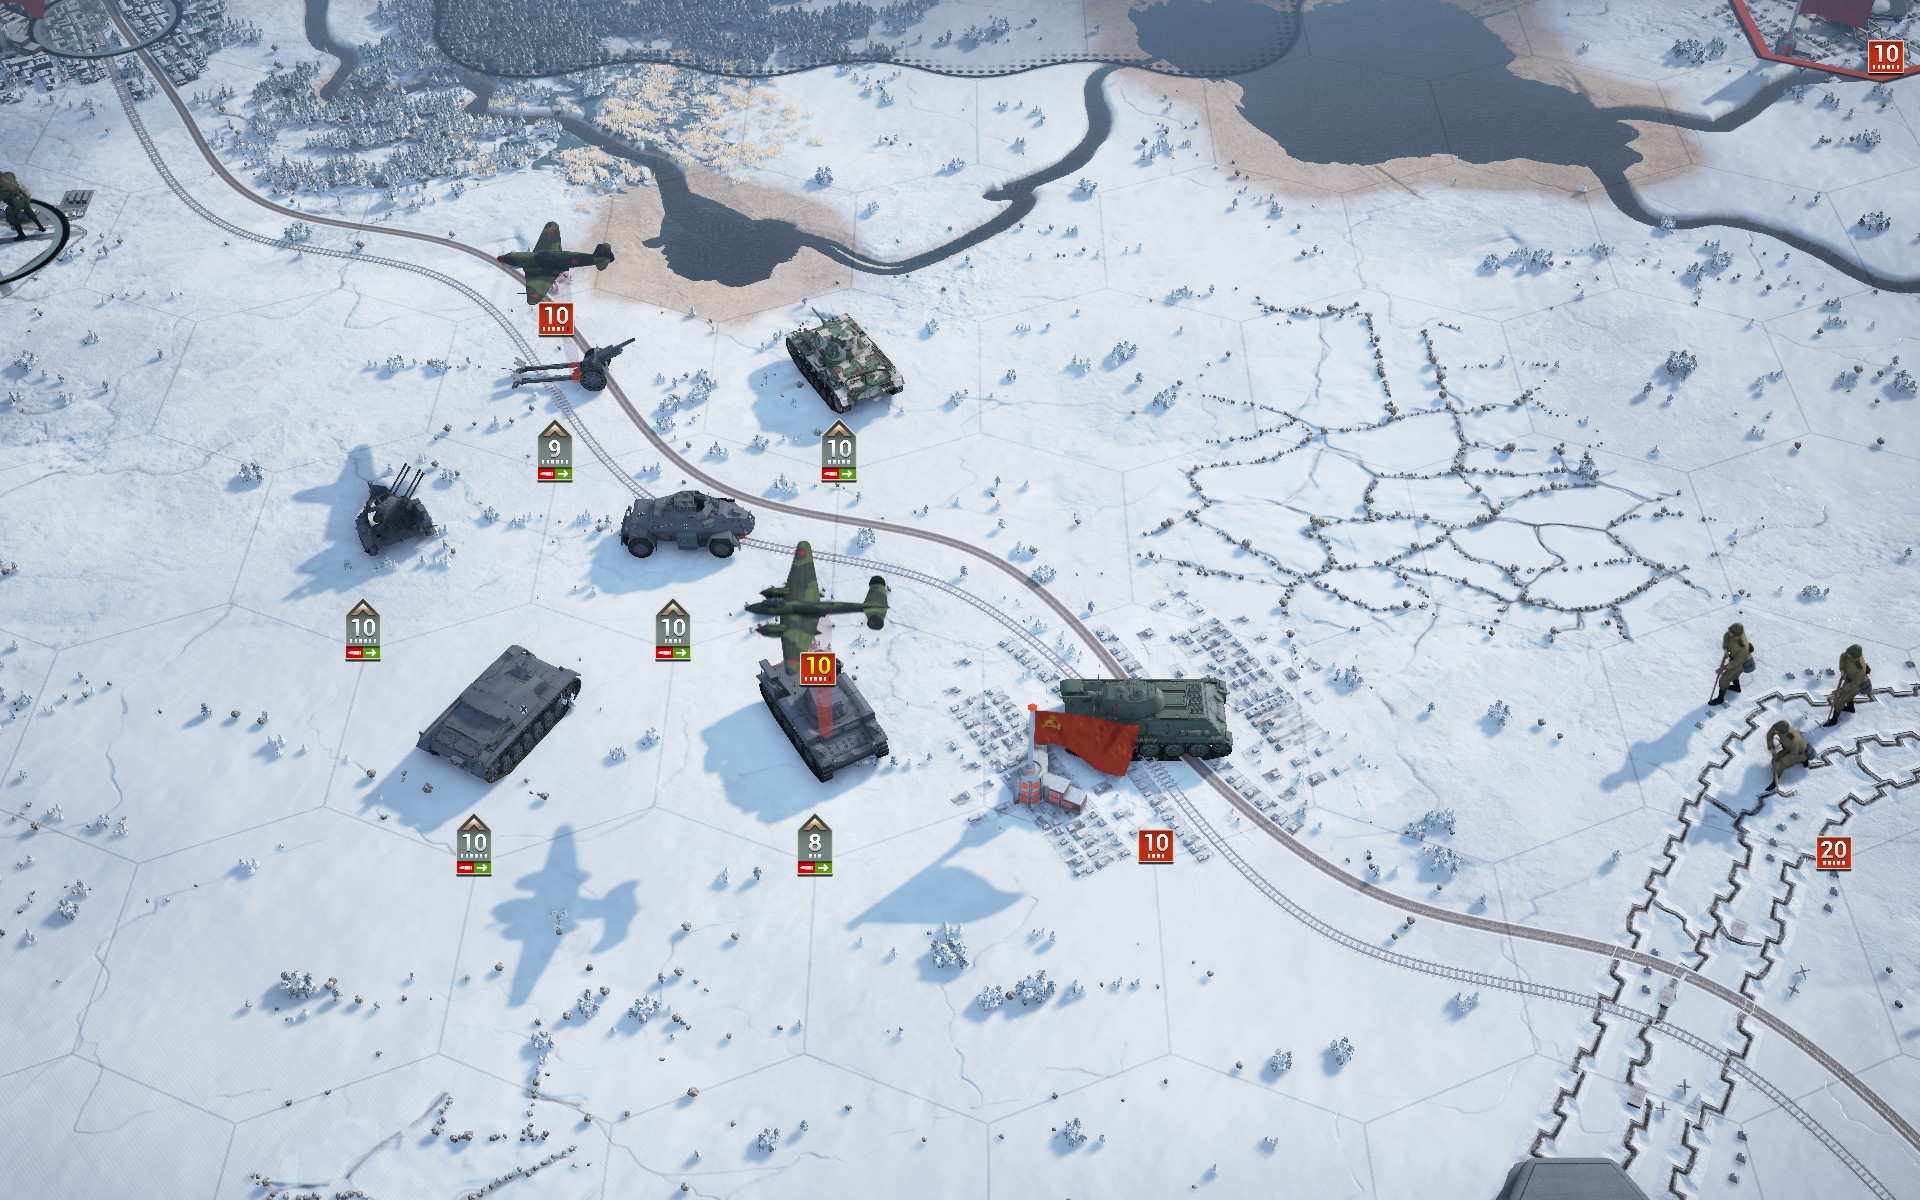
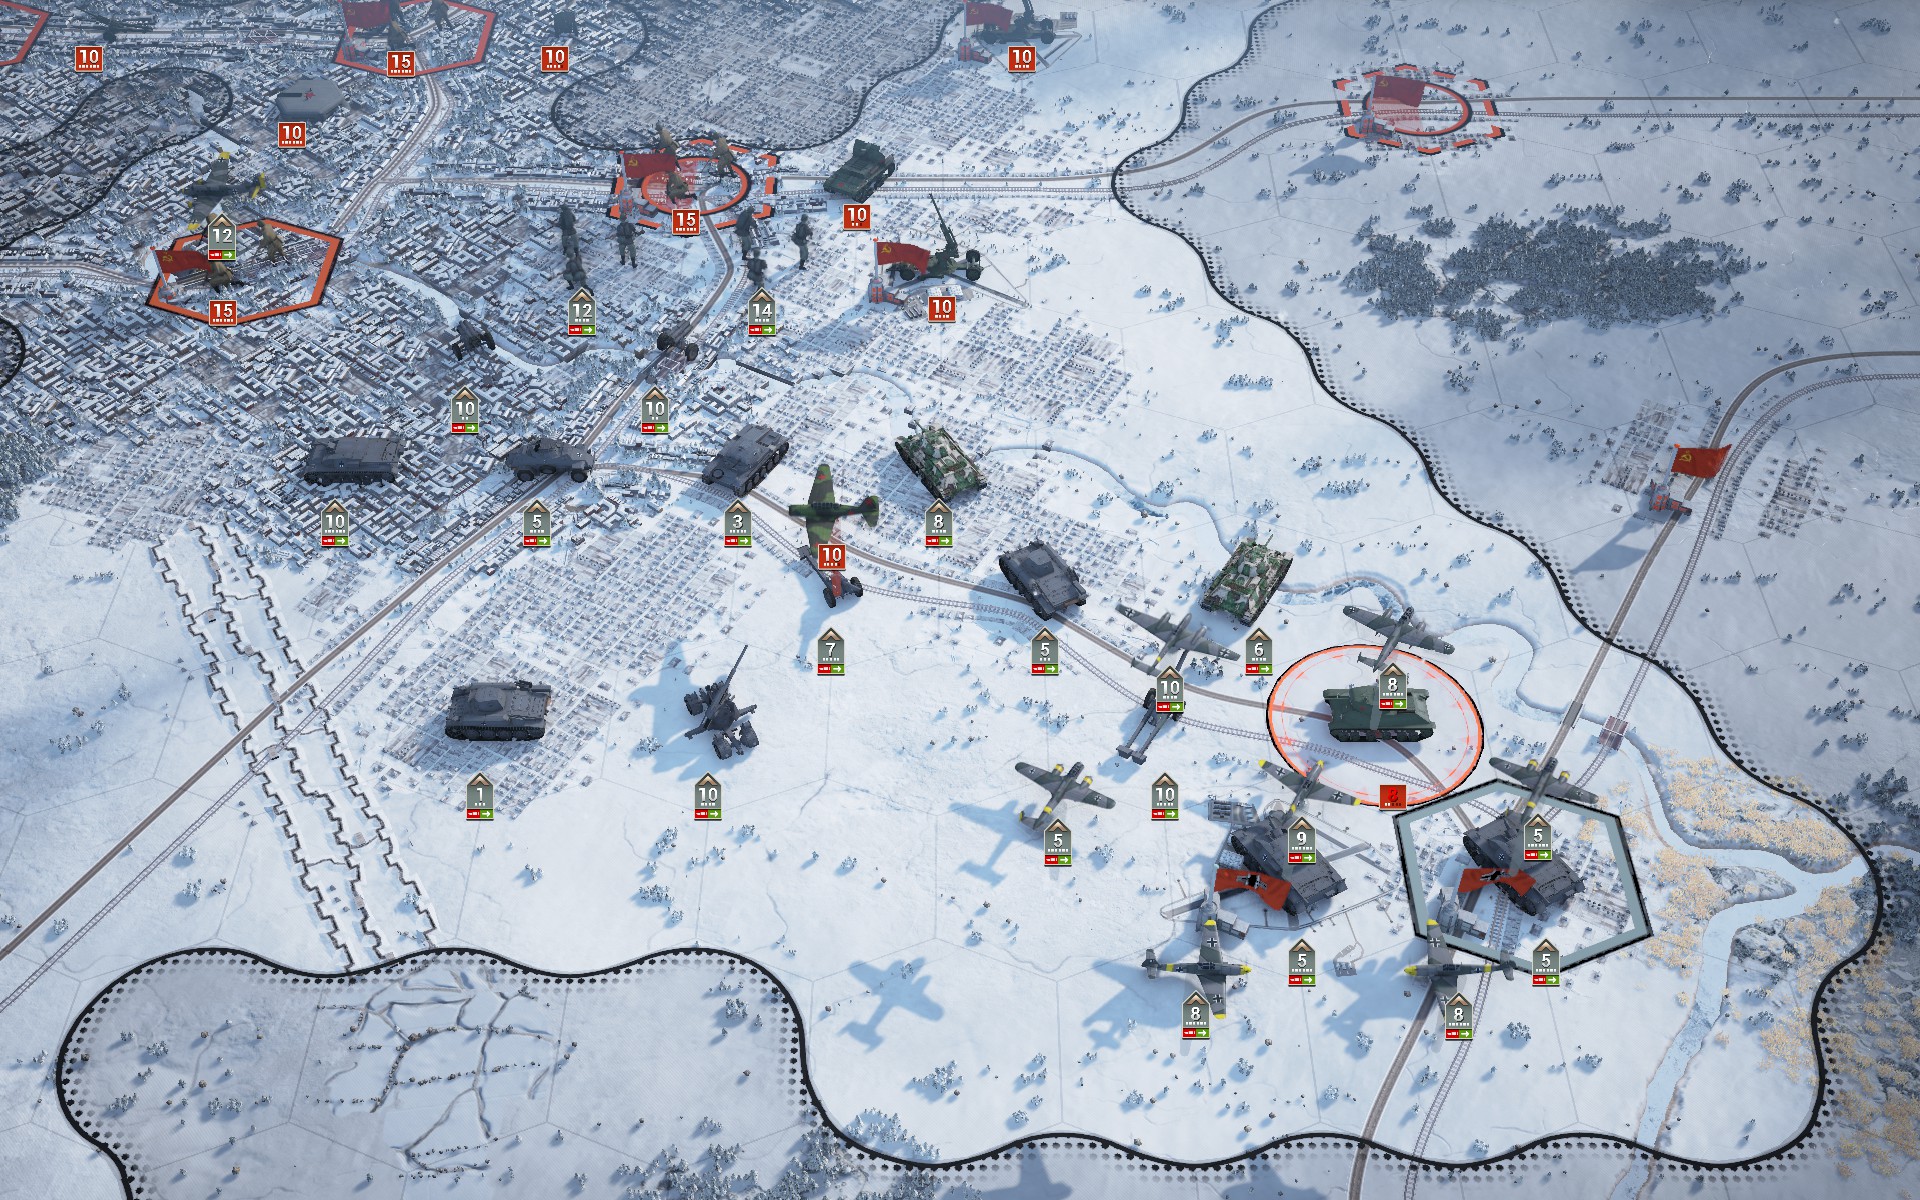
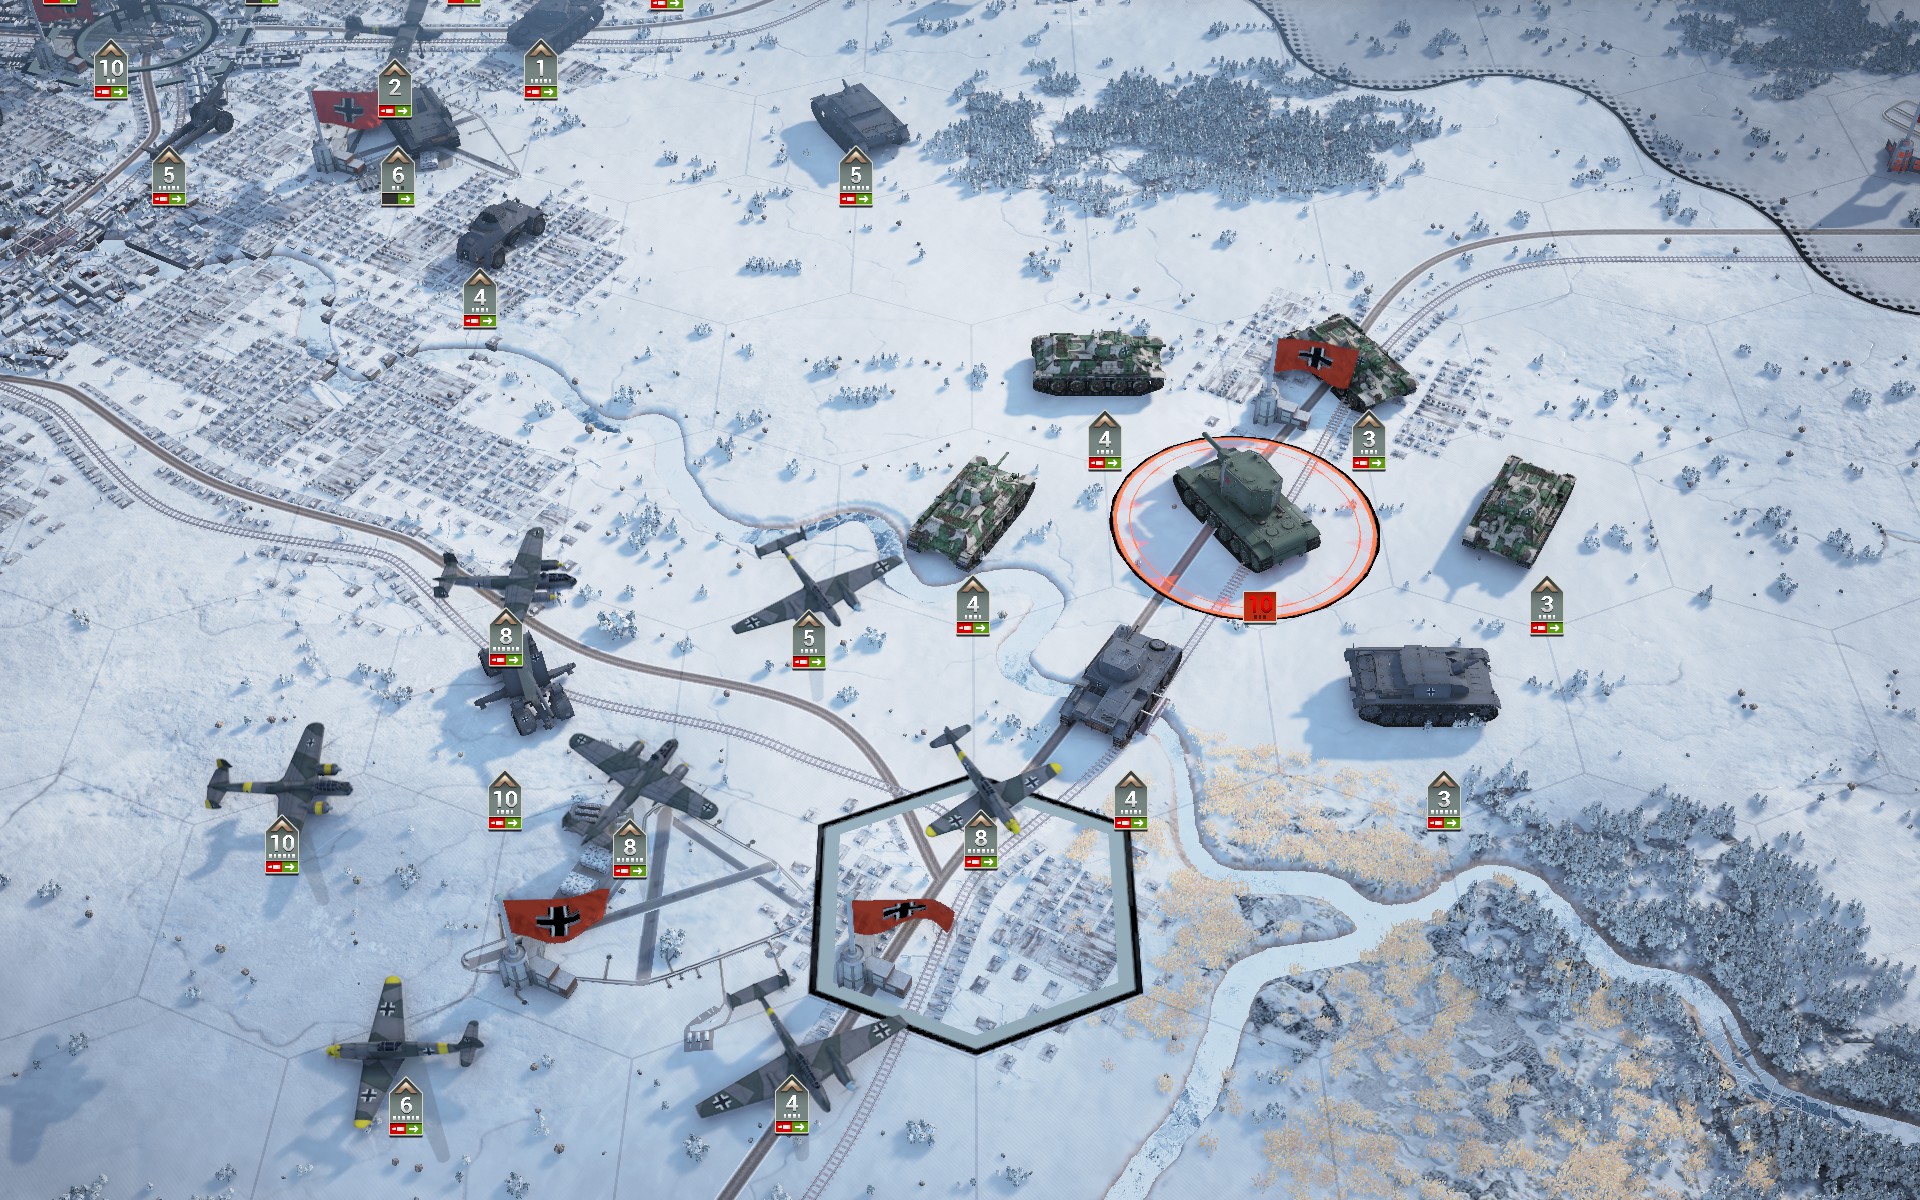
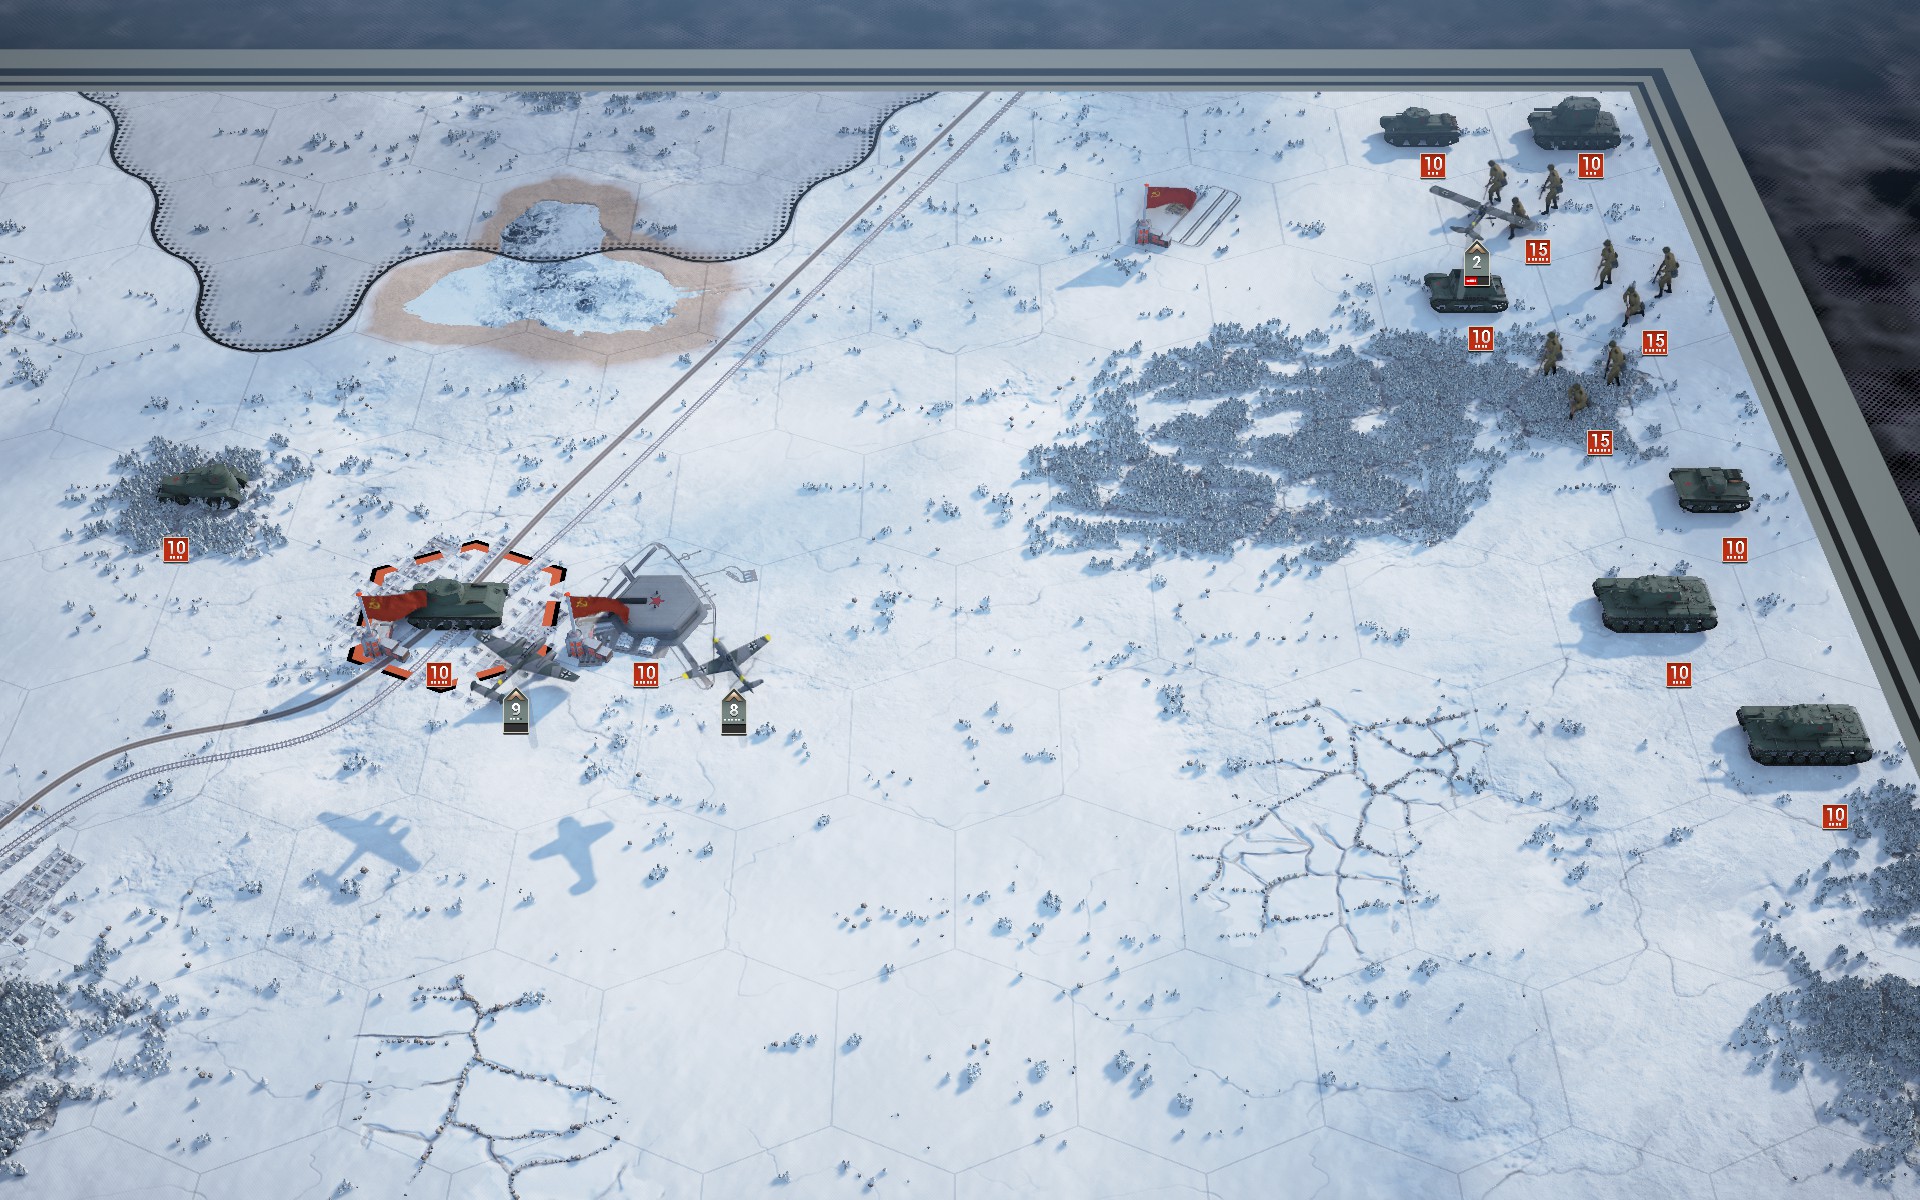
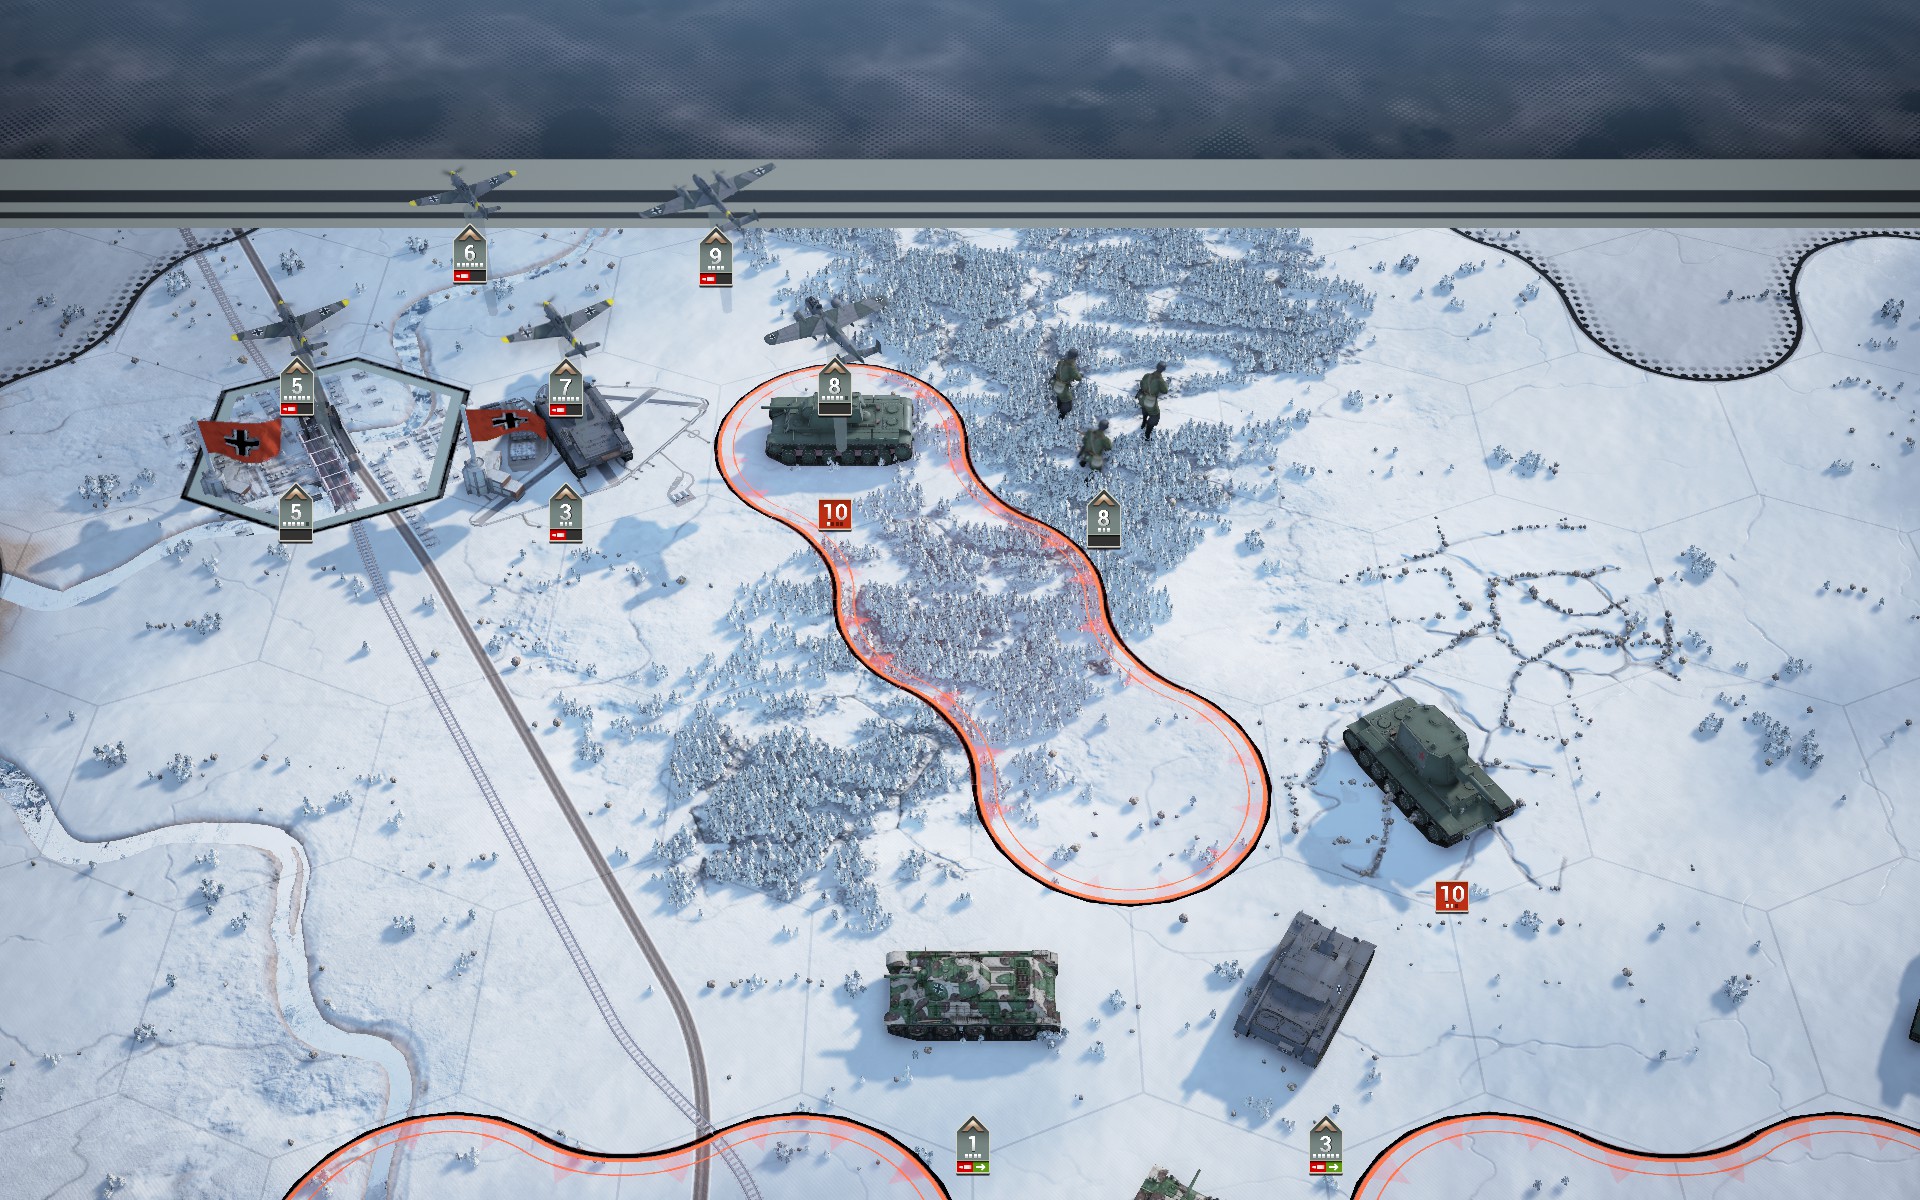
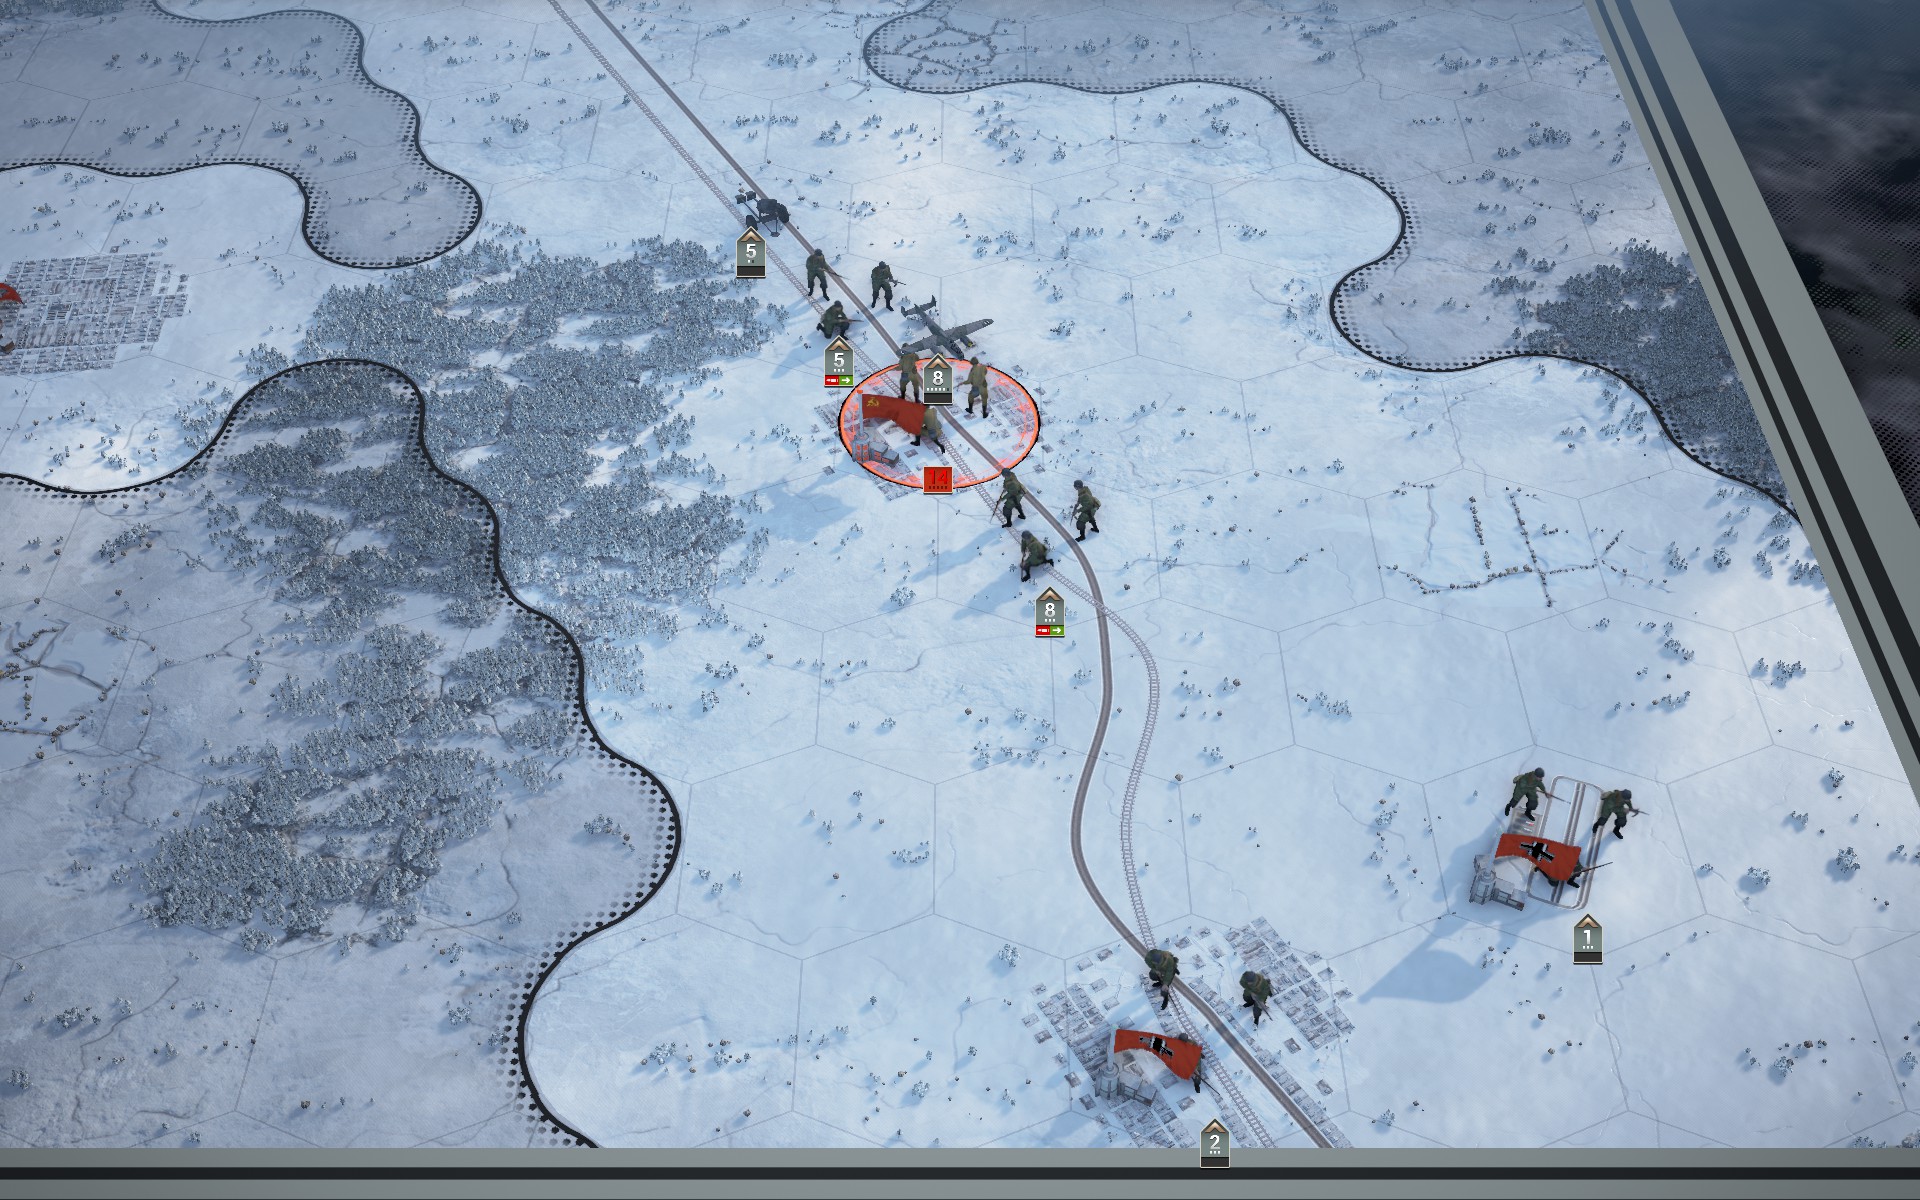
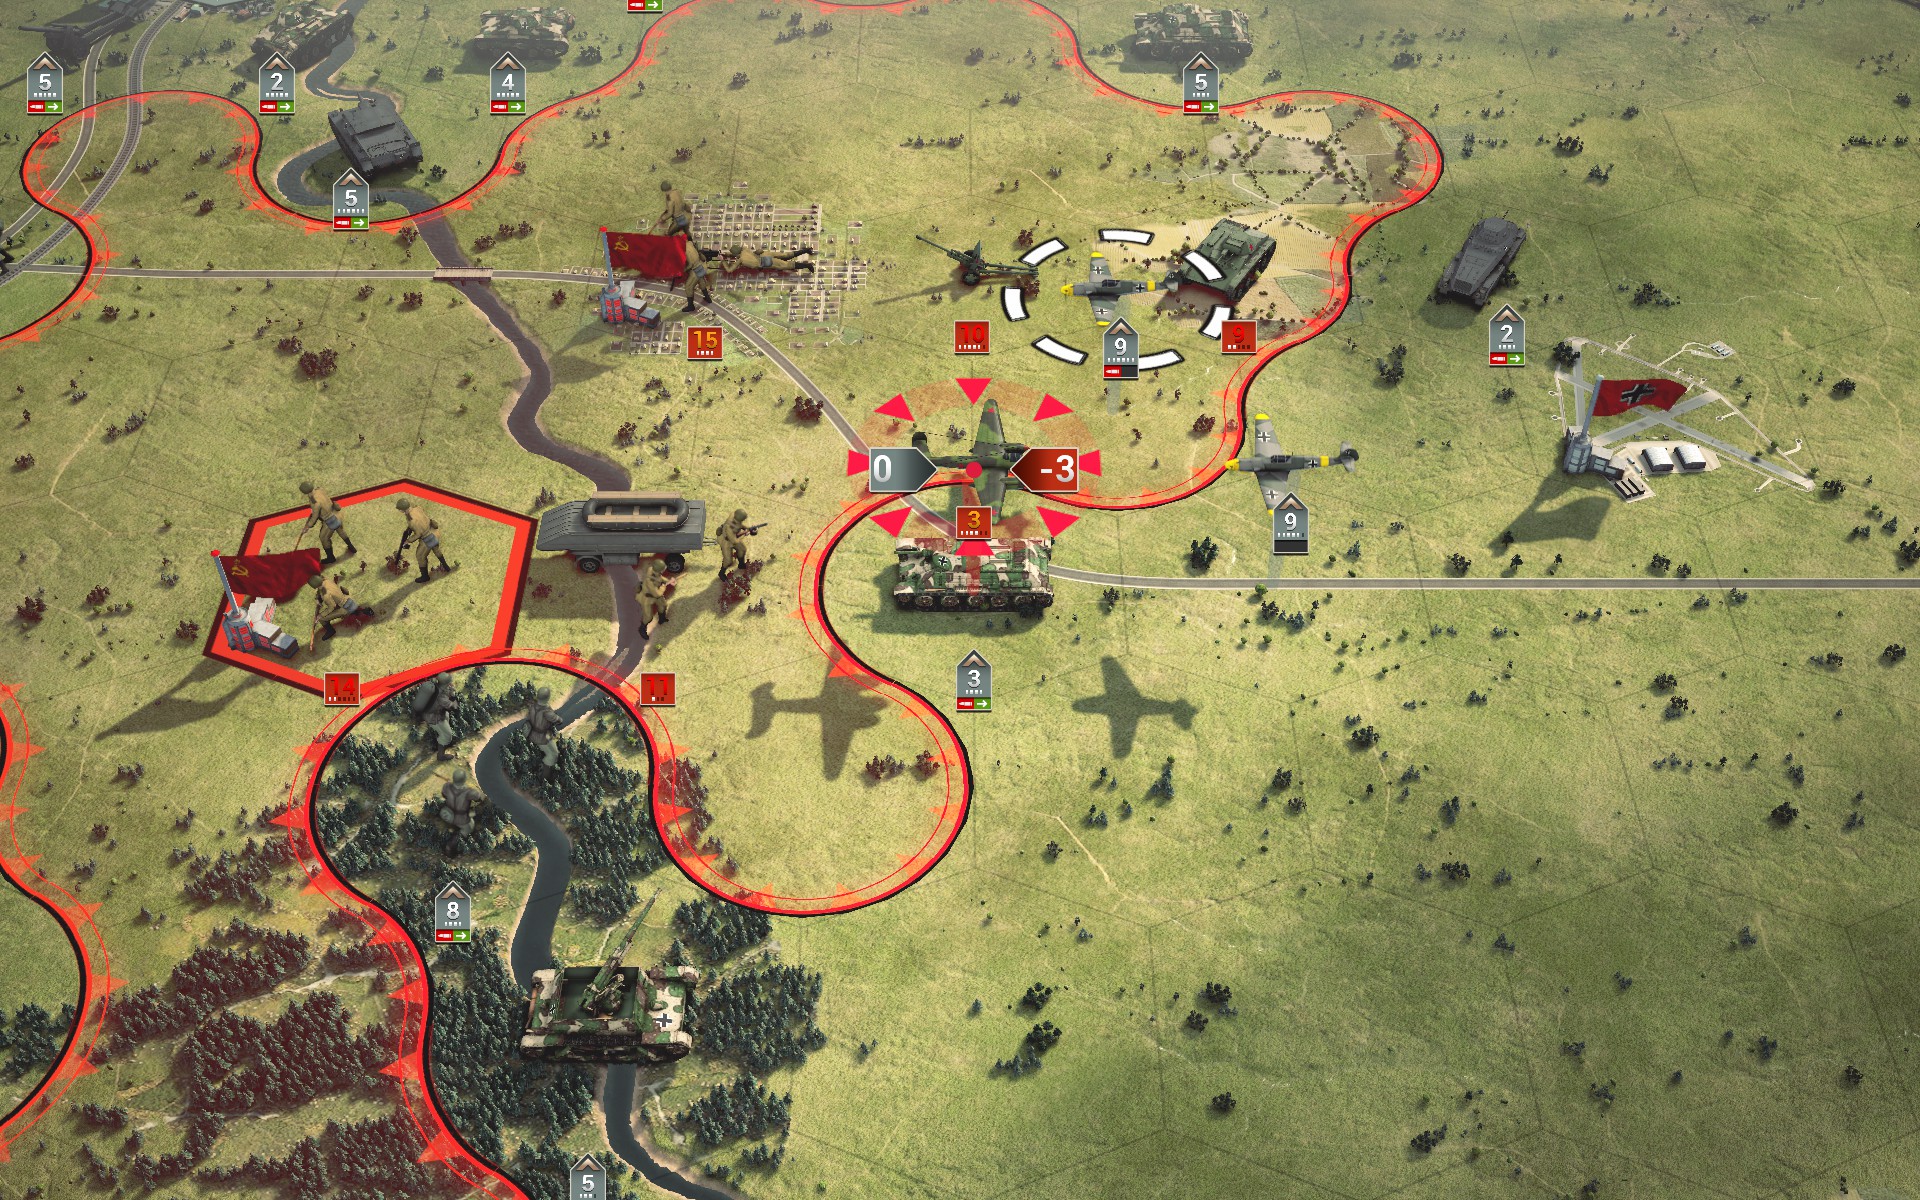
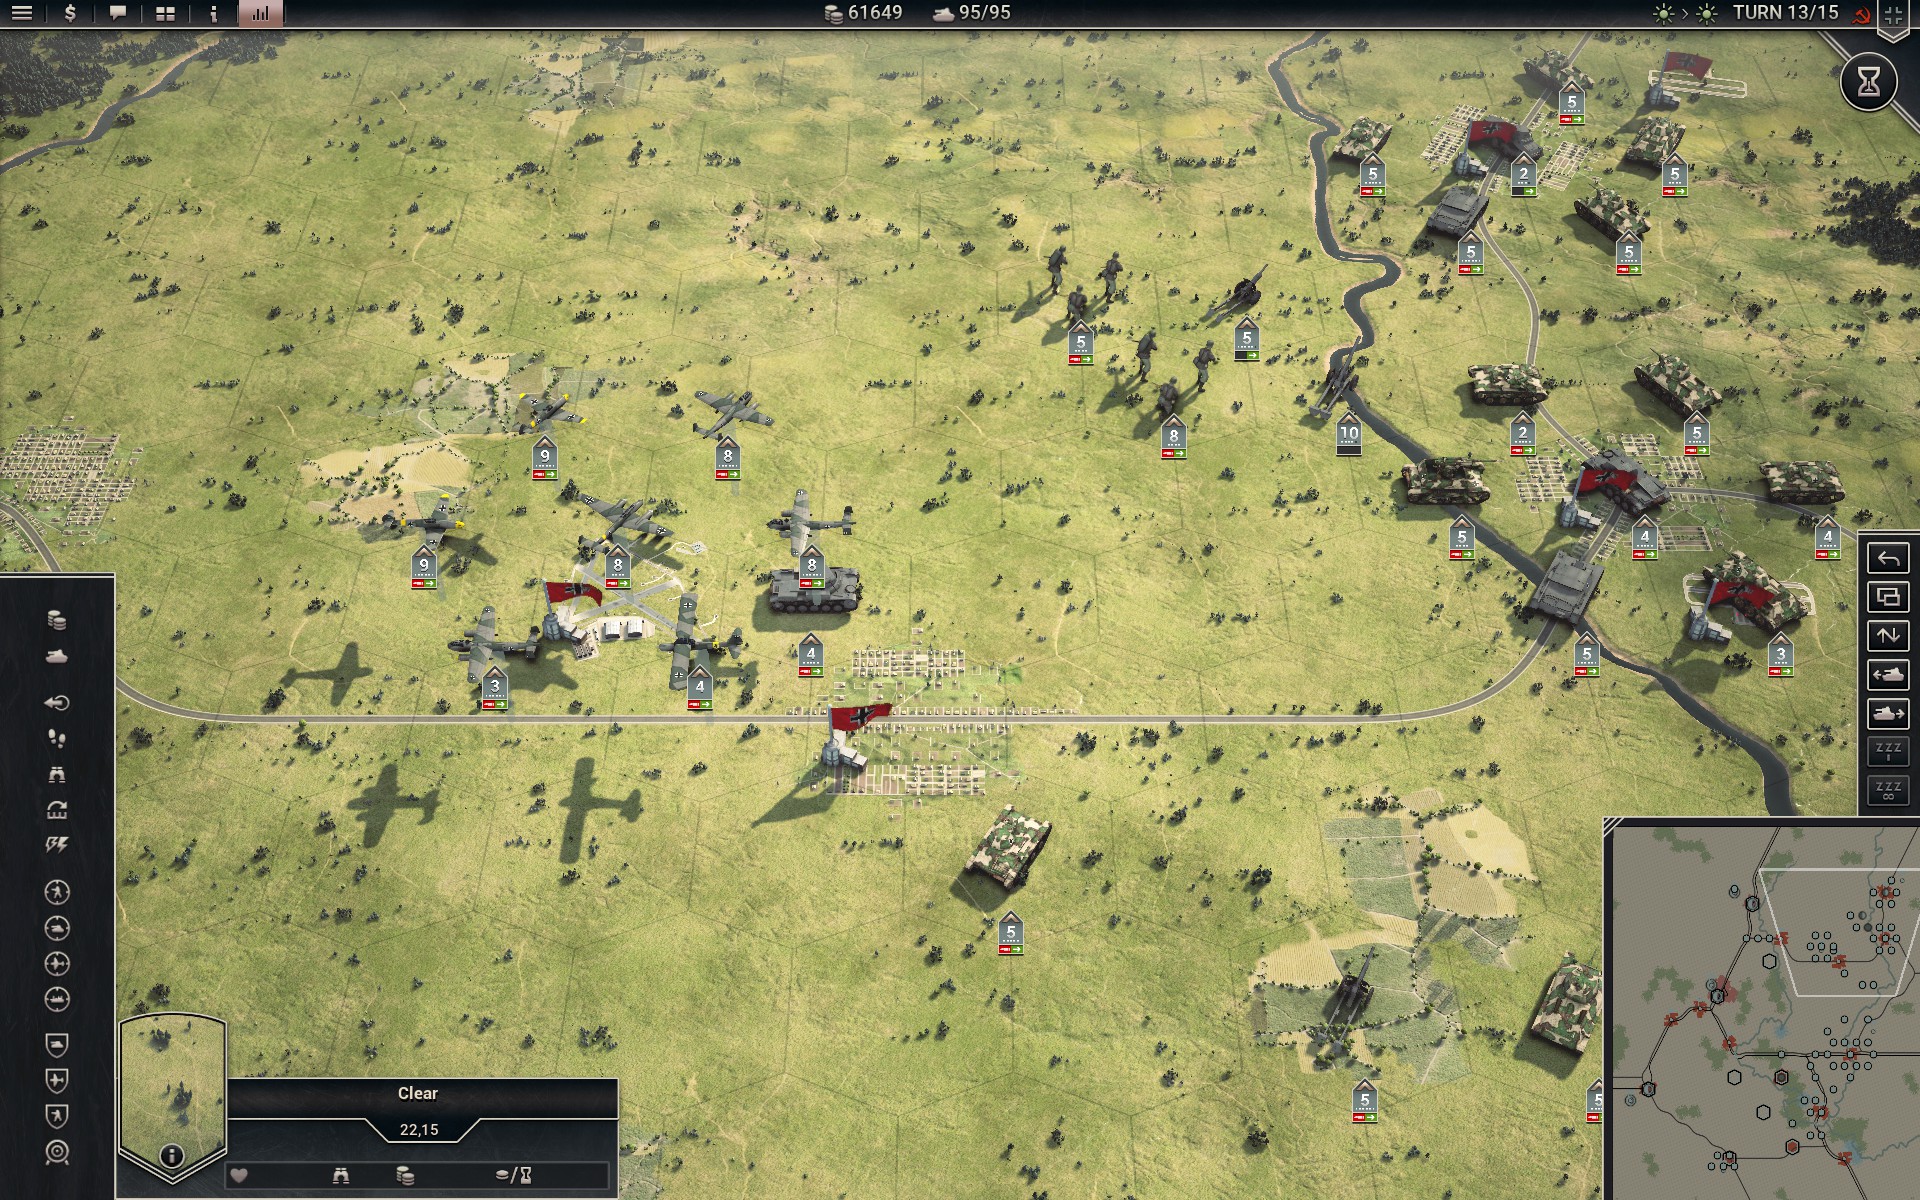
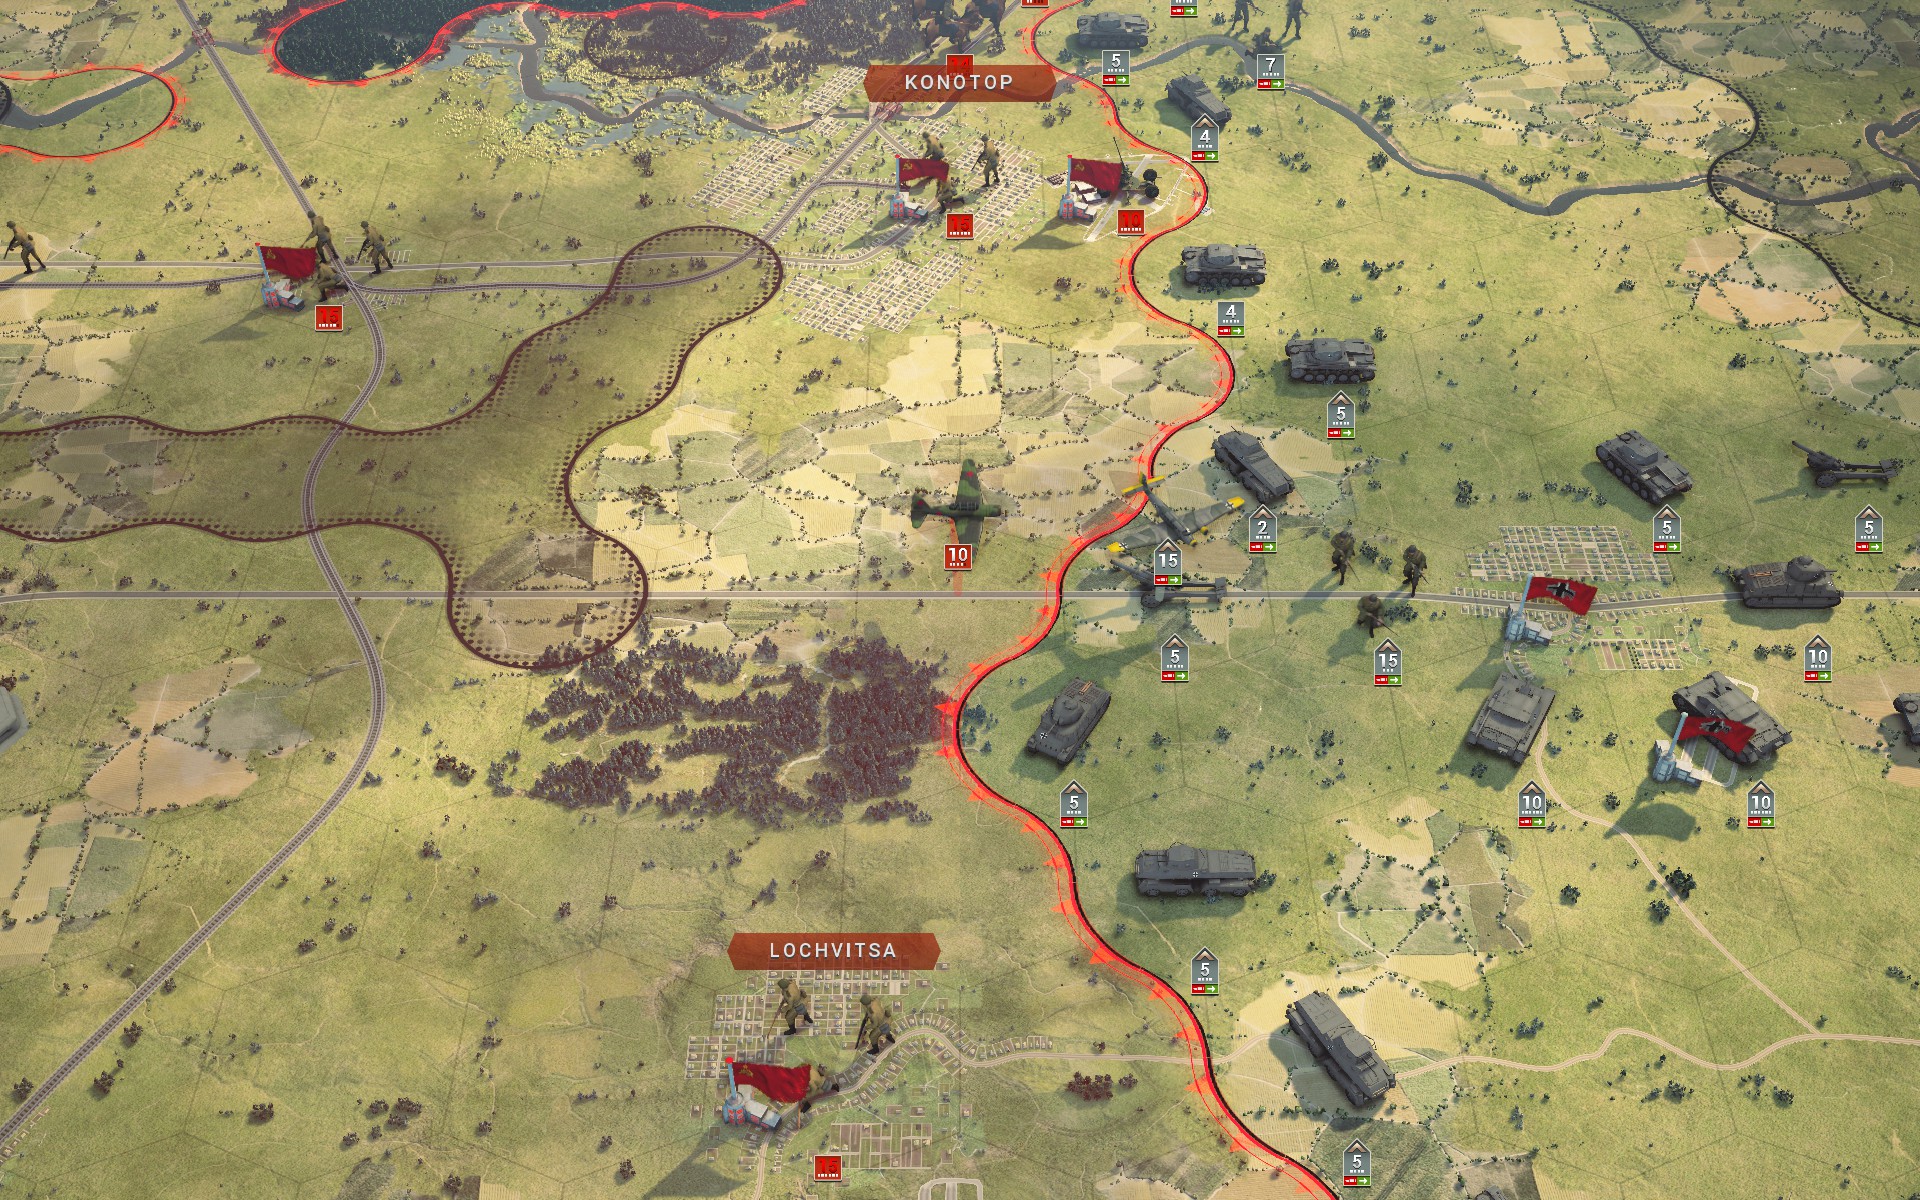
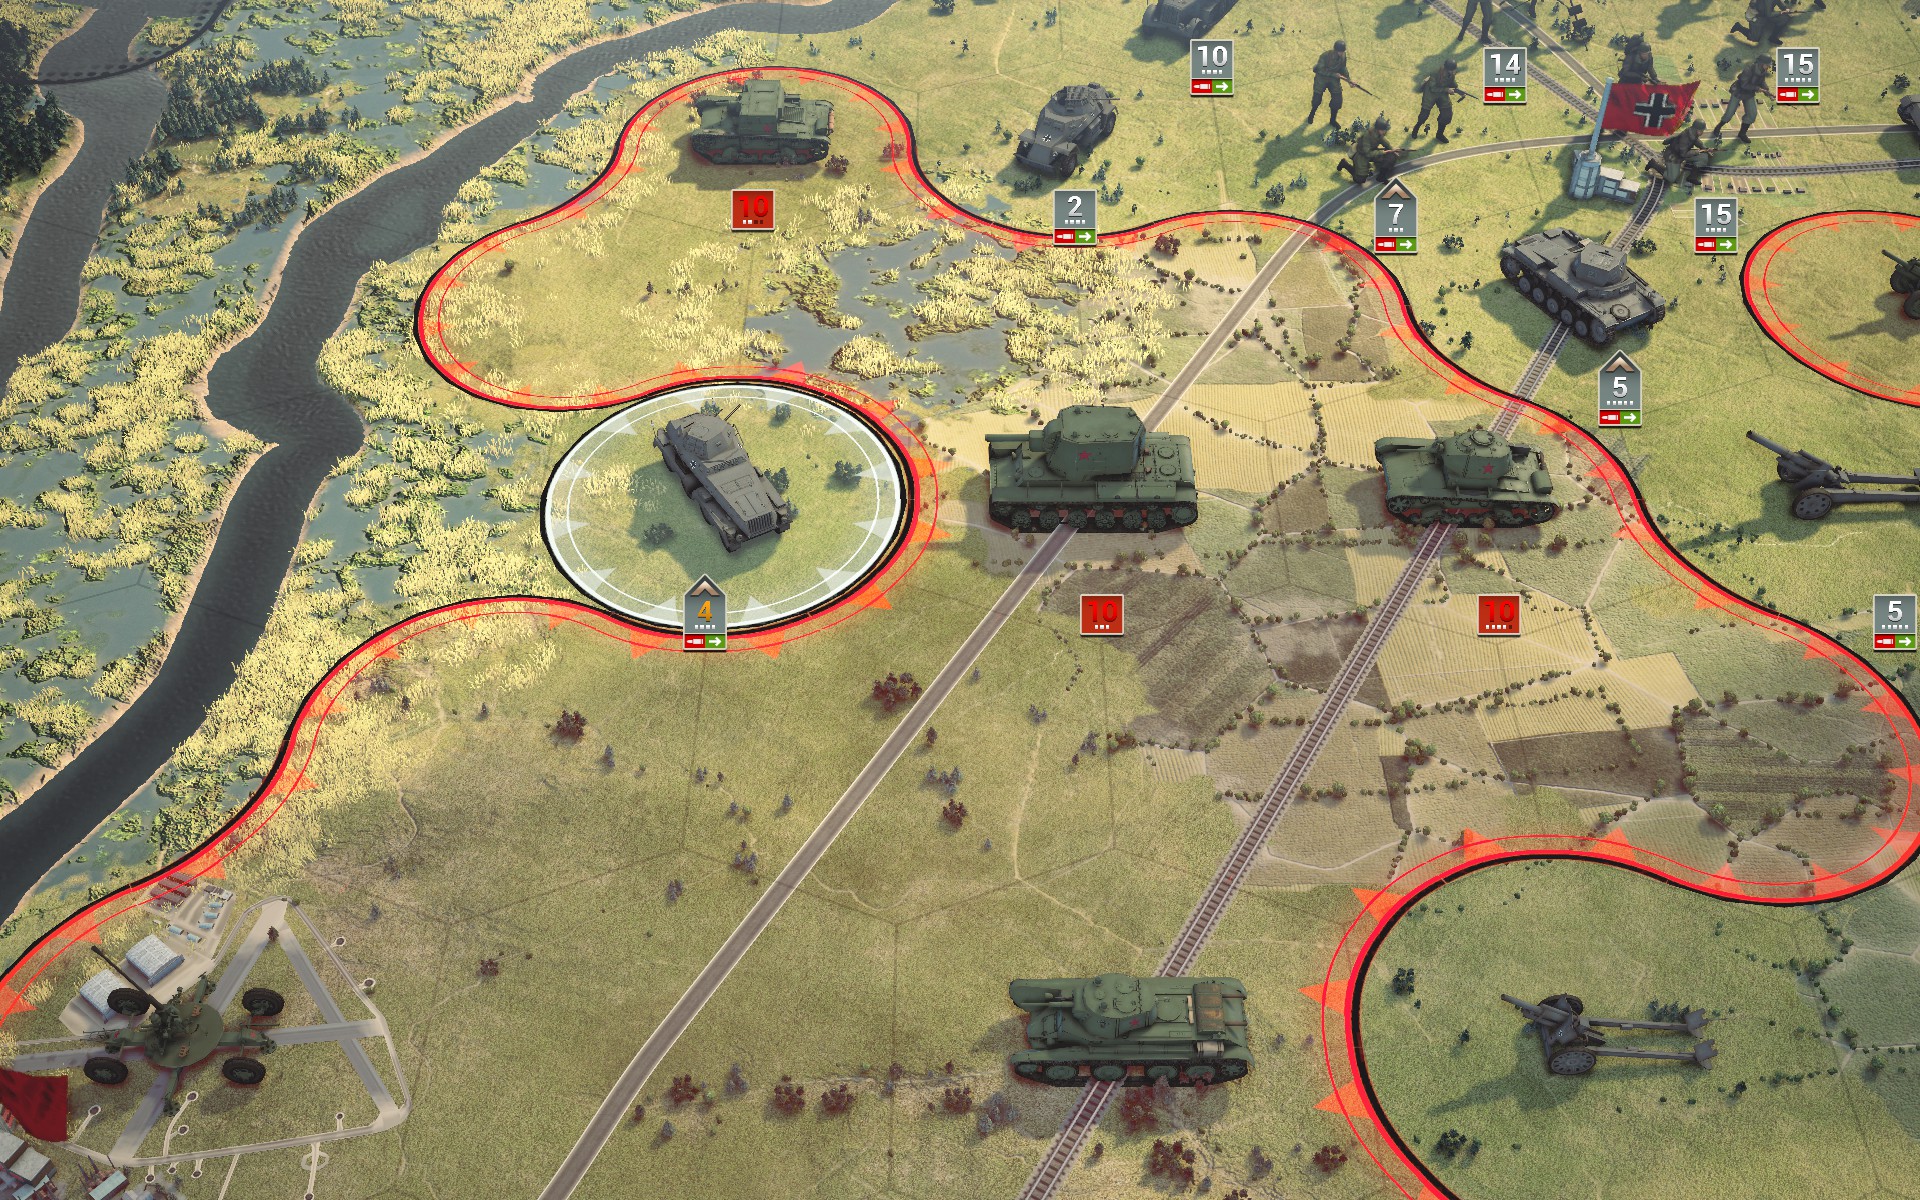
Even the Somuas struggle to damage the Soviet armoured behemoths. I'm glad I won't need to engage these in open battle.
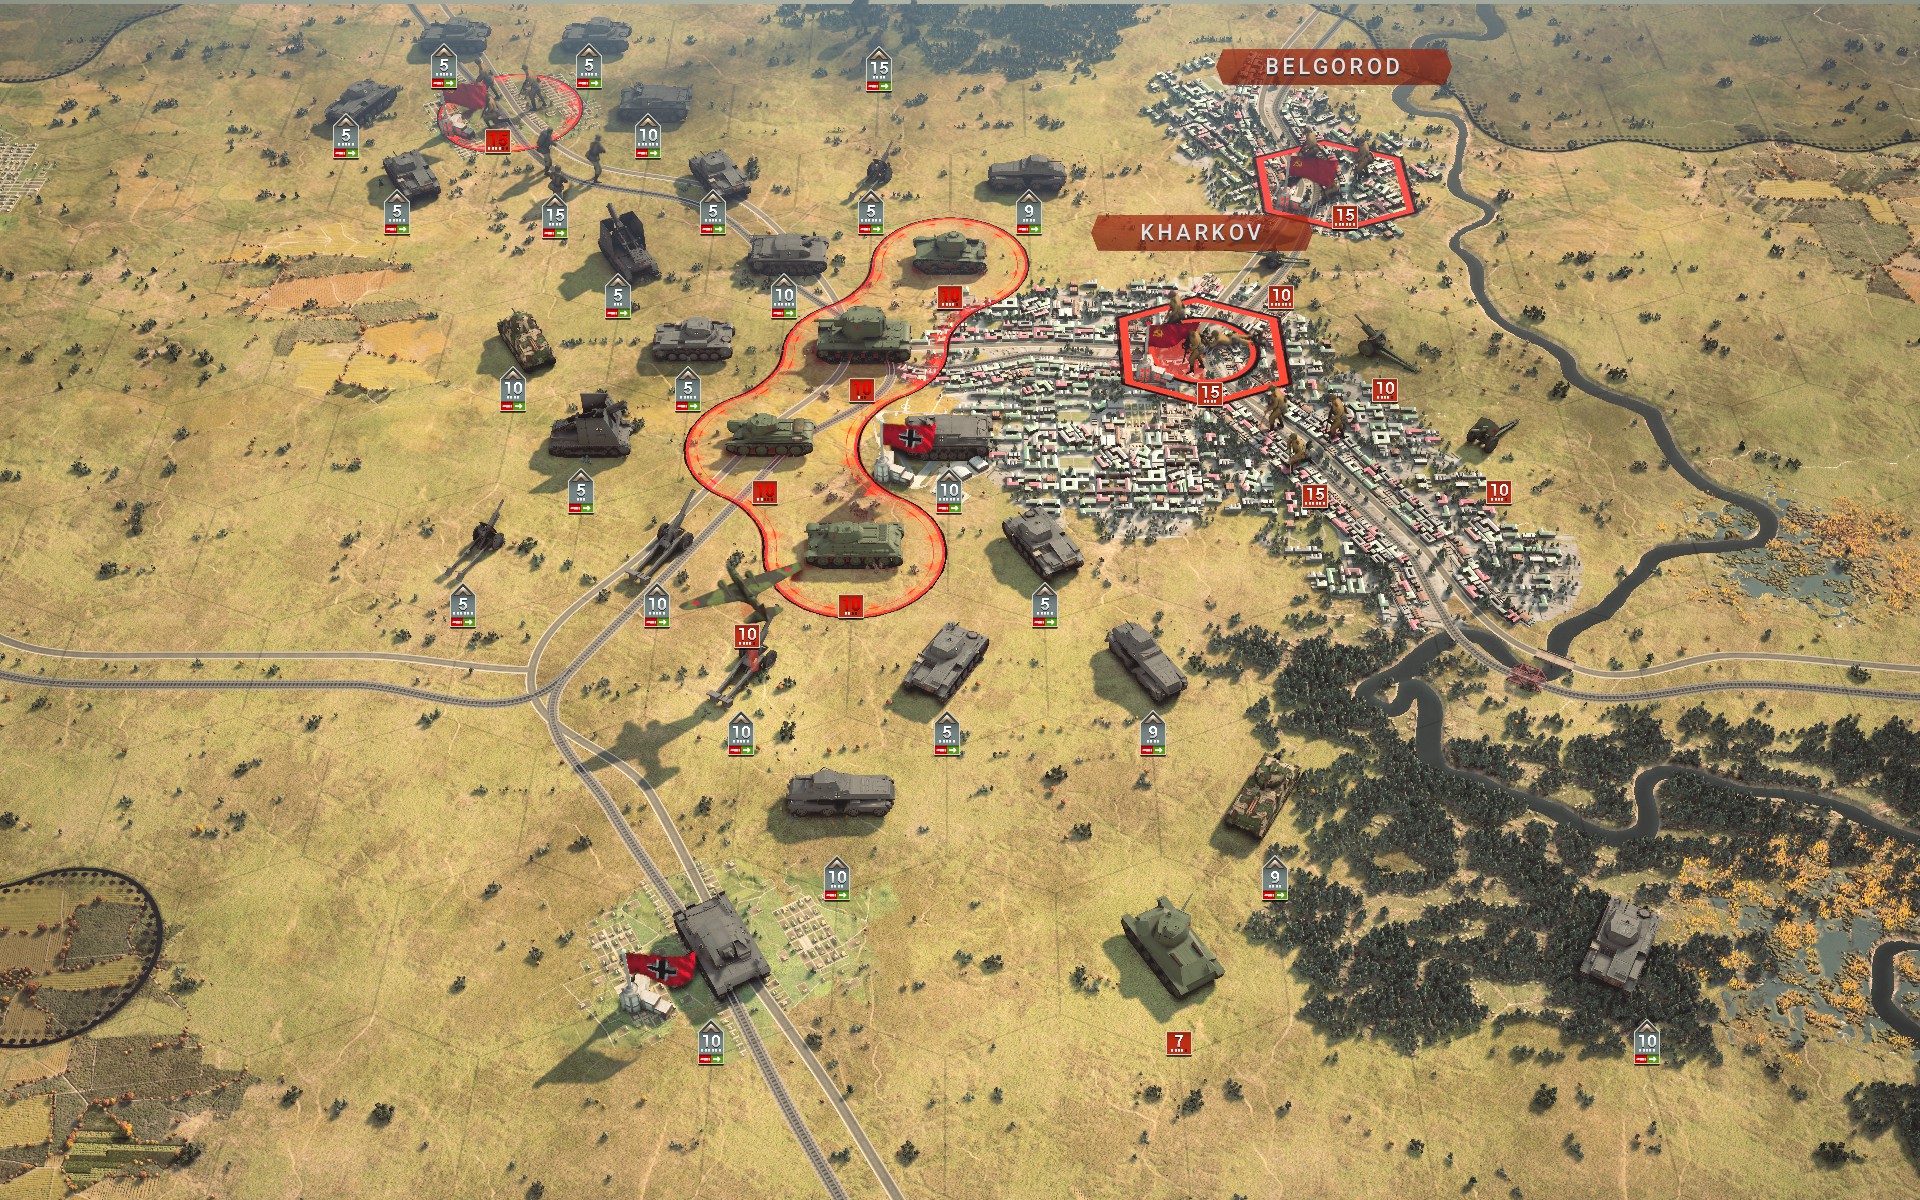
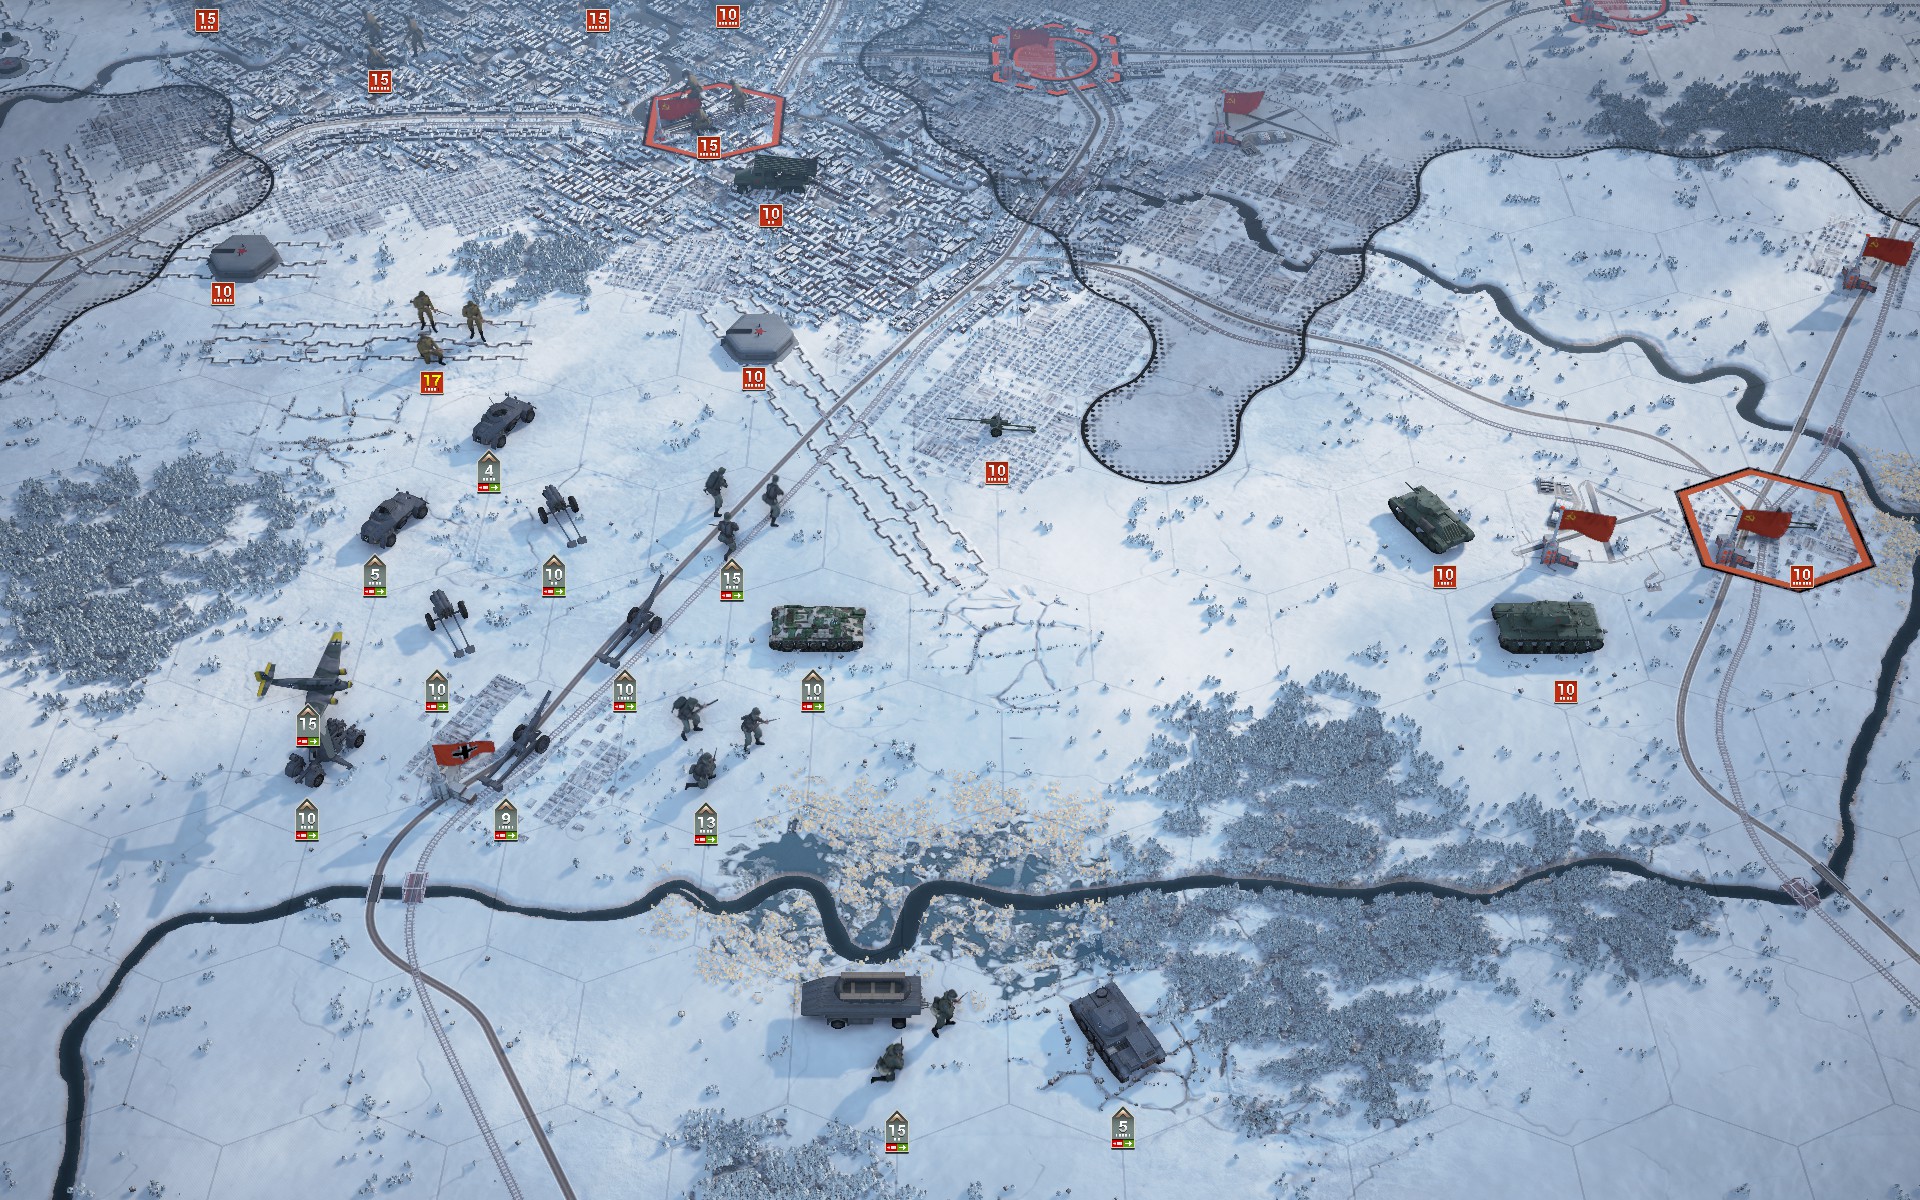
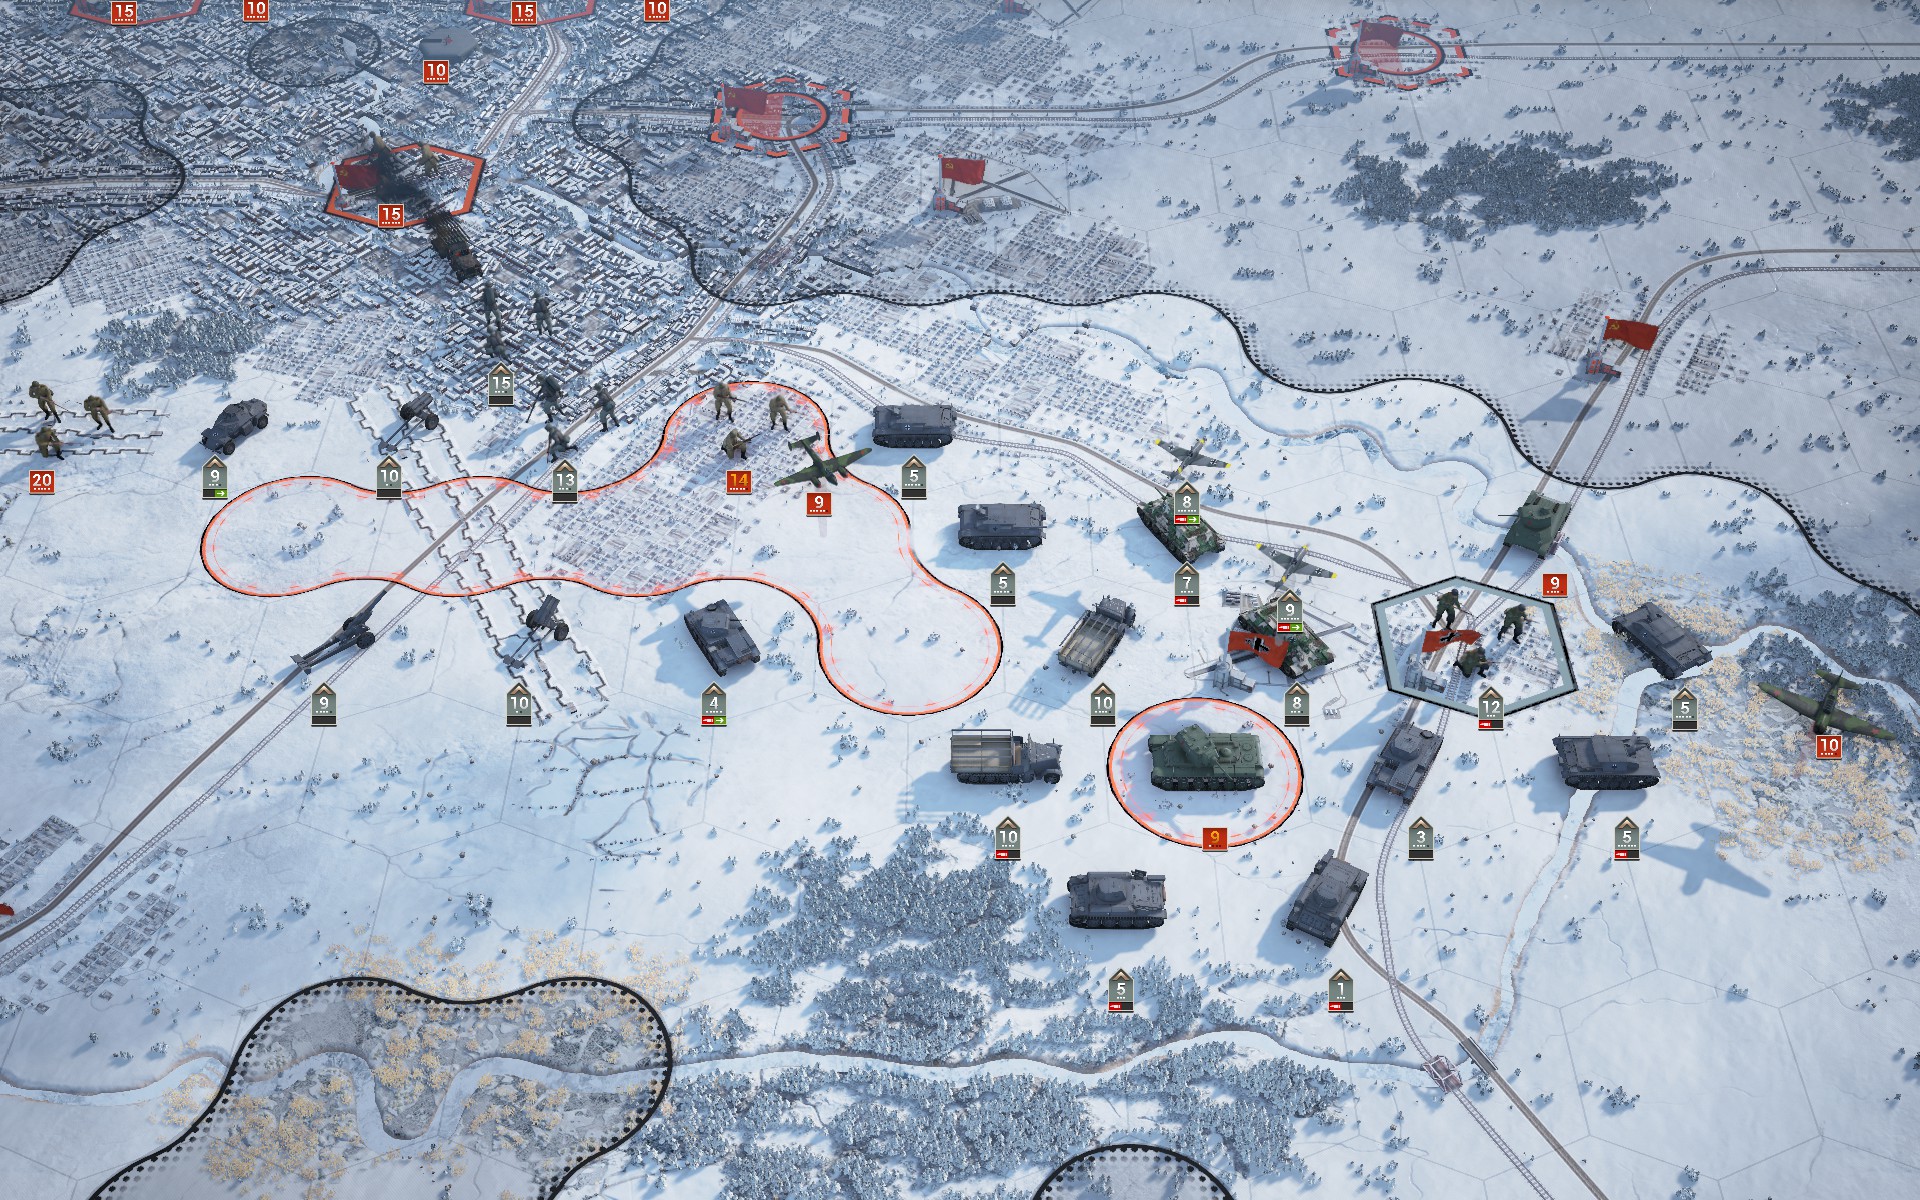
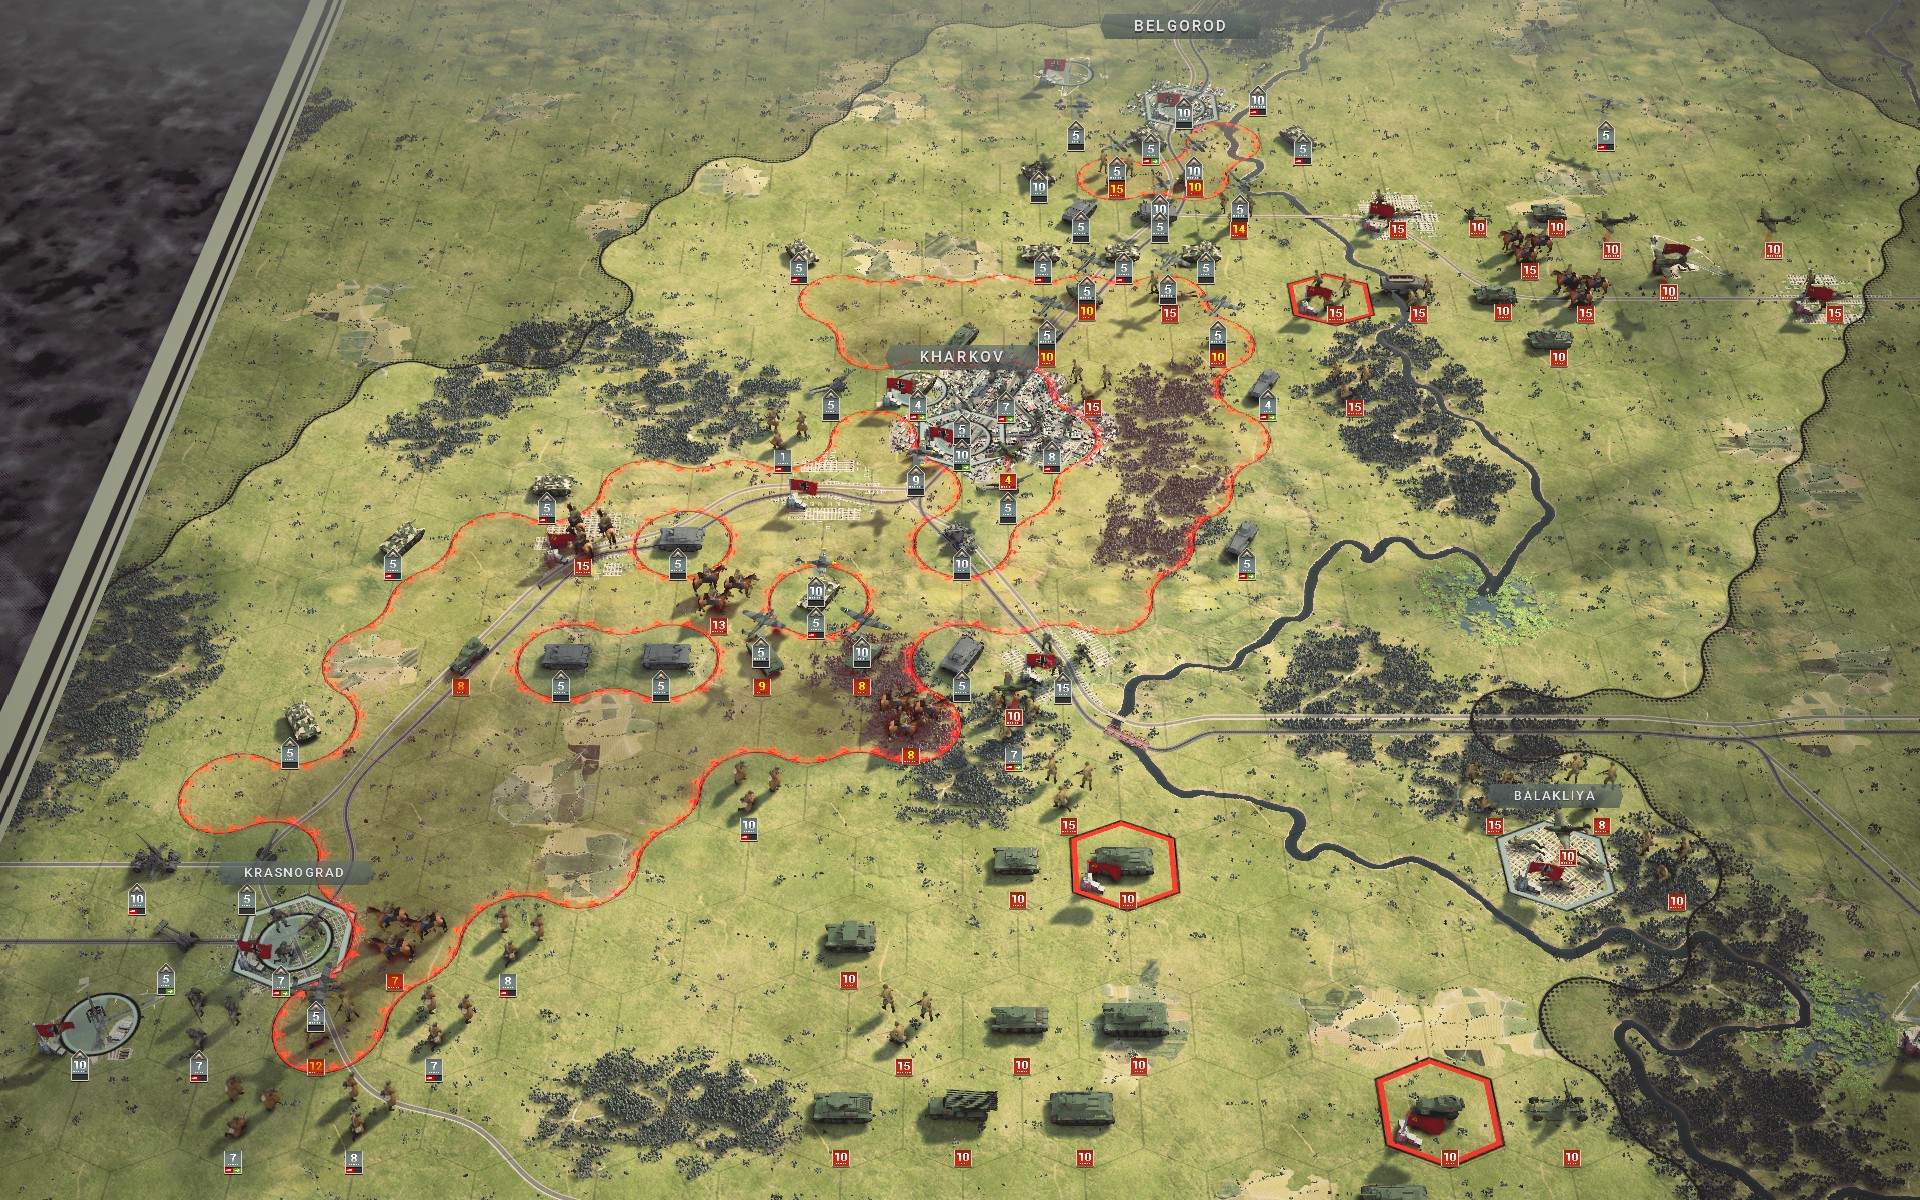
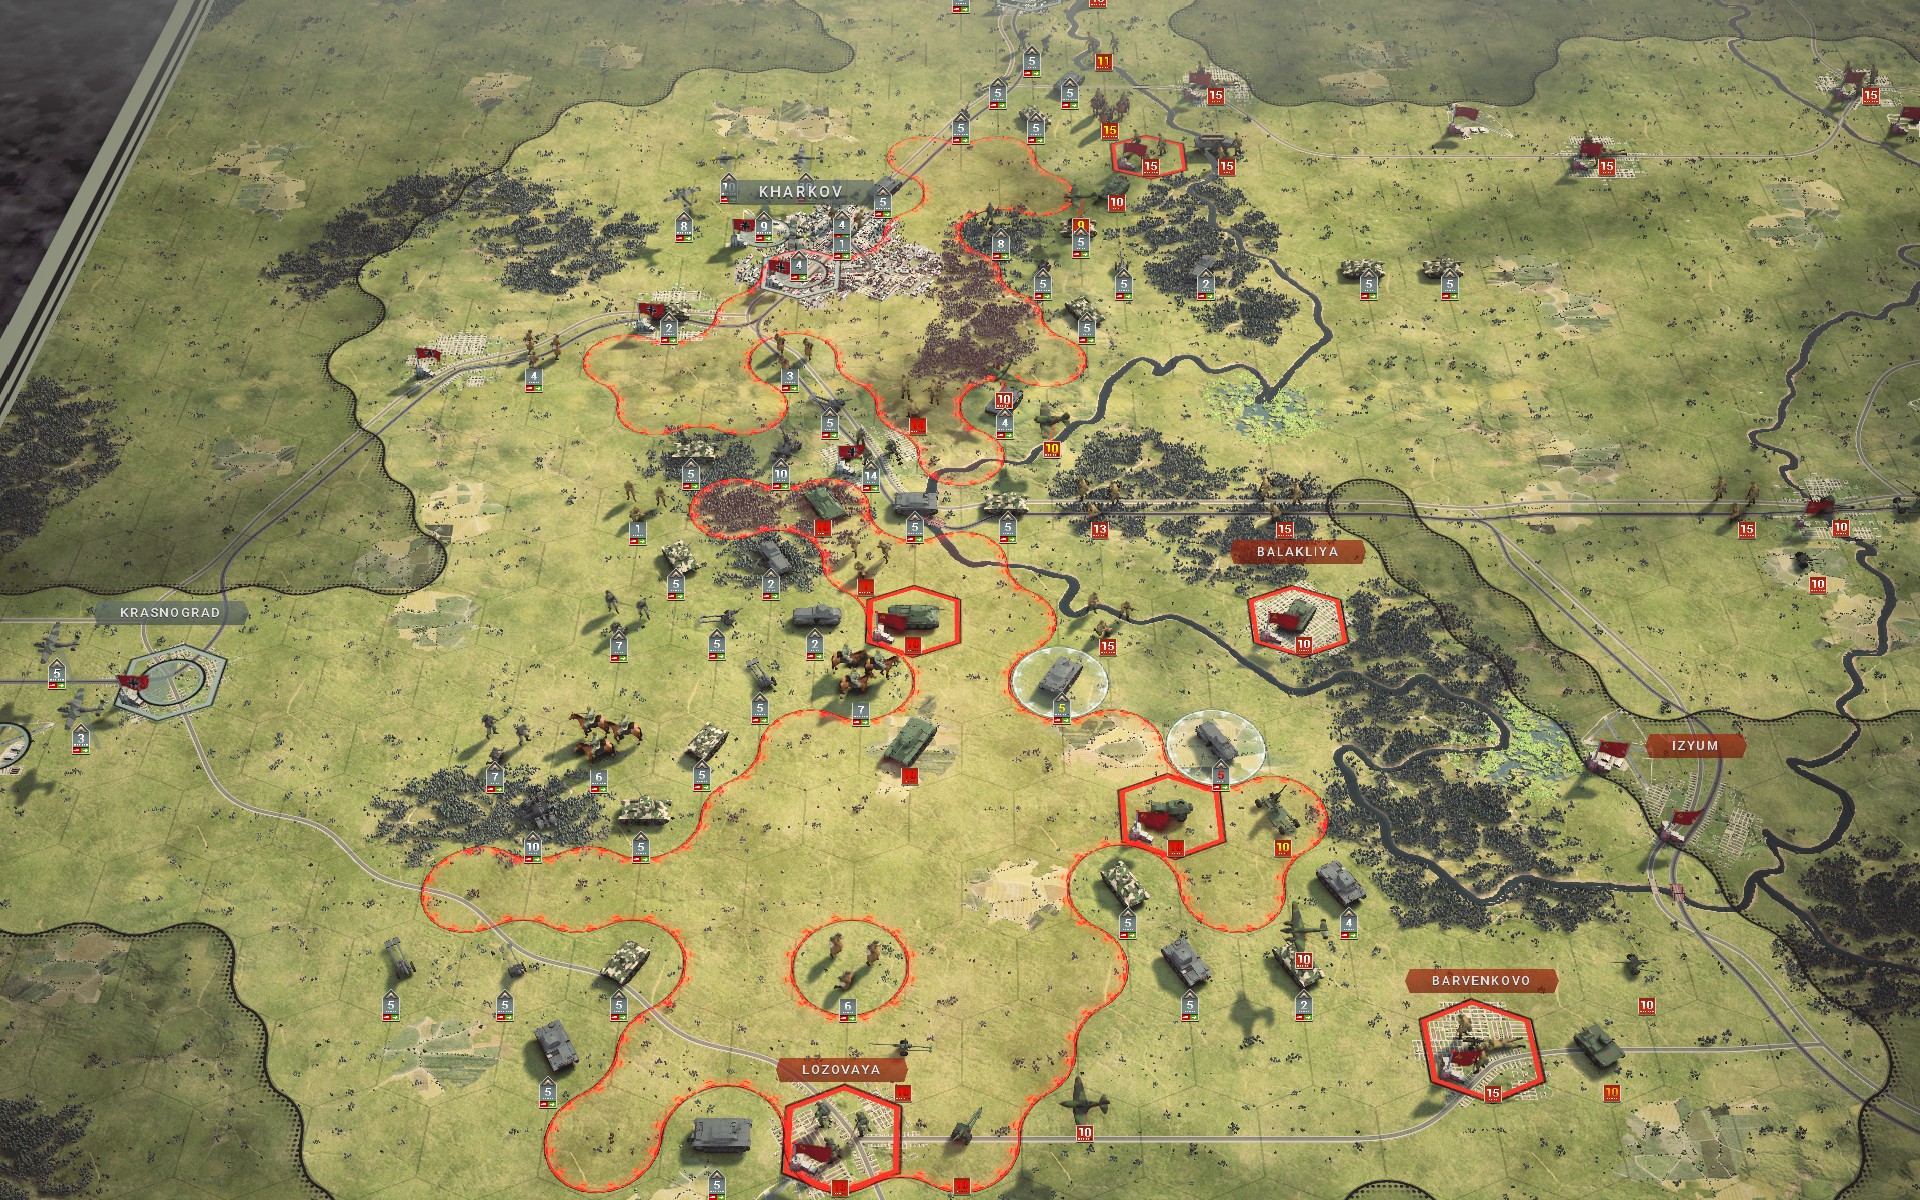
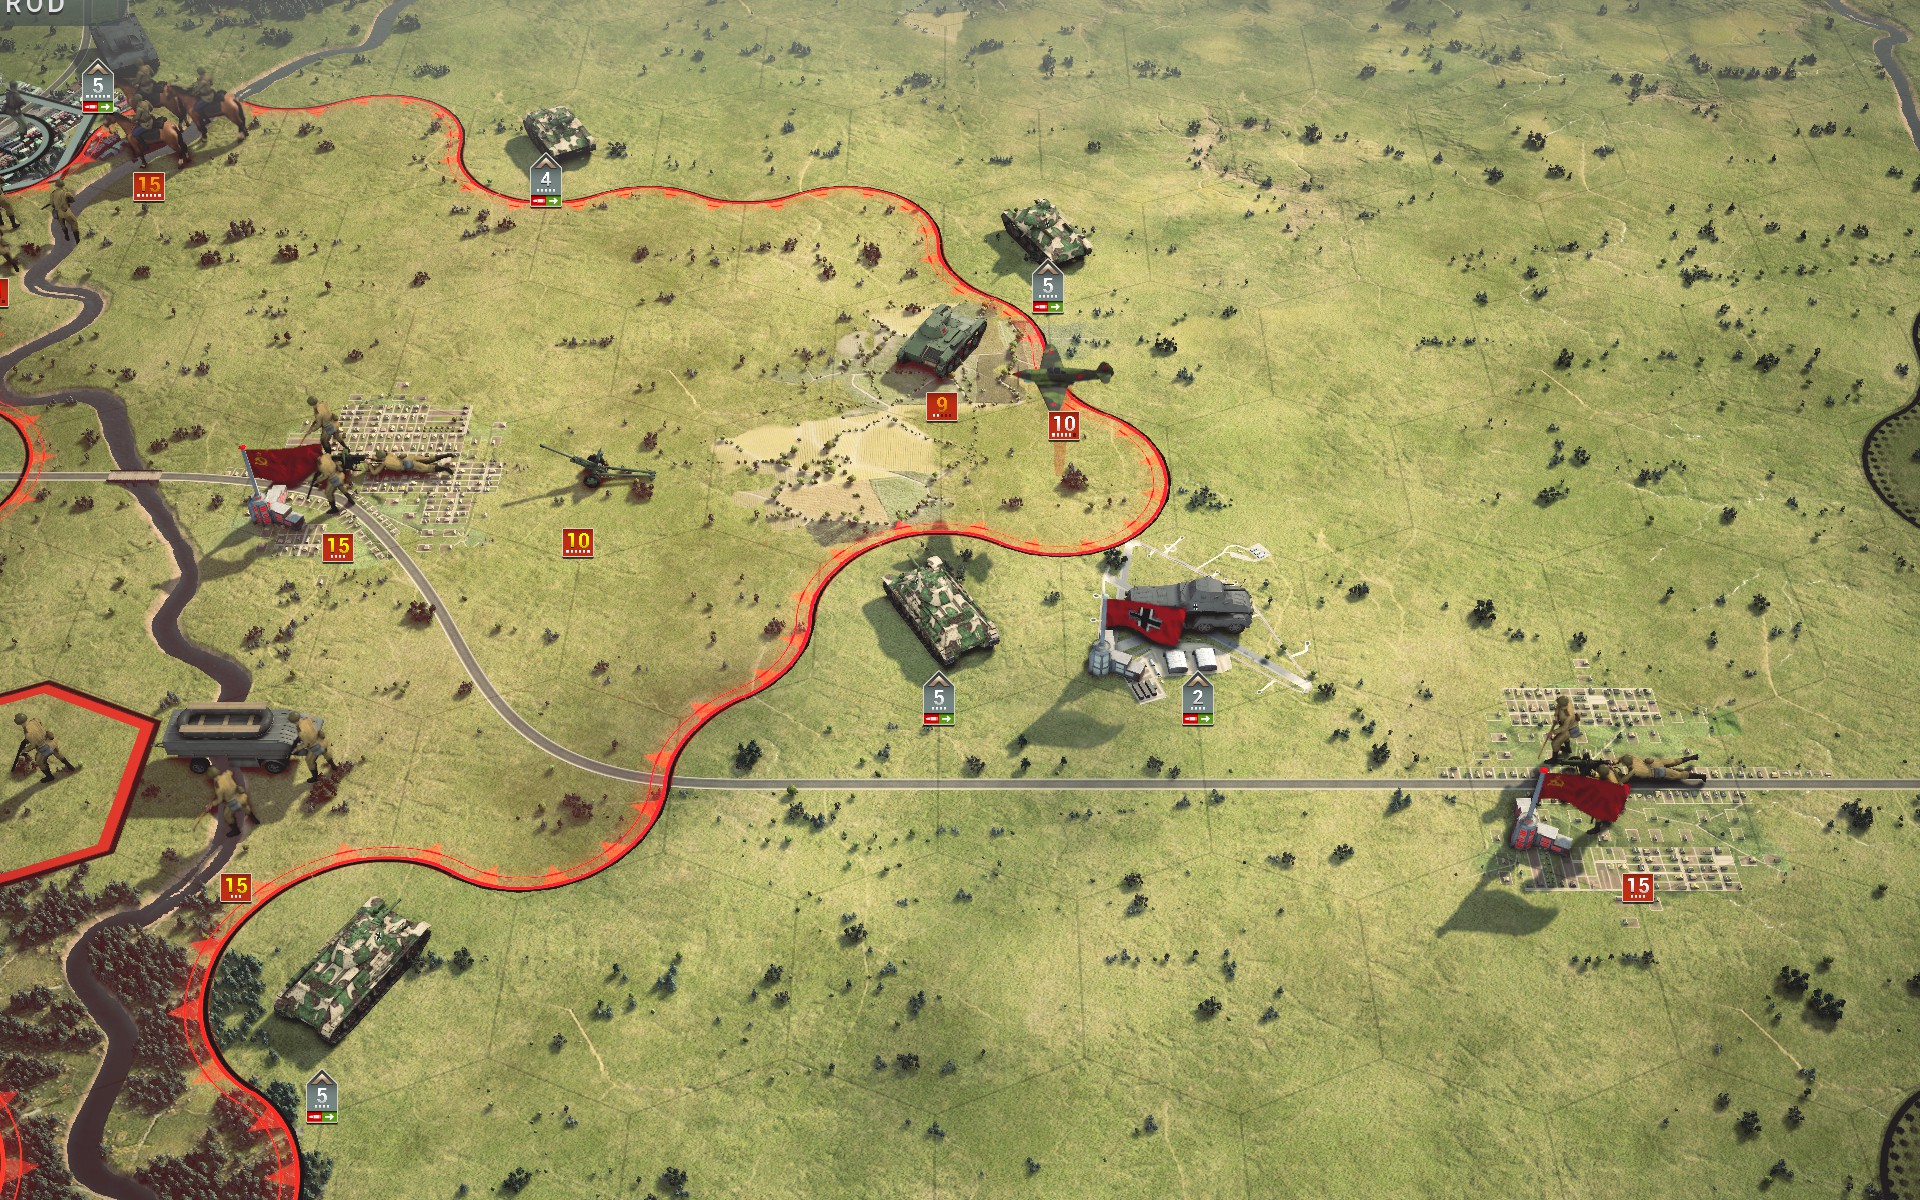
The cordon is tightened as my forces begin to advance west. The Soviet forces around Mirgorod are heavily entrenched, but I'm confident the StuGs and strategic bombers can handle them.
A remnant of the Soviet air force that had gone undetected destroys a detached recon, my first costly mistake.
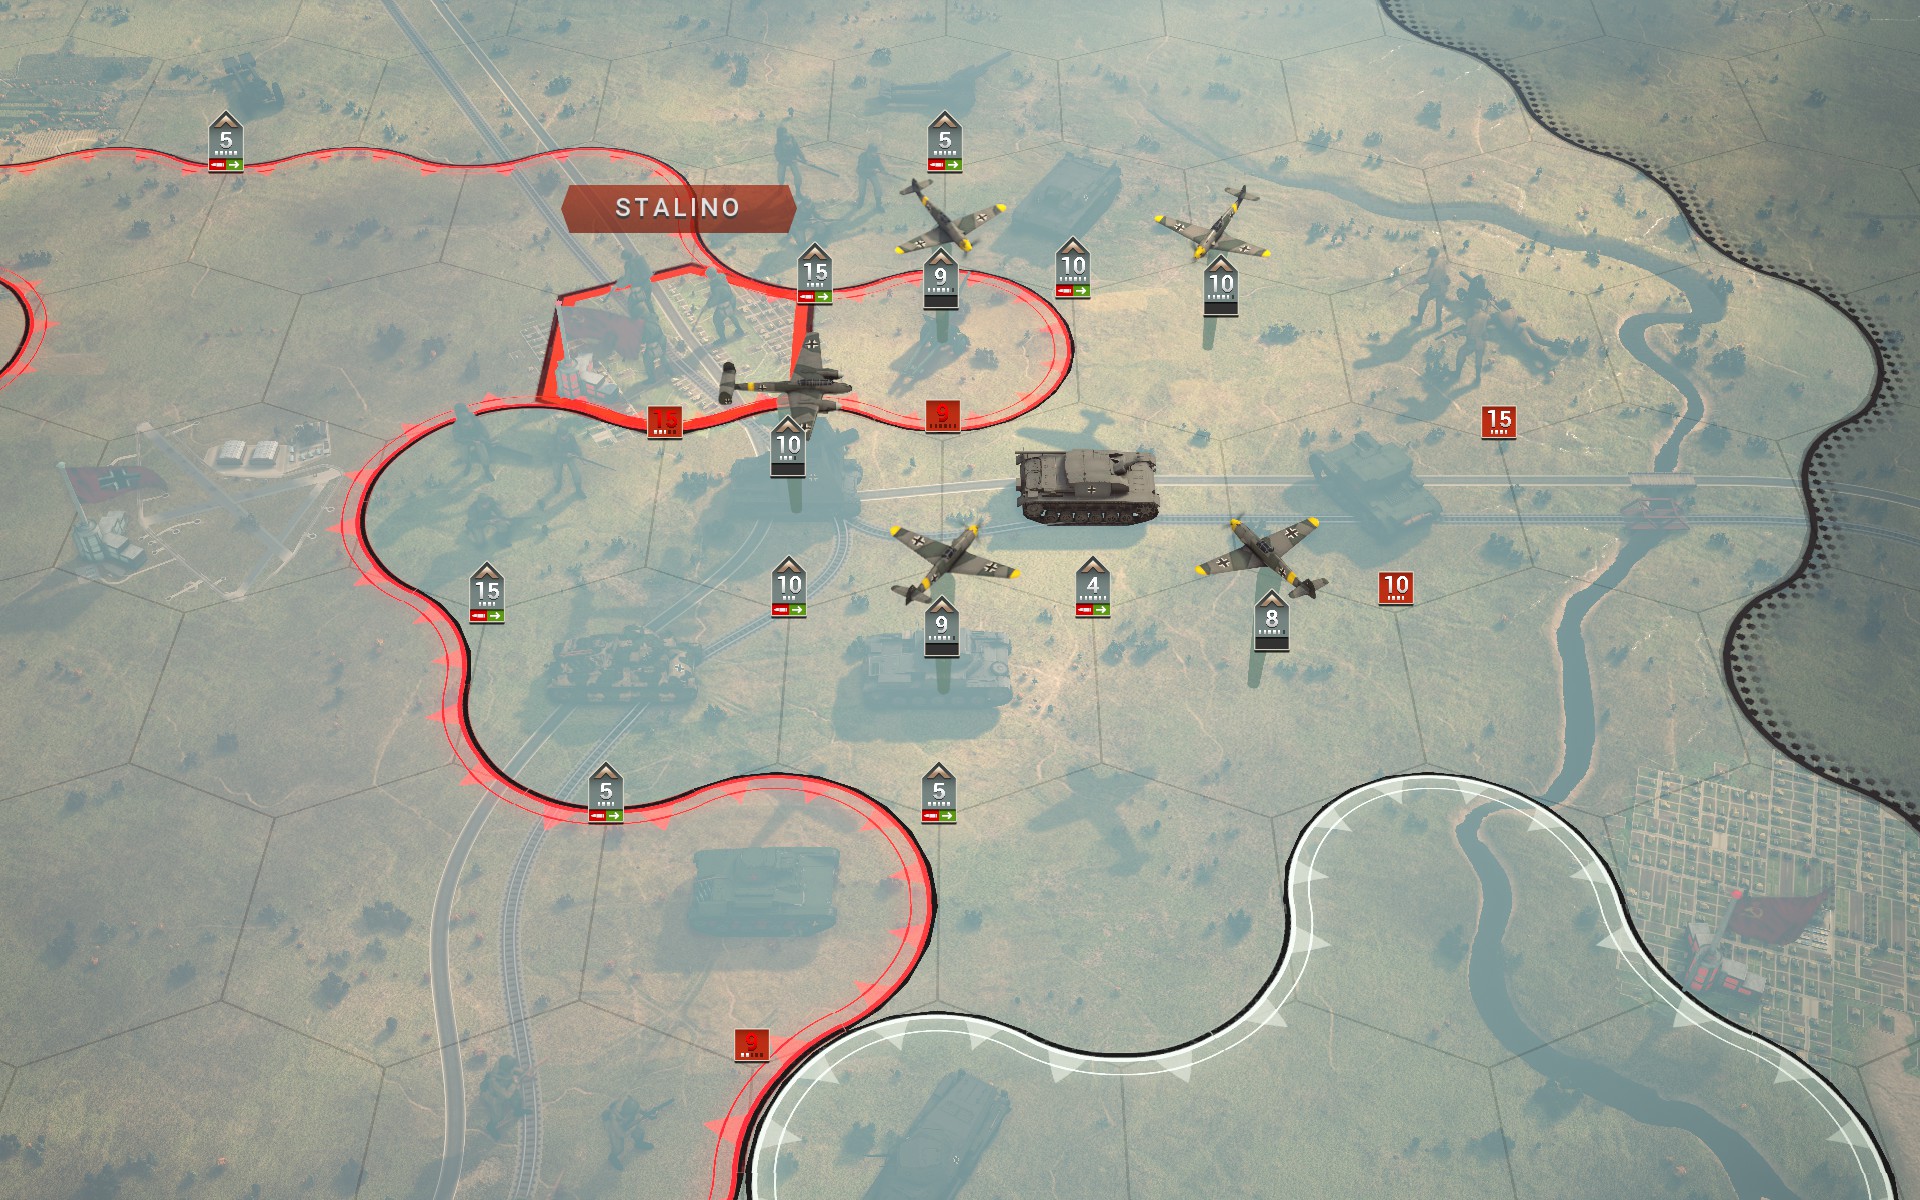
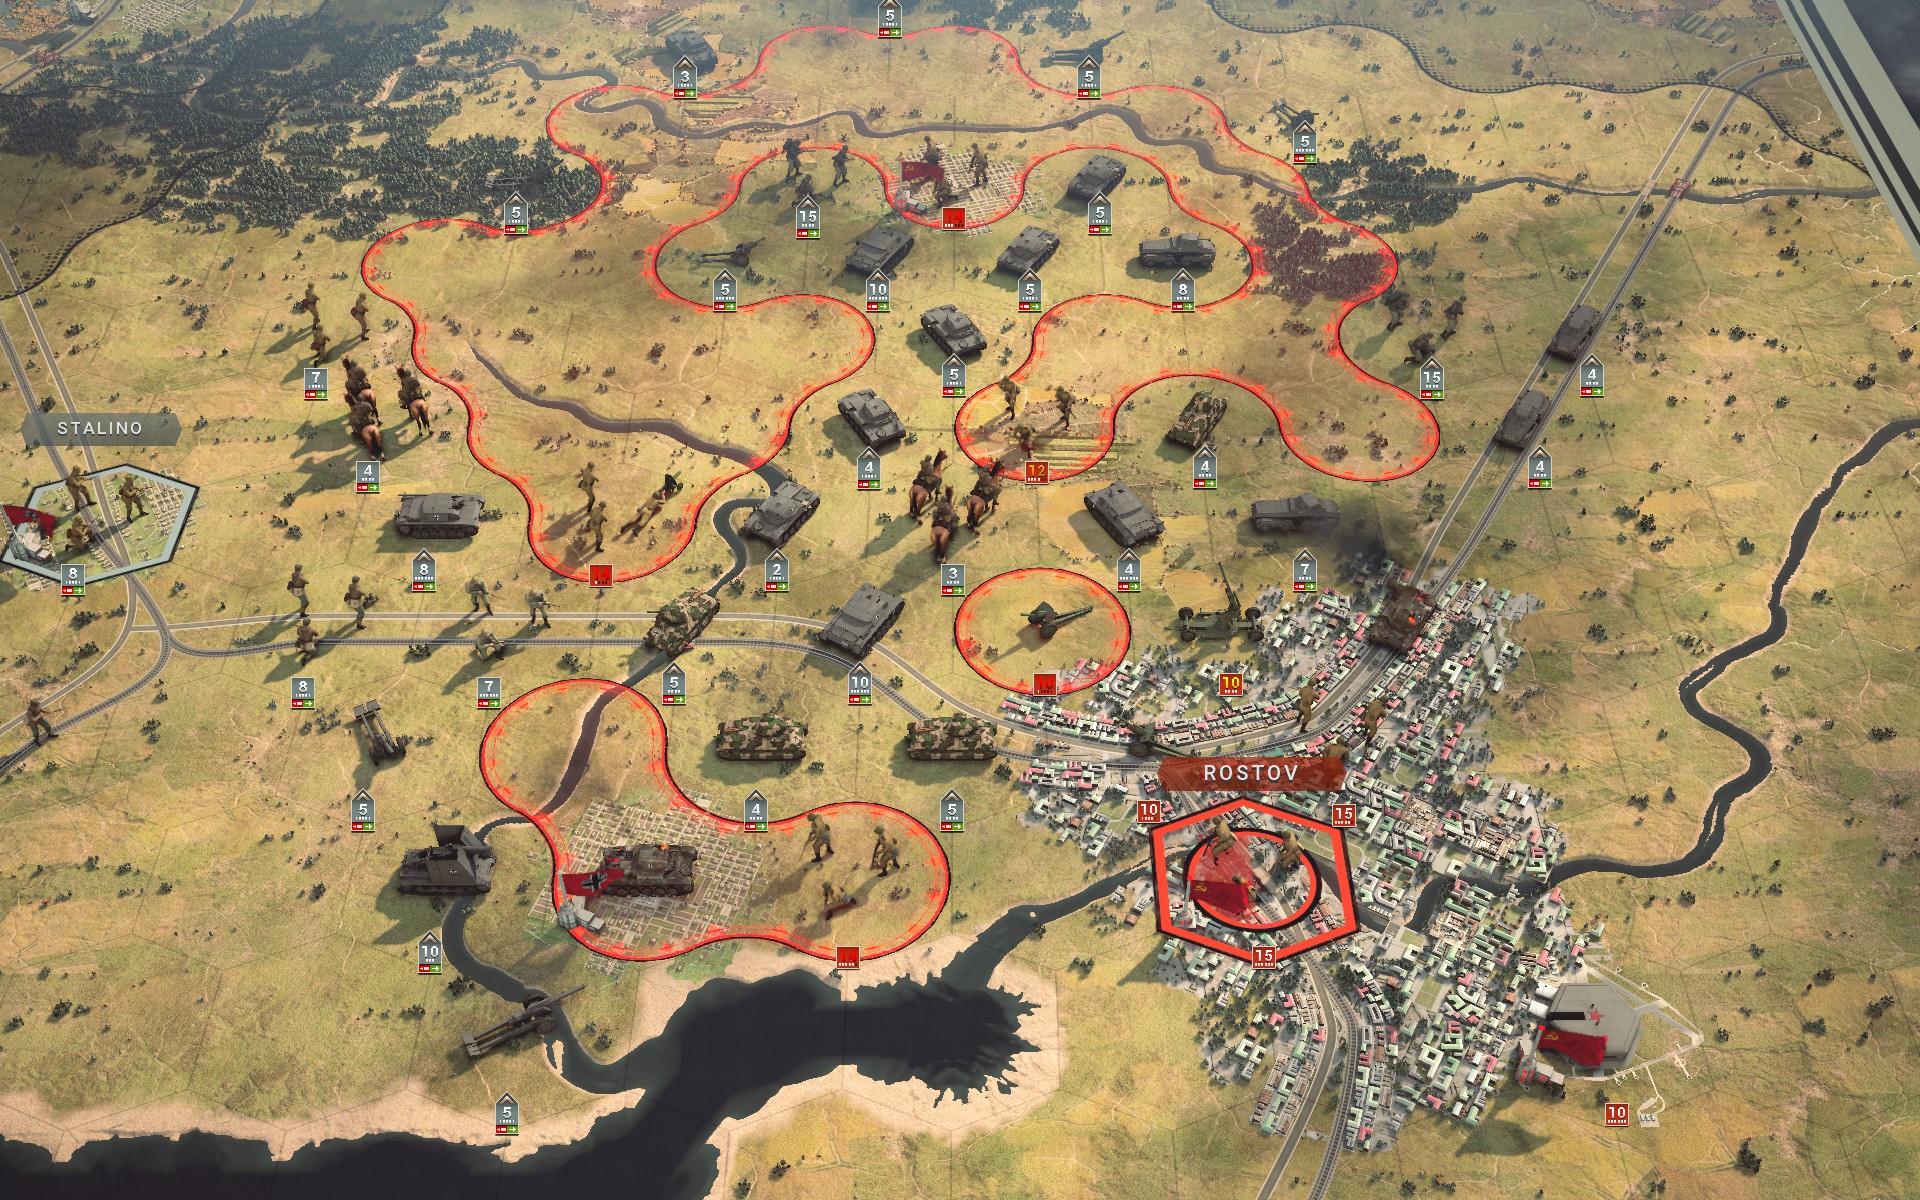
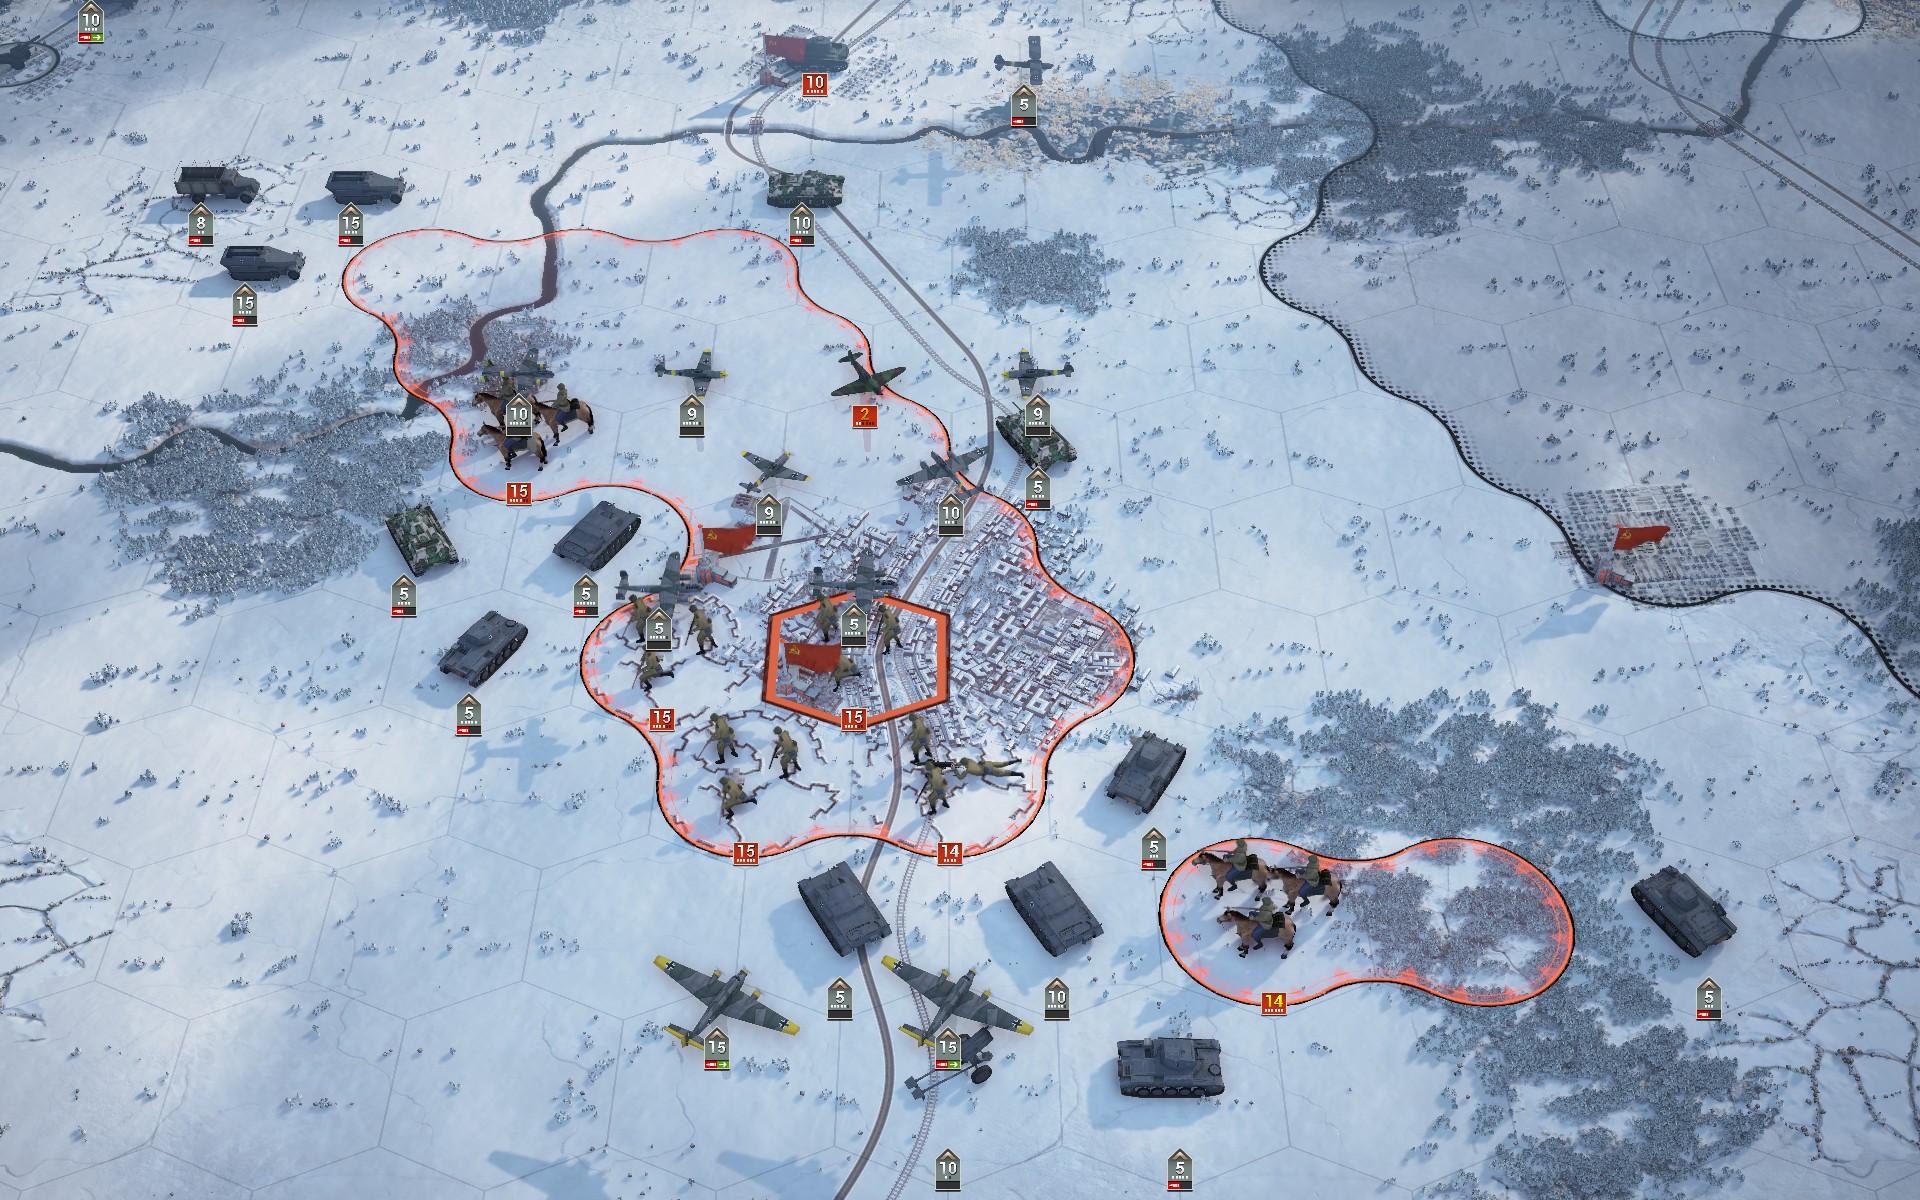
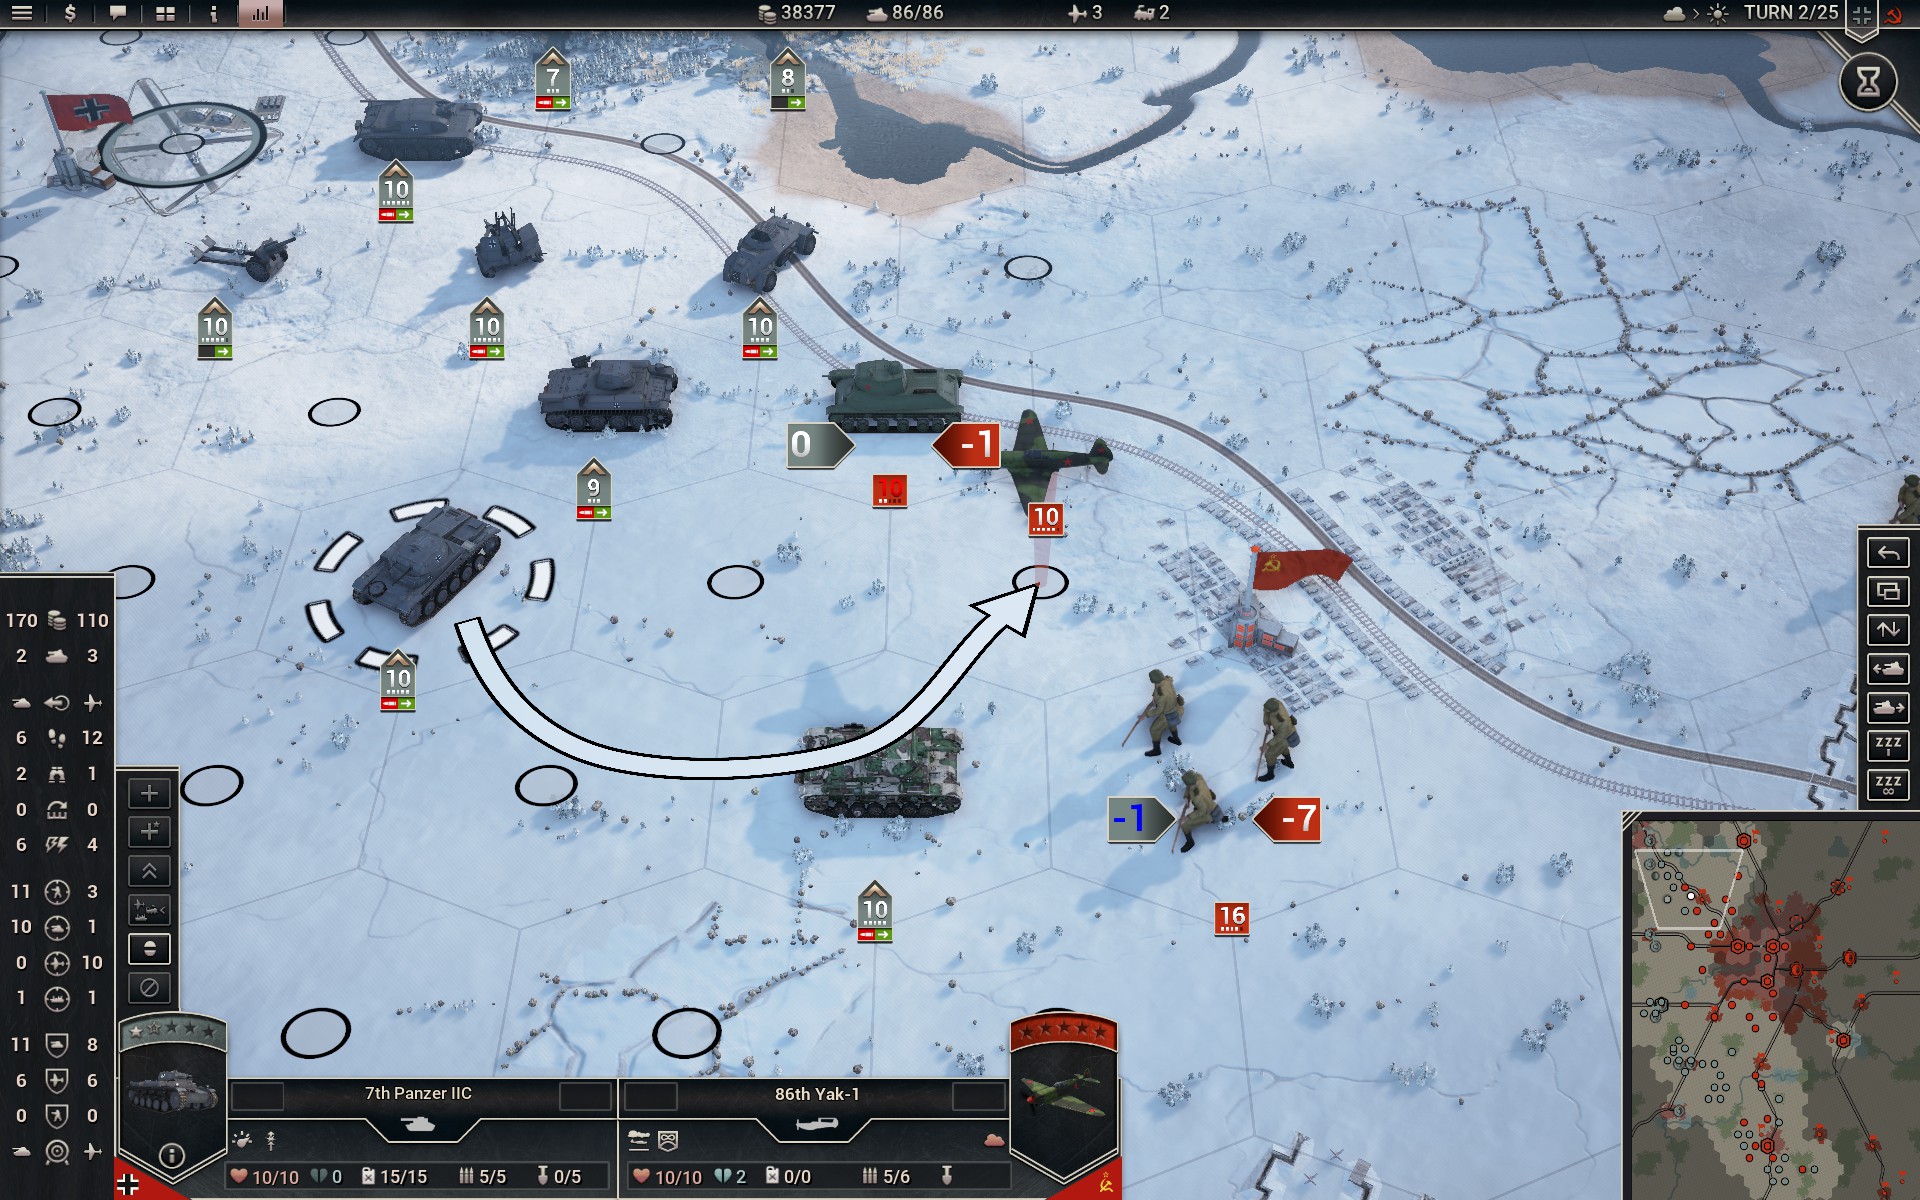
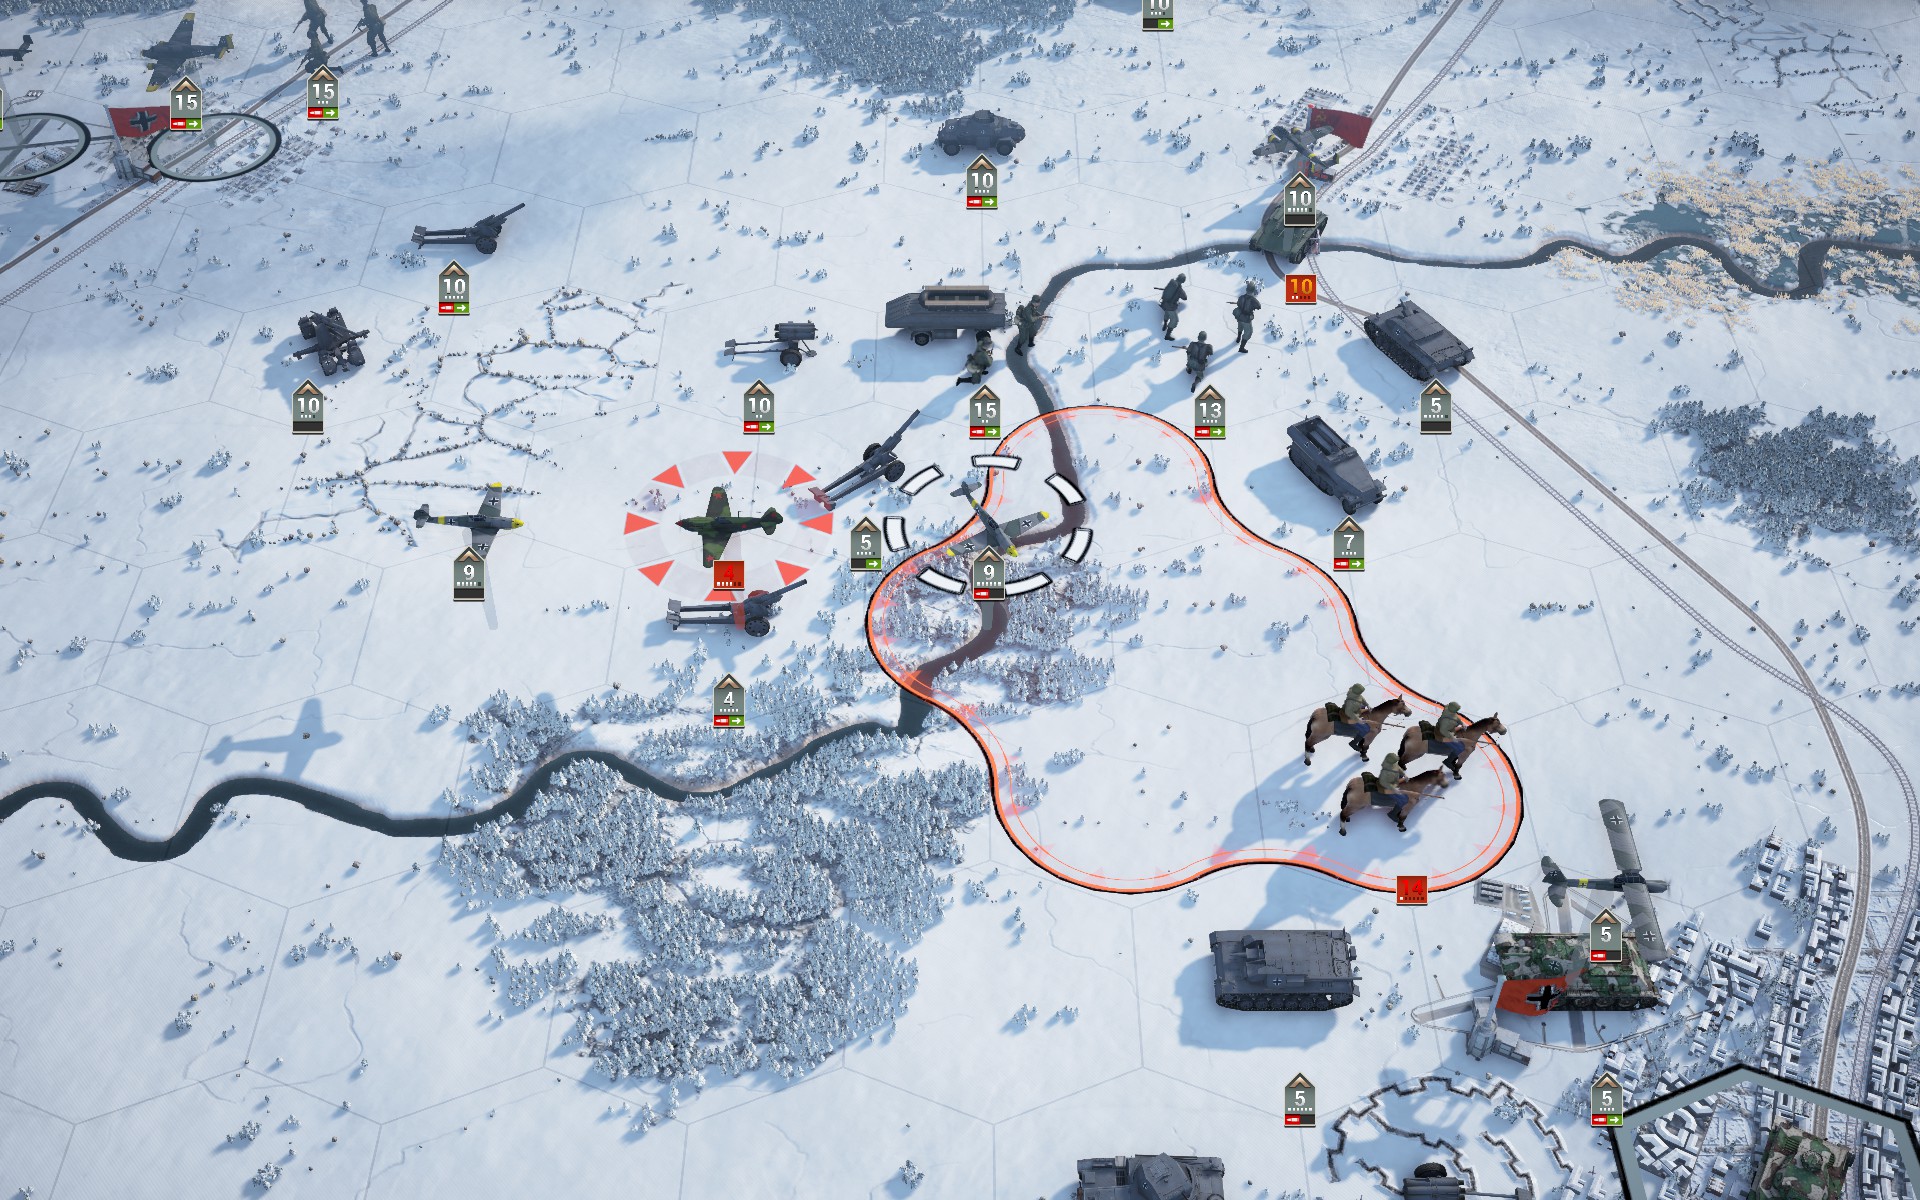
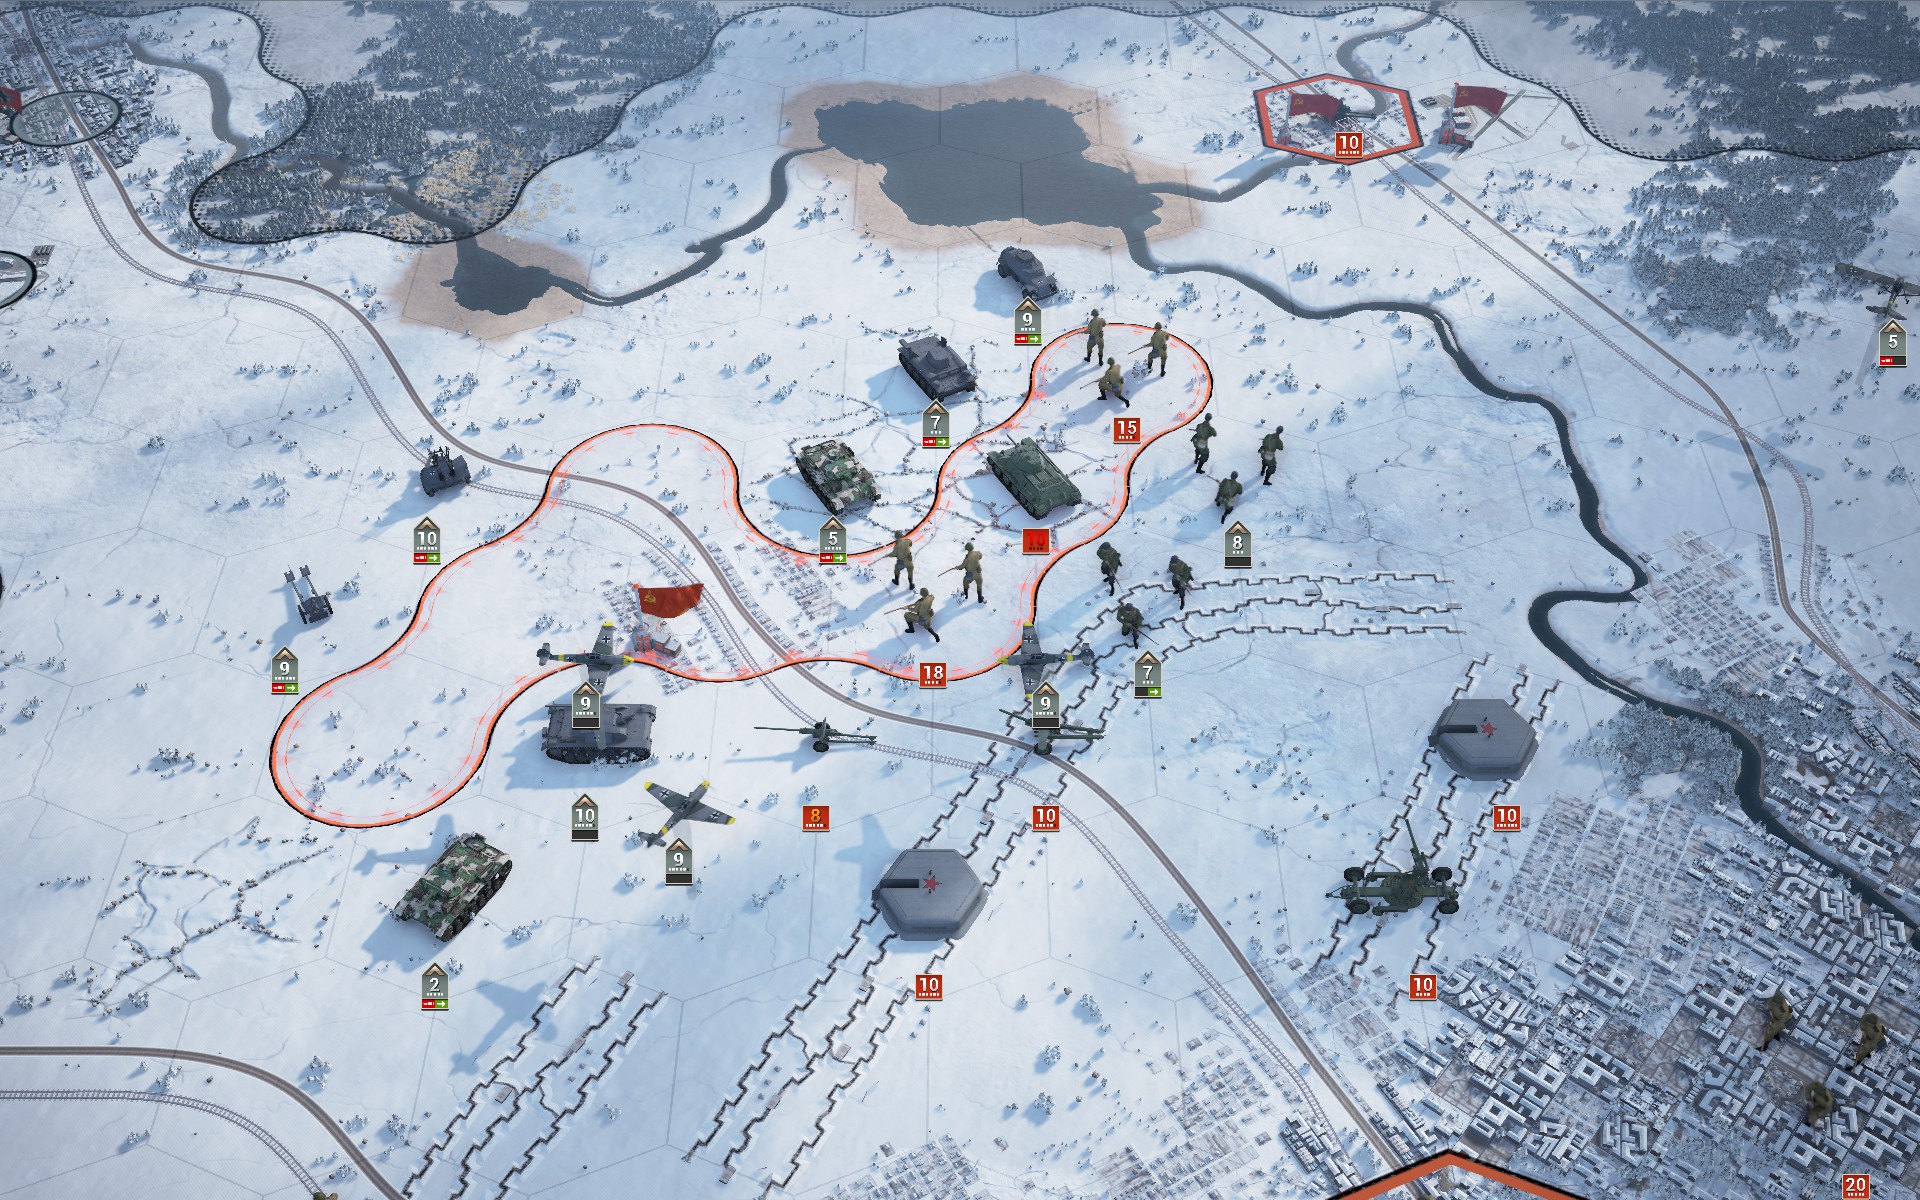
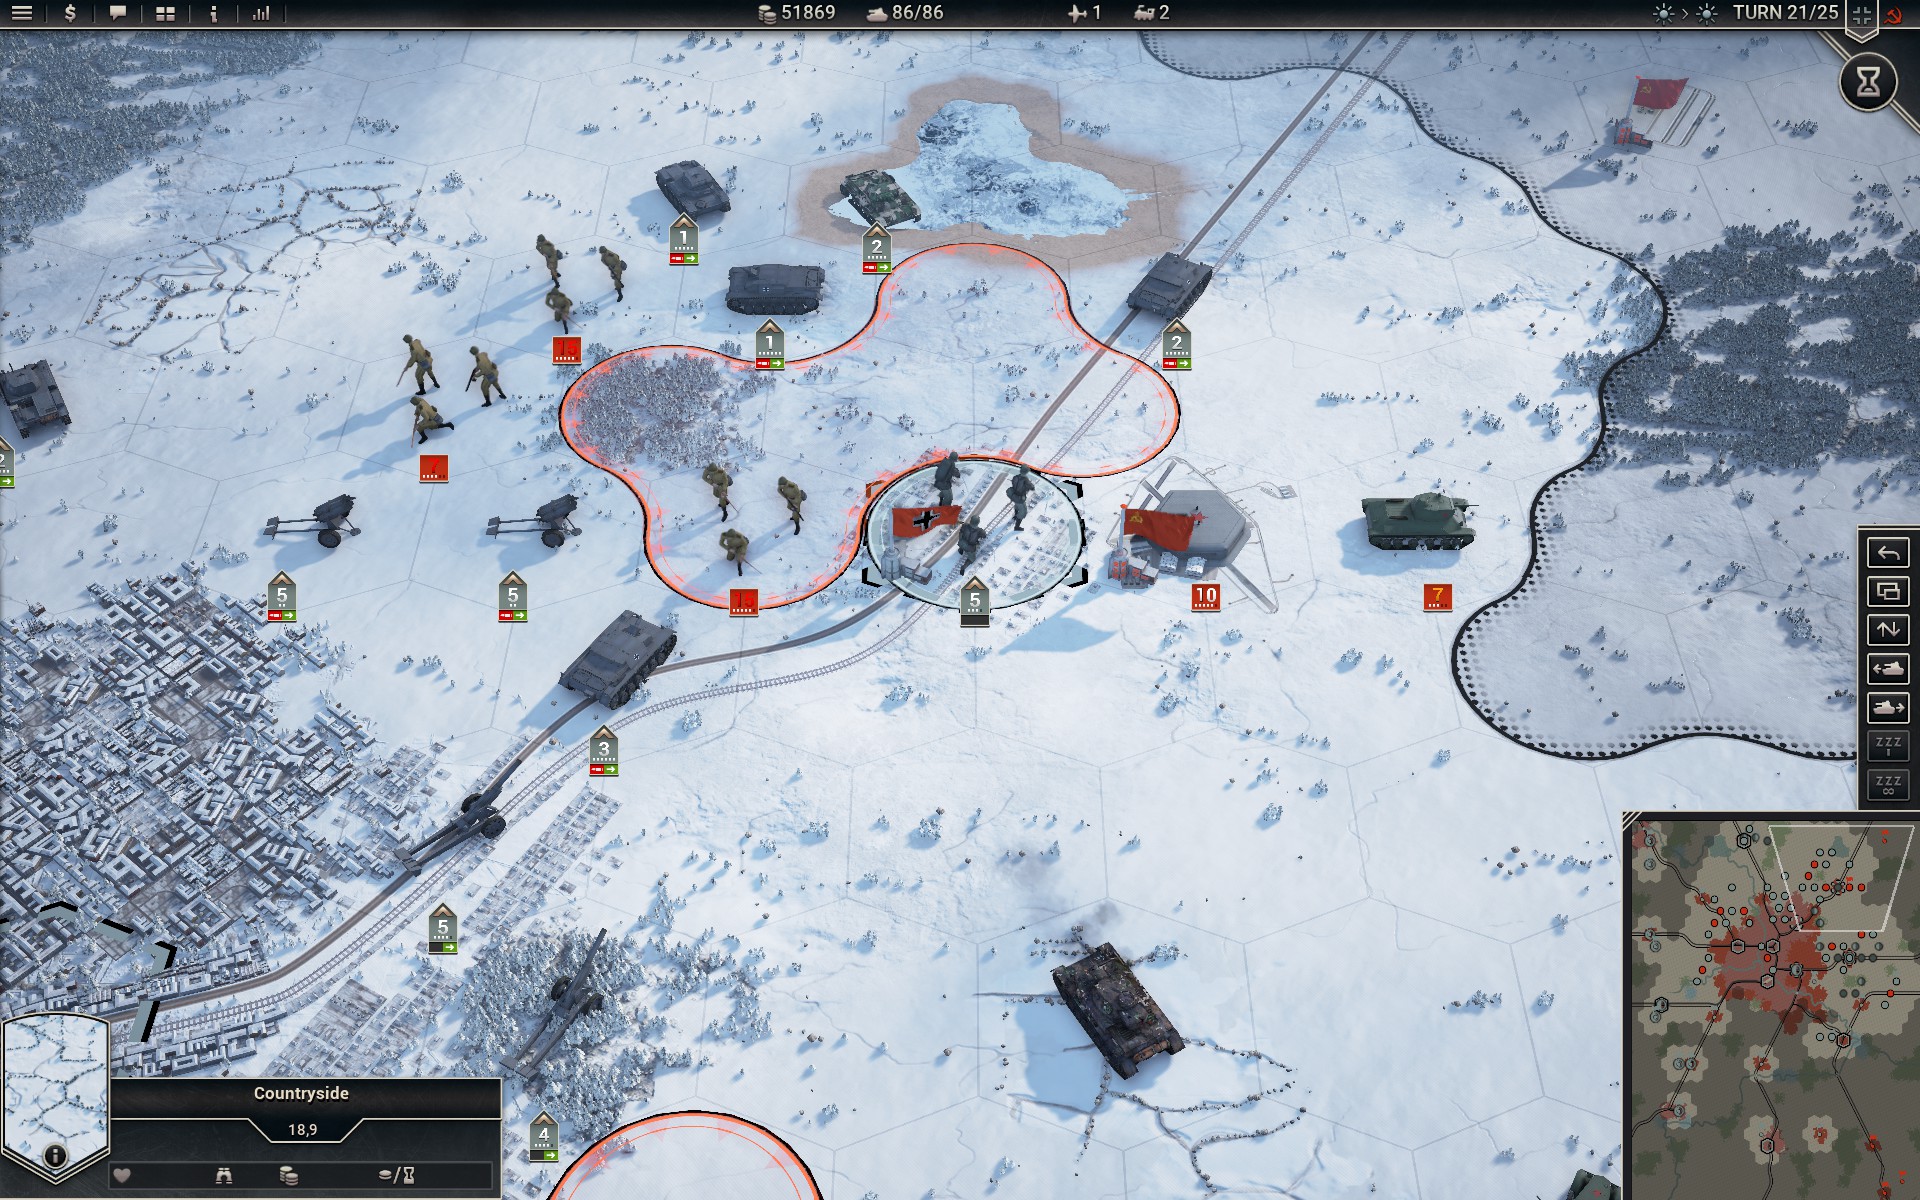
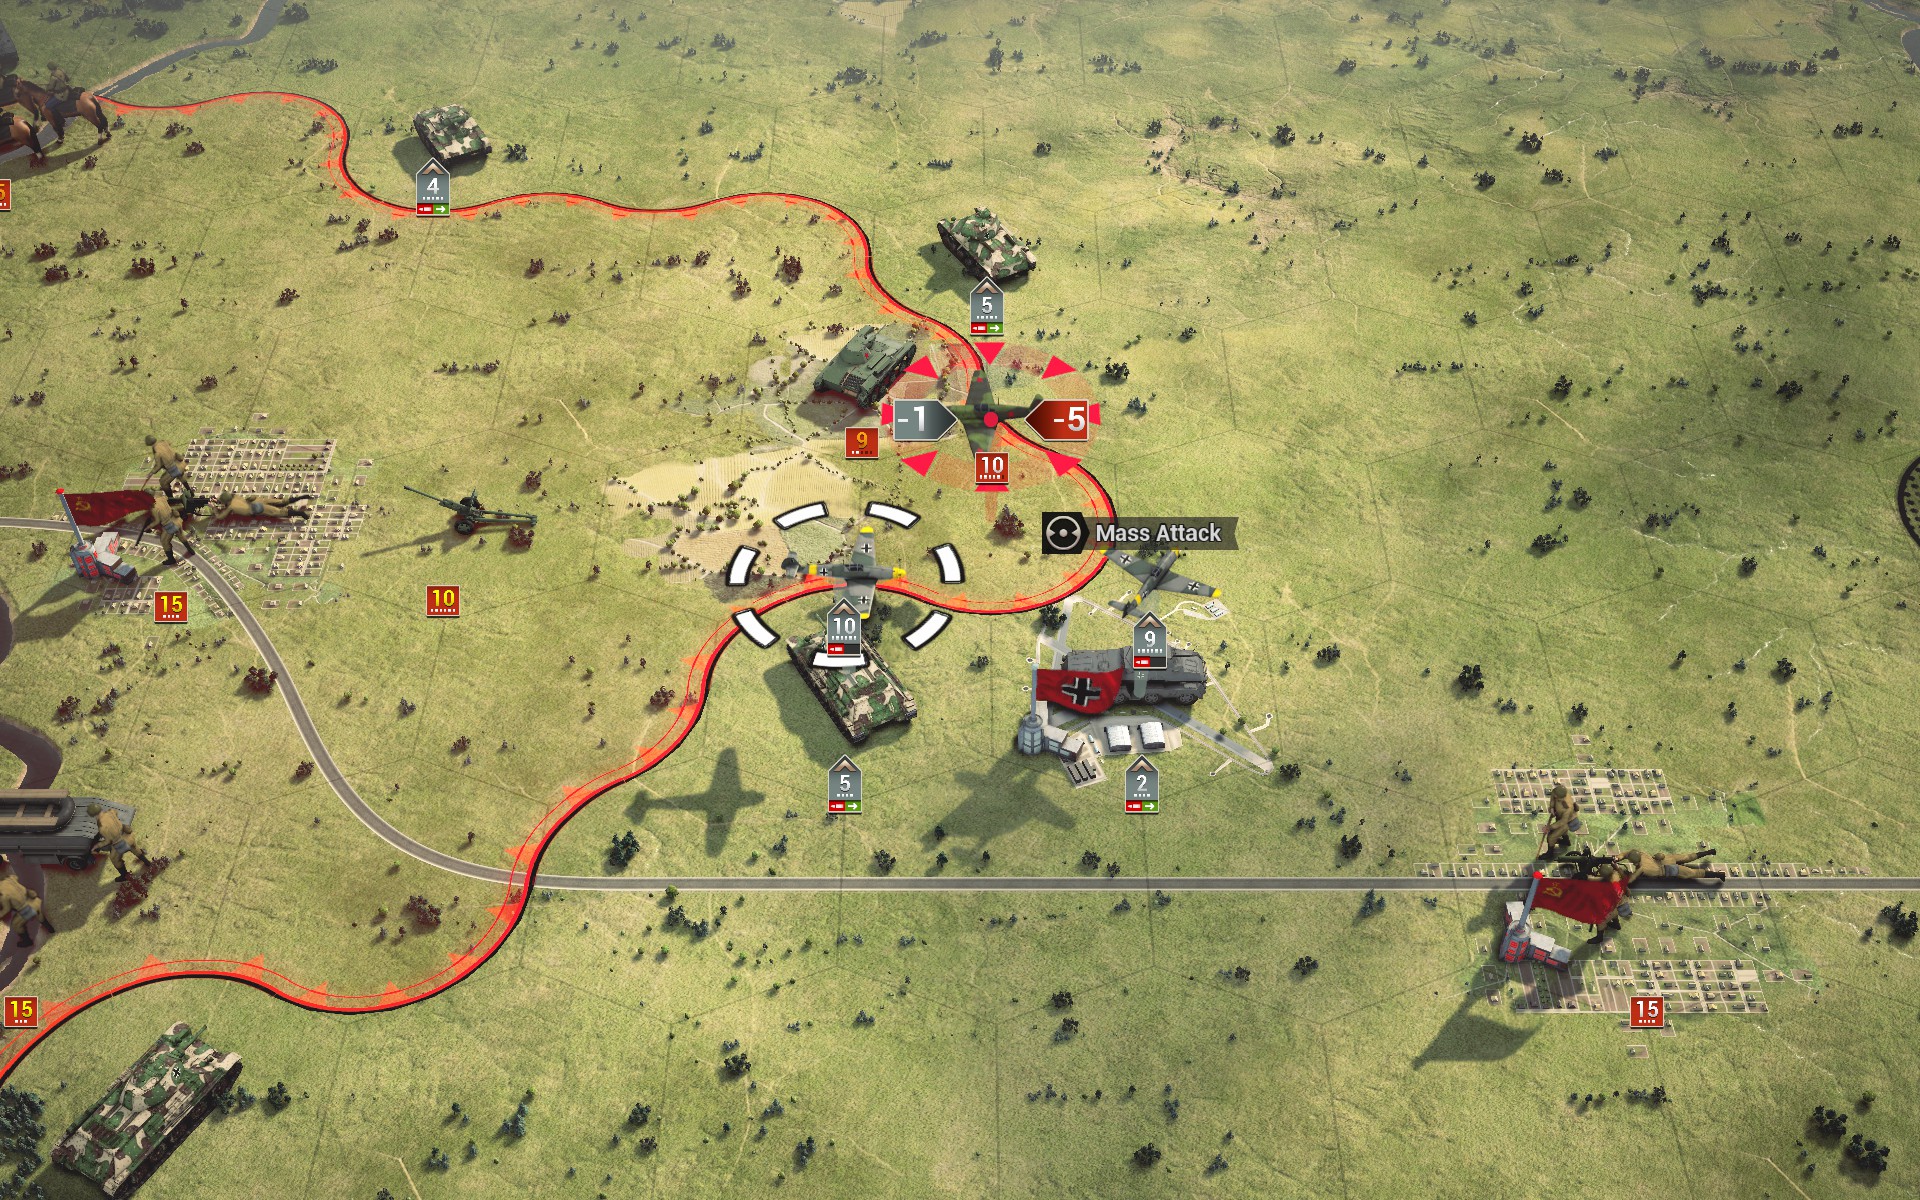
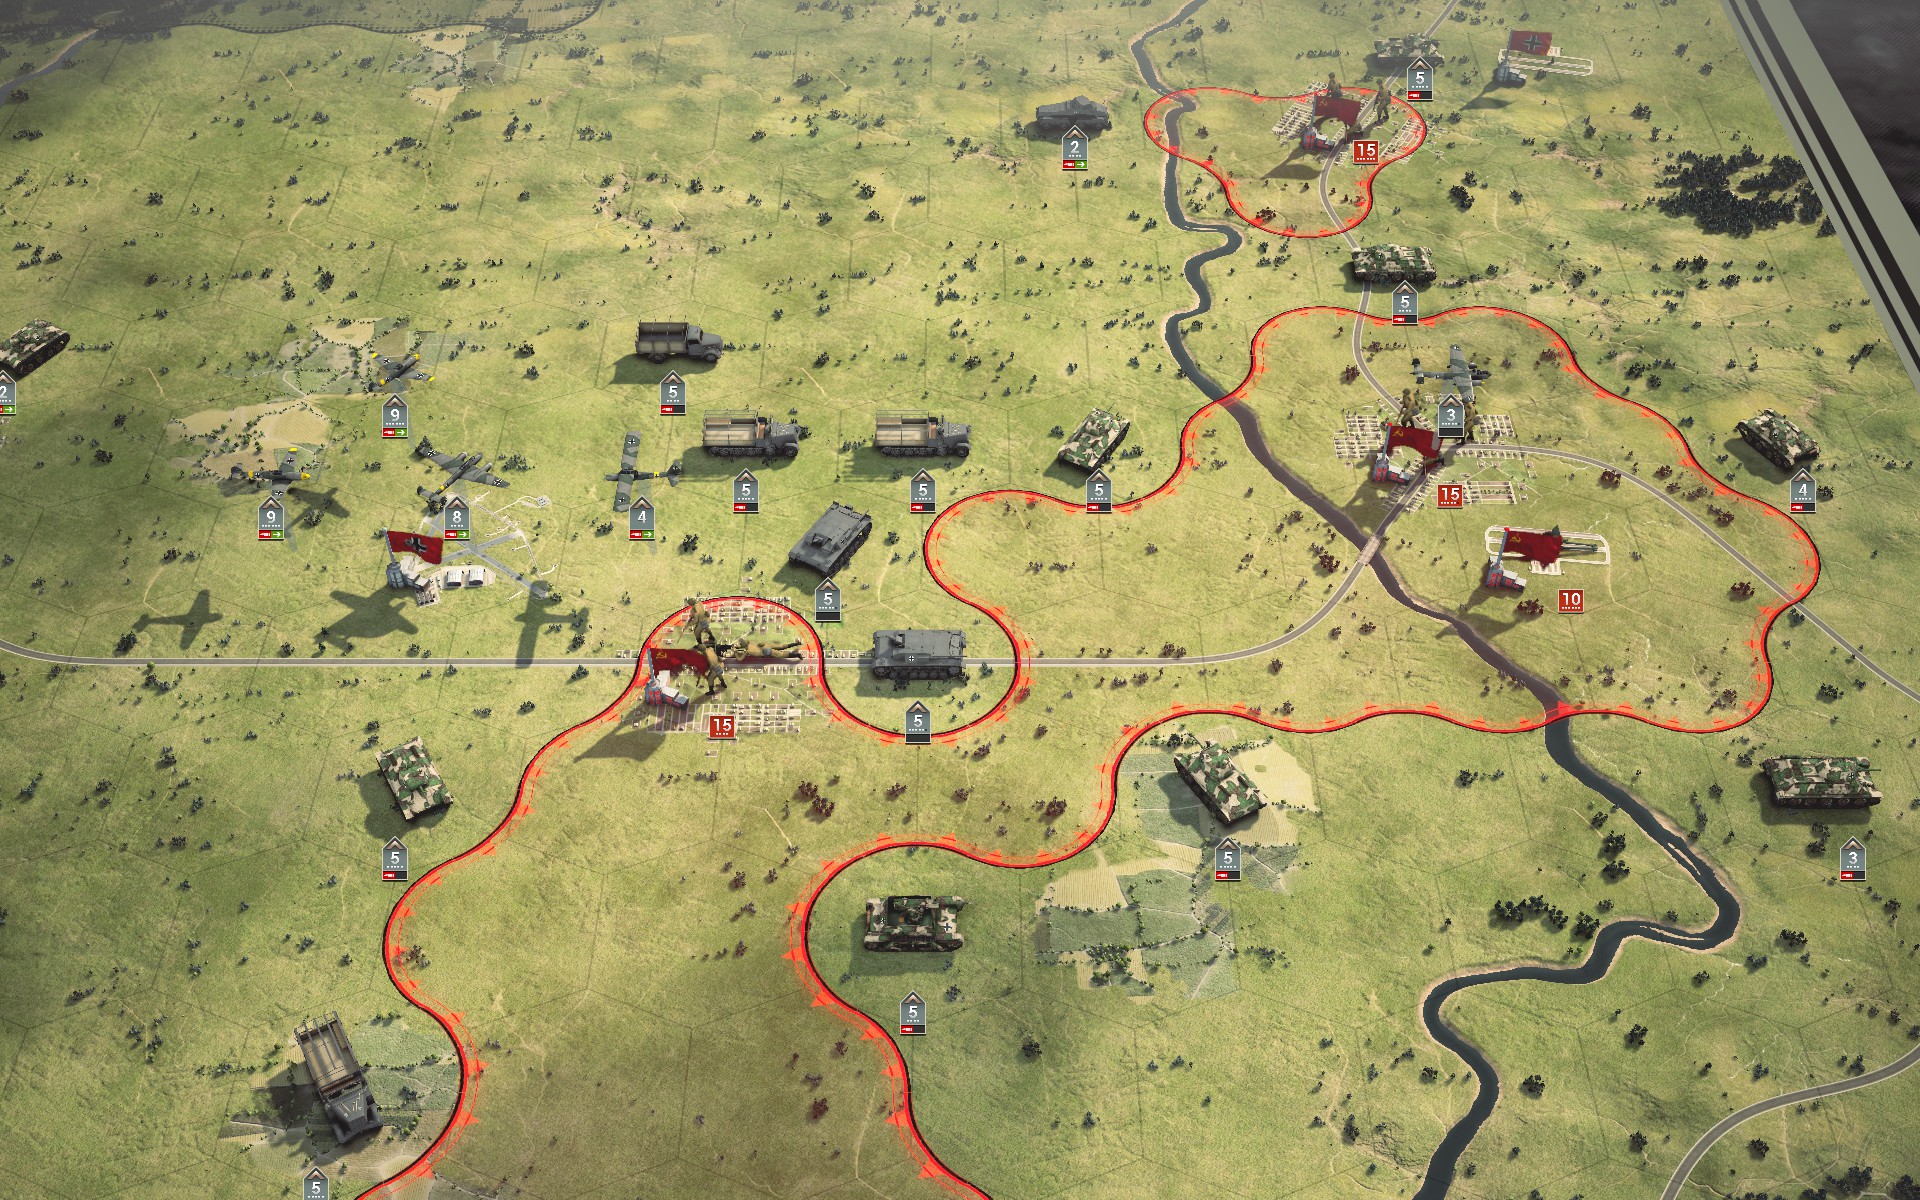
Flexible Command effectively allows you to double the number of units you command at will, and when you're seeking to suppress rather than kill the enemy, that is an immensely powerful ability. When combined with Perimeter Control only a solid wall of enemies or natural obstacles can prevent the Panzer Swarm from locking down the enemy, and with Master of Blitzkrieg even that might not be enough.
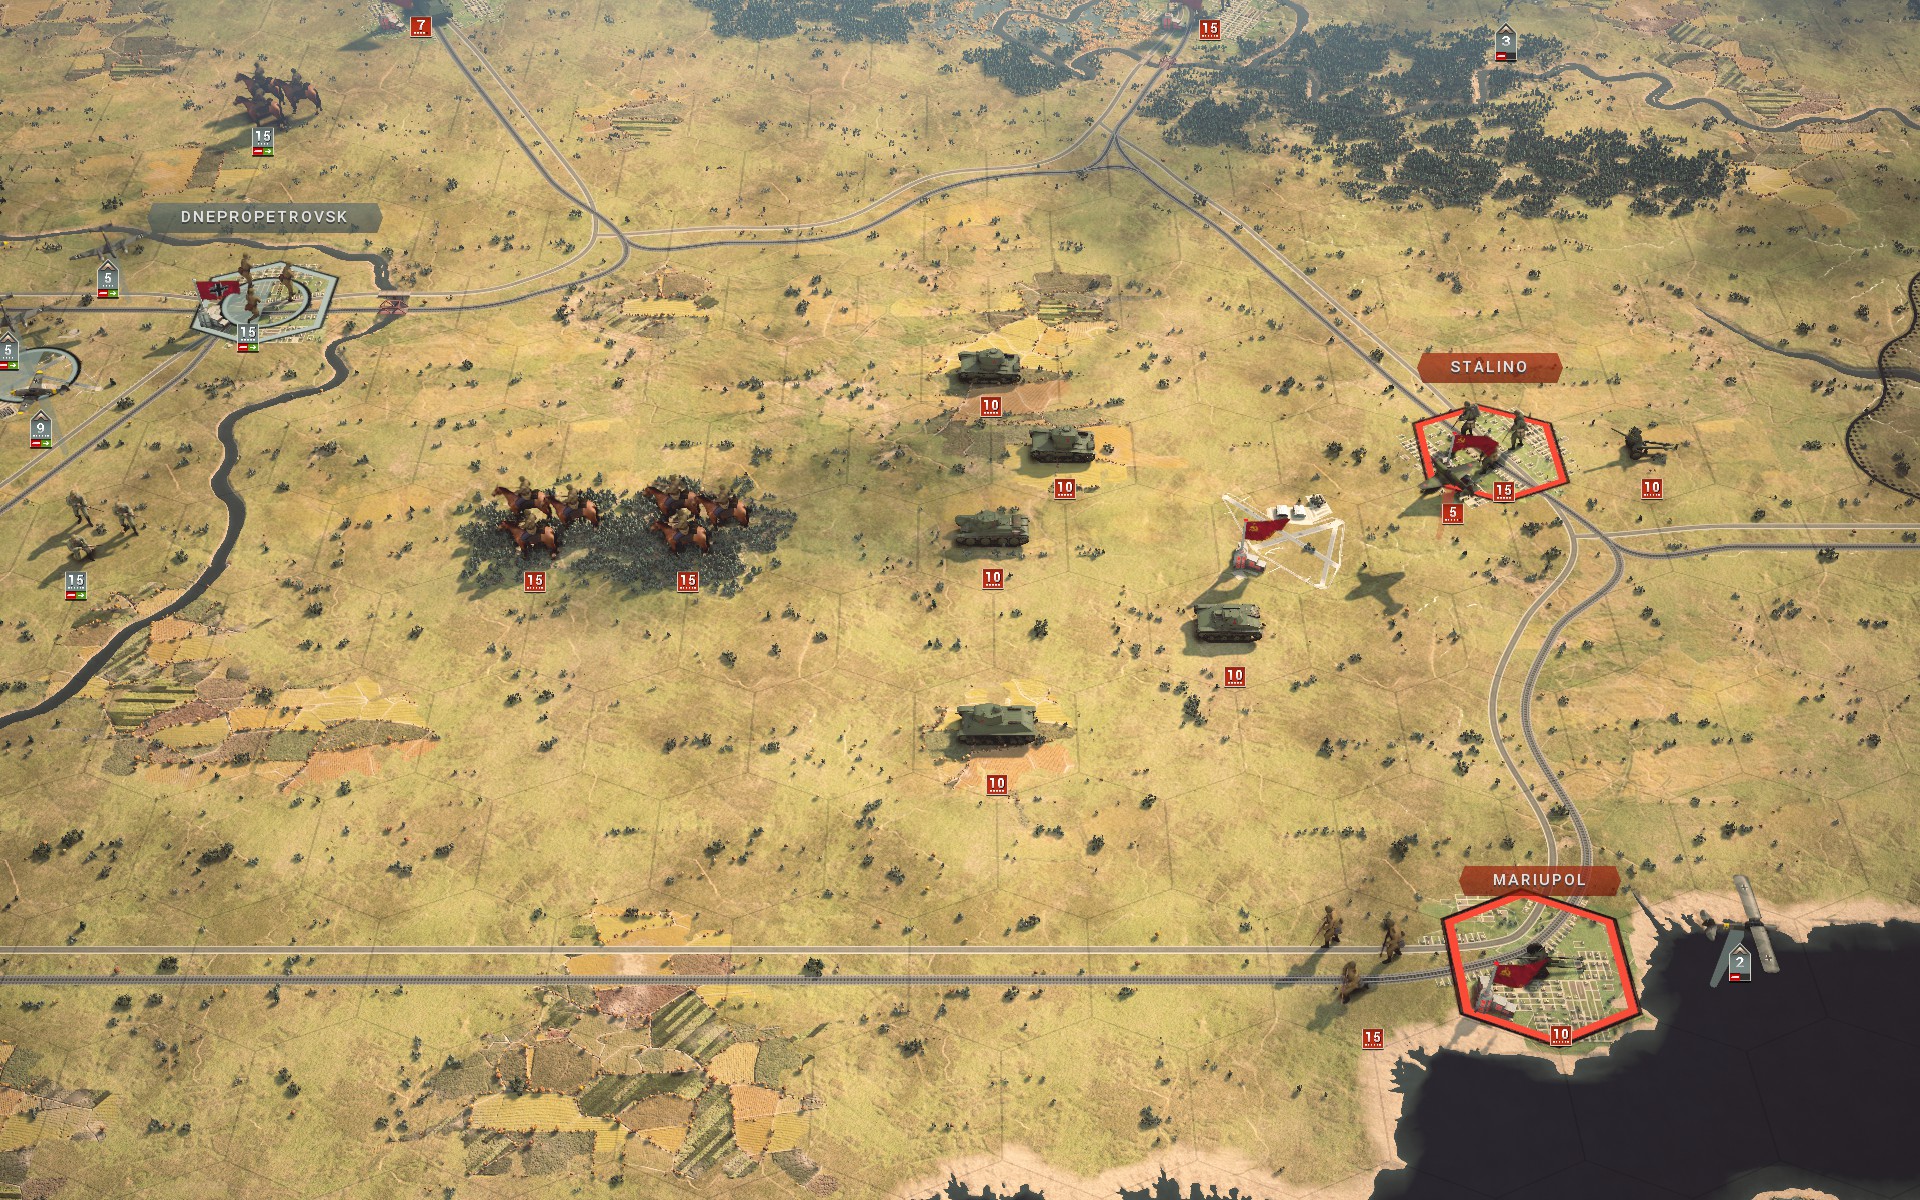
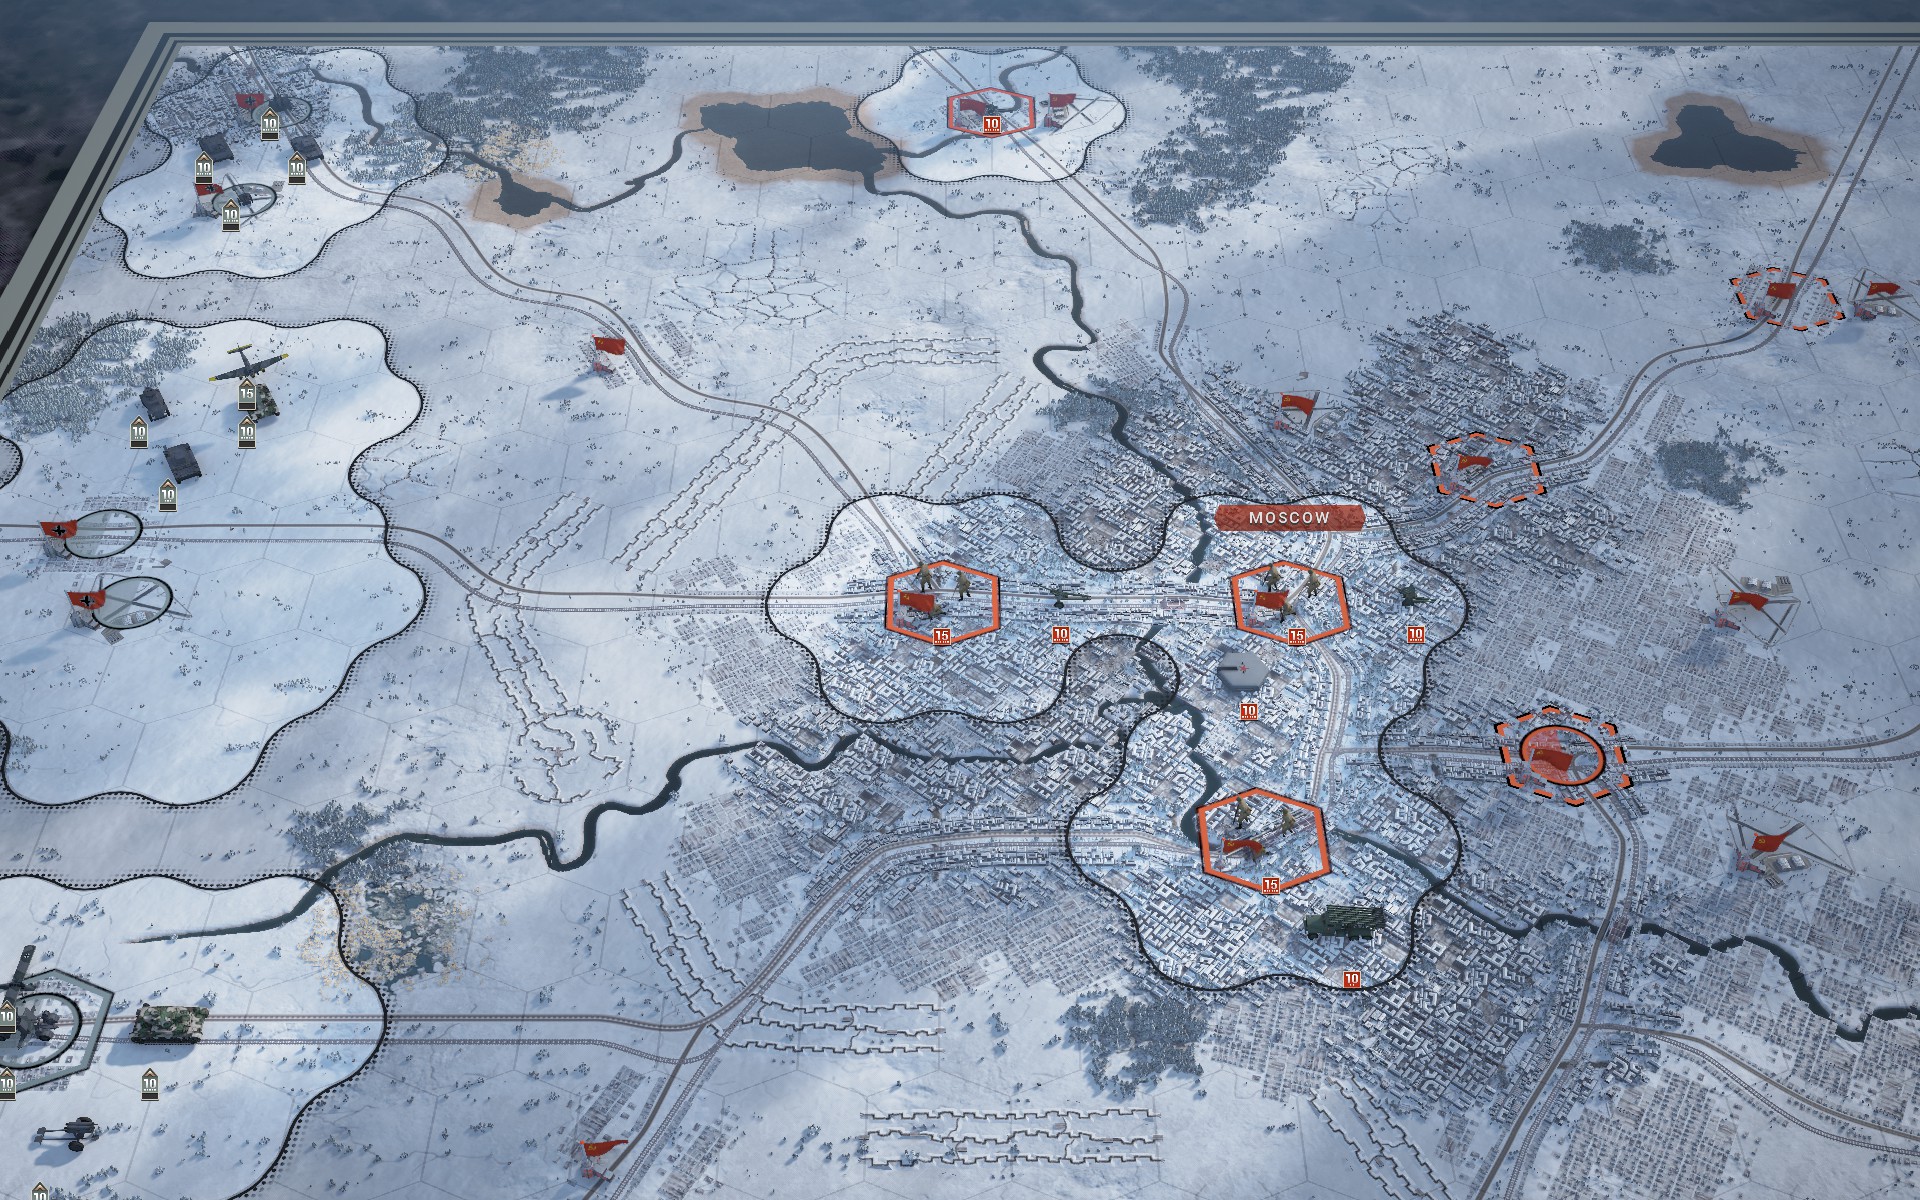
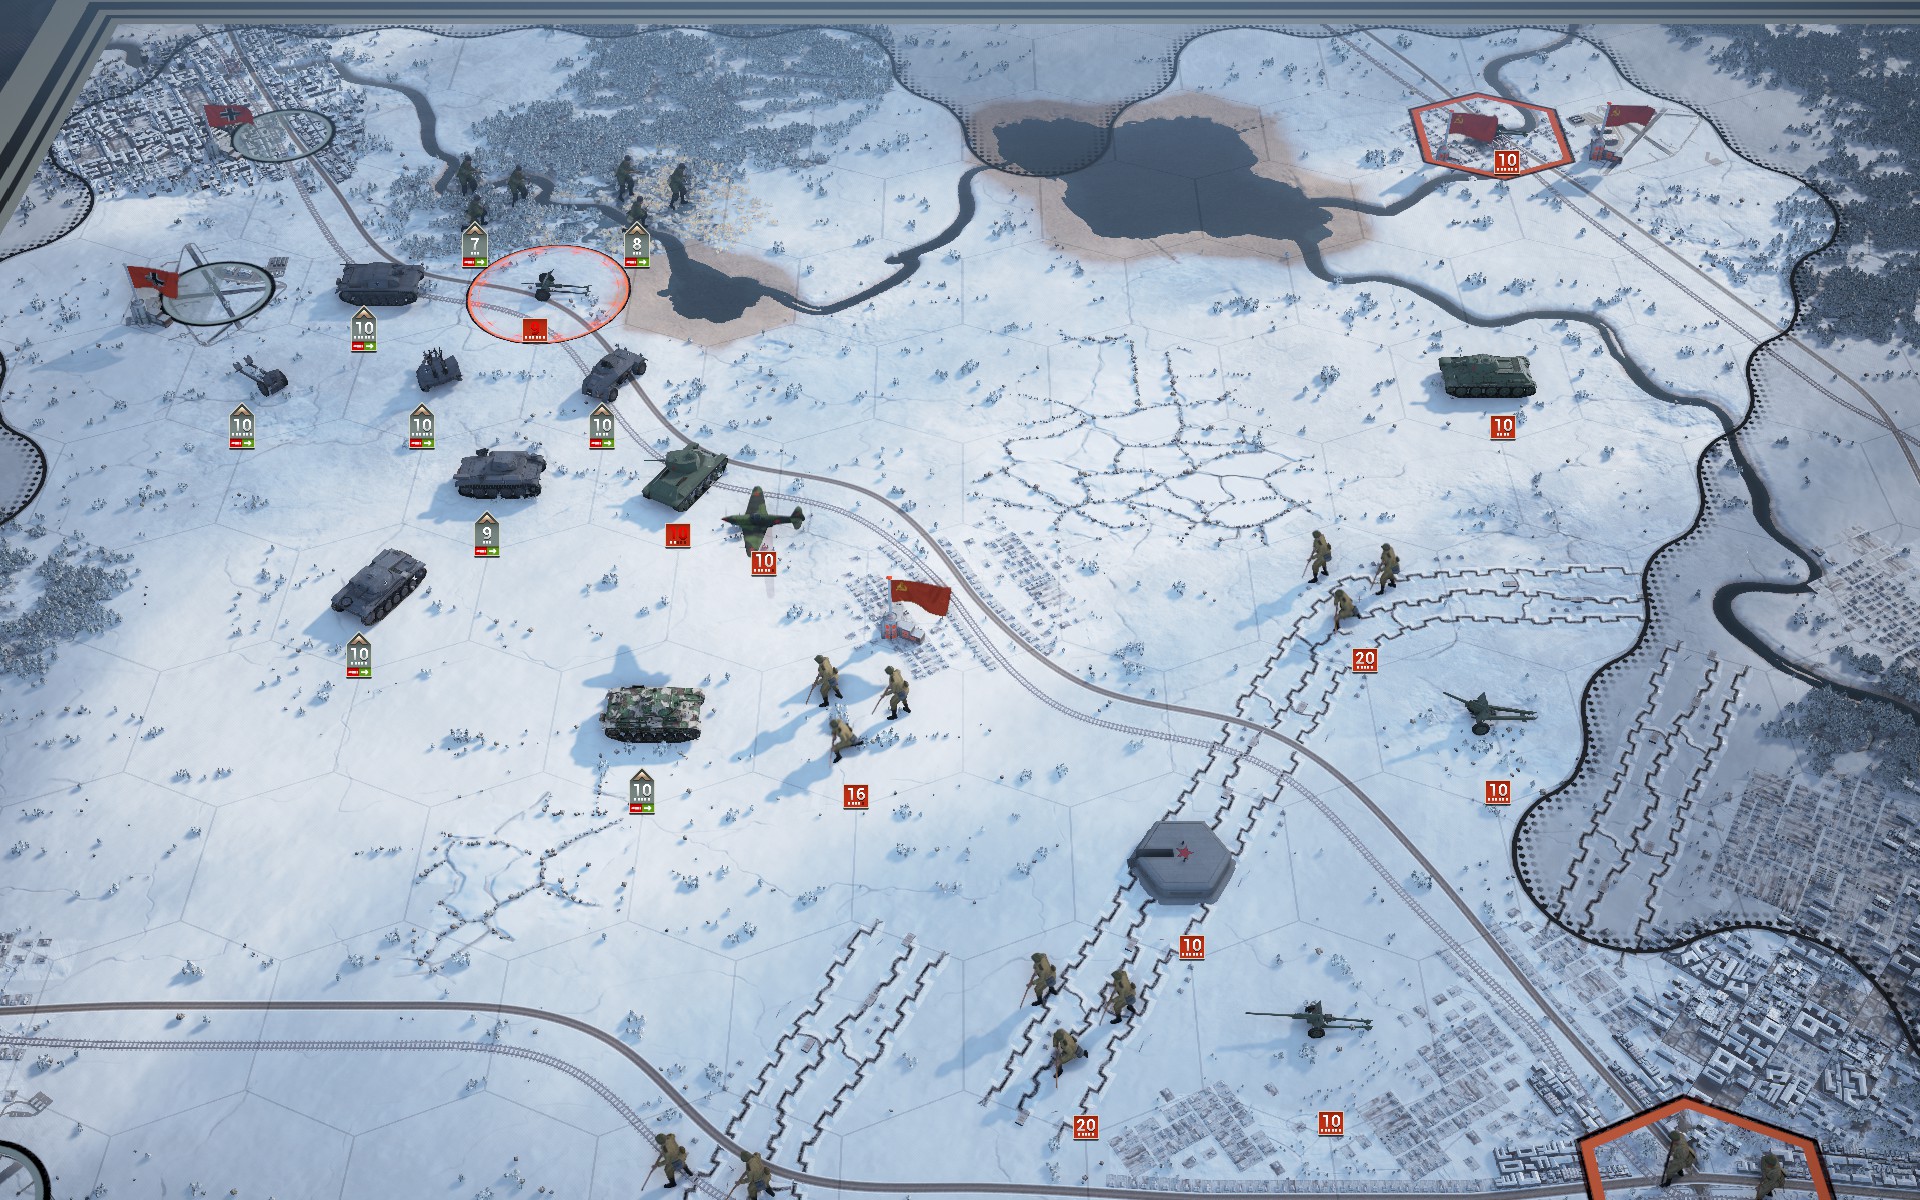
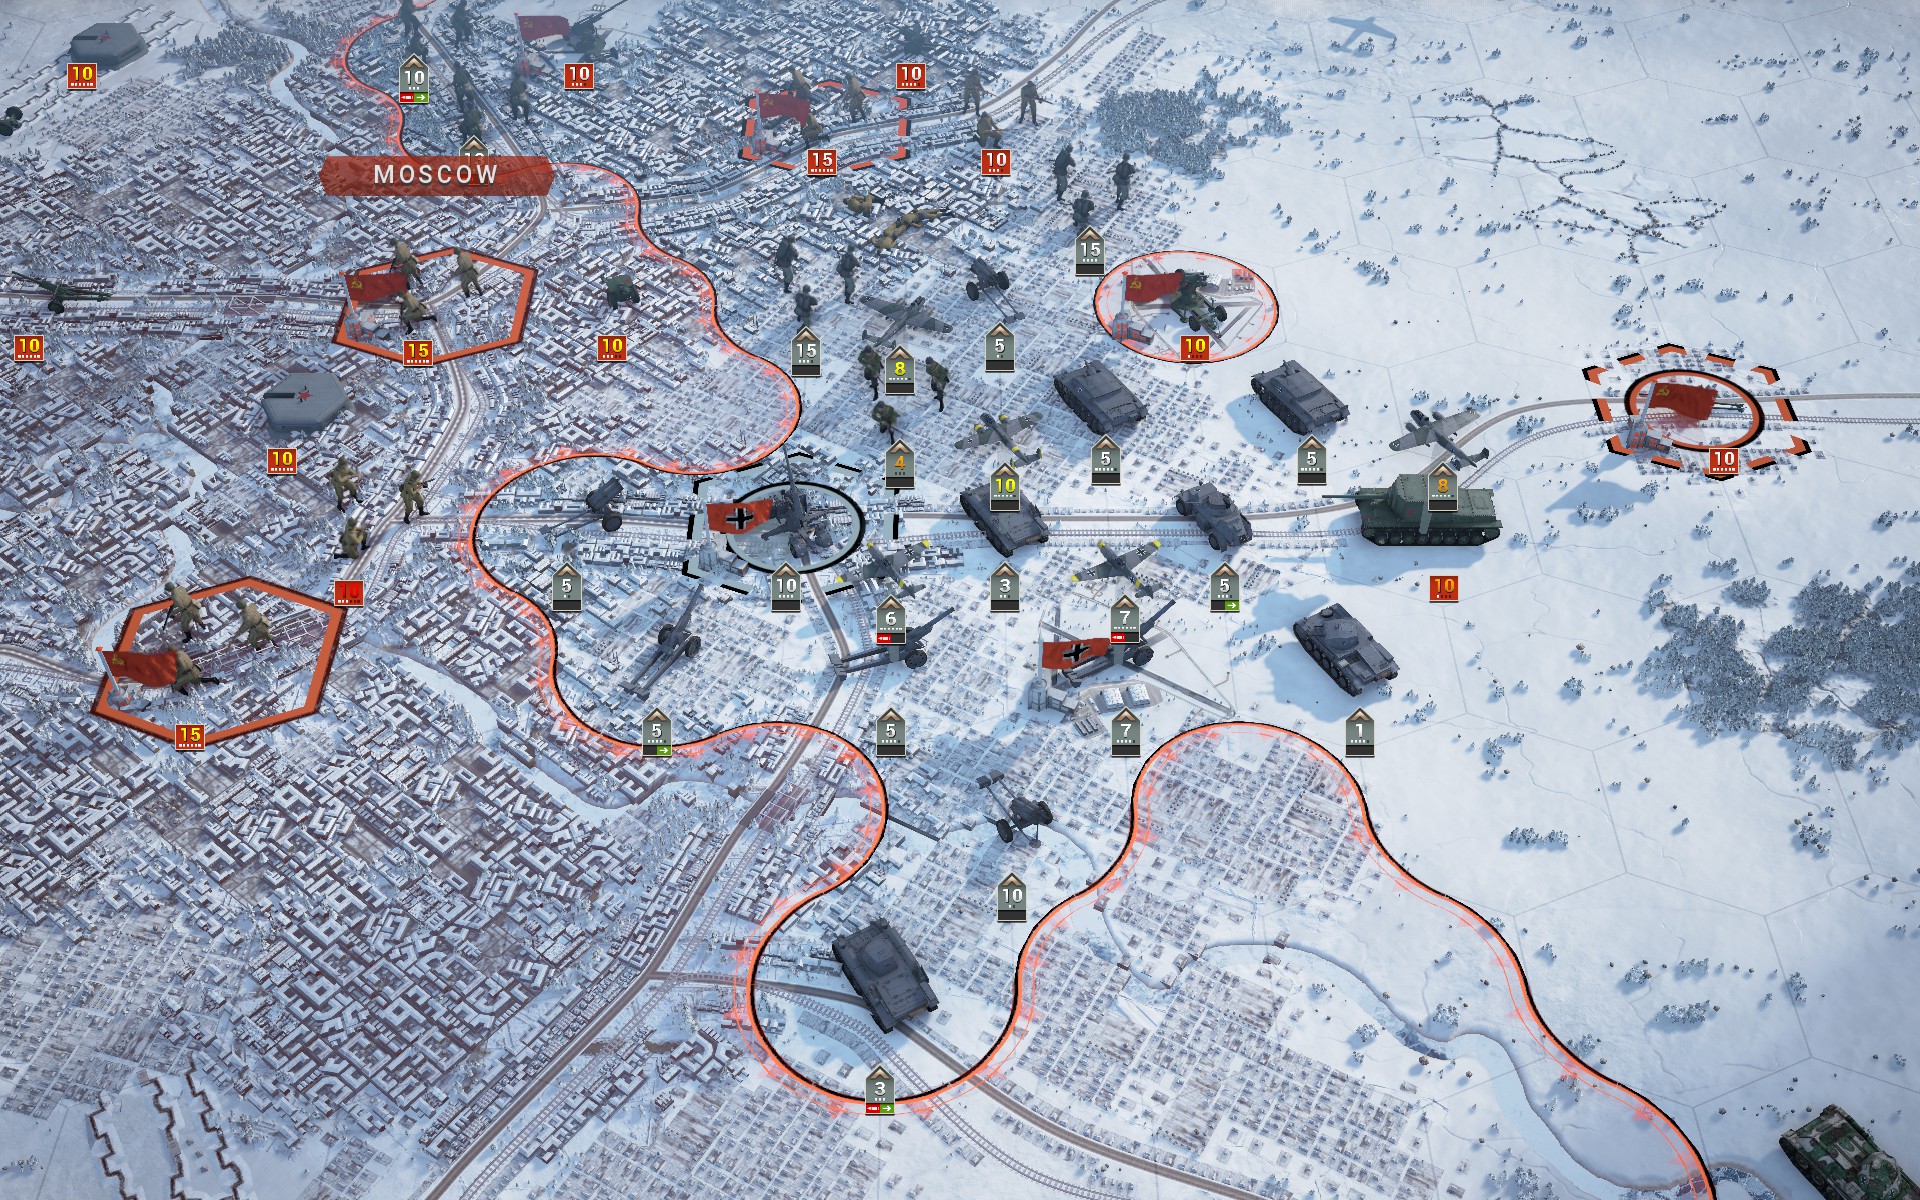
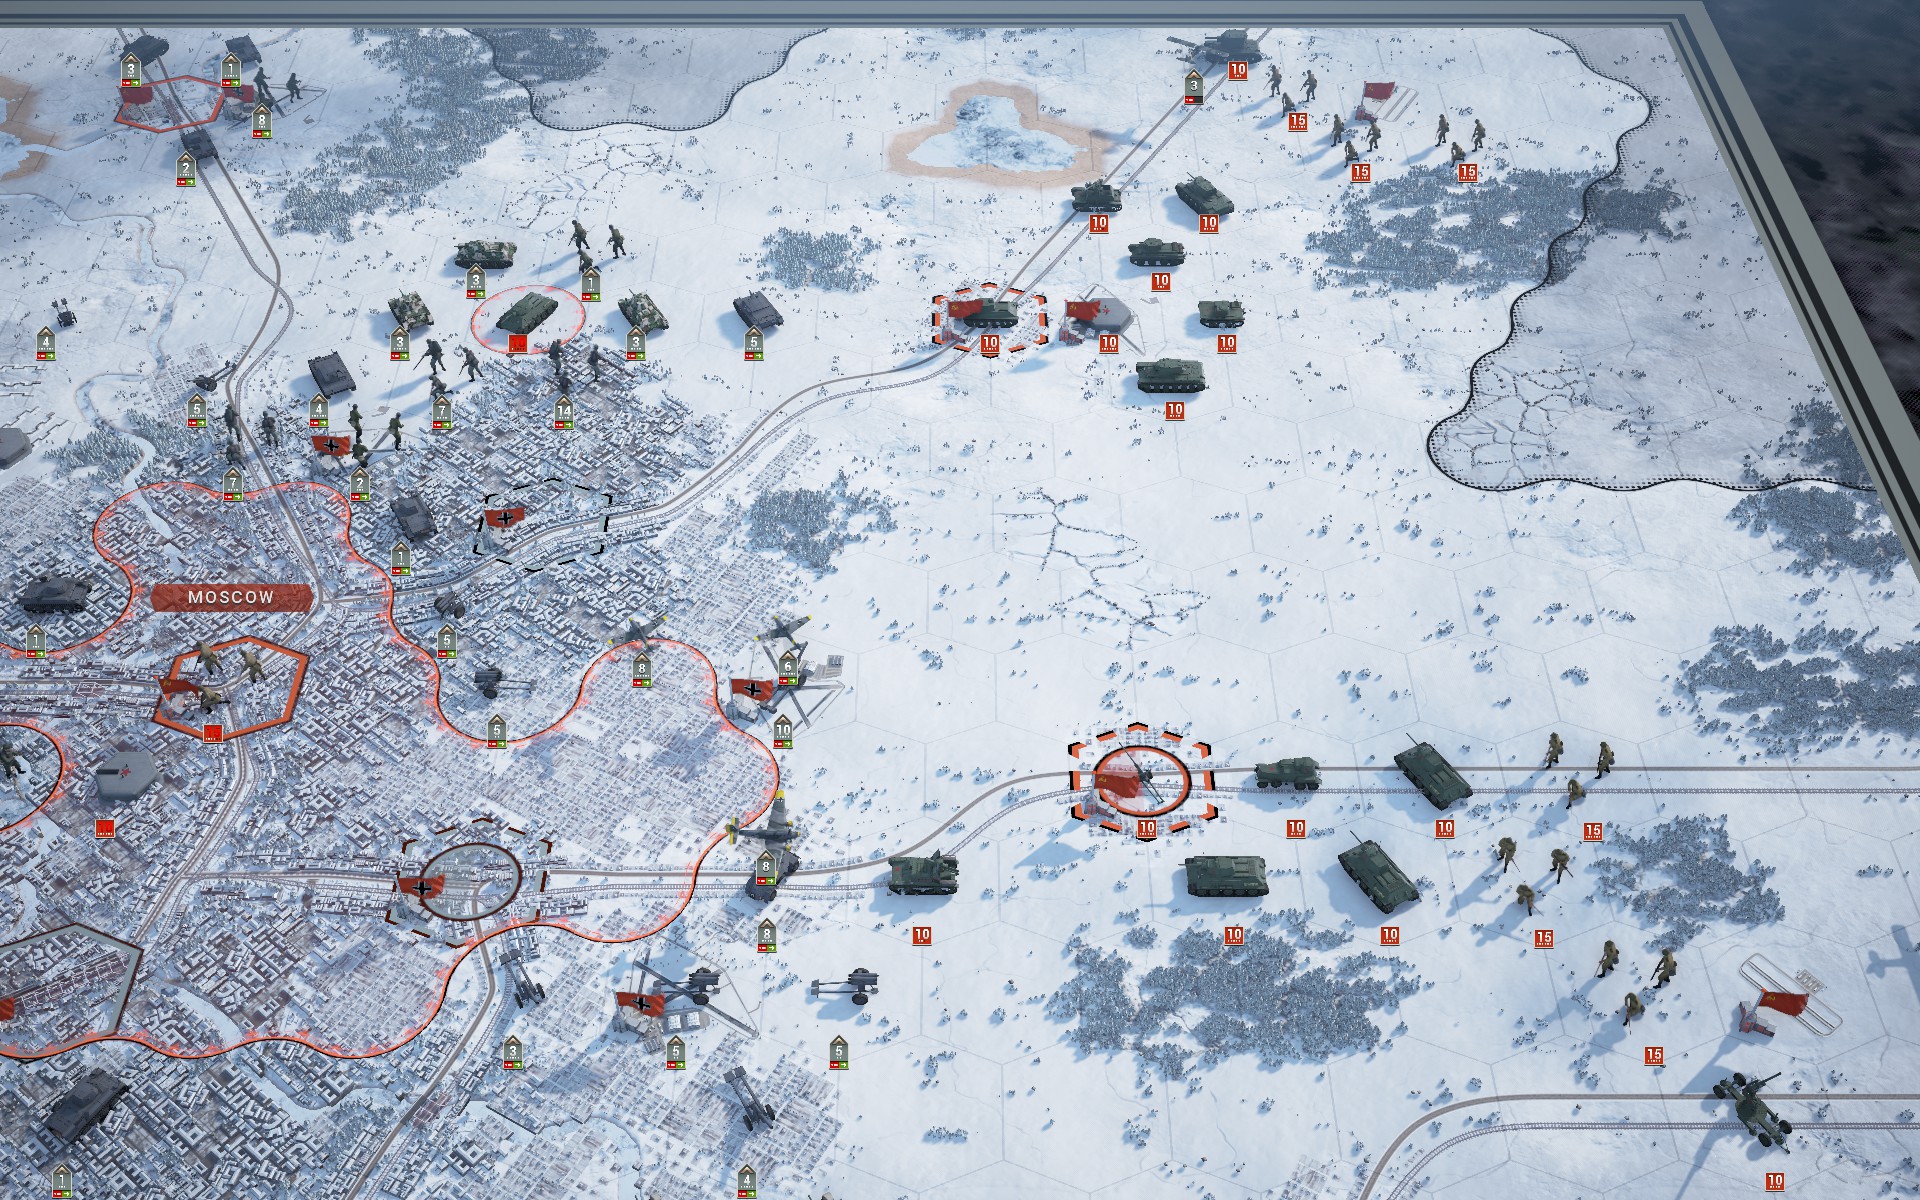
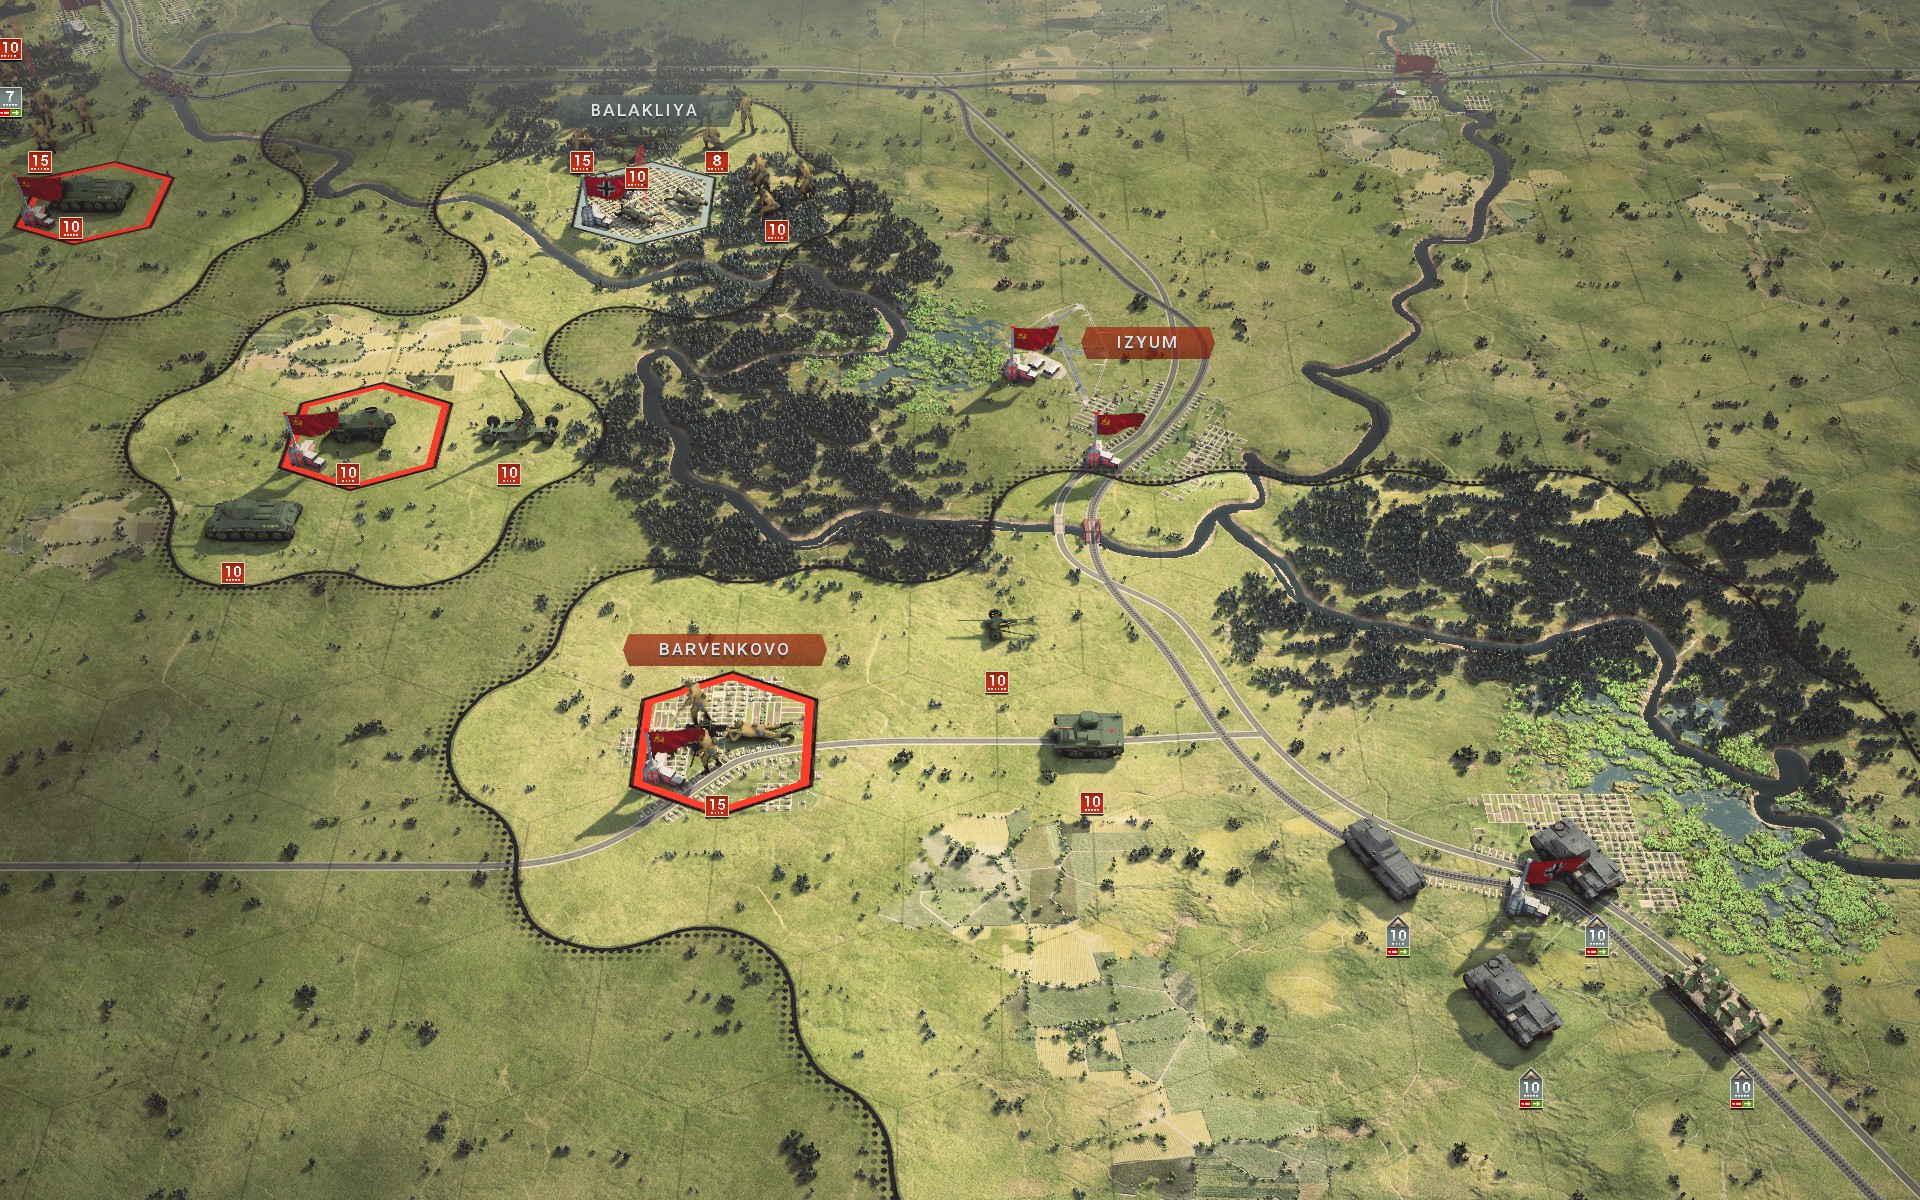
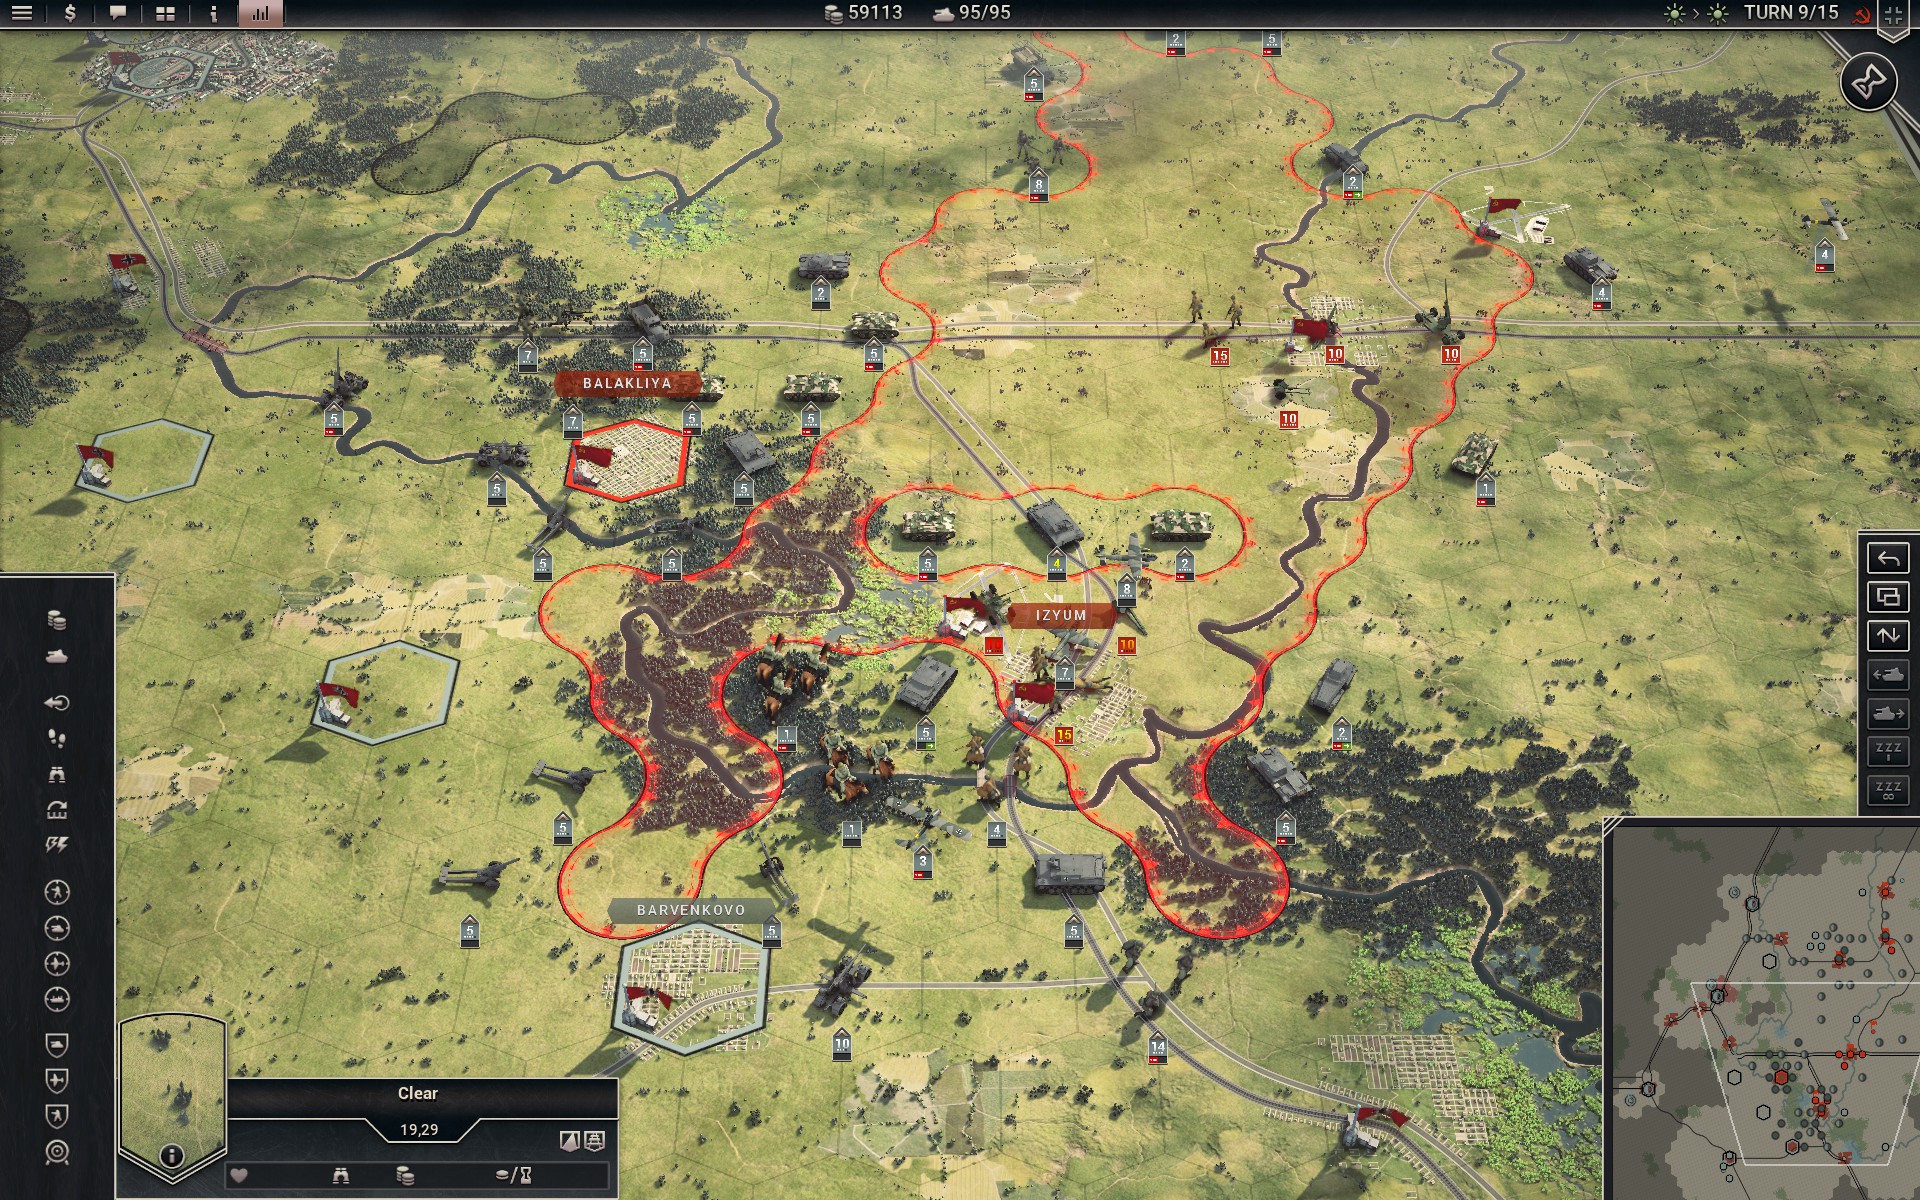
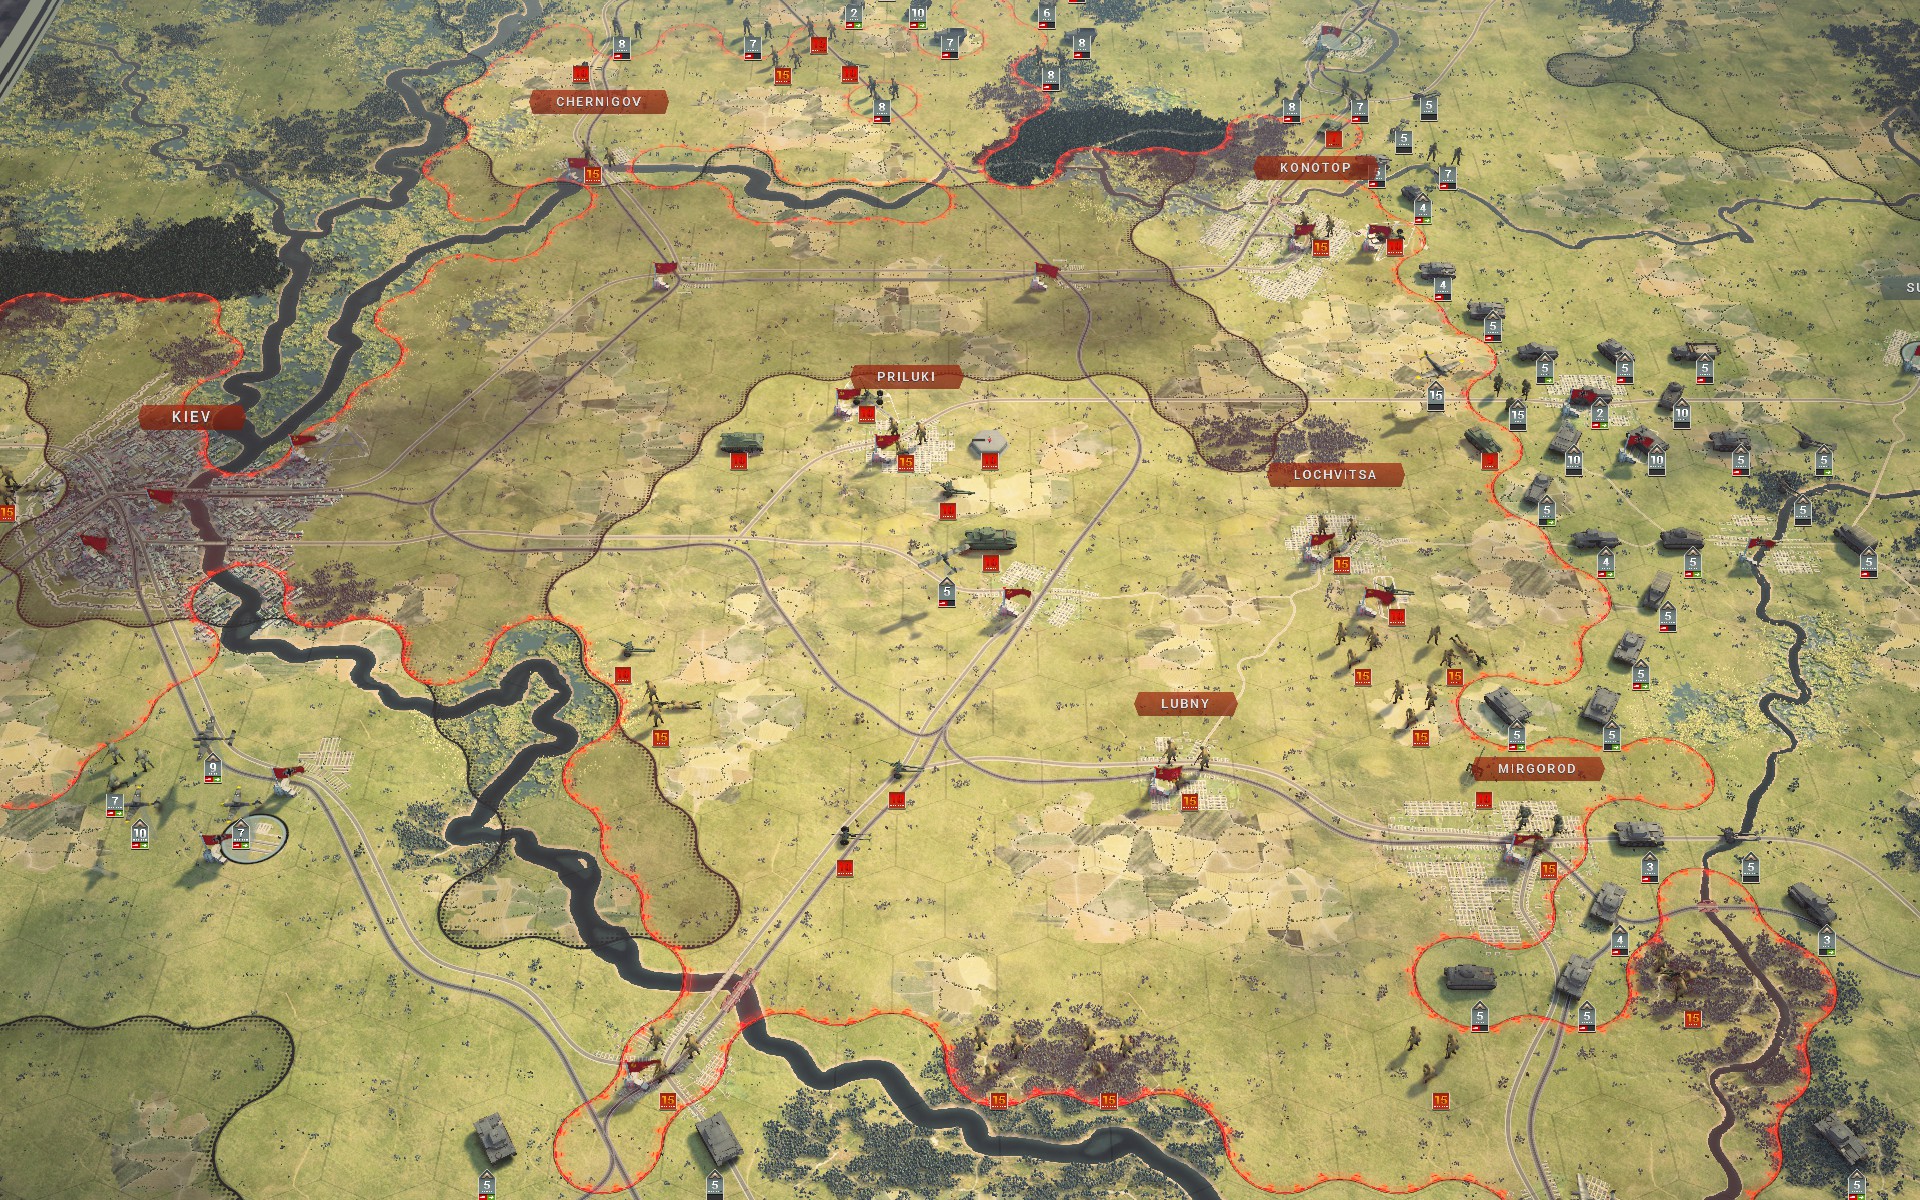
Despite the loss of their supply hexes, the Soviet numbers still command respect.
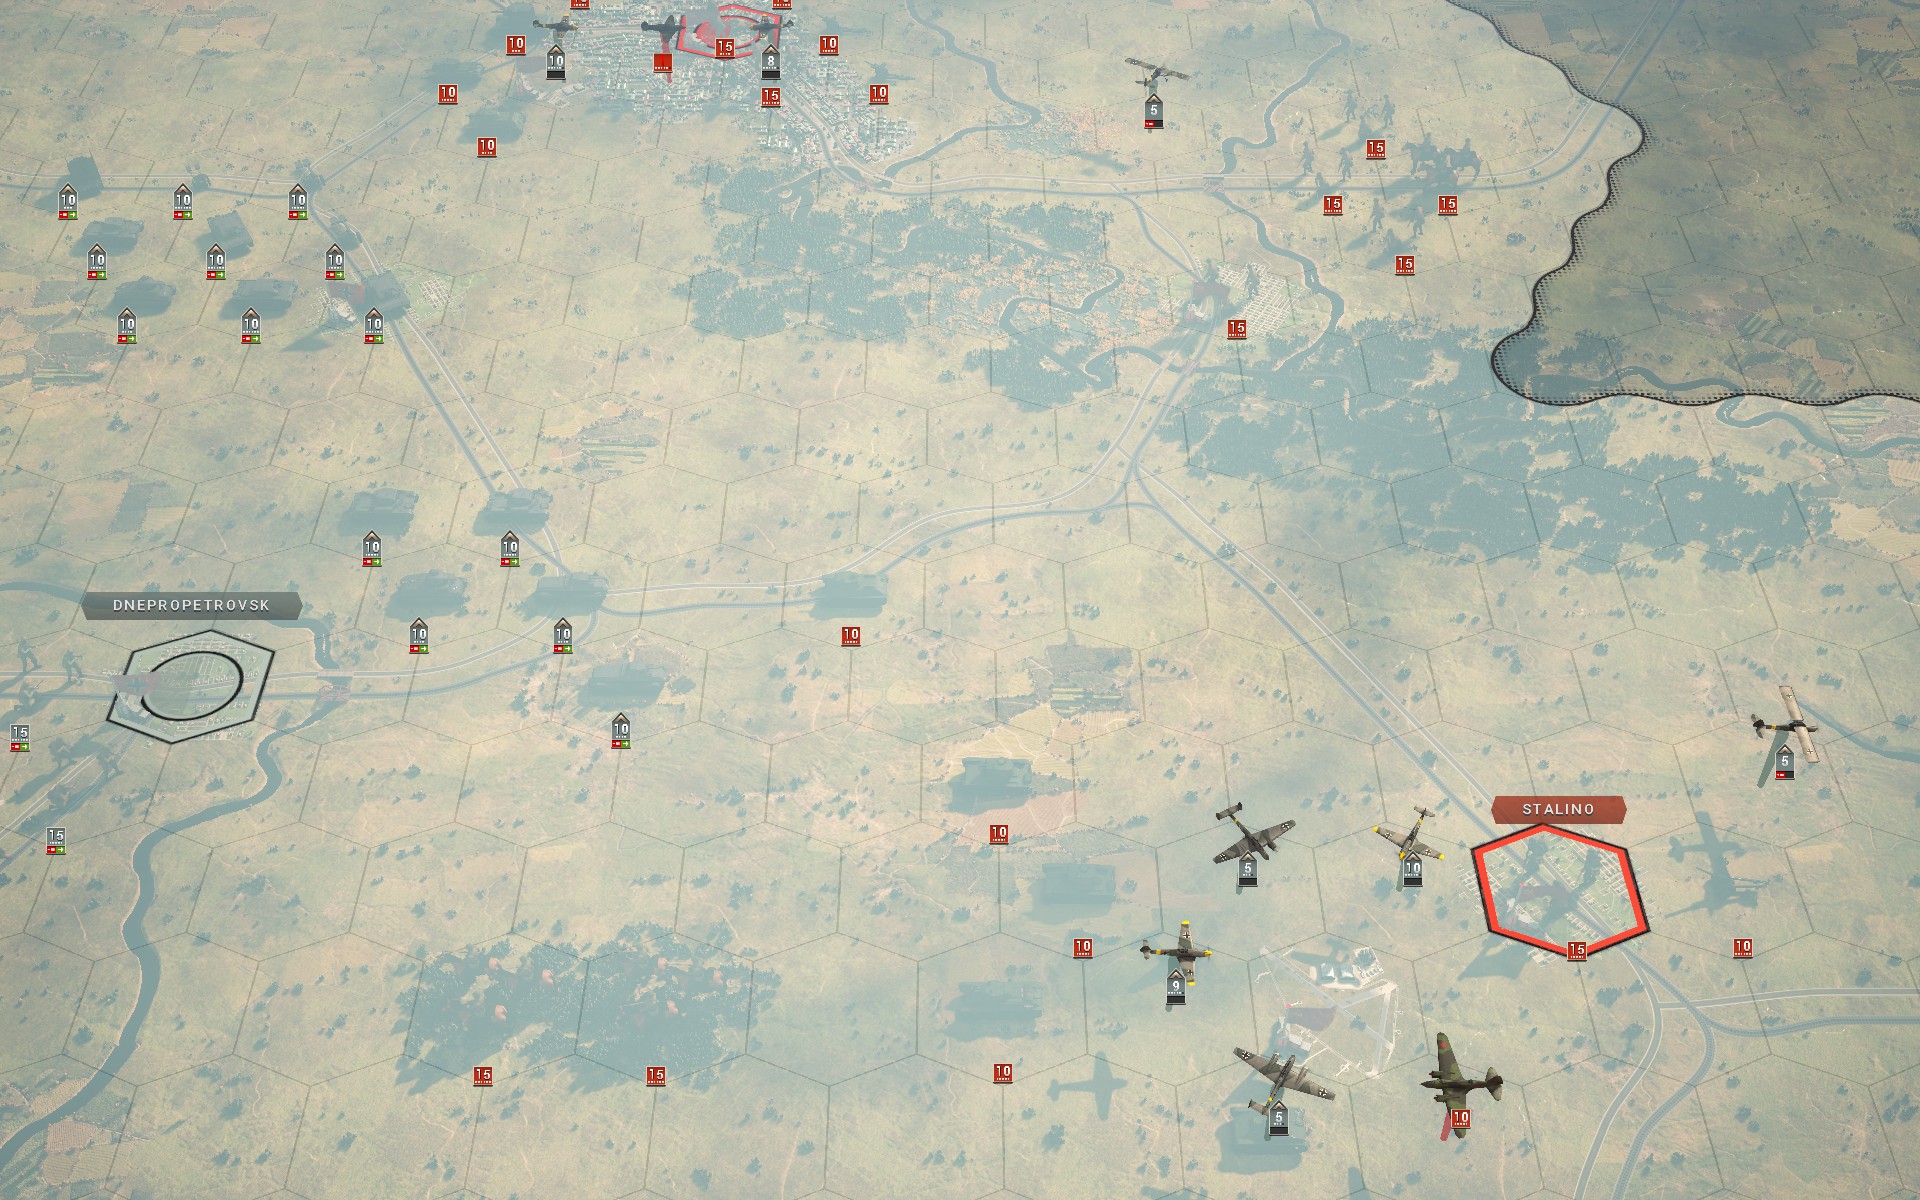
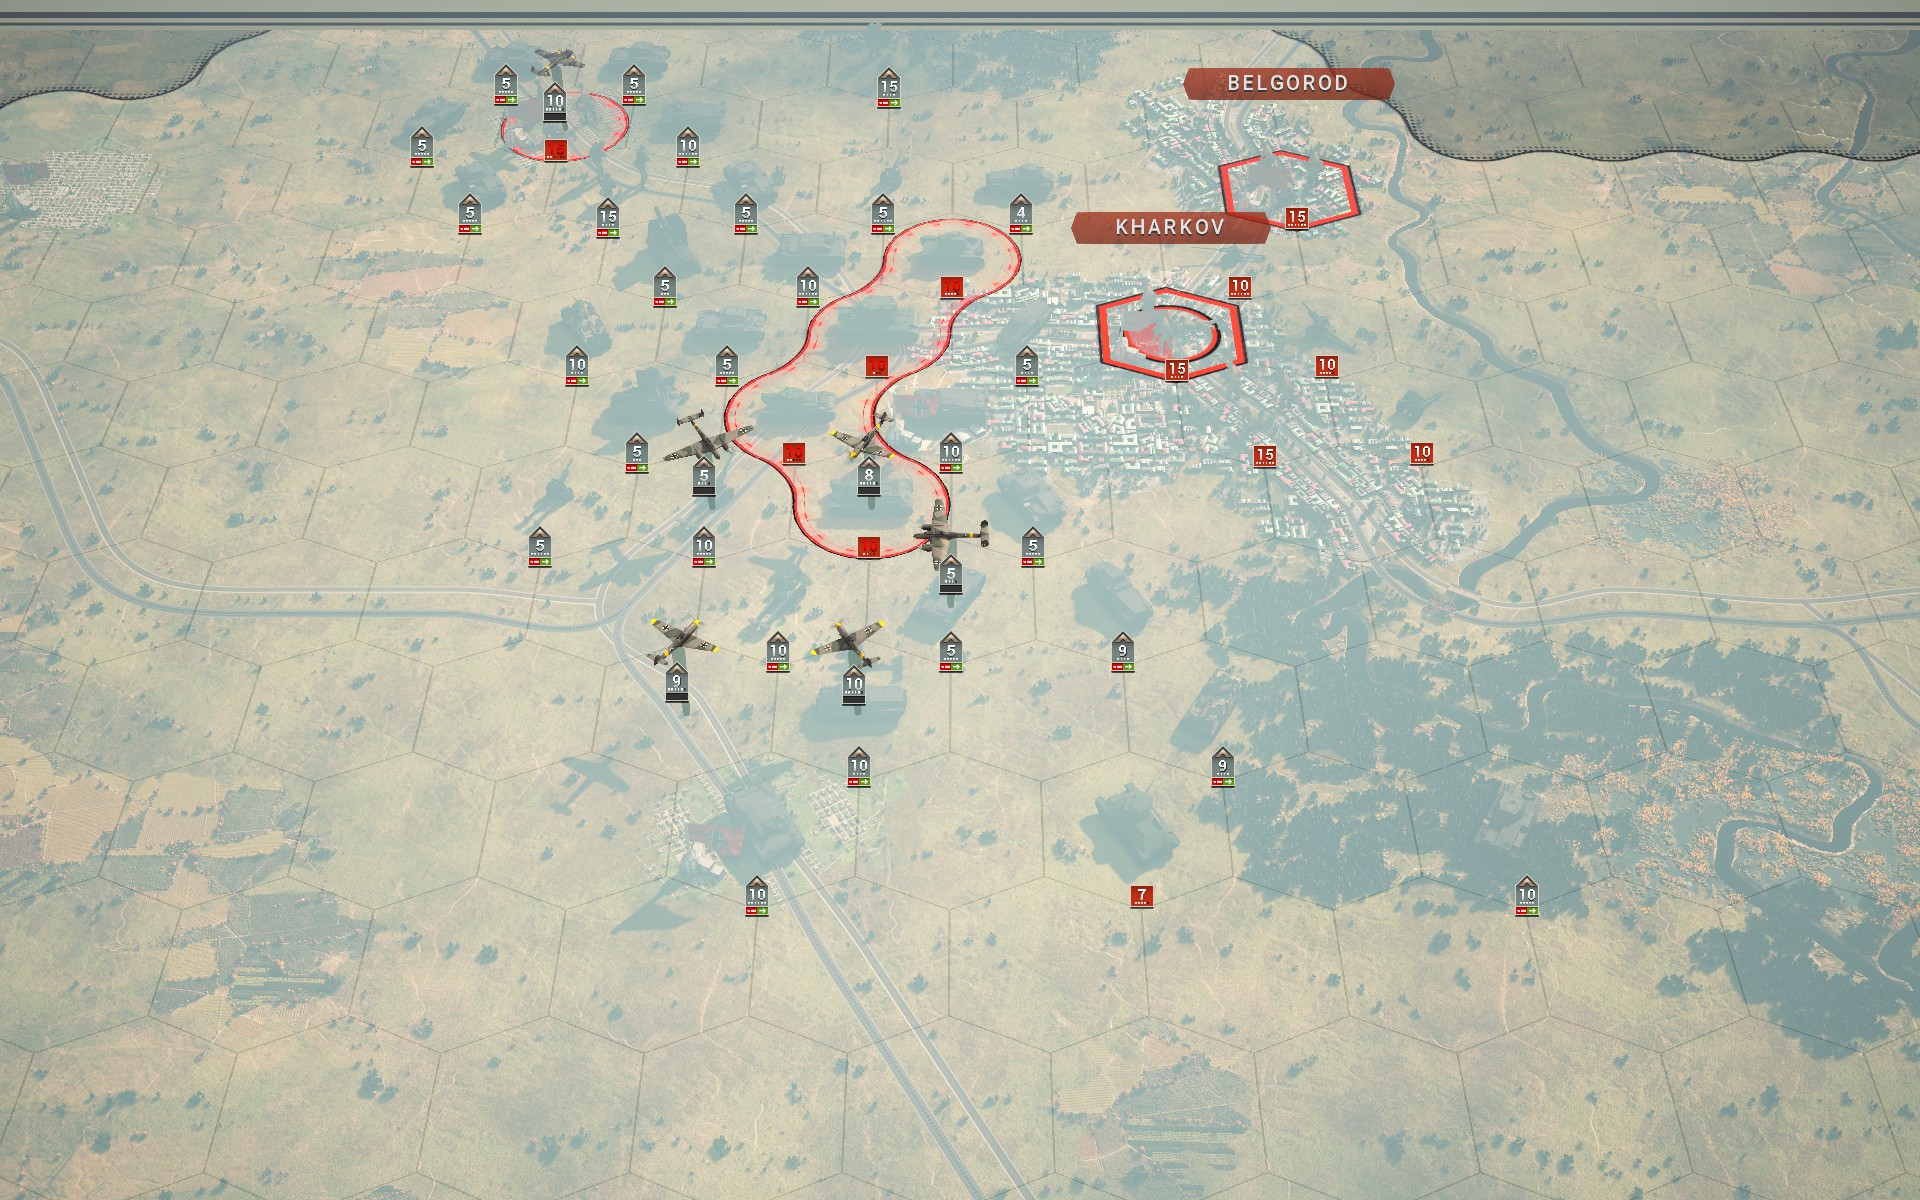
The Luftwaffe secure the skies at long last.
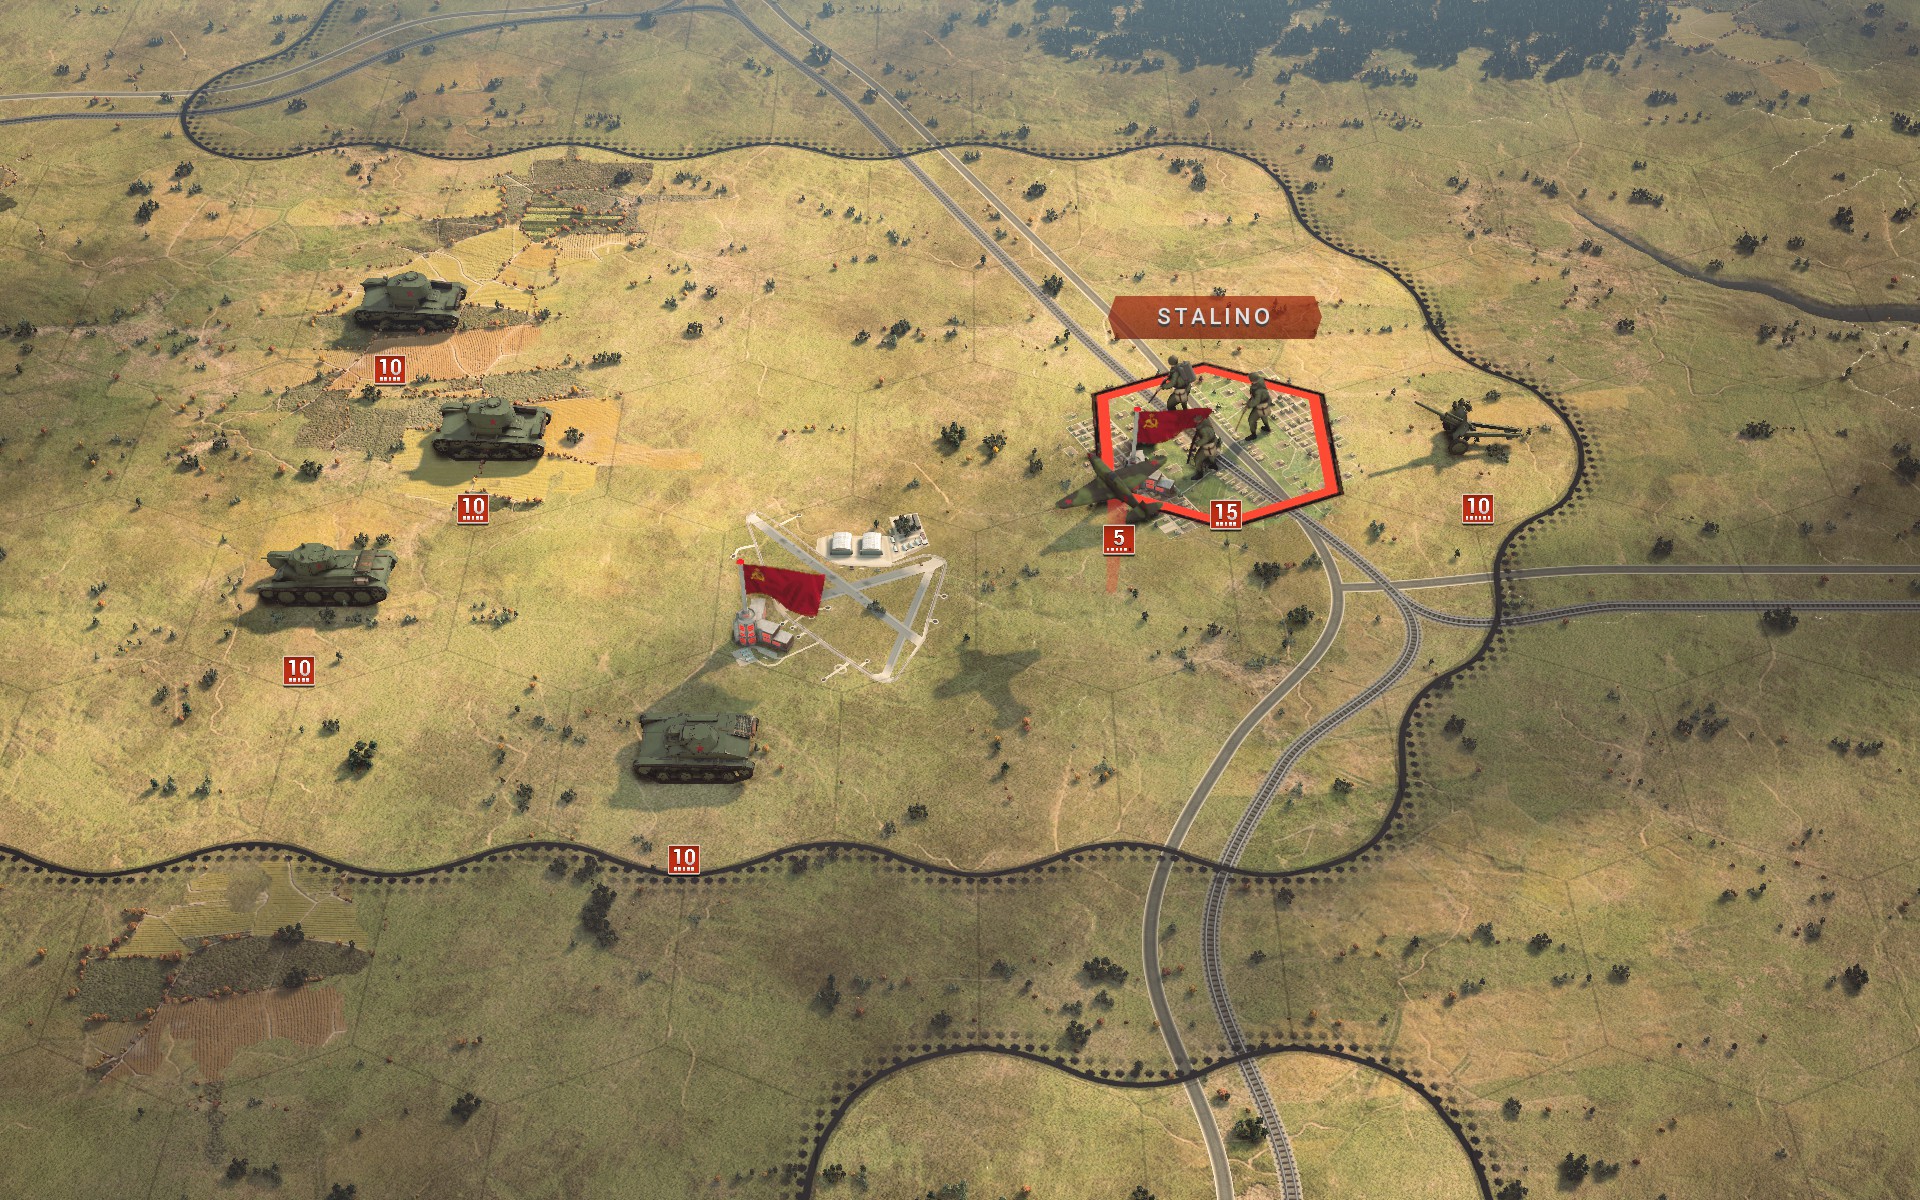
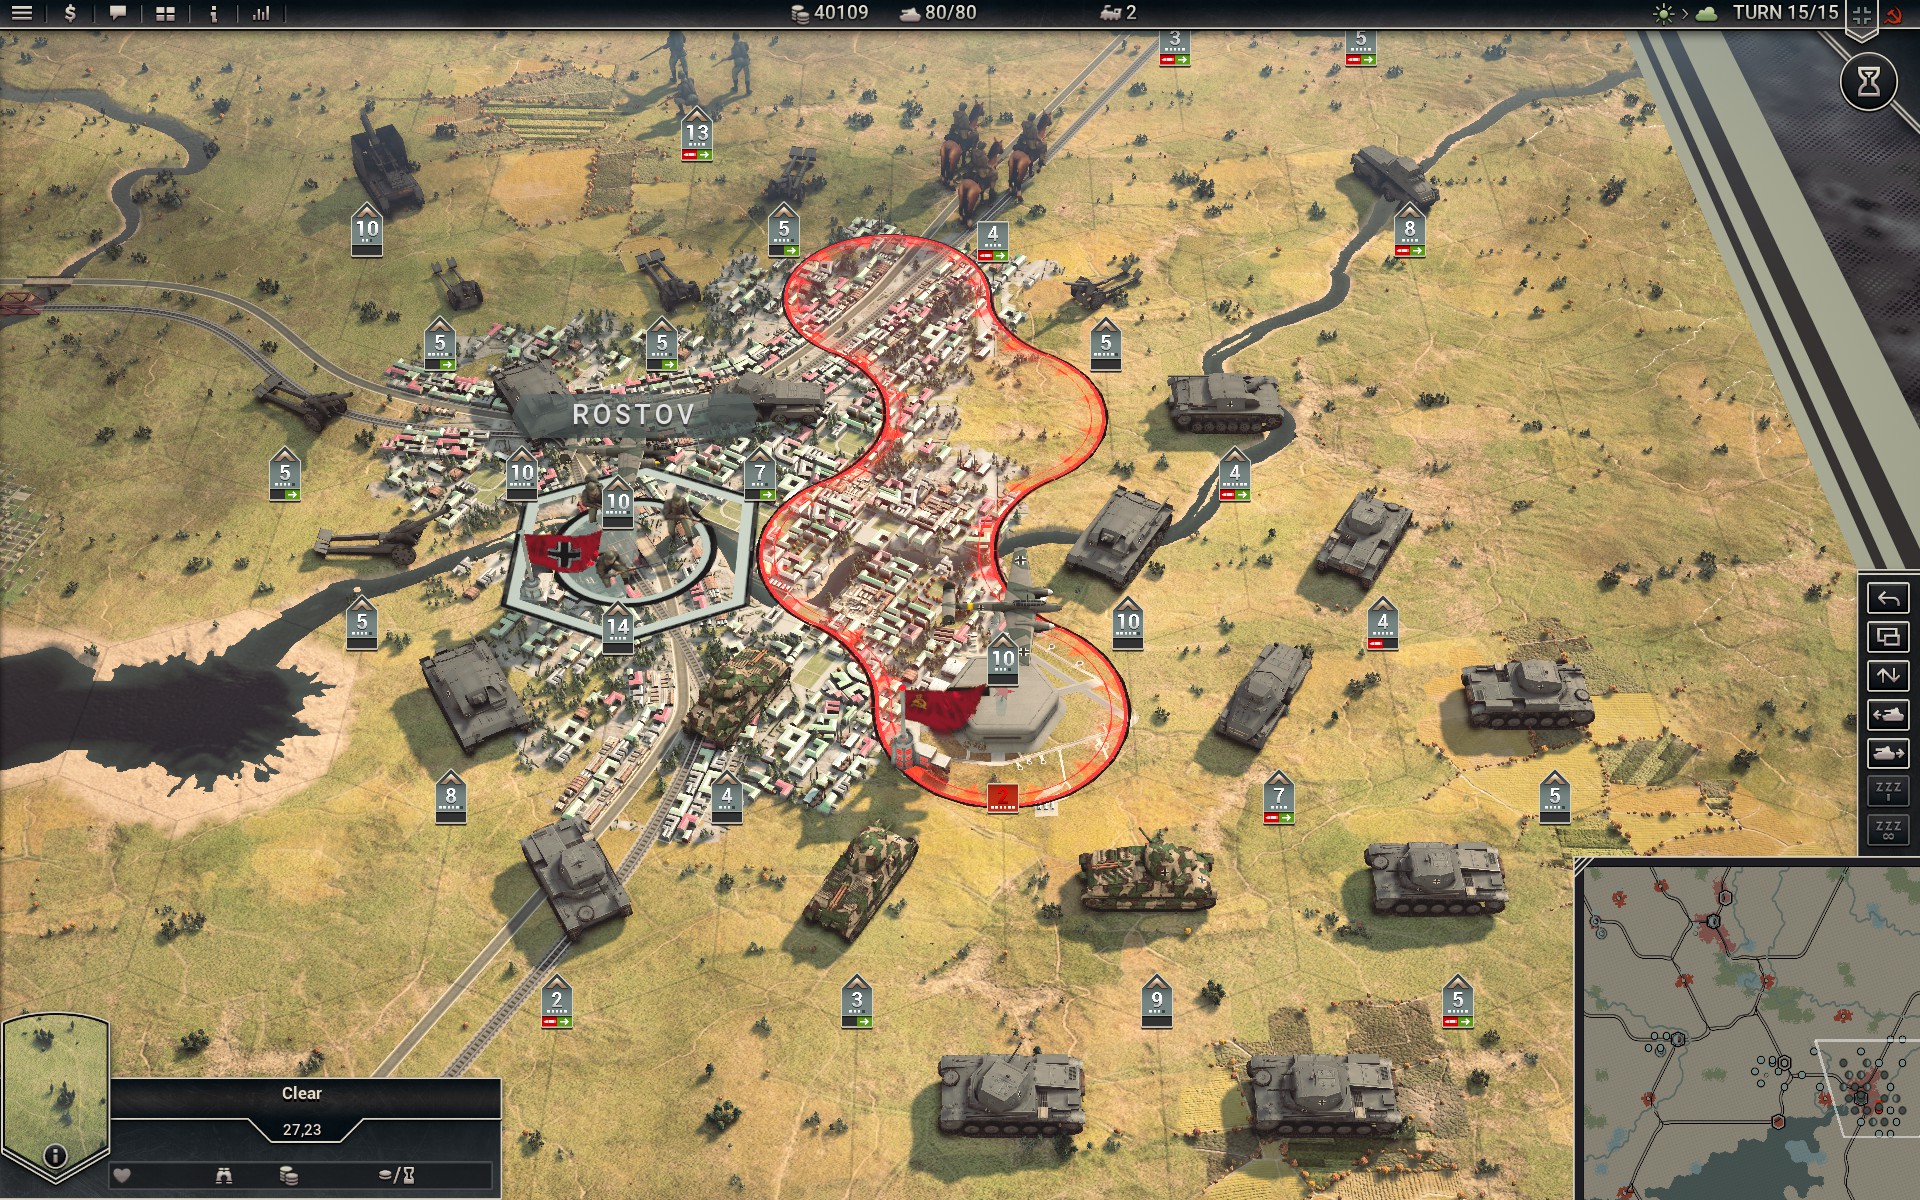
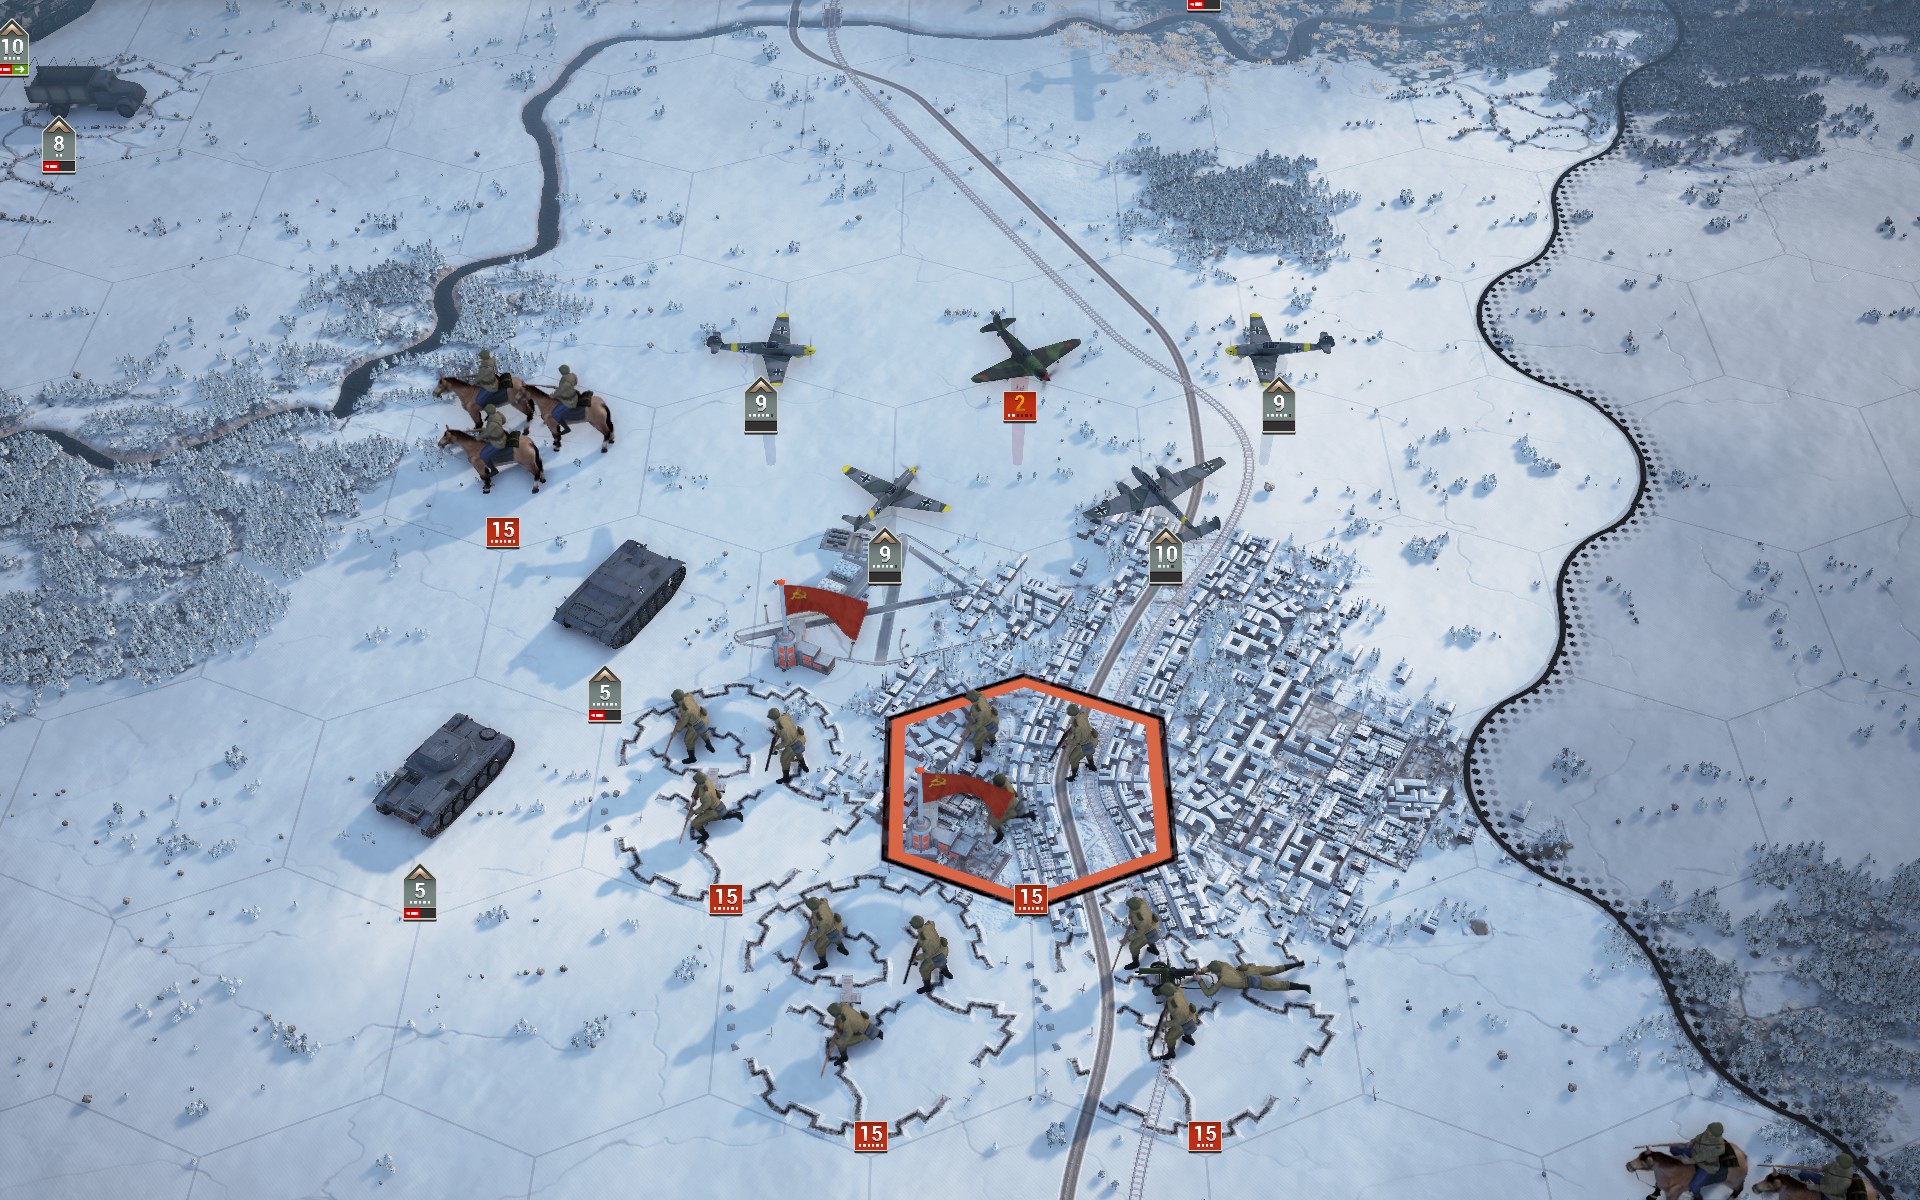
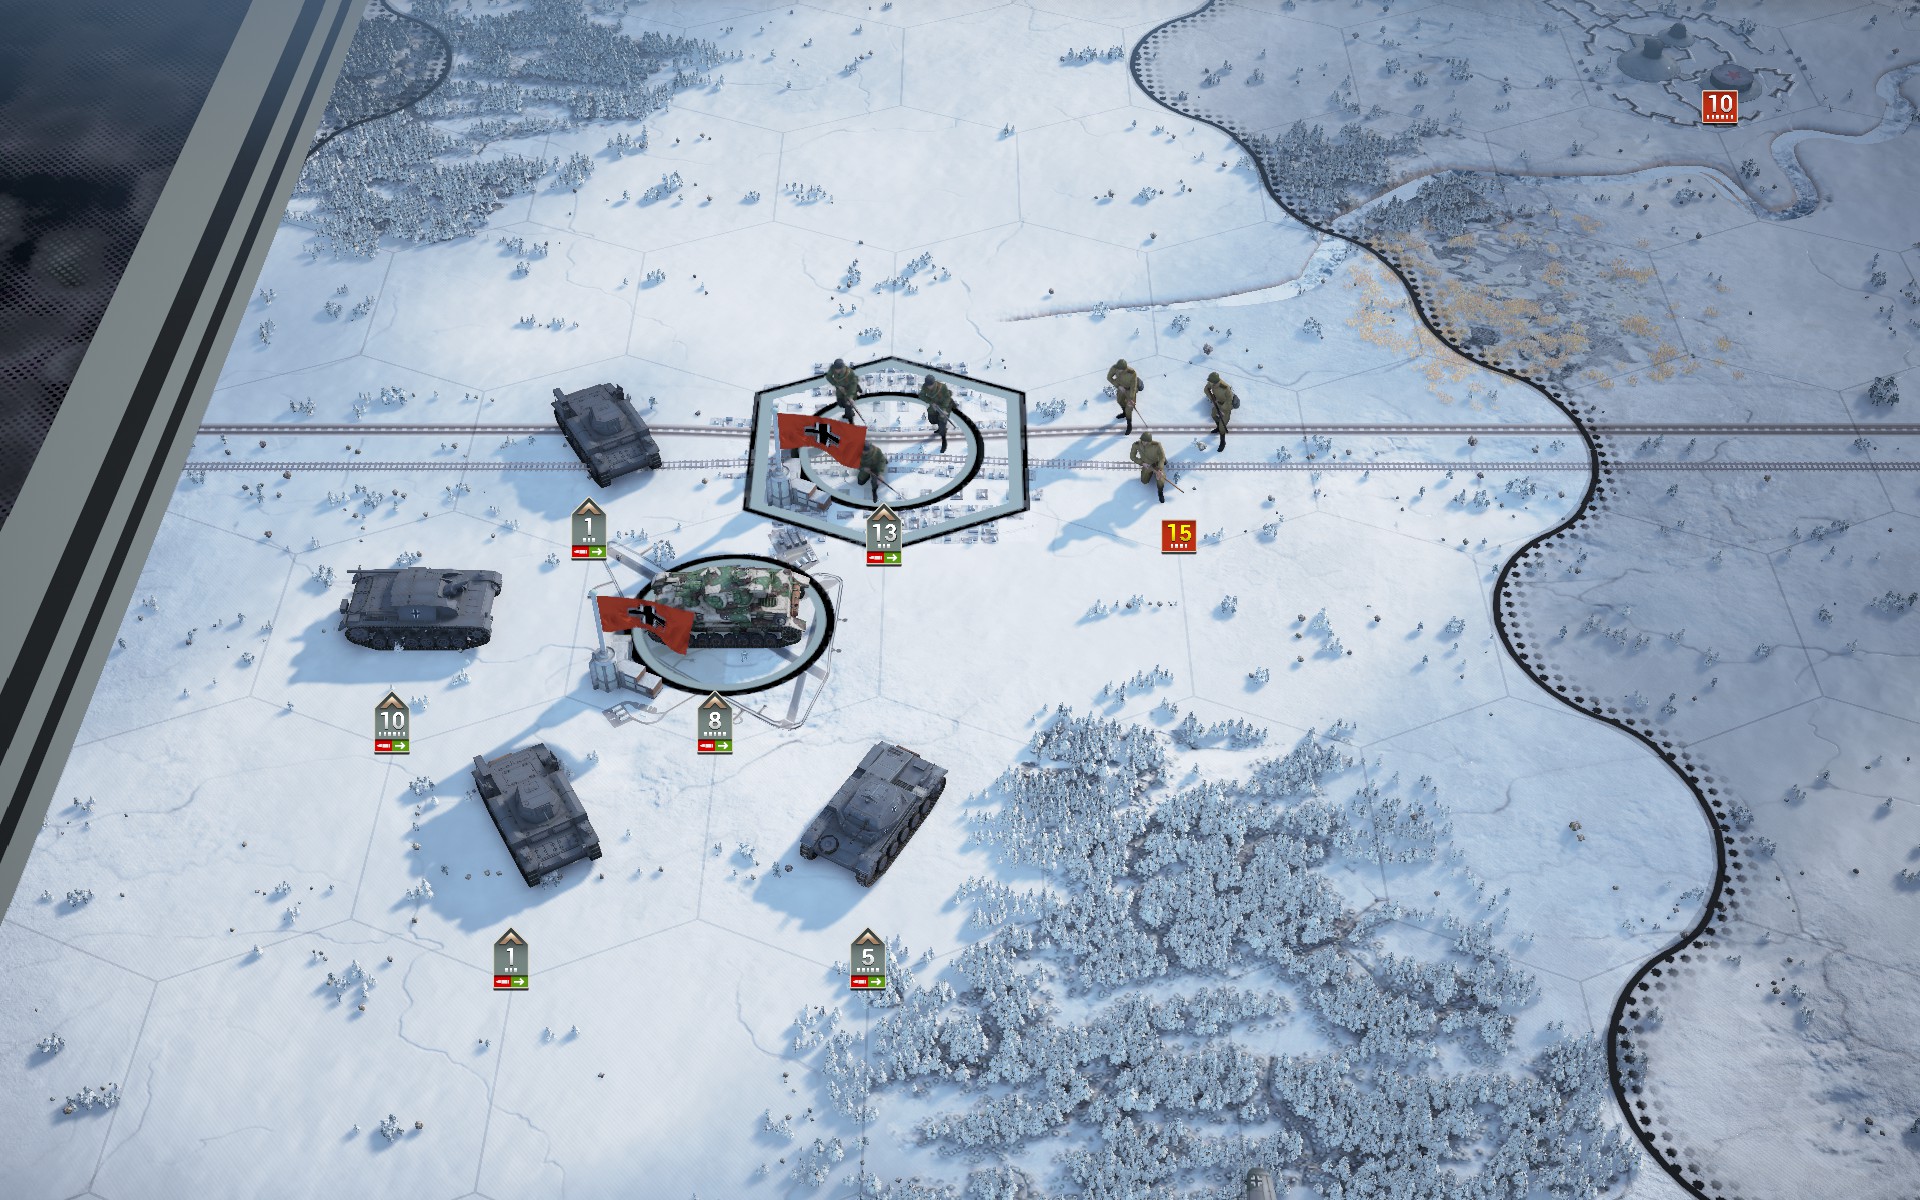
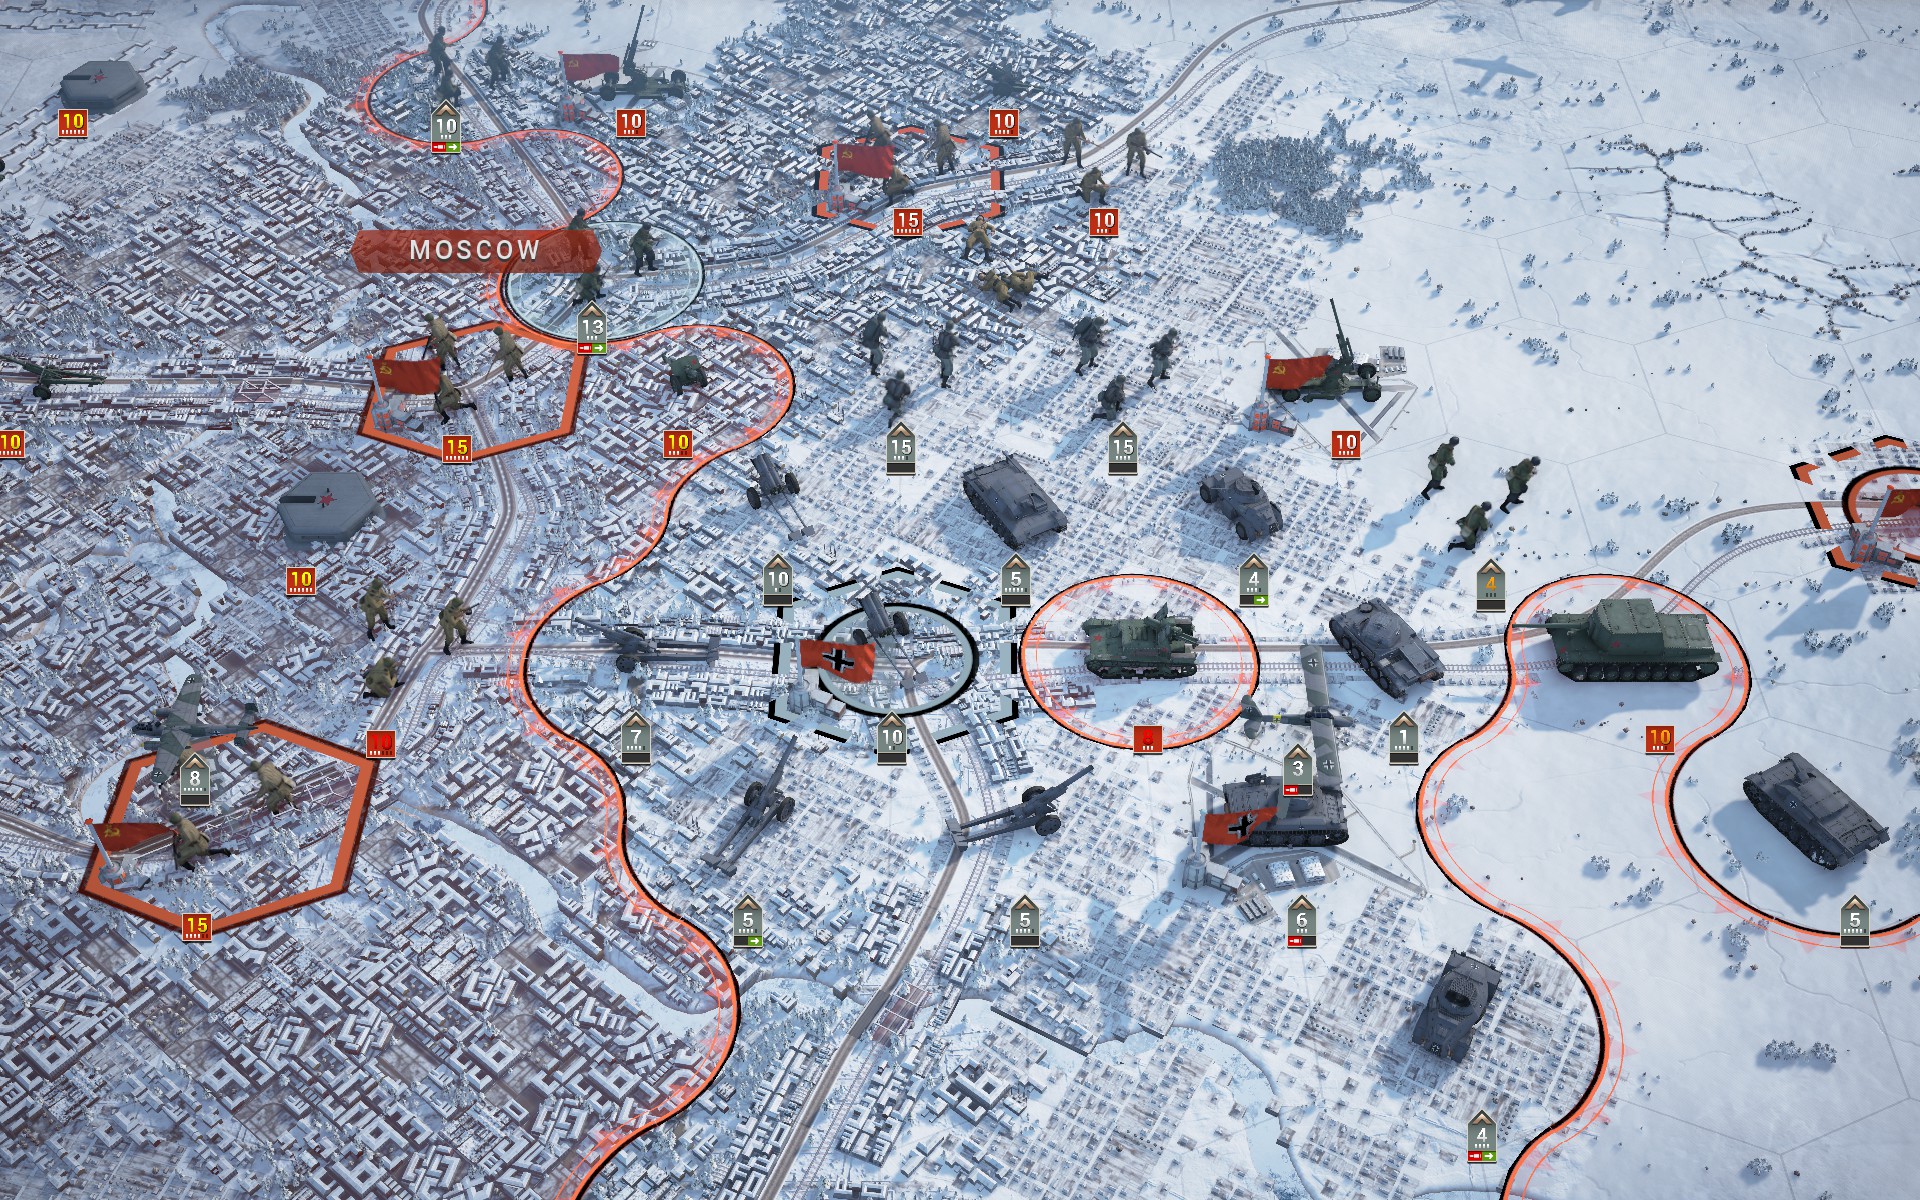
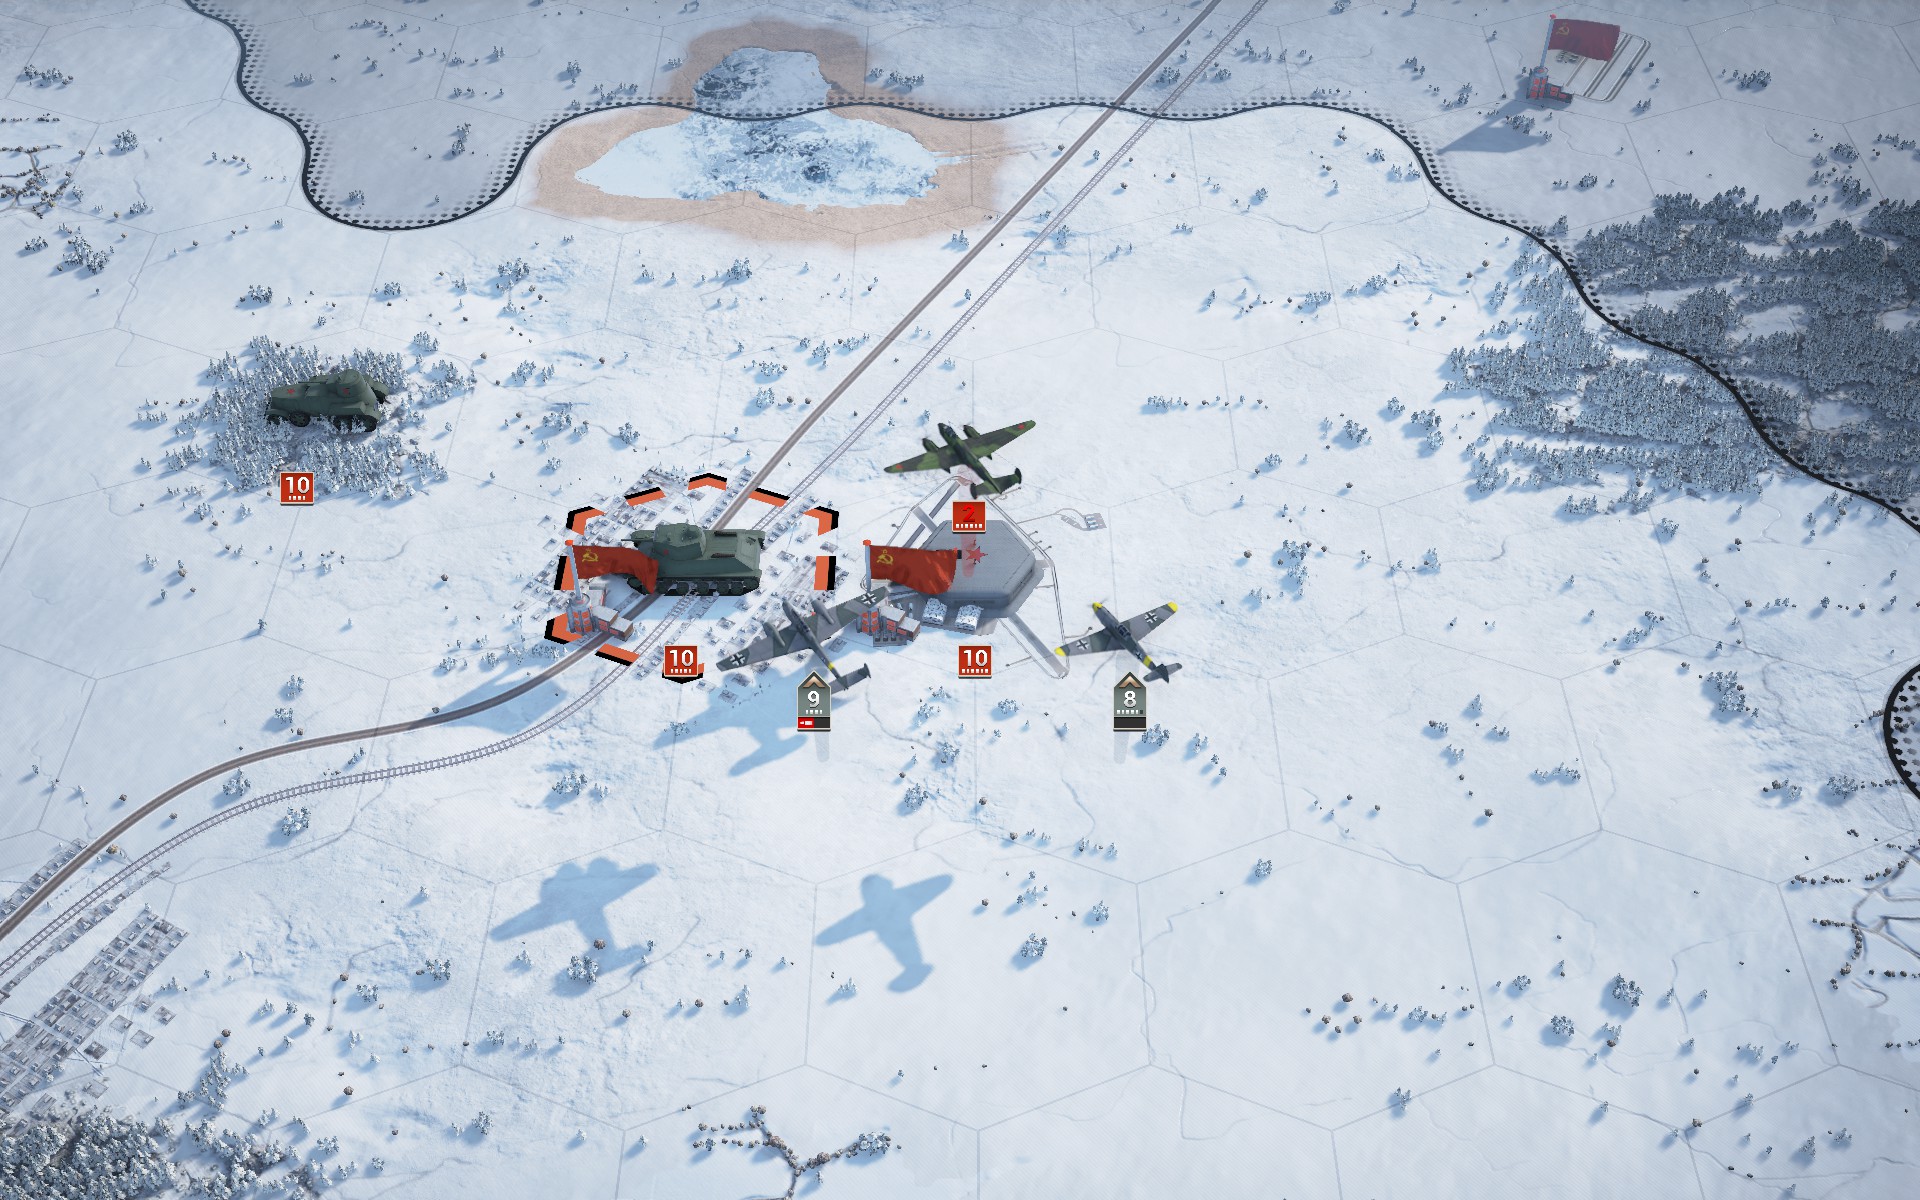
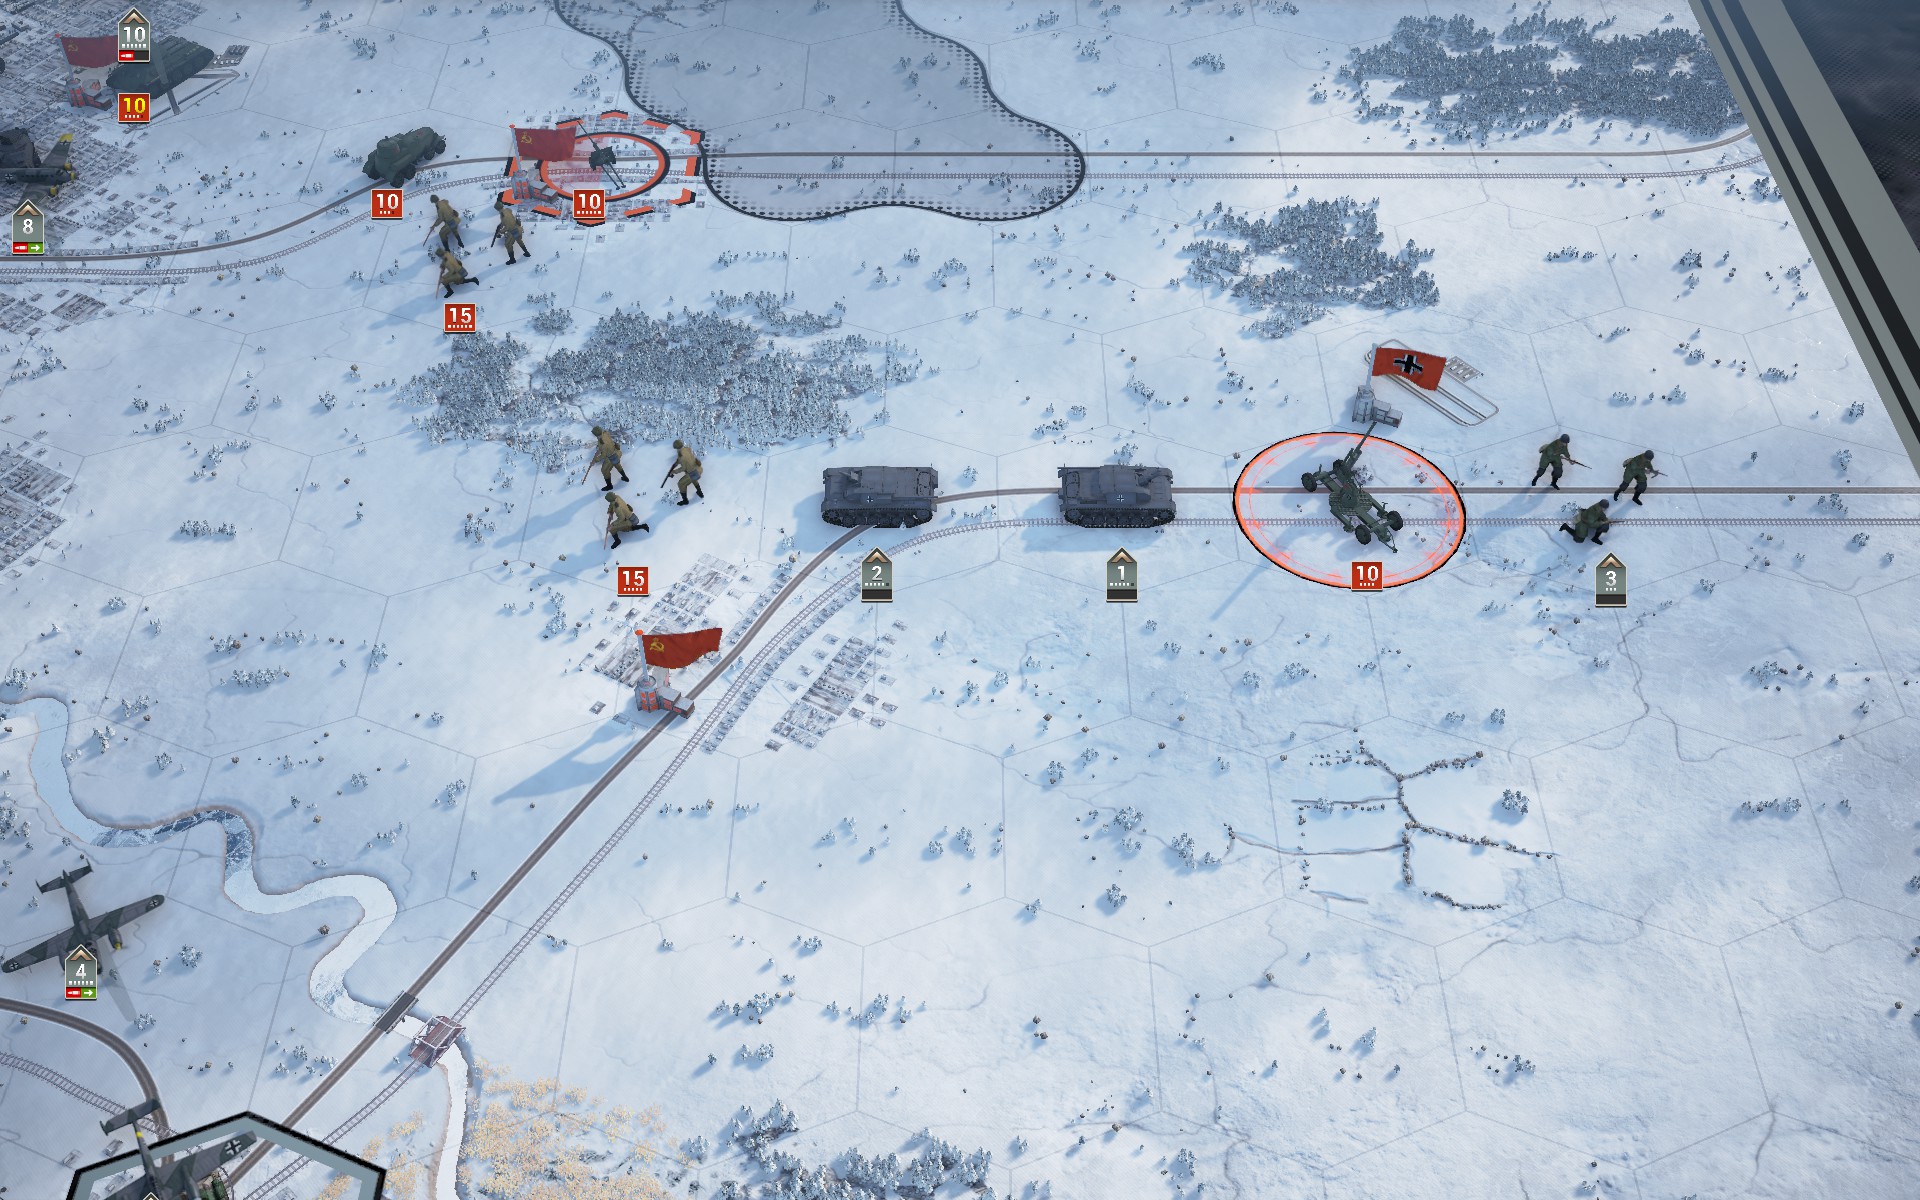
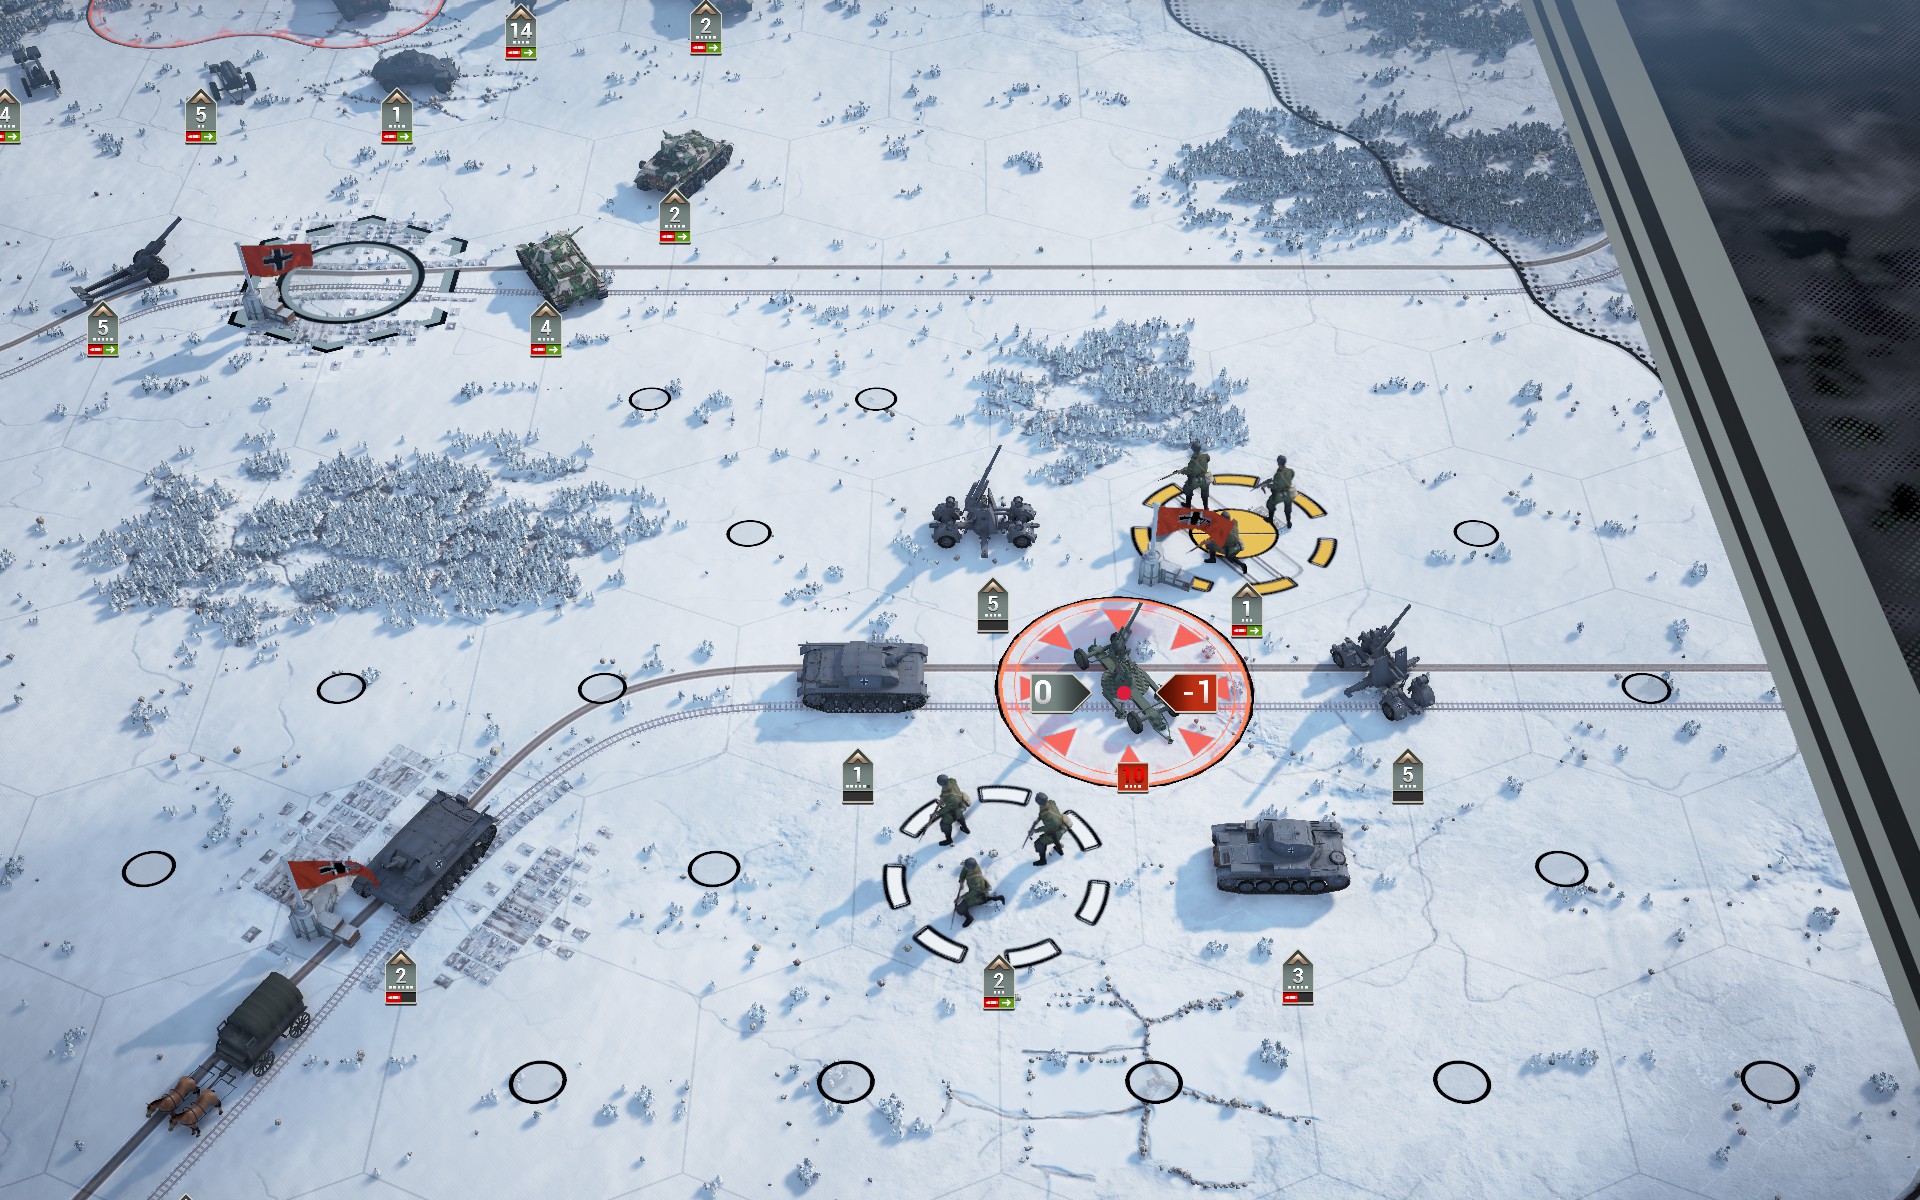
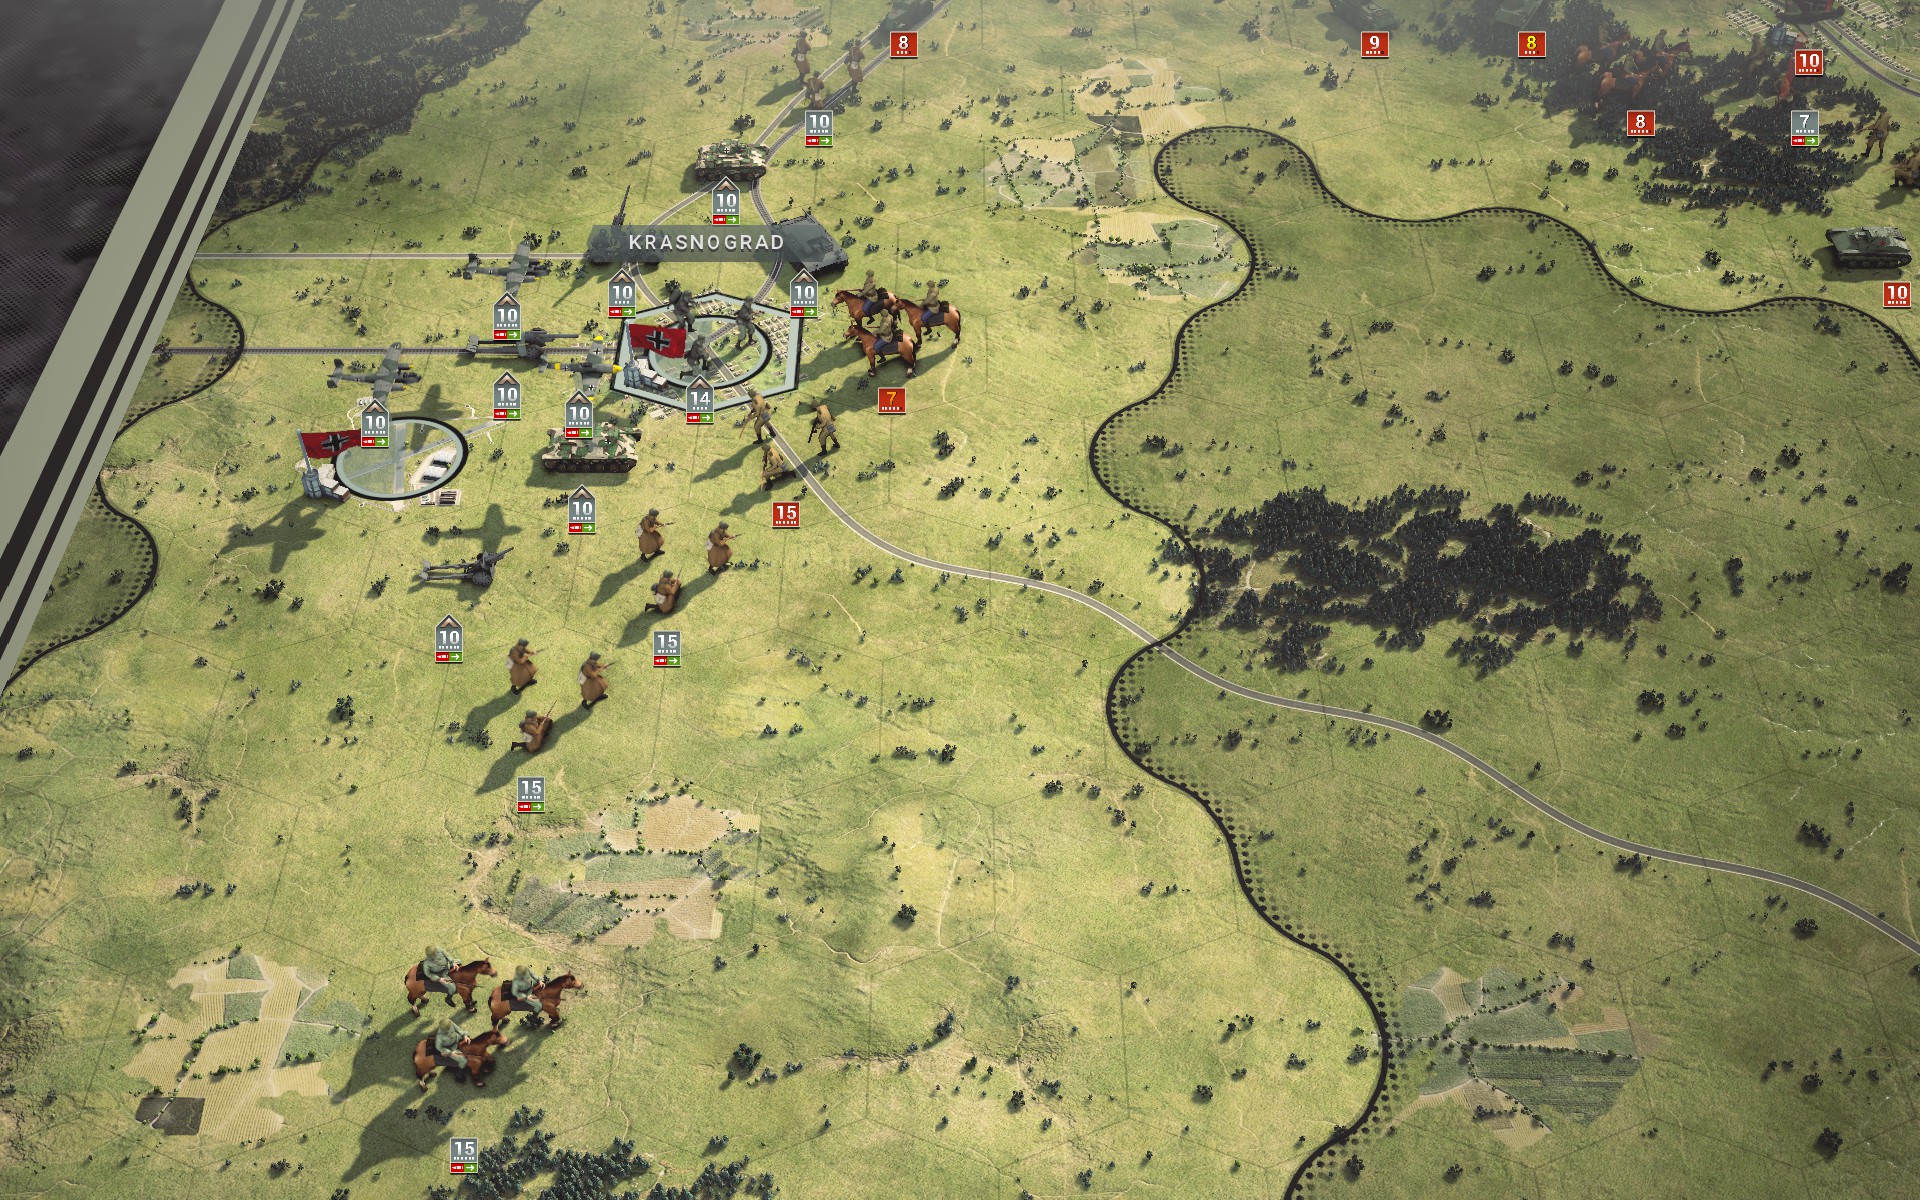
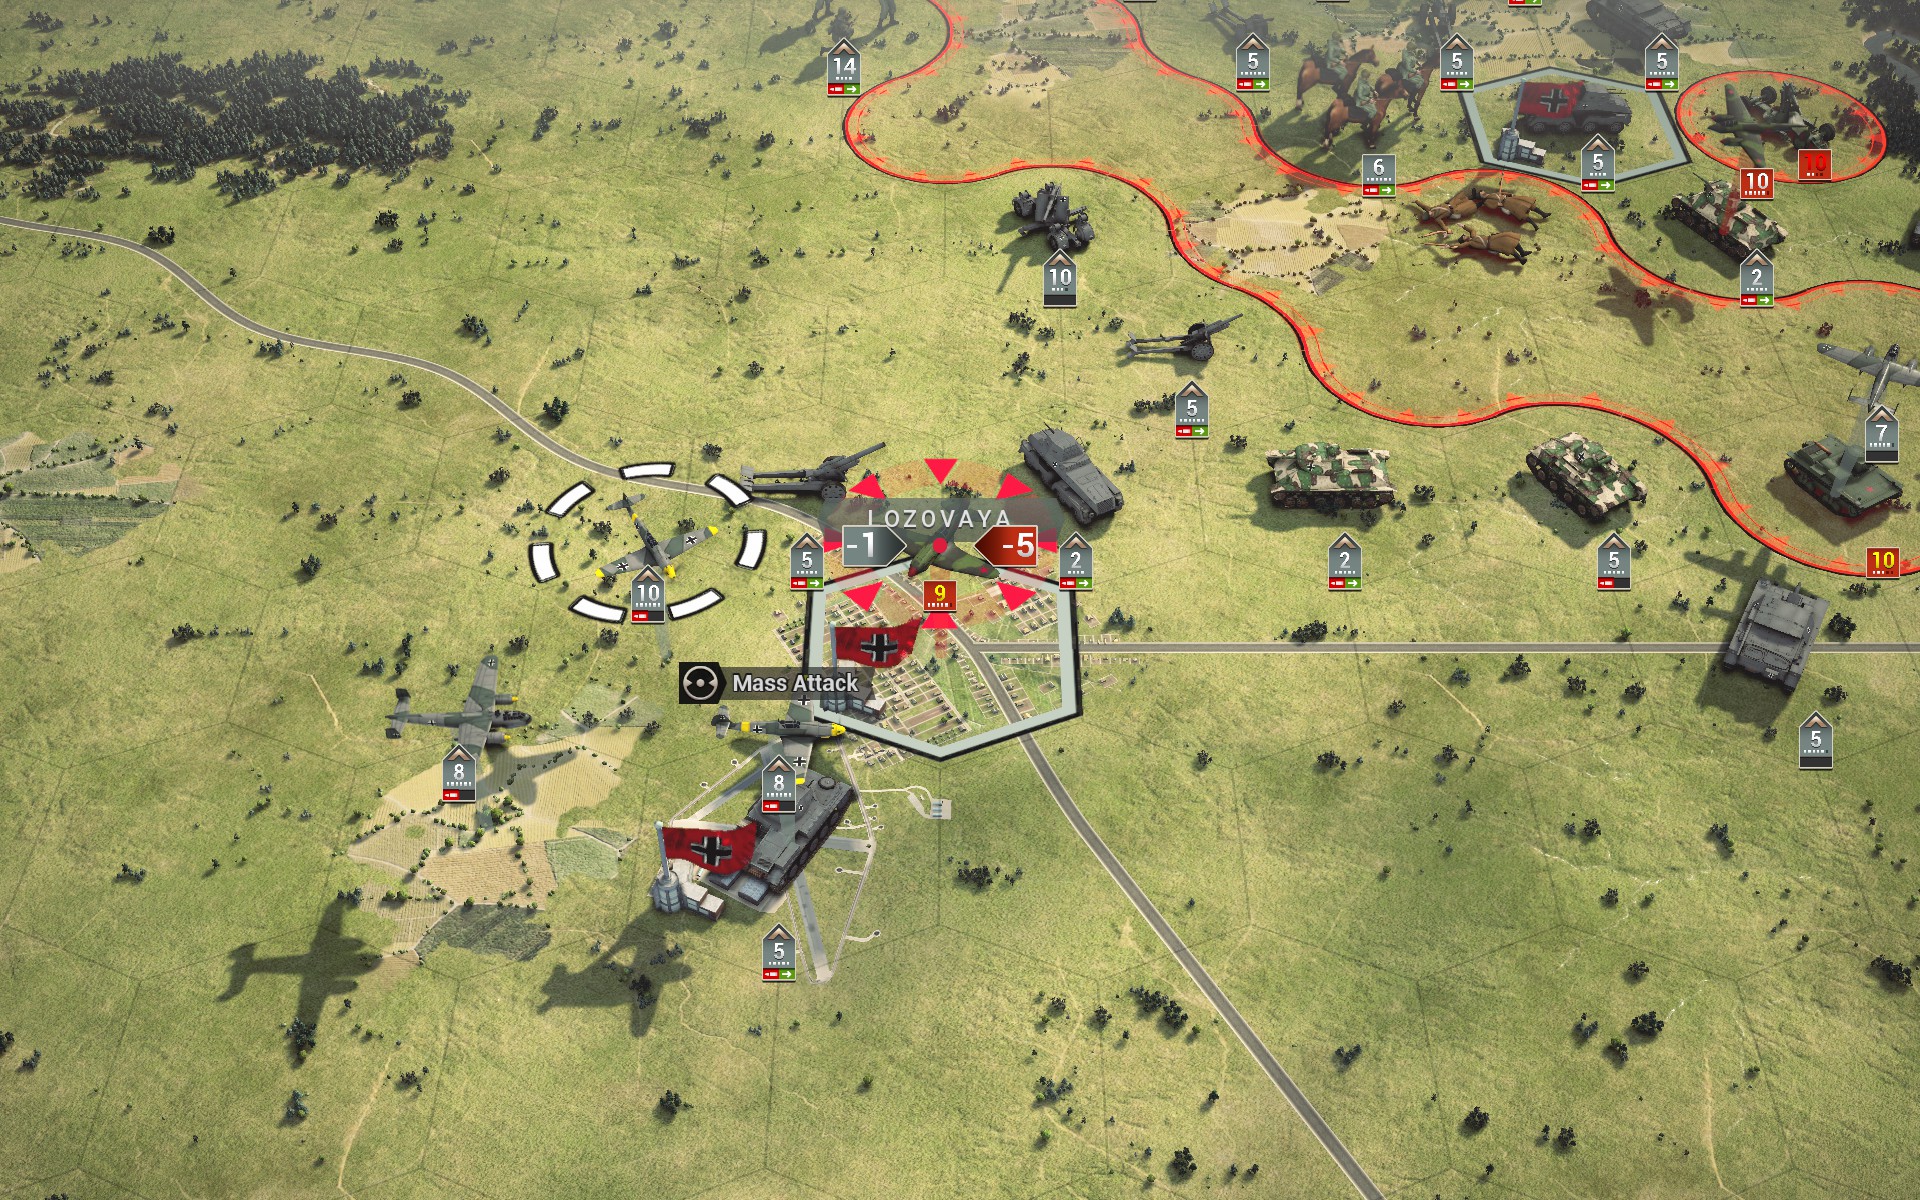
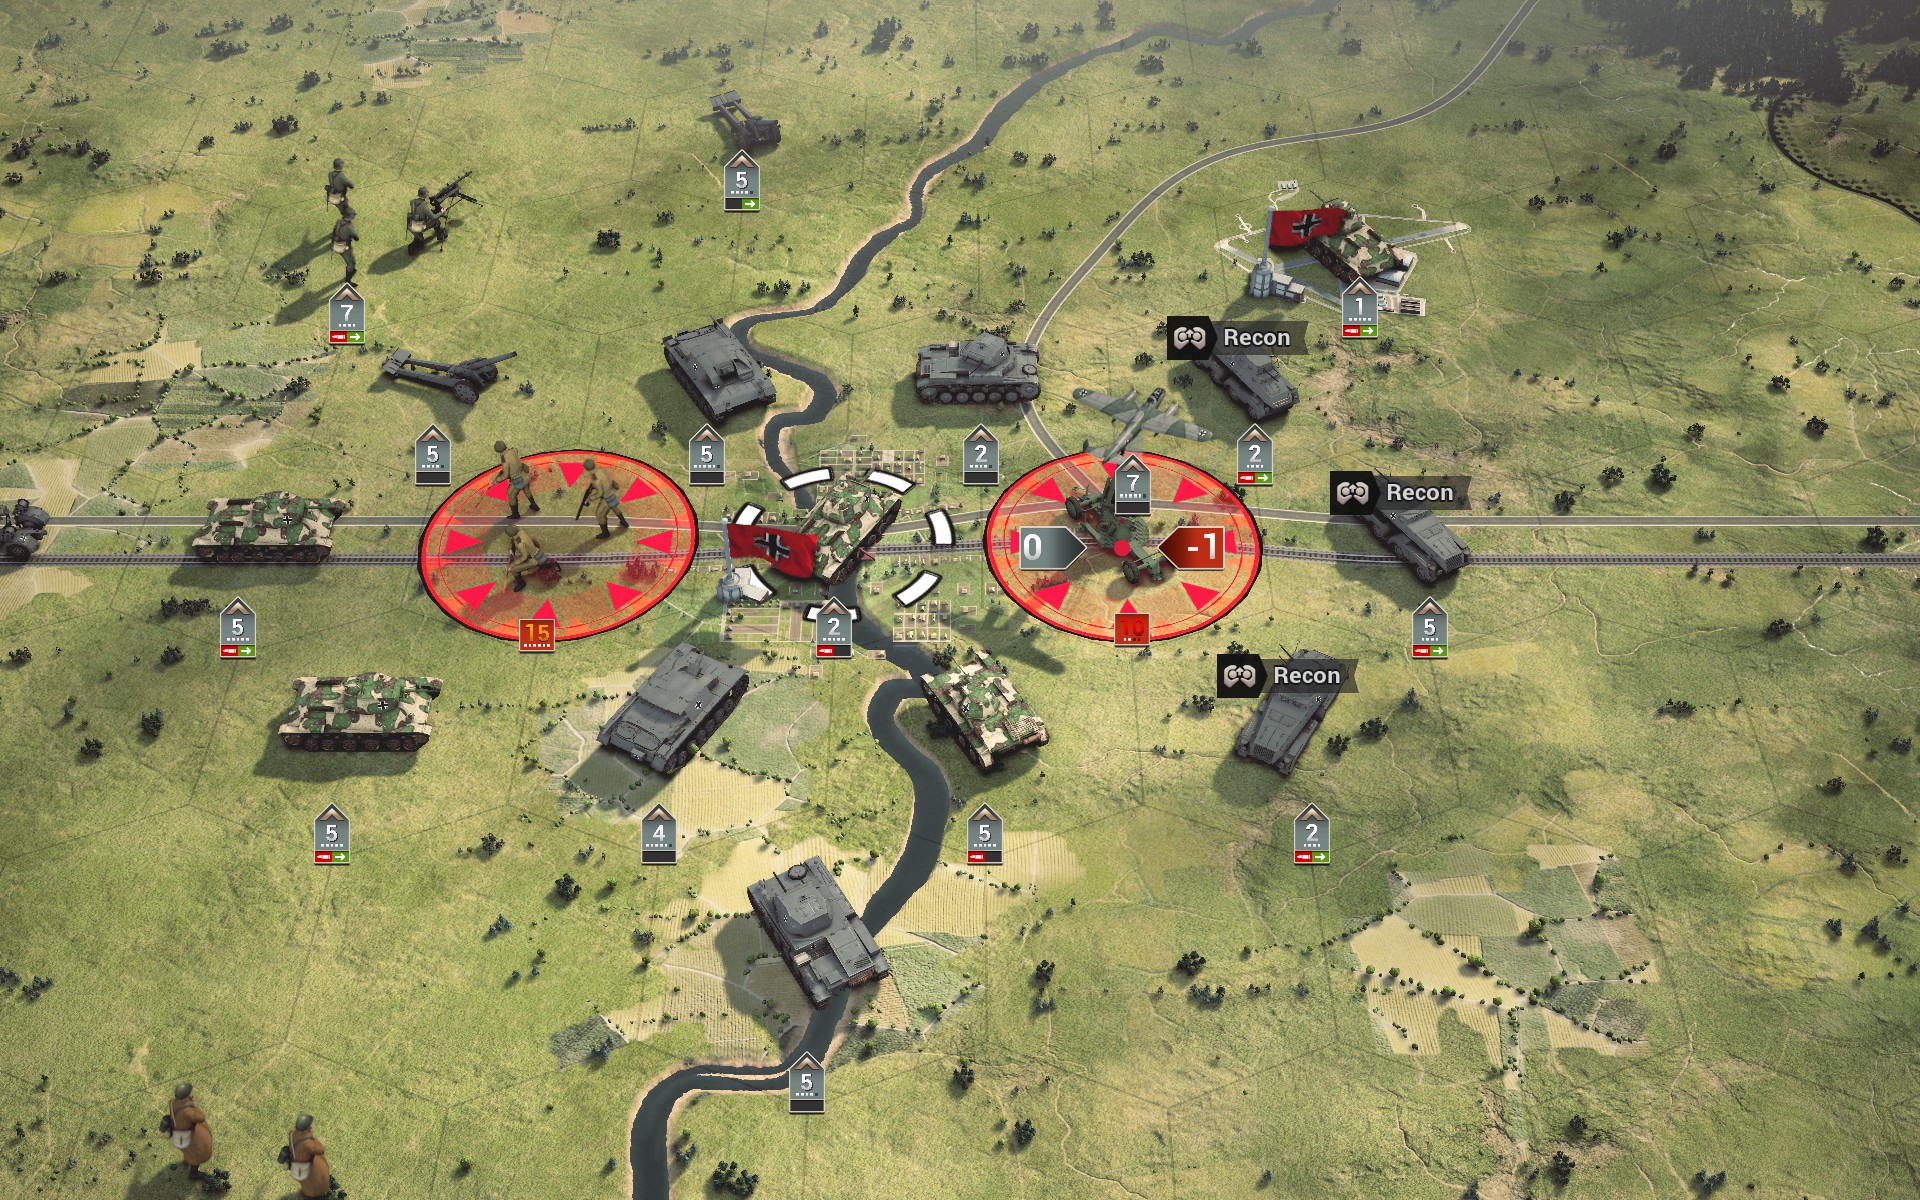
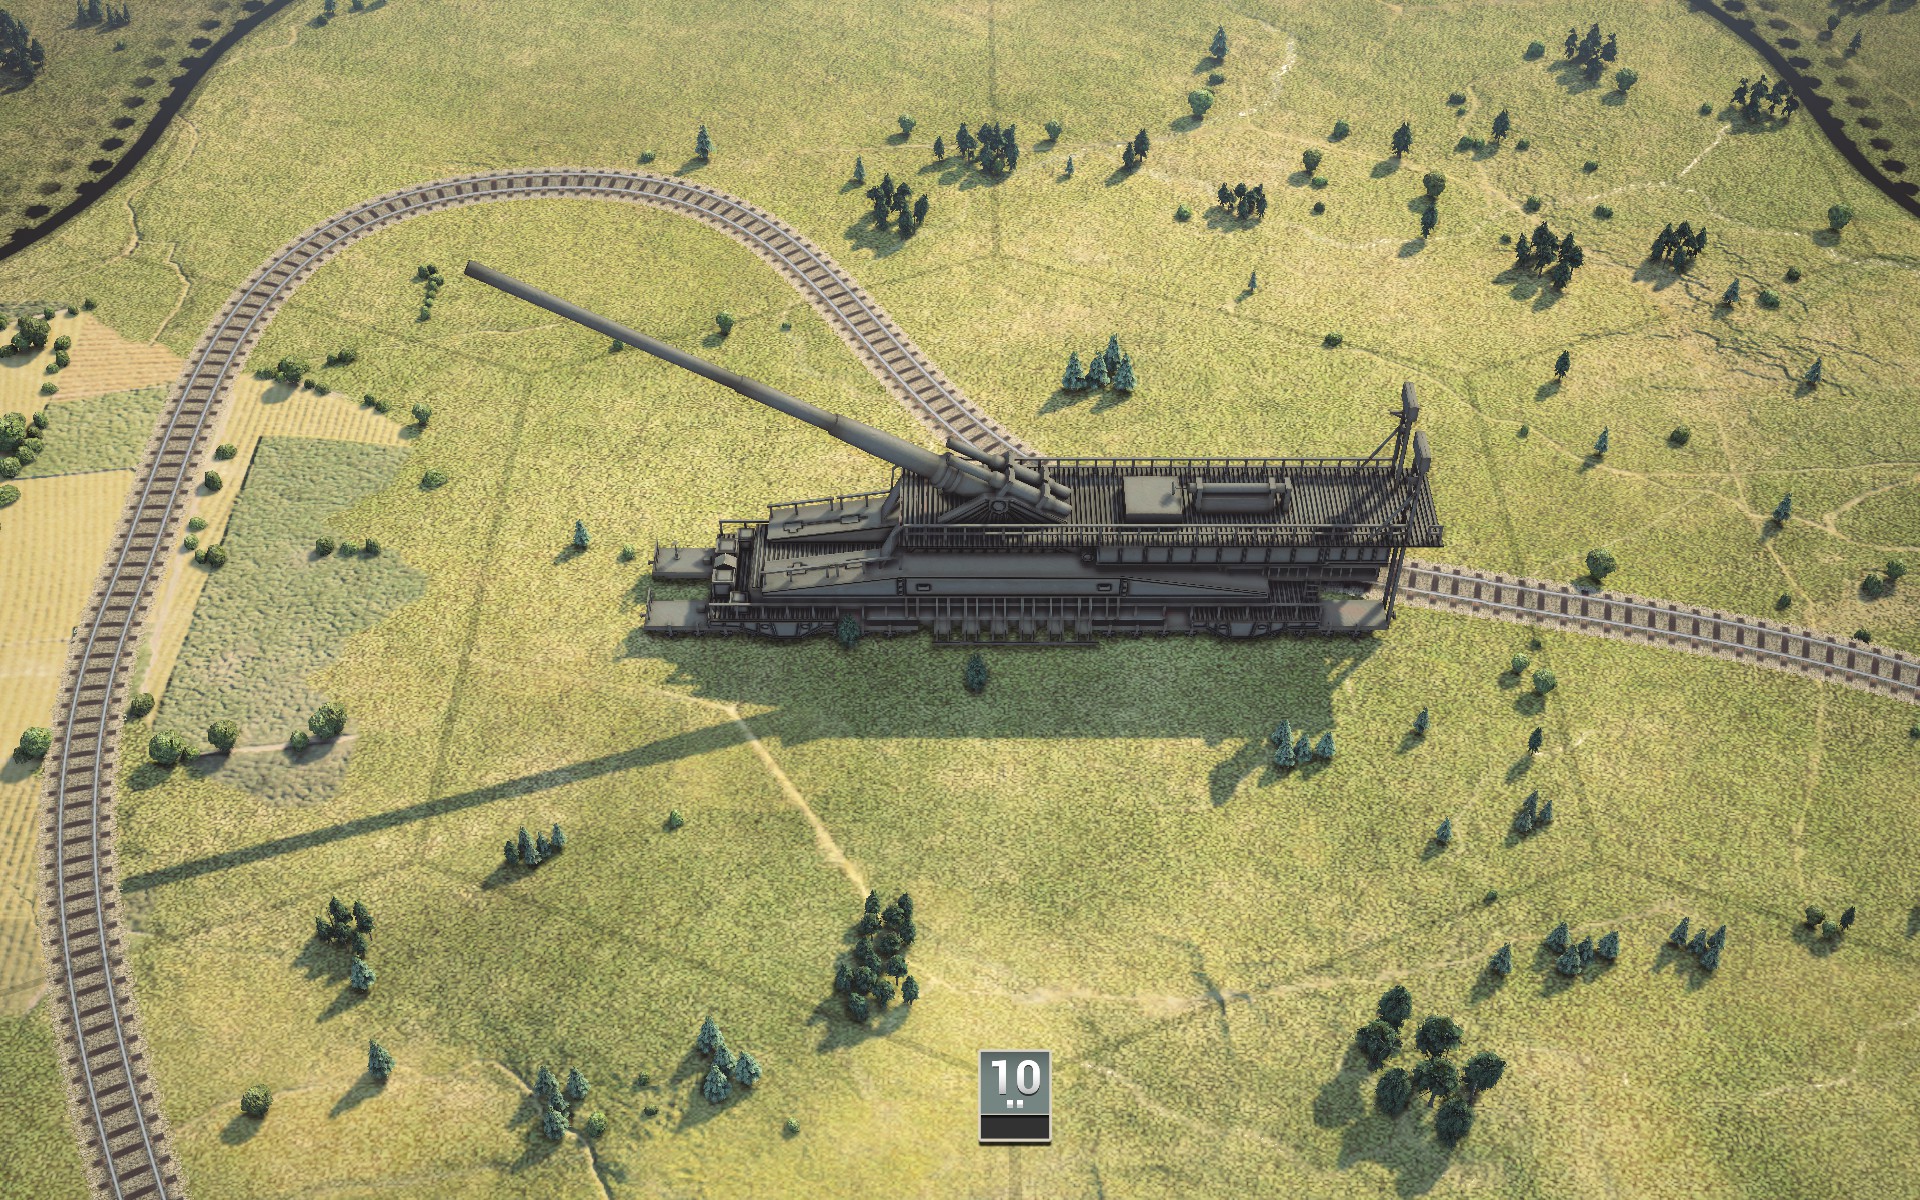
As the strongpoint cannot be captured, it serves as target practice for the Somua battalions.
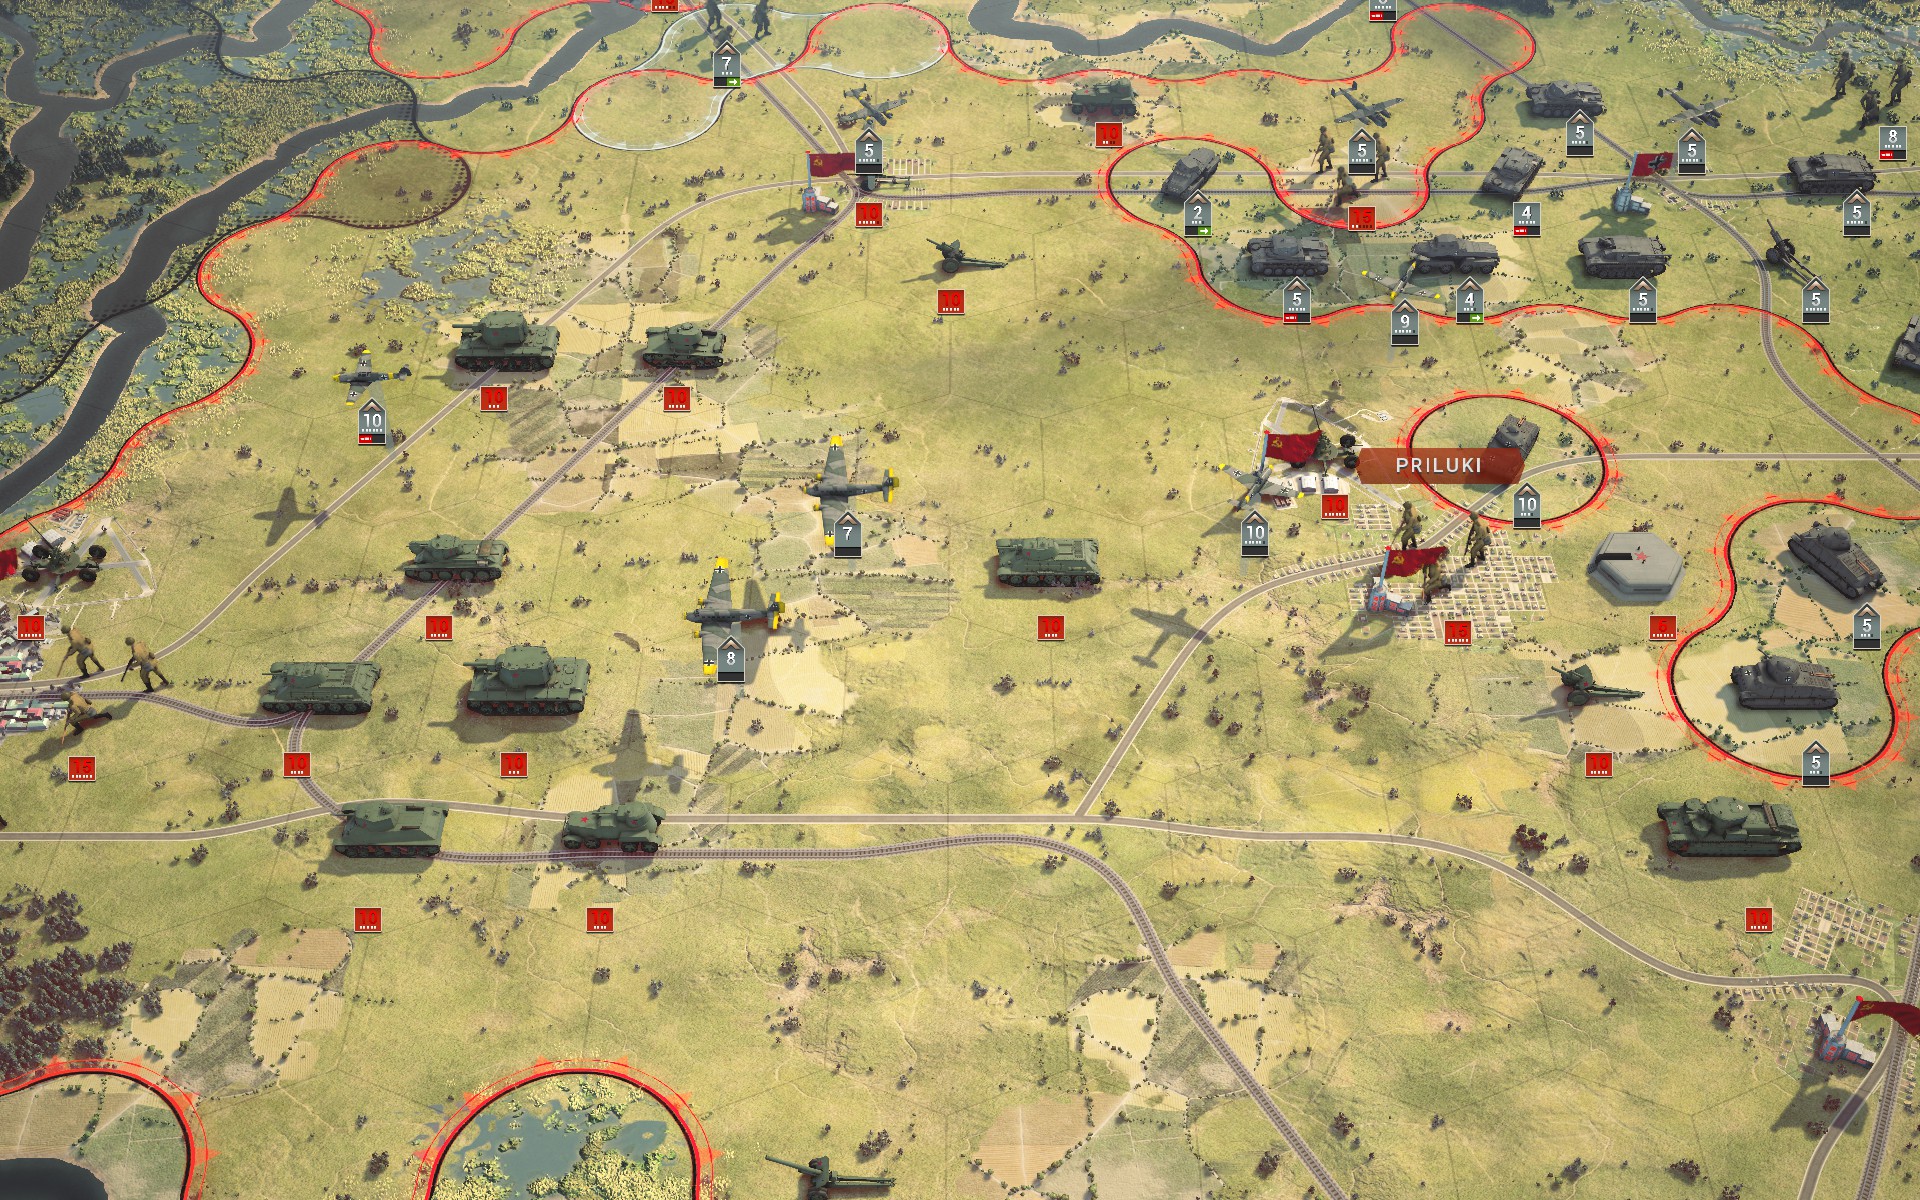
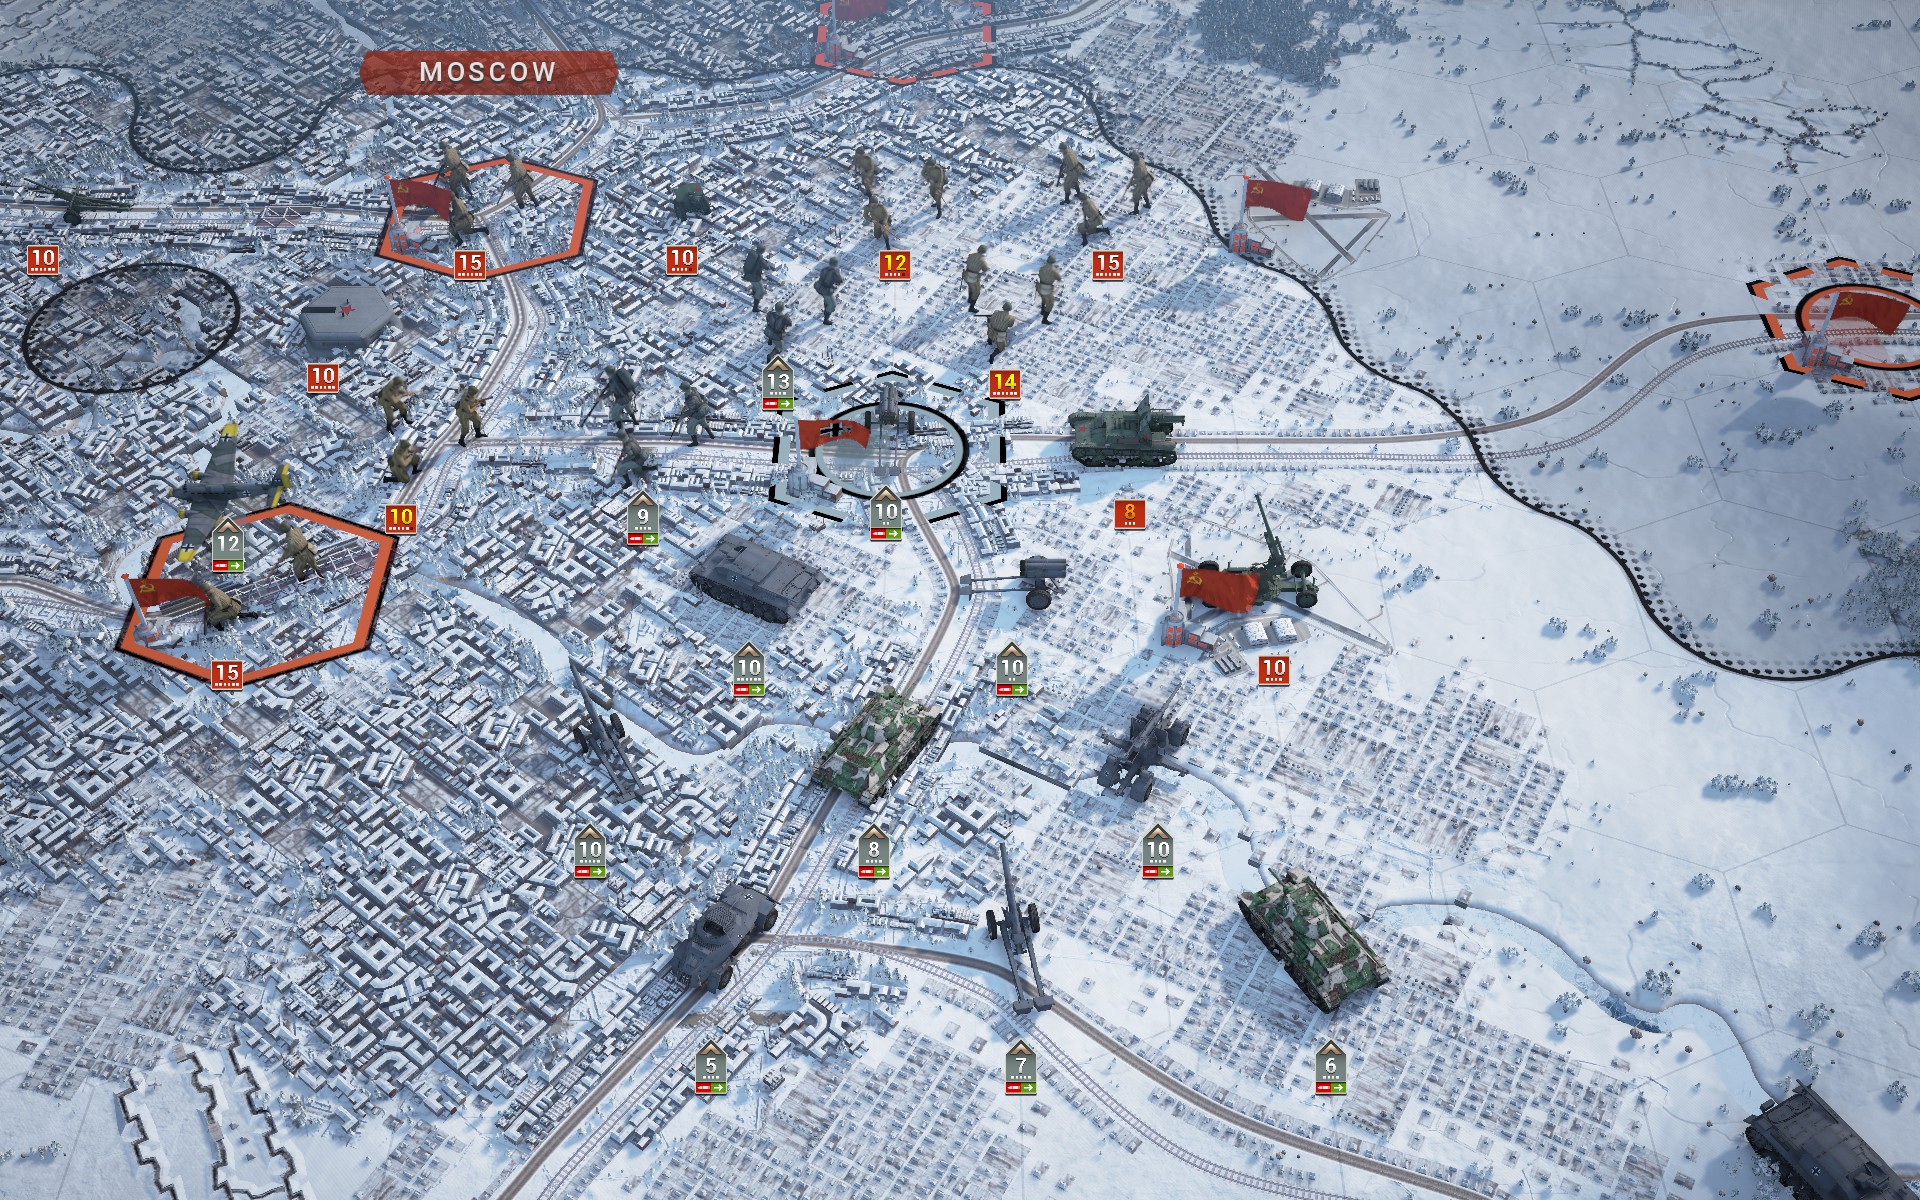
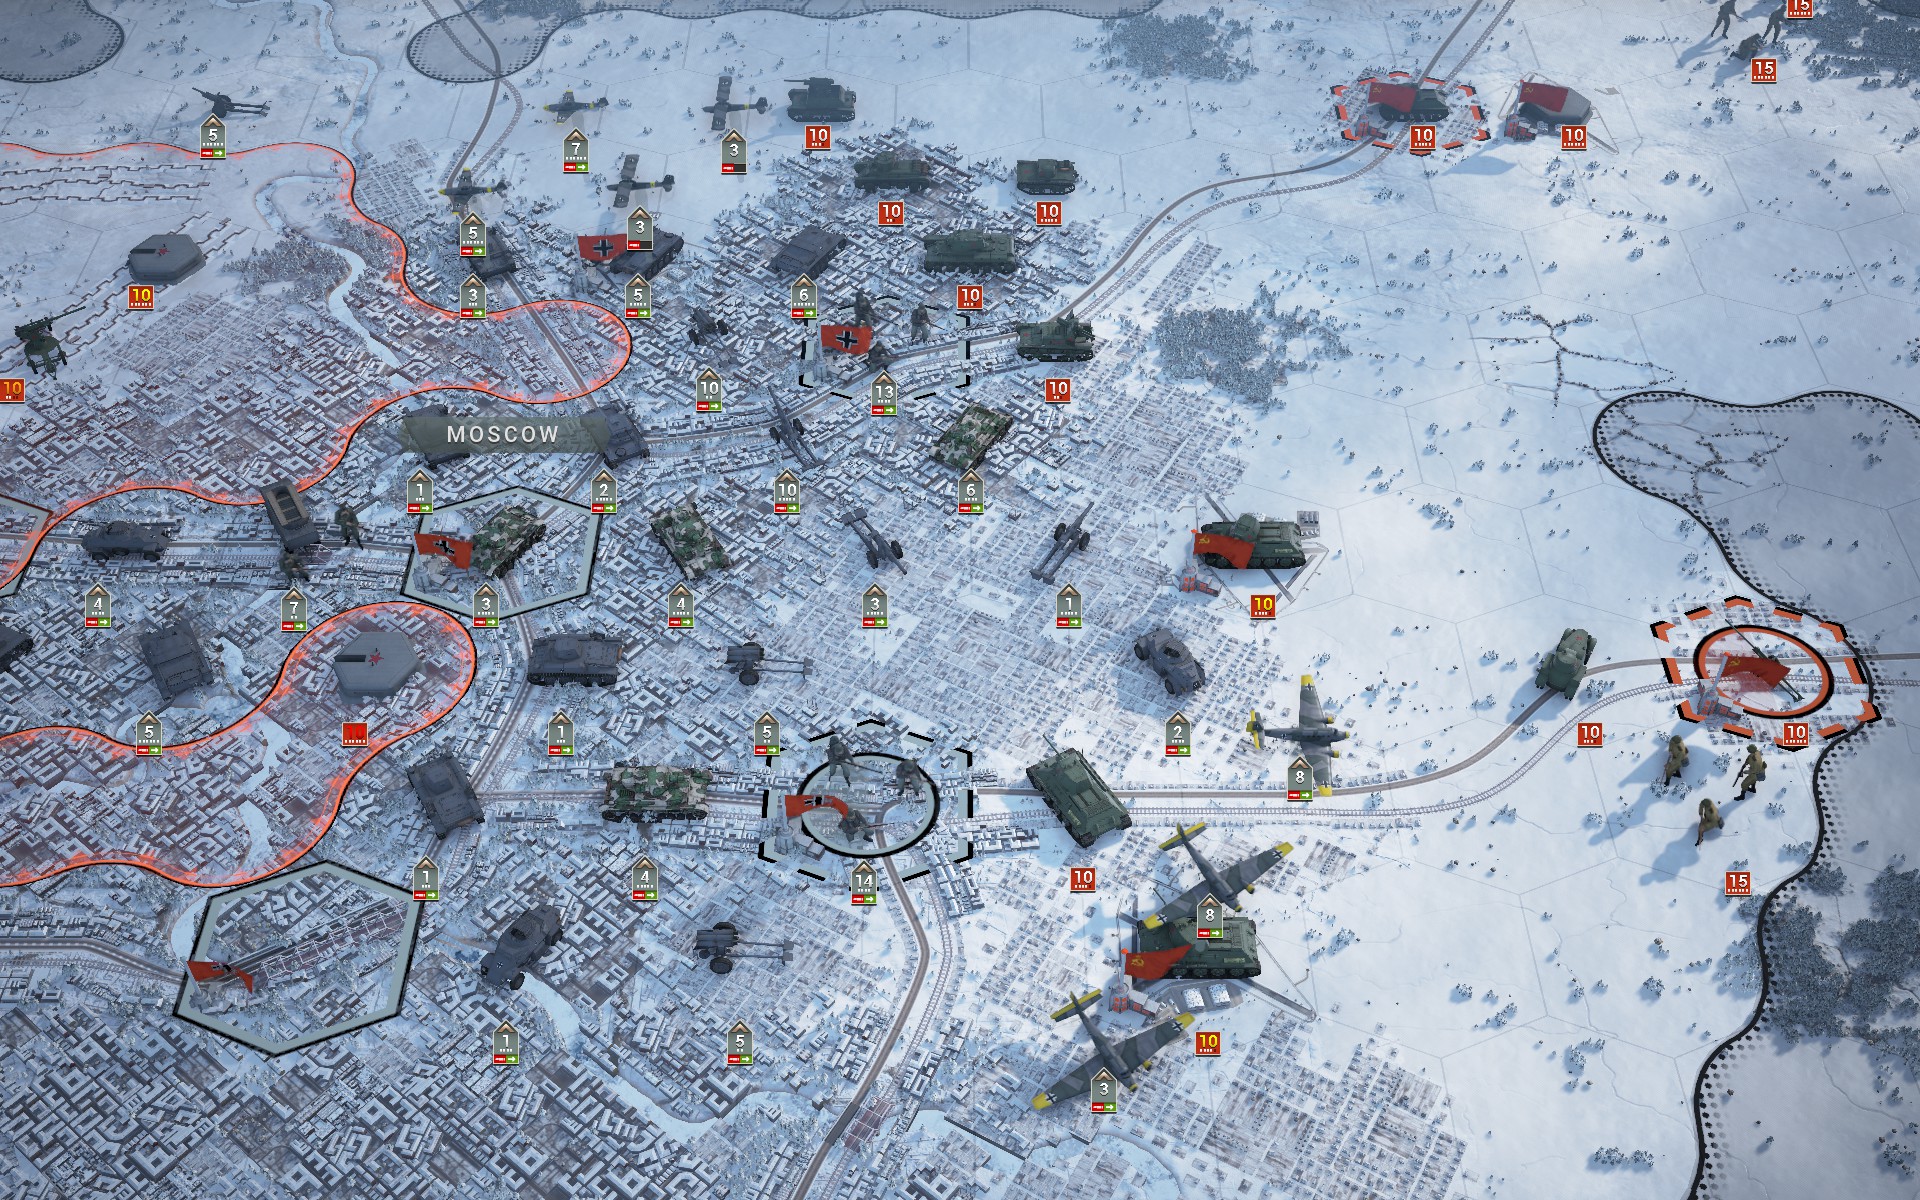
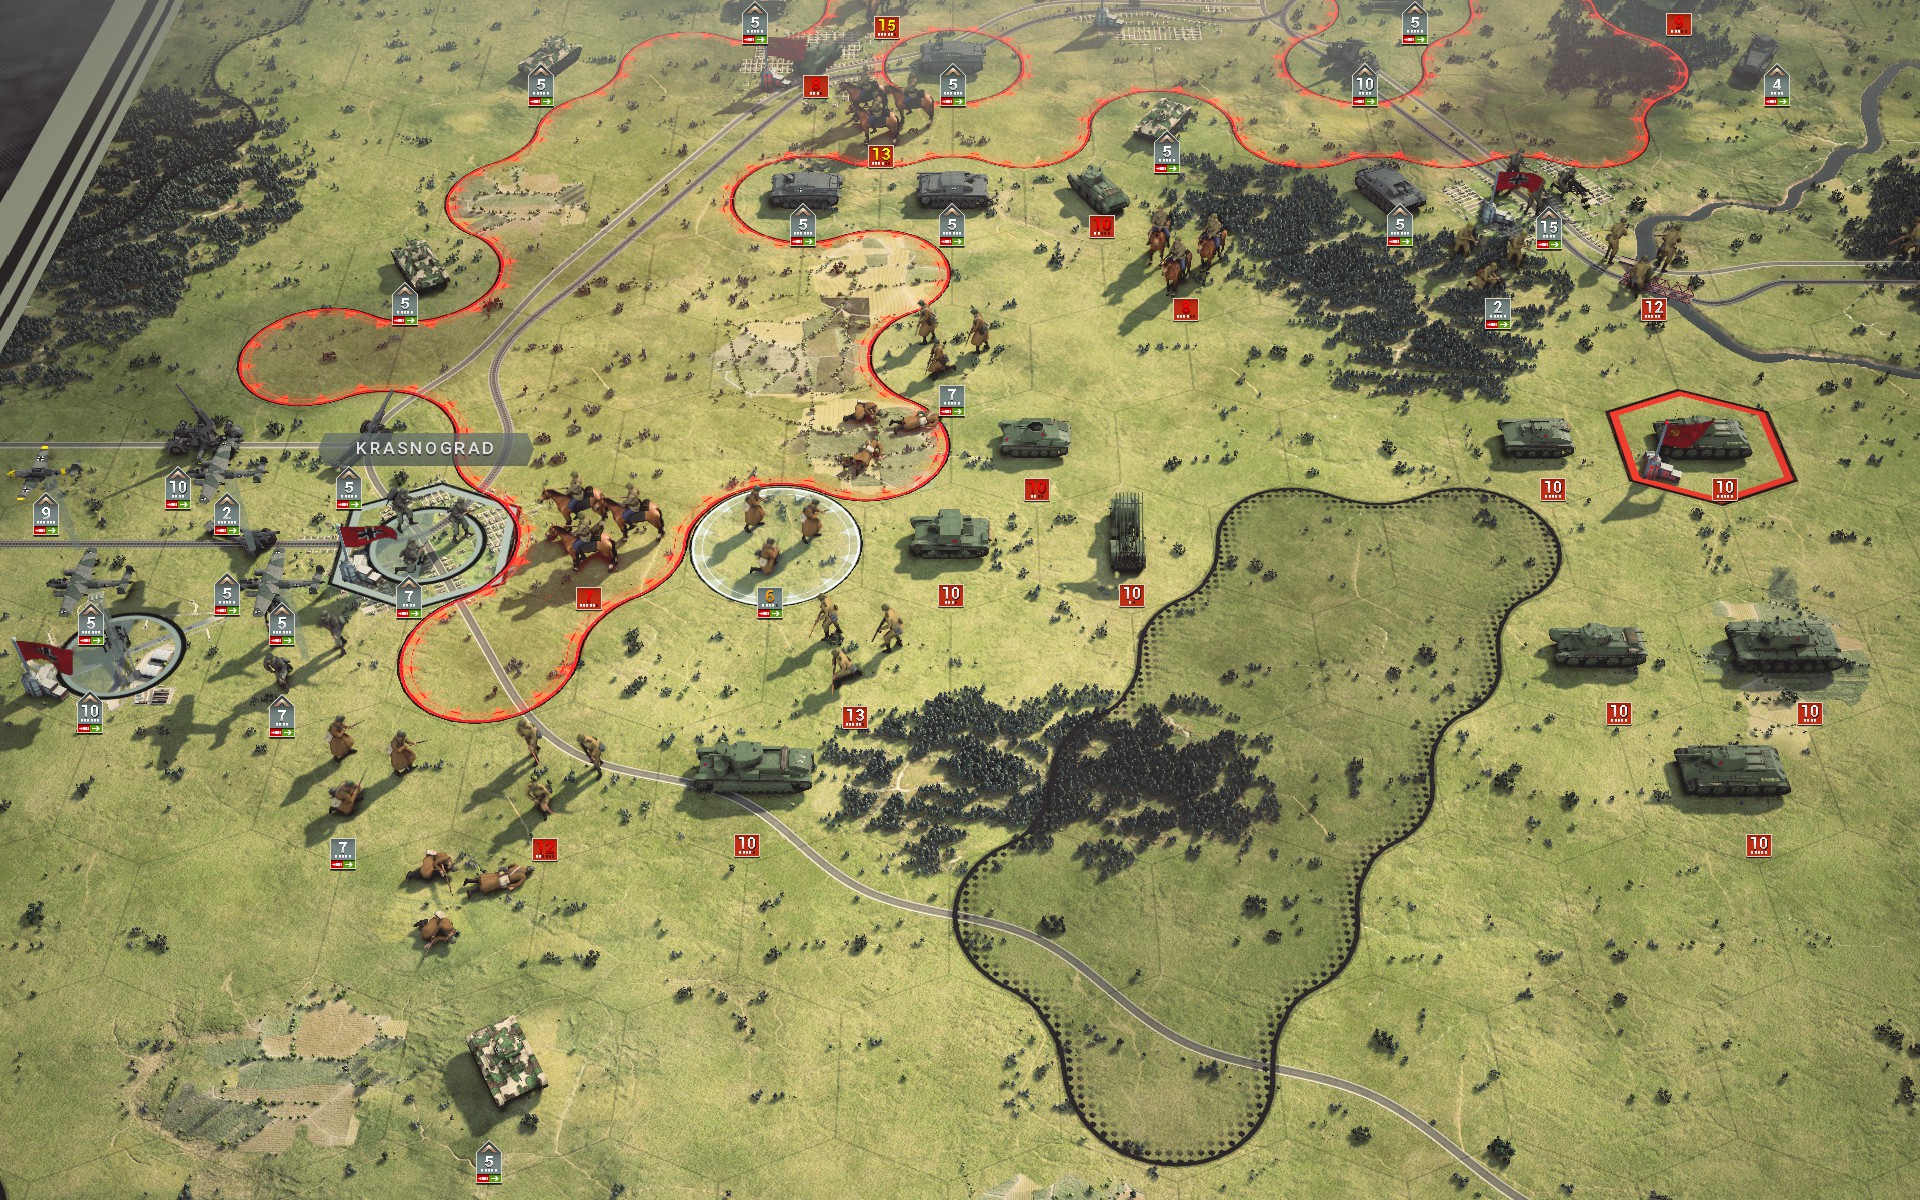
The Soviet forces are completely paralyzed -- even their heavy armour is now defenceless.
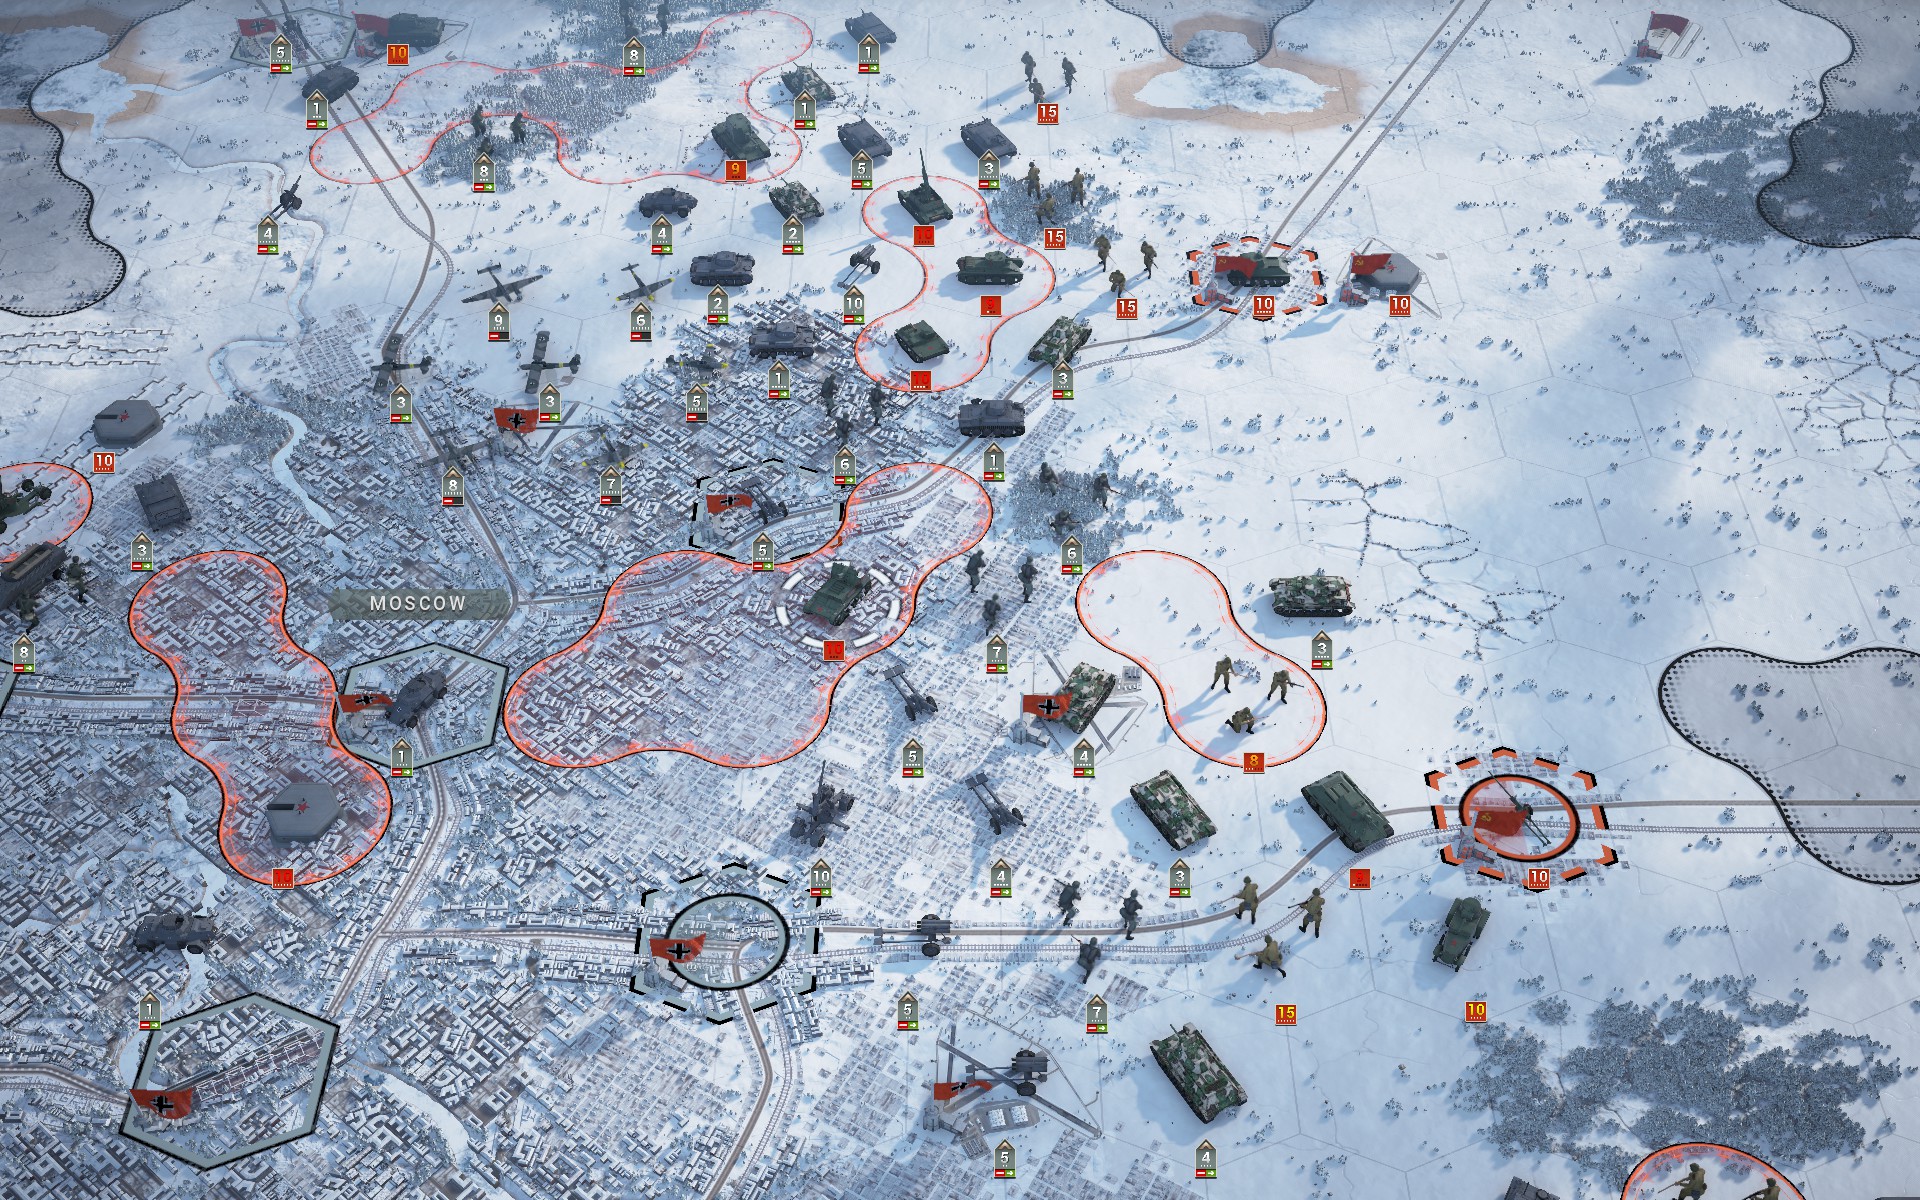
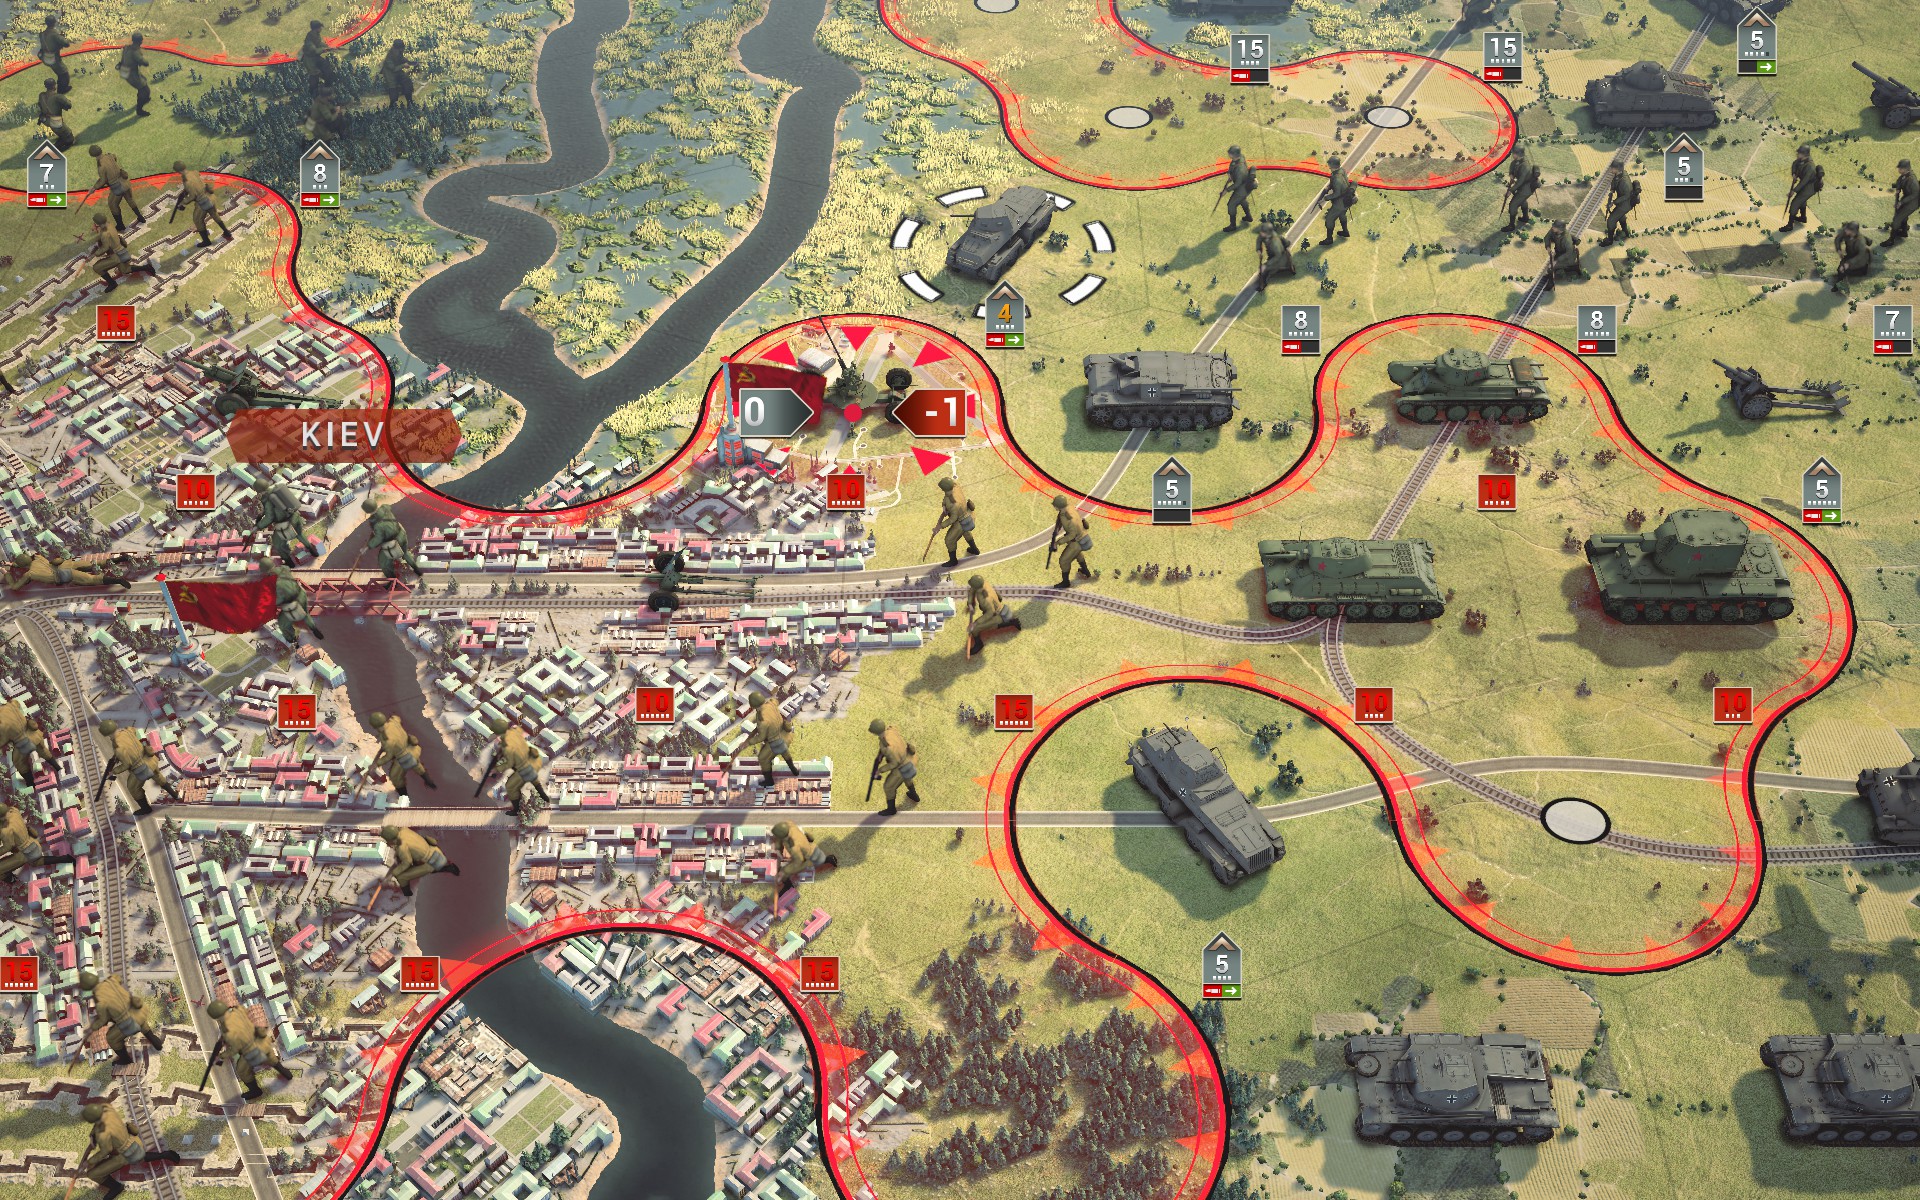
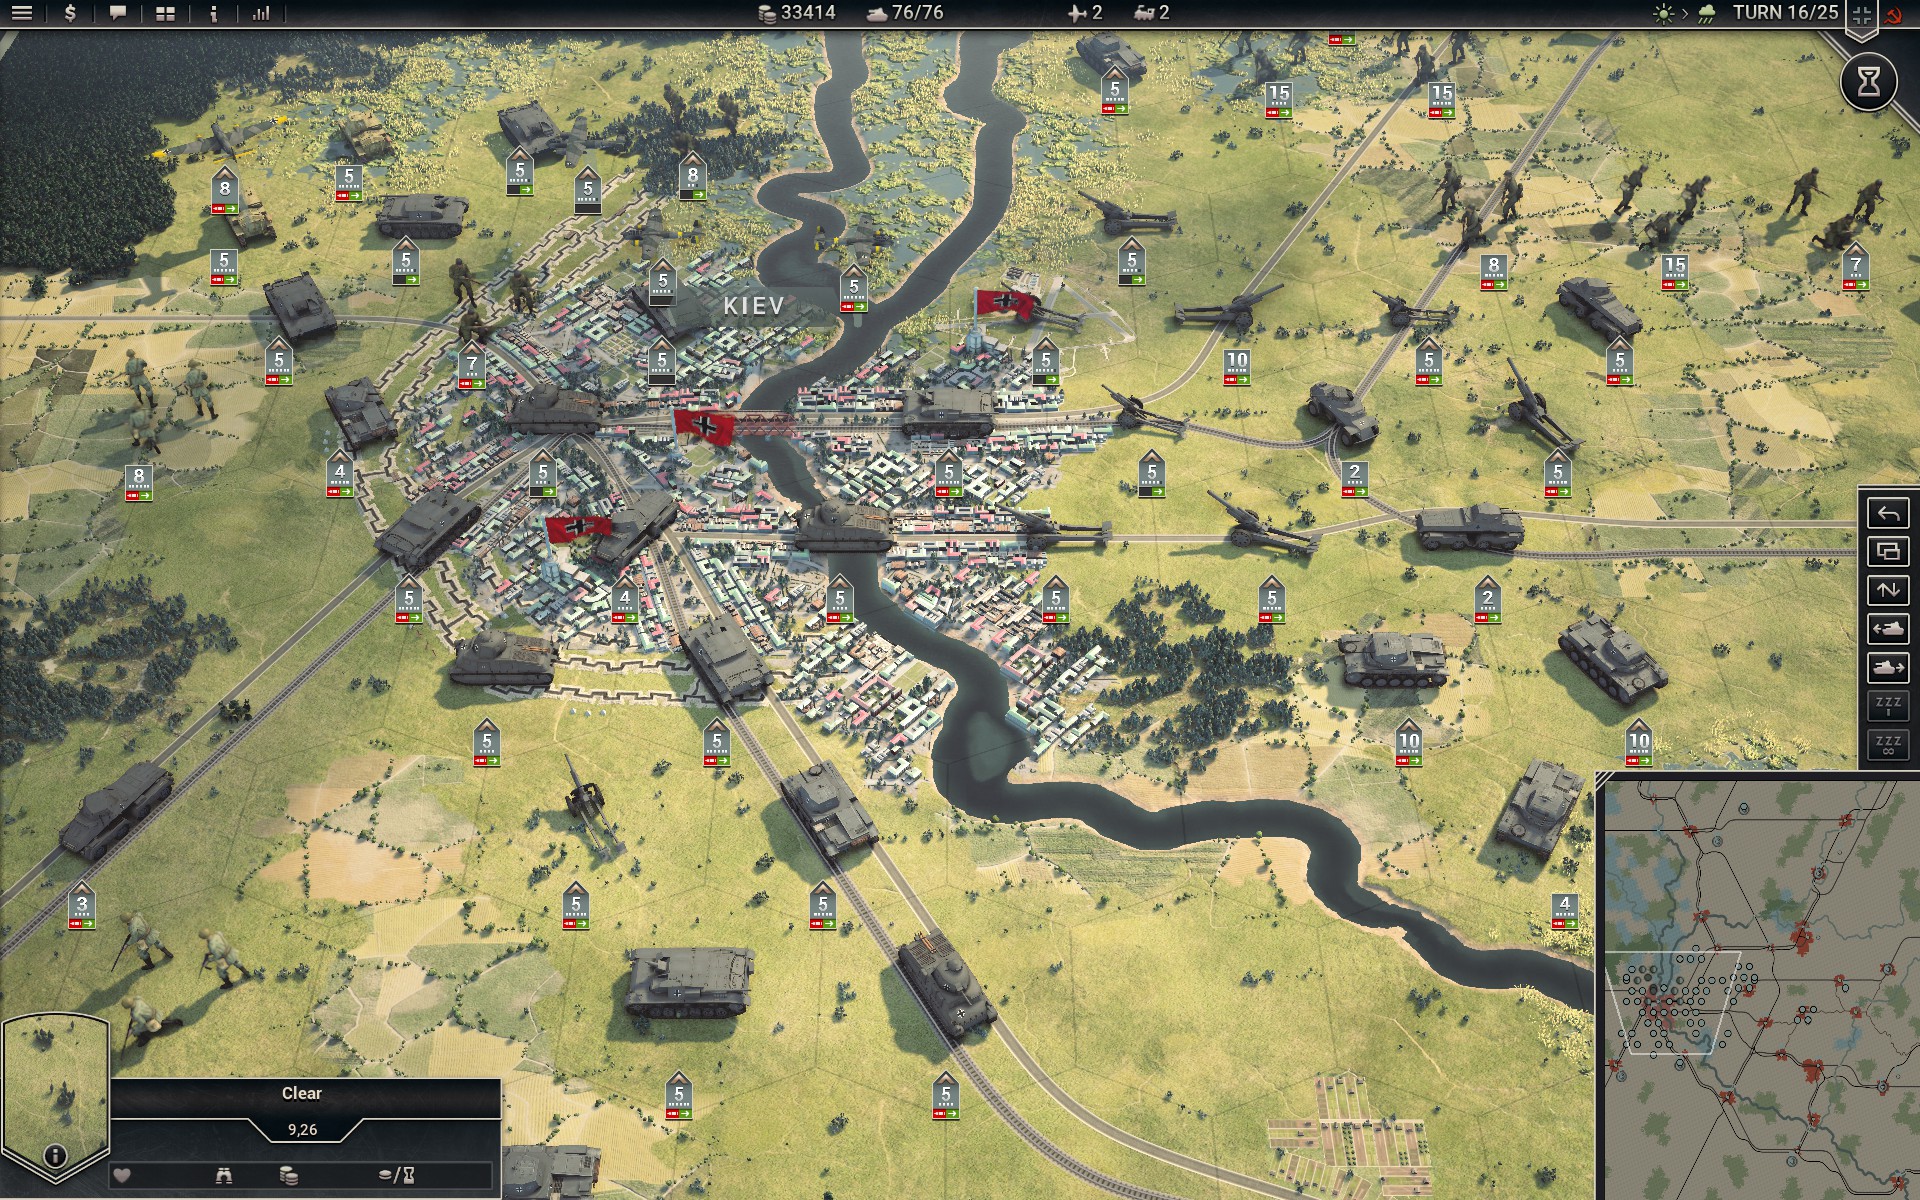
Mirgorod falls and my forces press on towards Kiev.
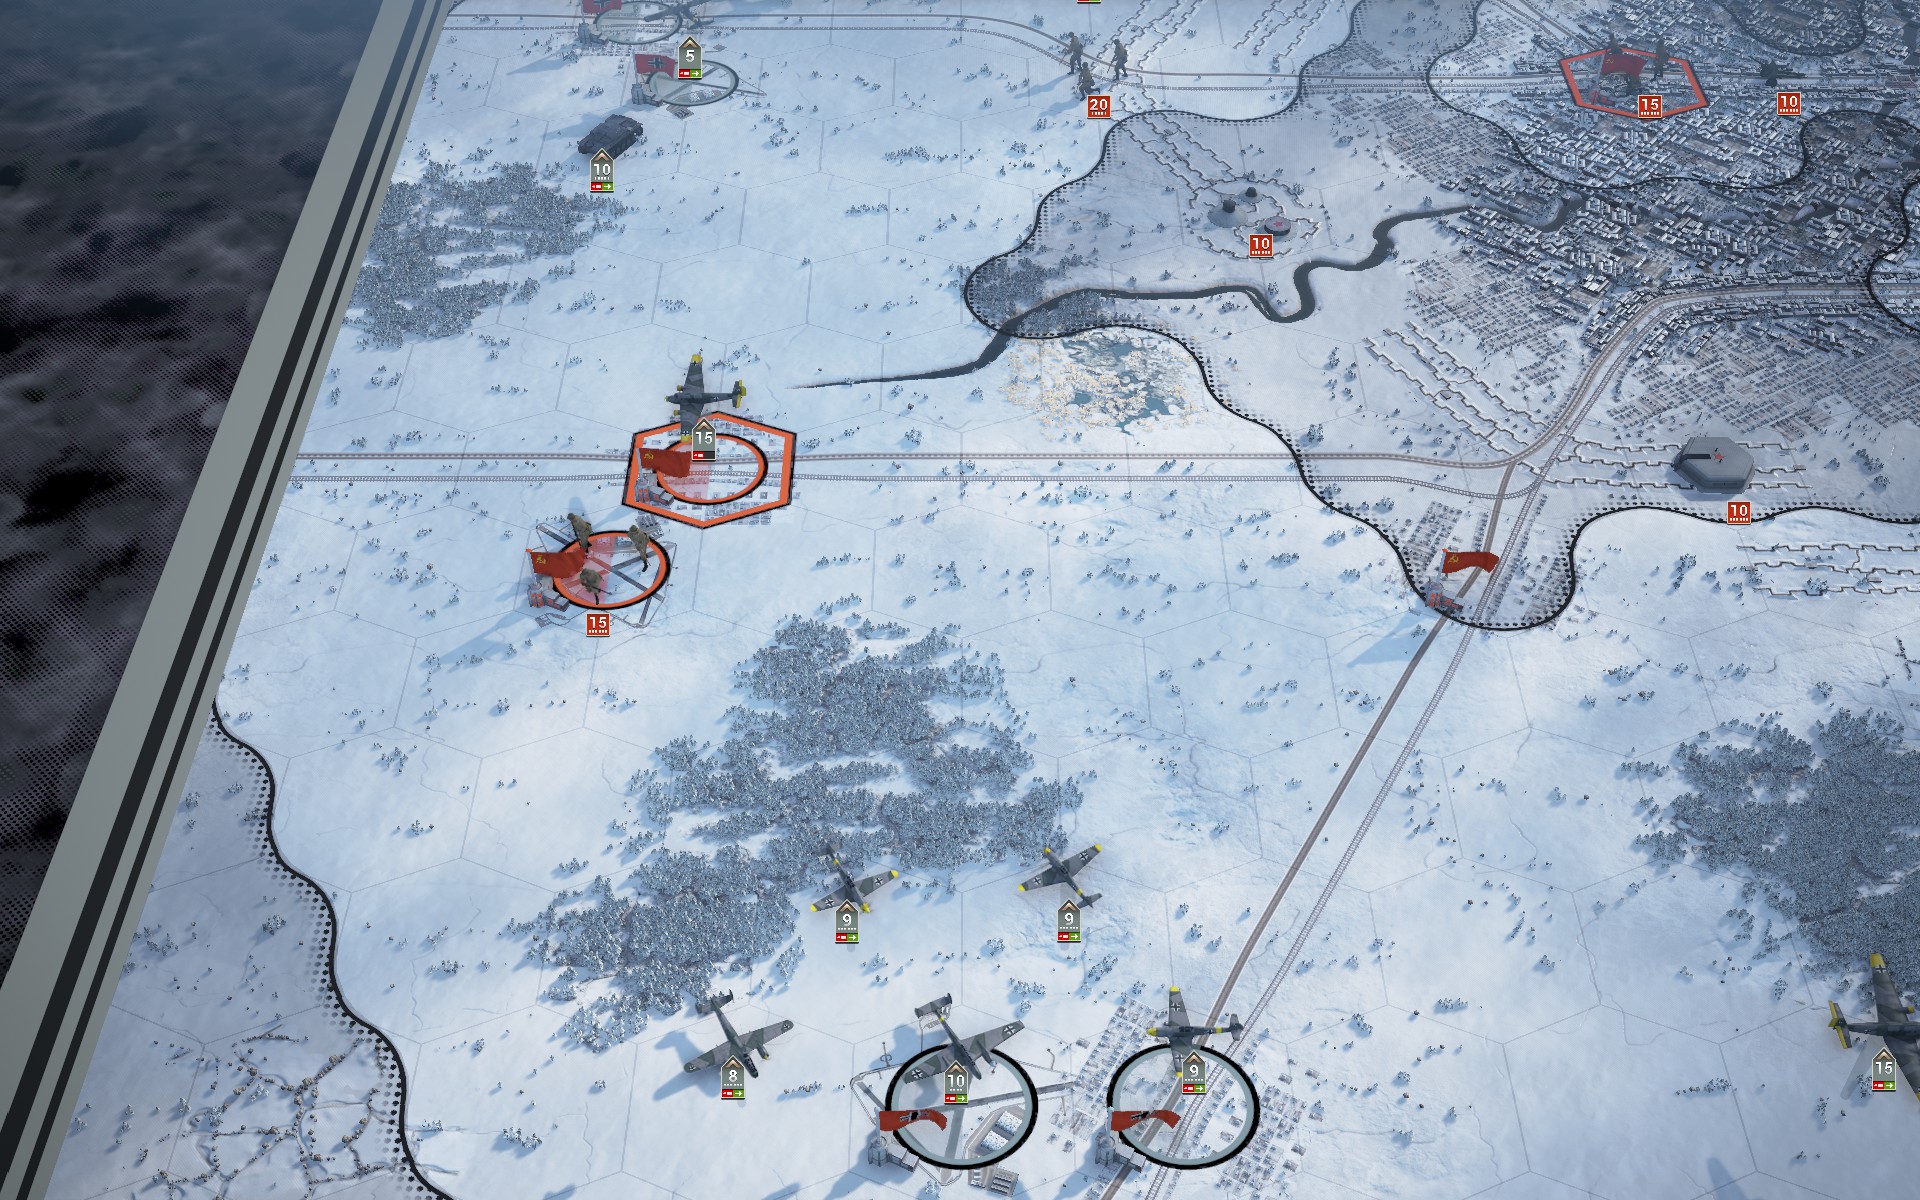
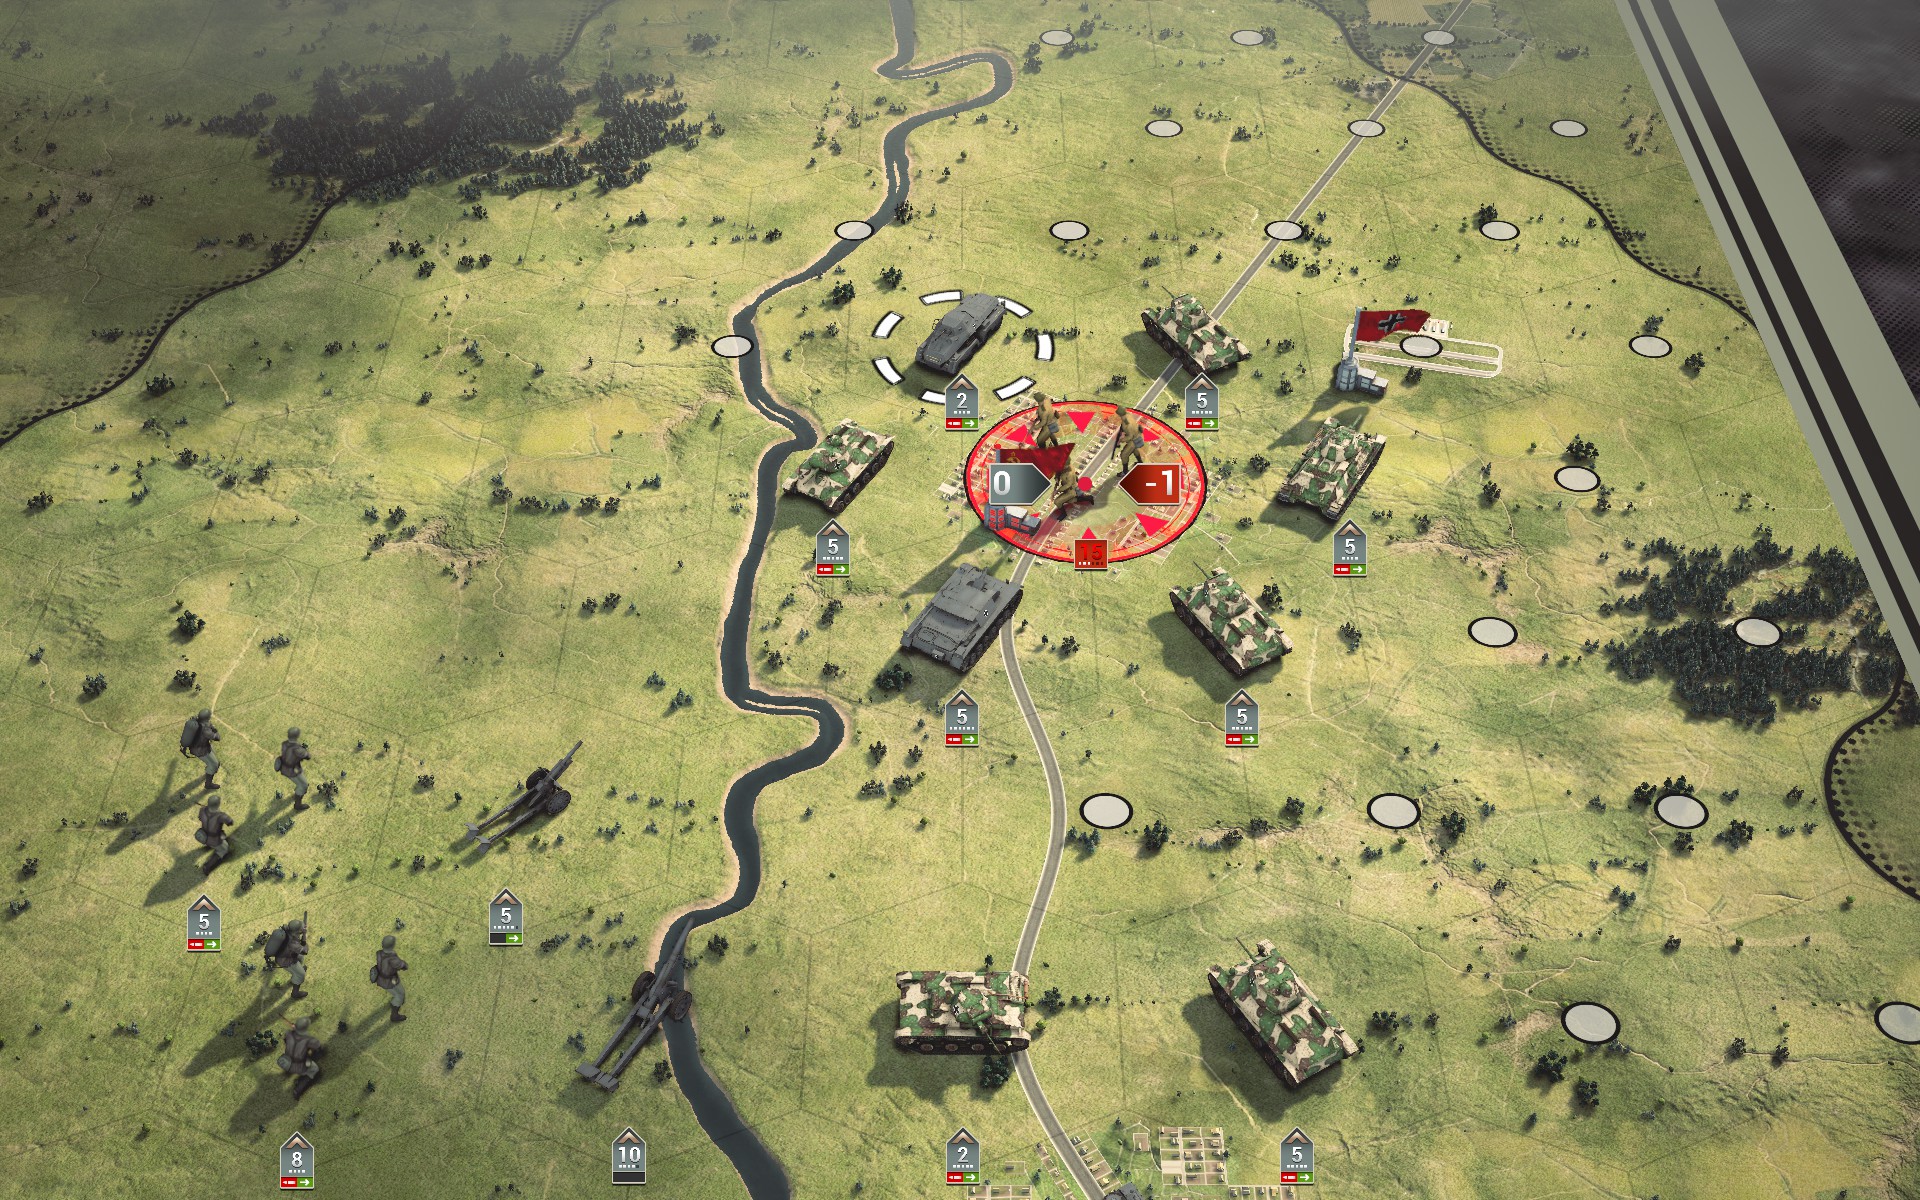
Fallschirmjäger deploy behind strategic locations to prevent the defenders from retreating.
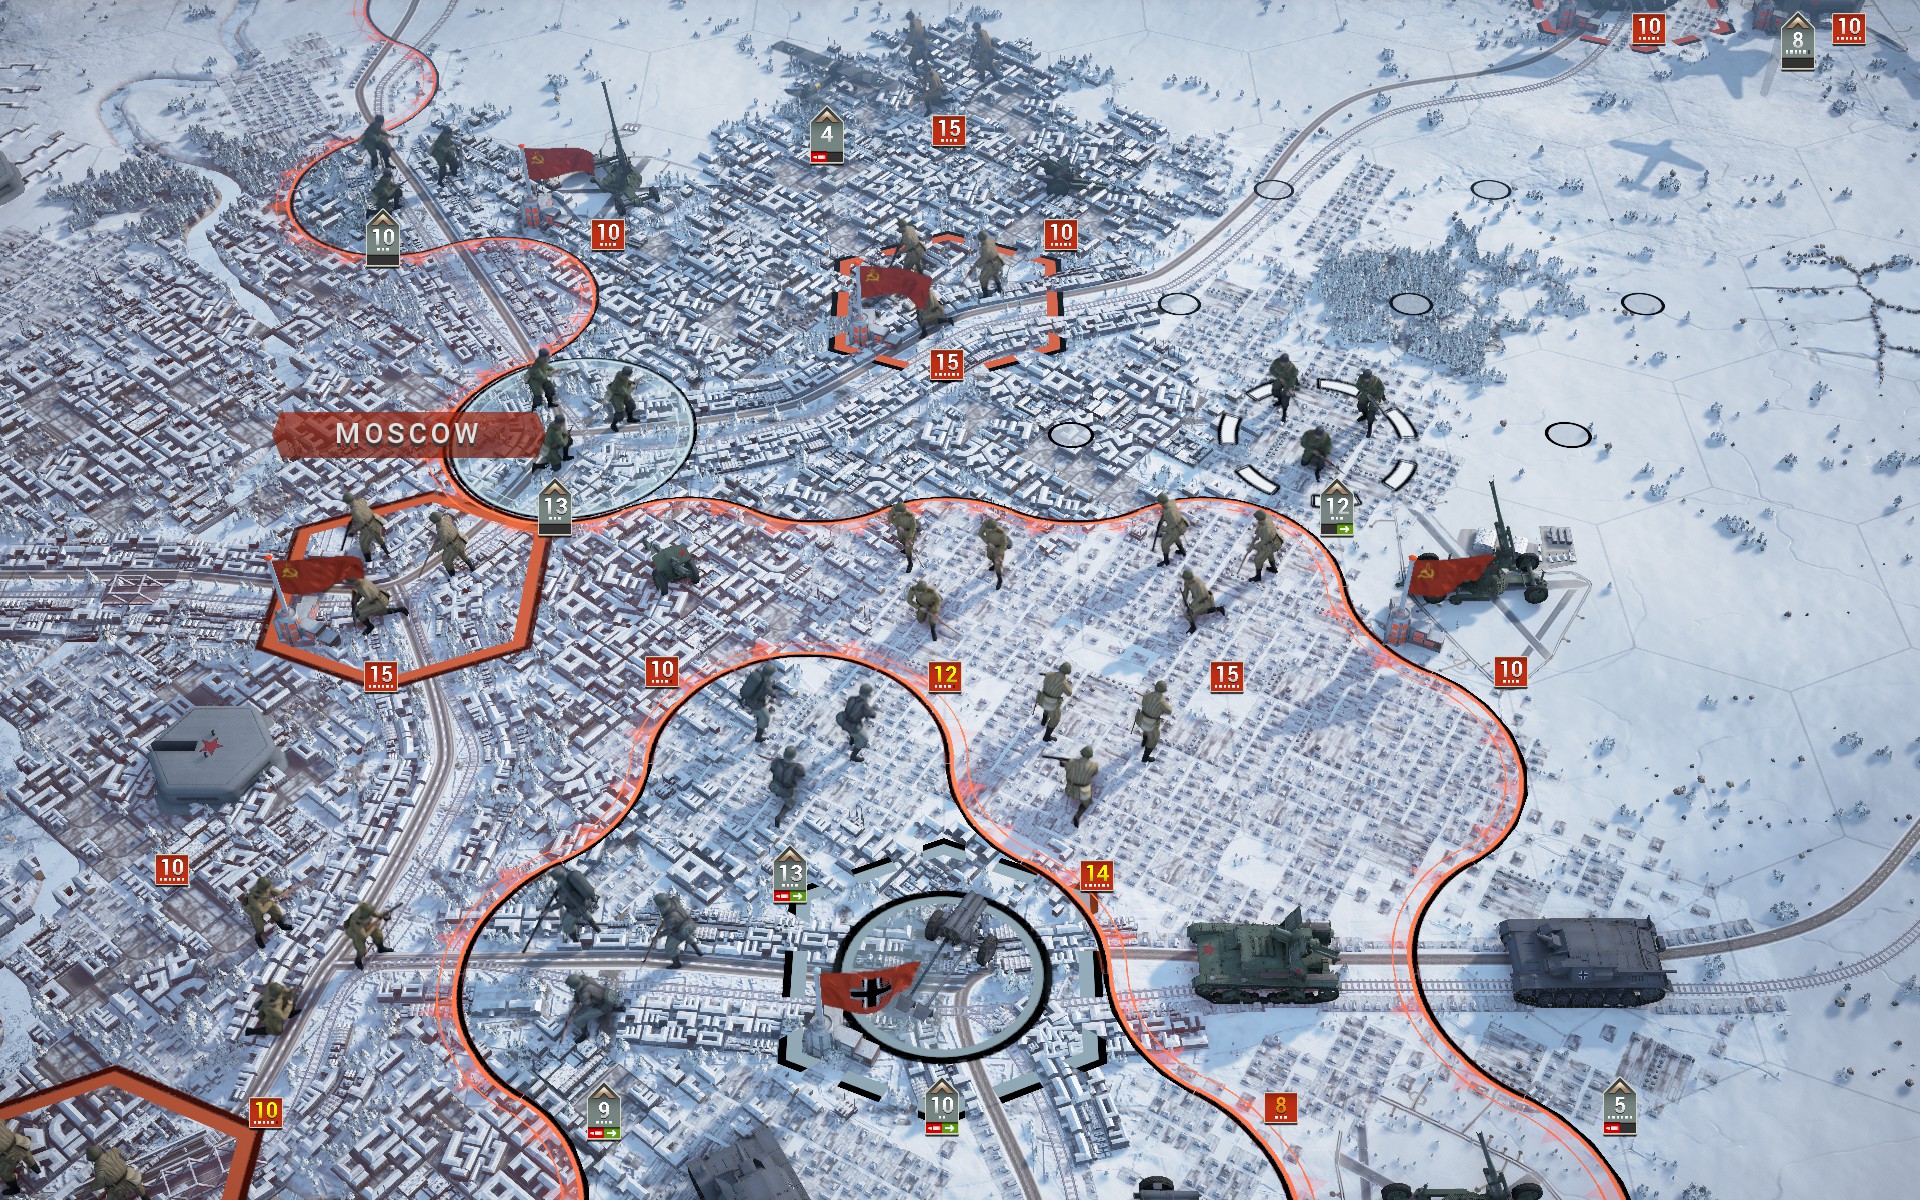
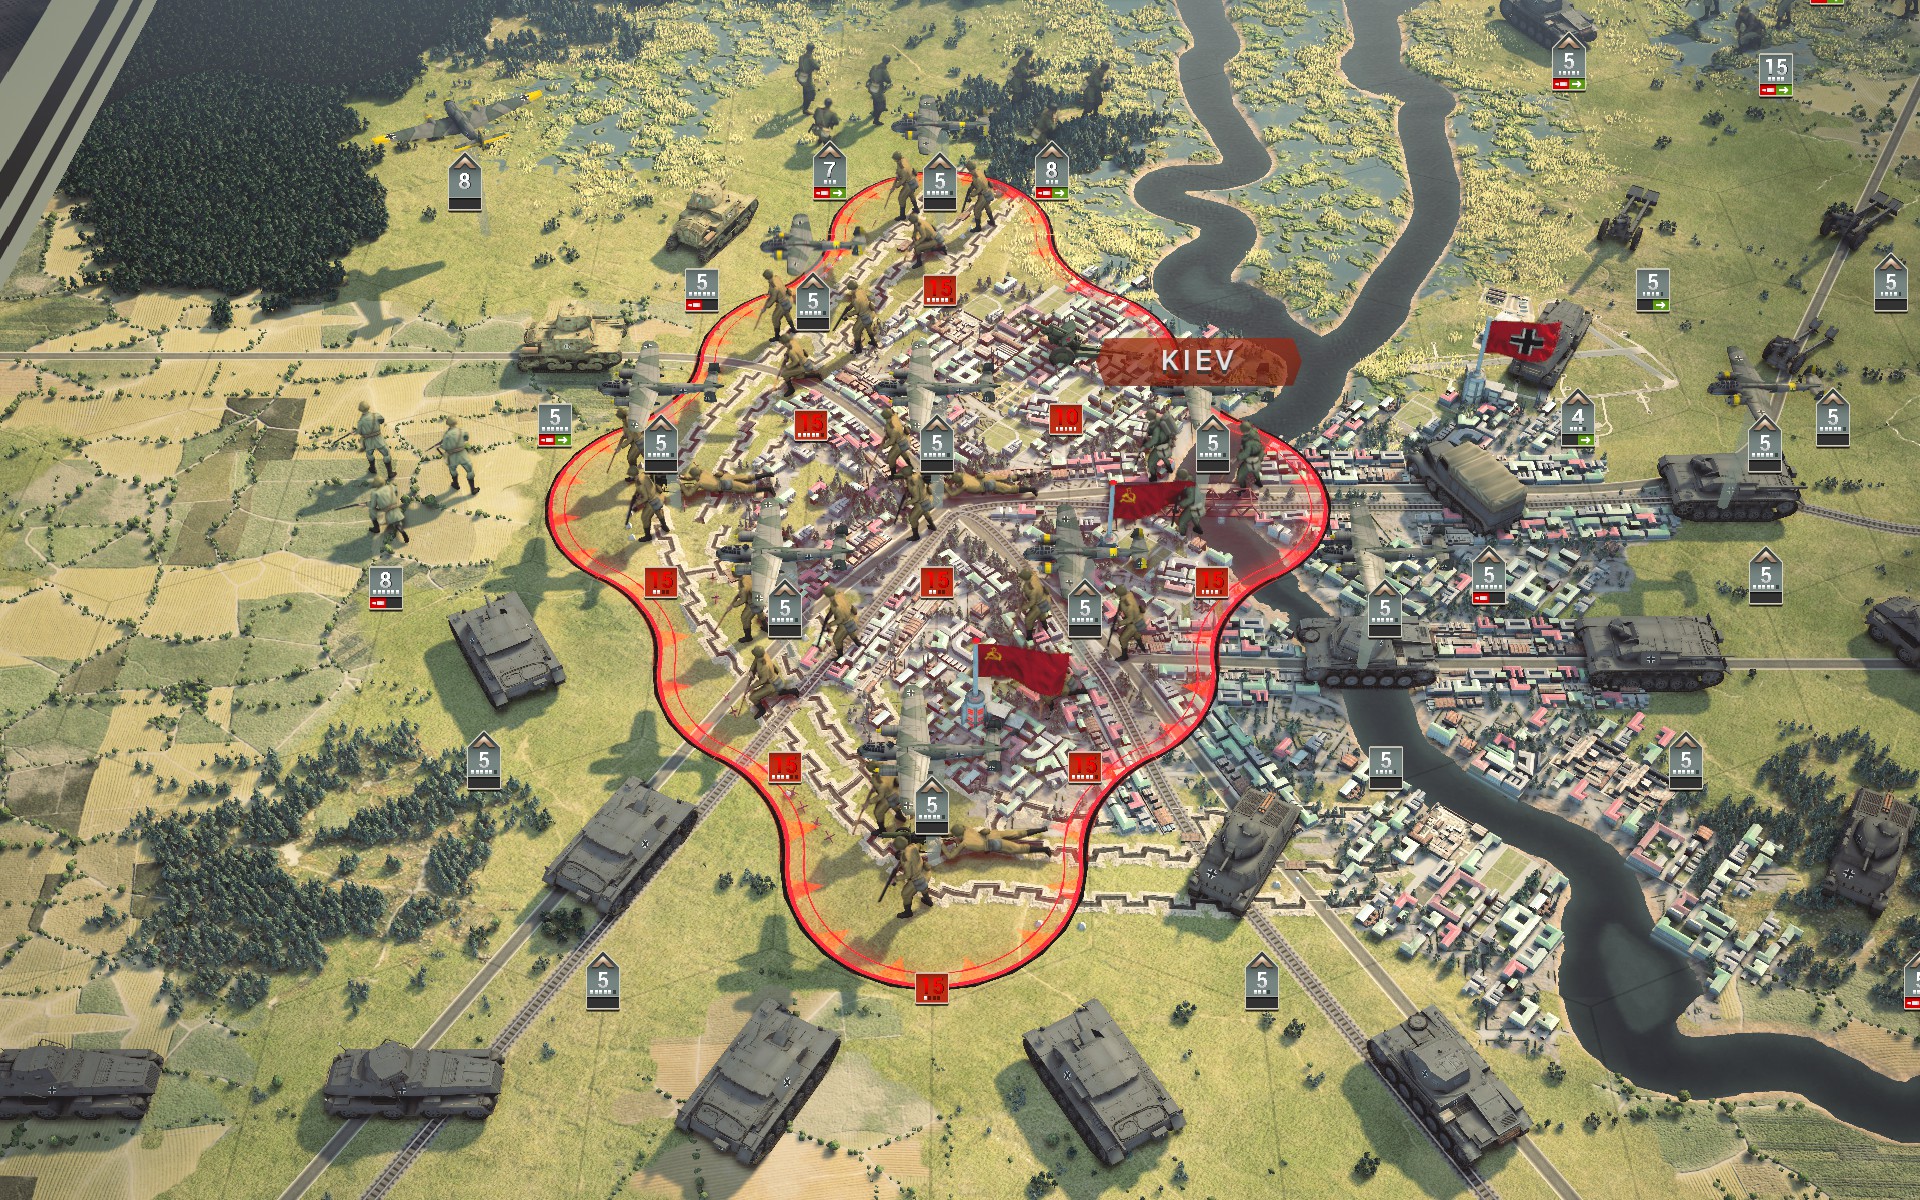
The Soviet forces in Kiev are heavily entrenched.
StuGs are rerouted to the western side of Kiev to tear down the Soviet fortifications.
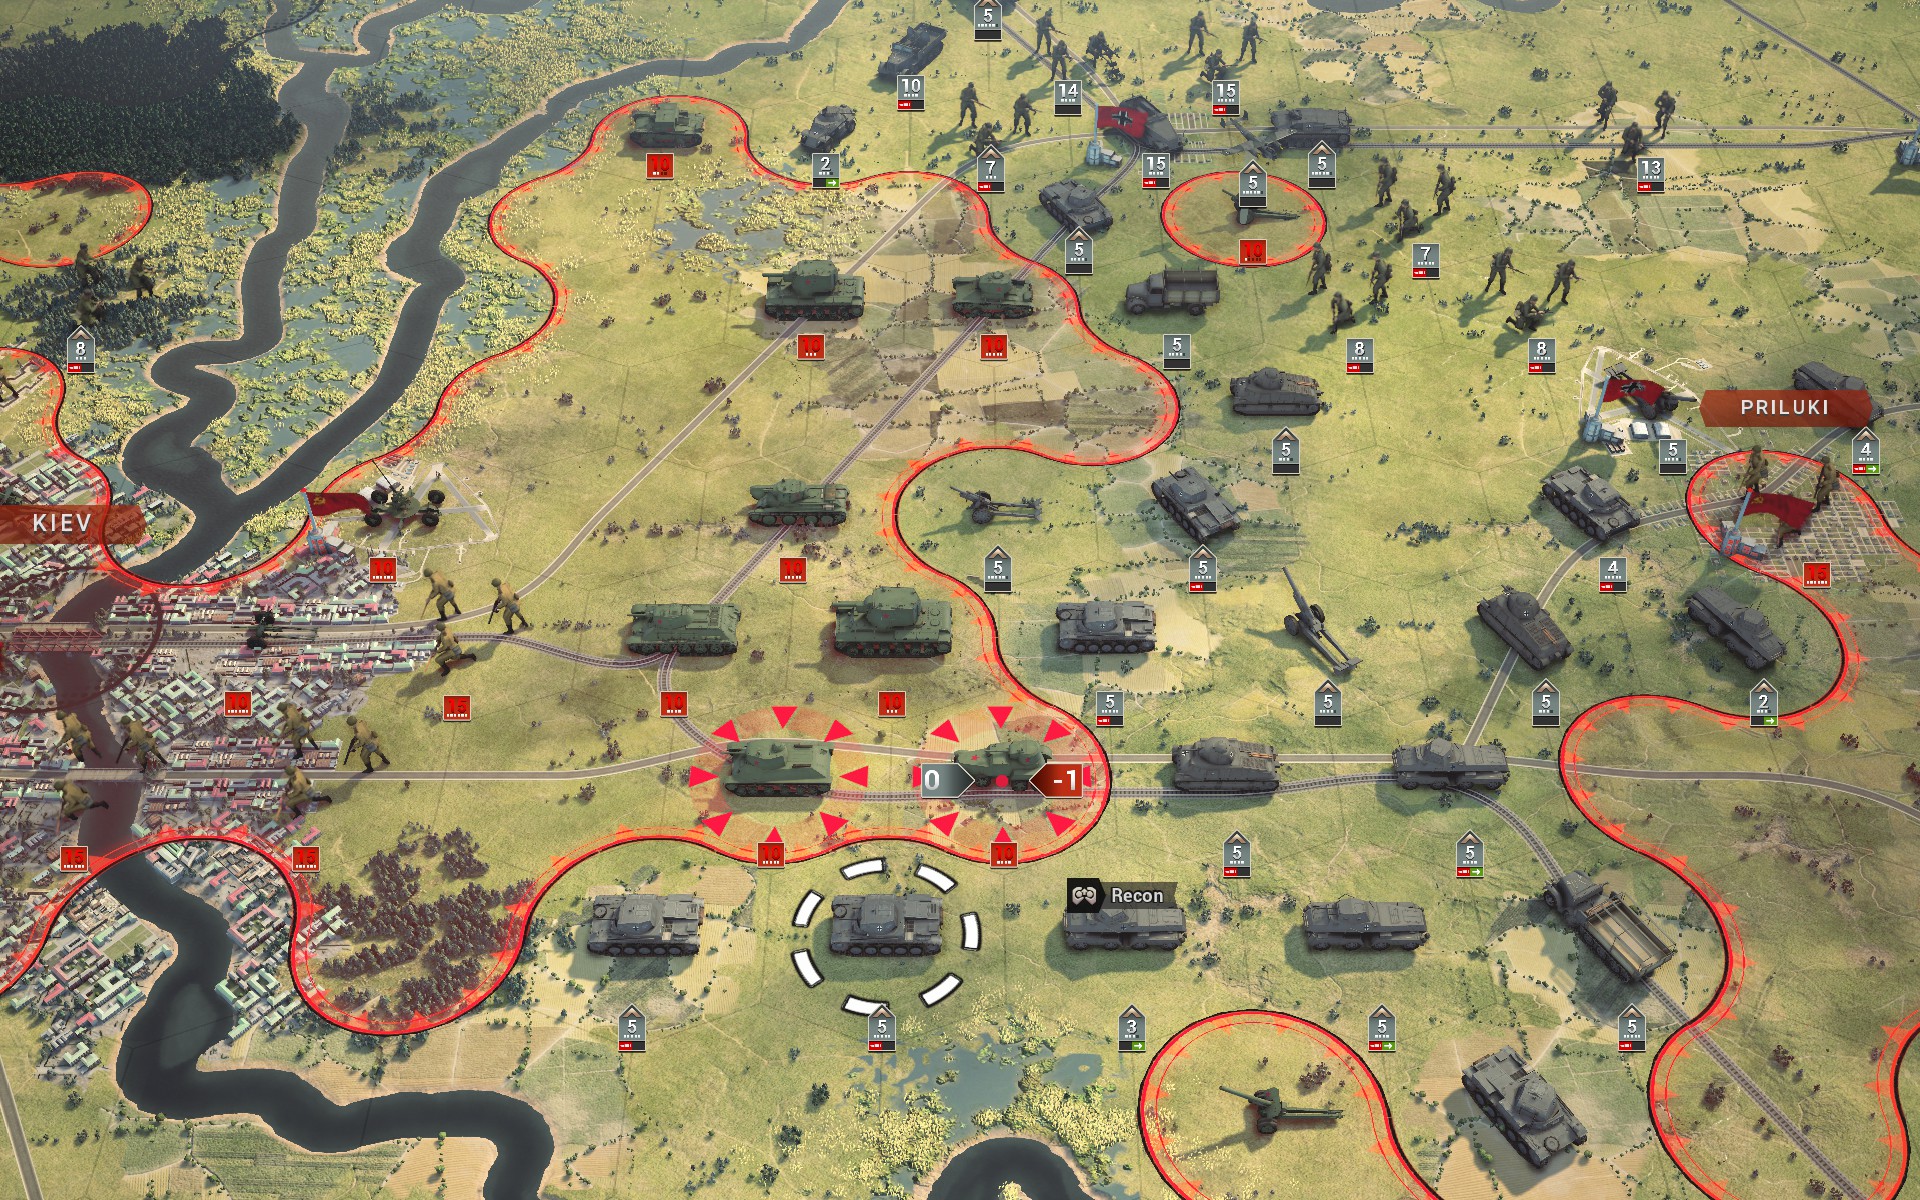
My forces close in on the Soviet armoured column.
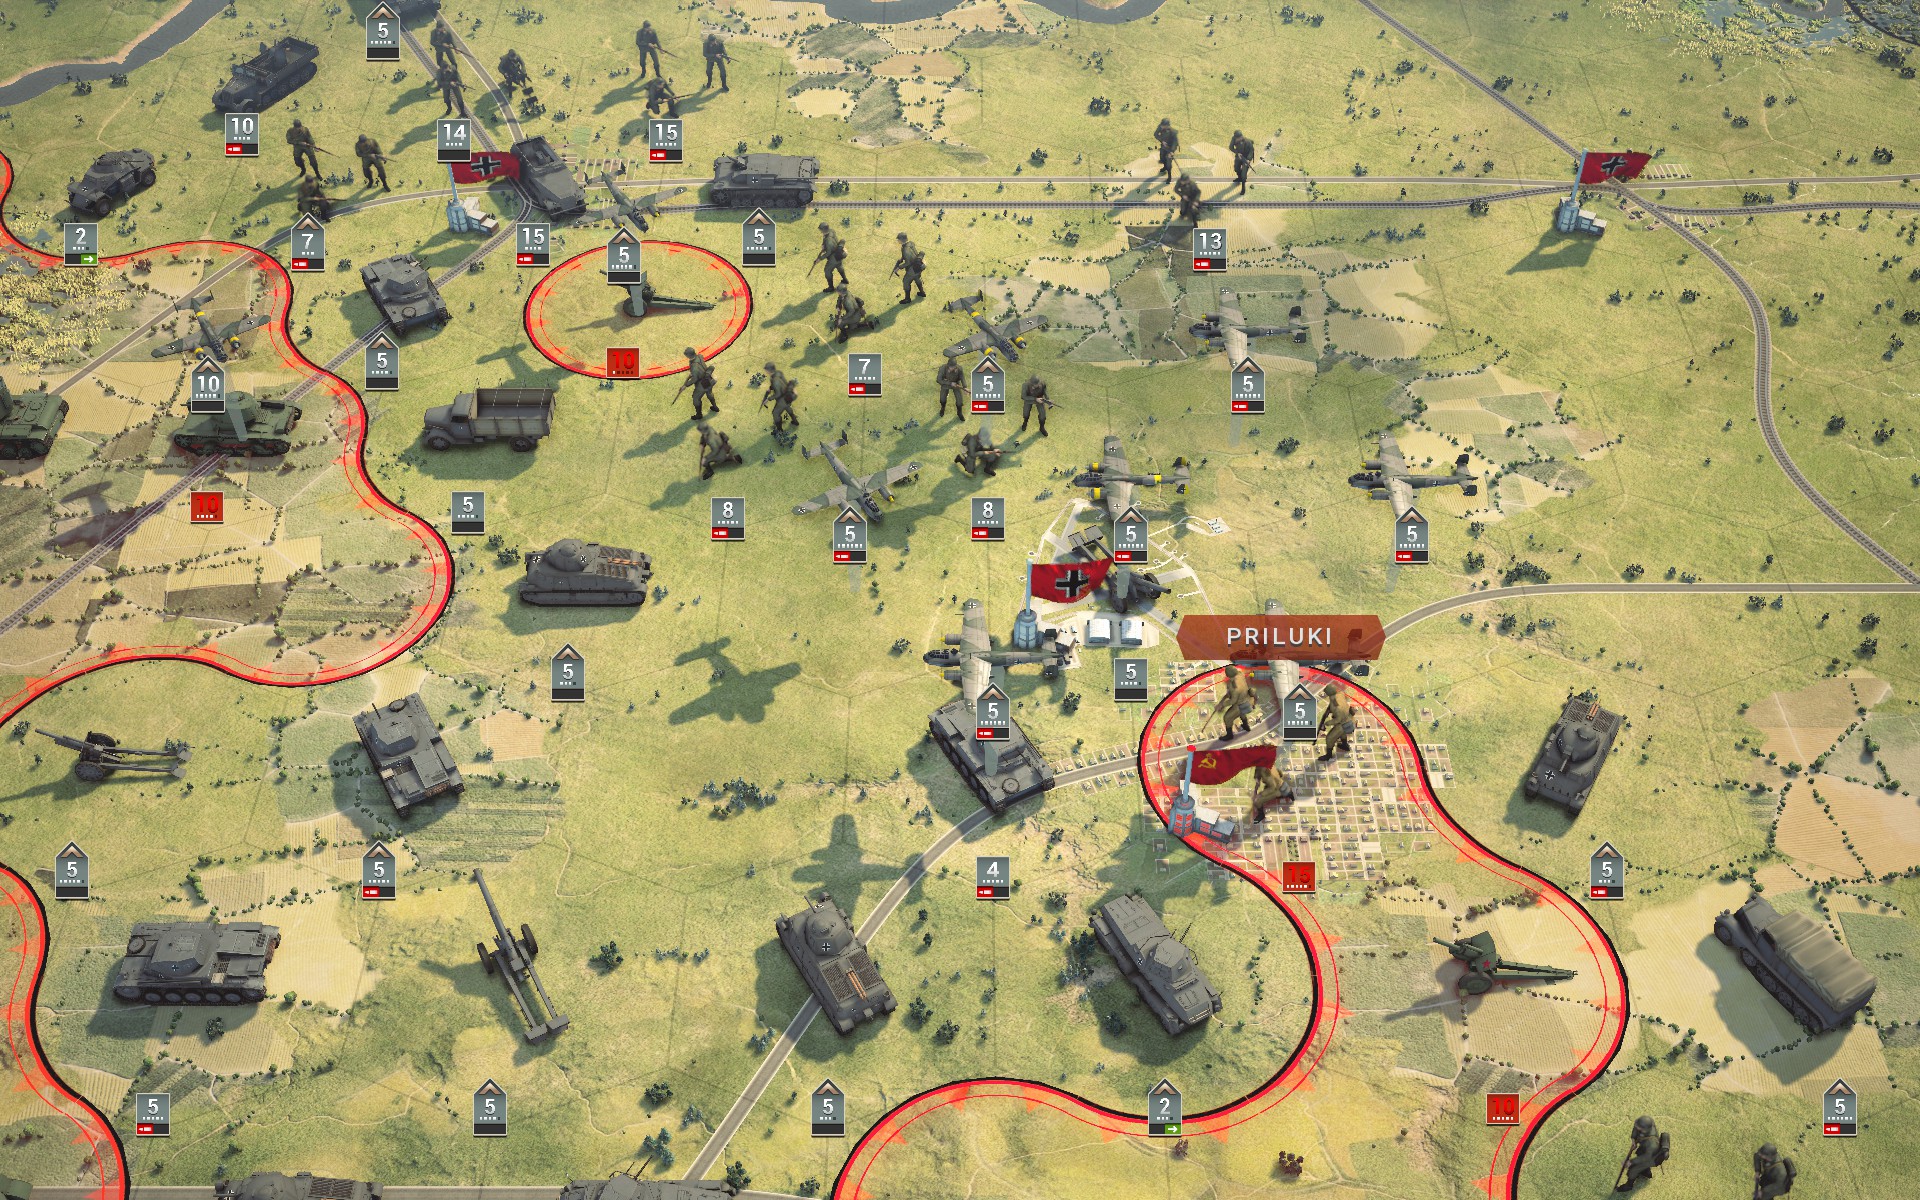
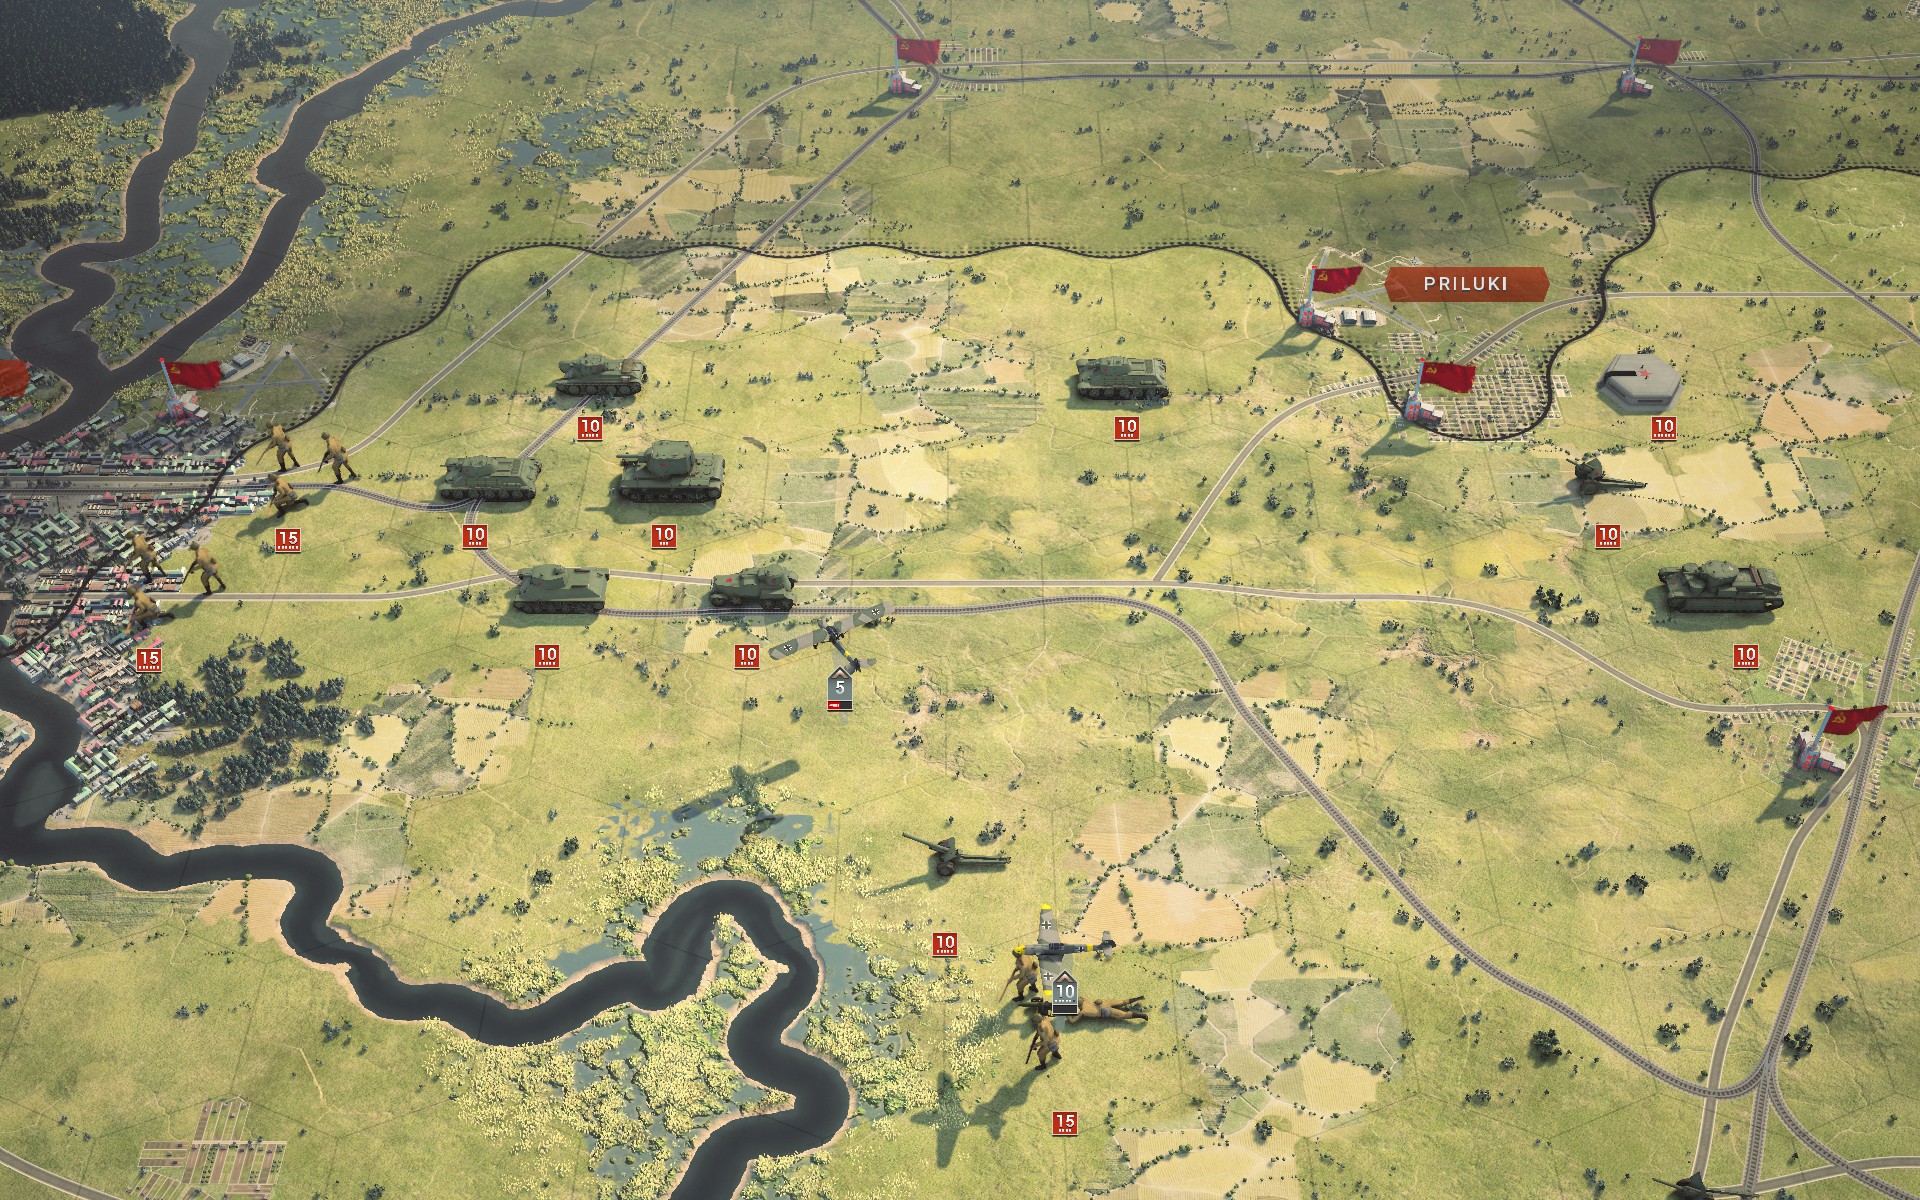
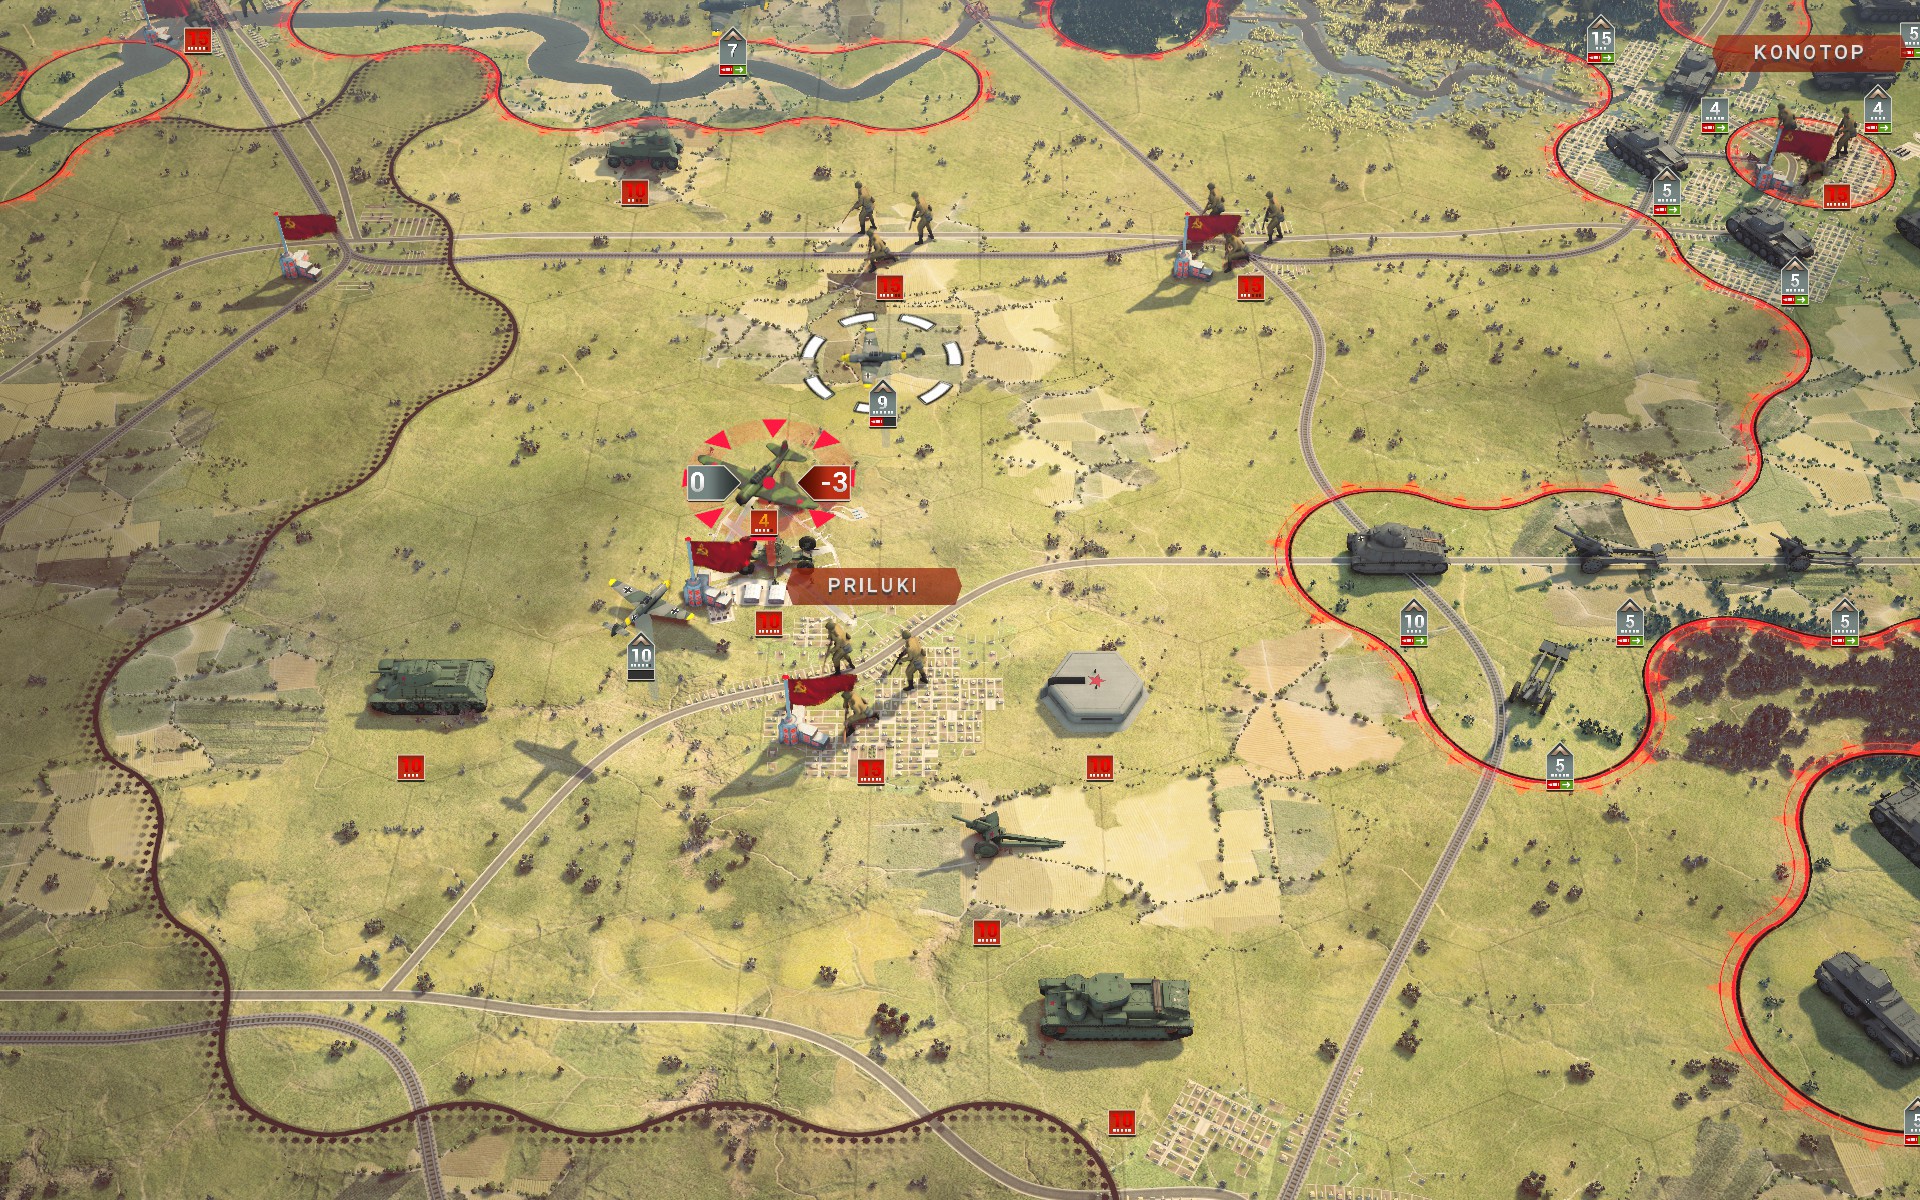
The strategic bombers rebase to Priluki, putting them within range of Kiev.
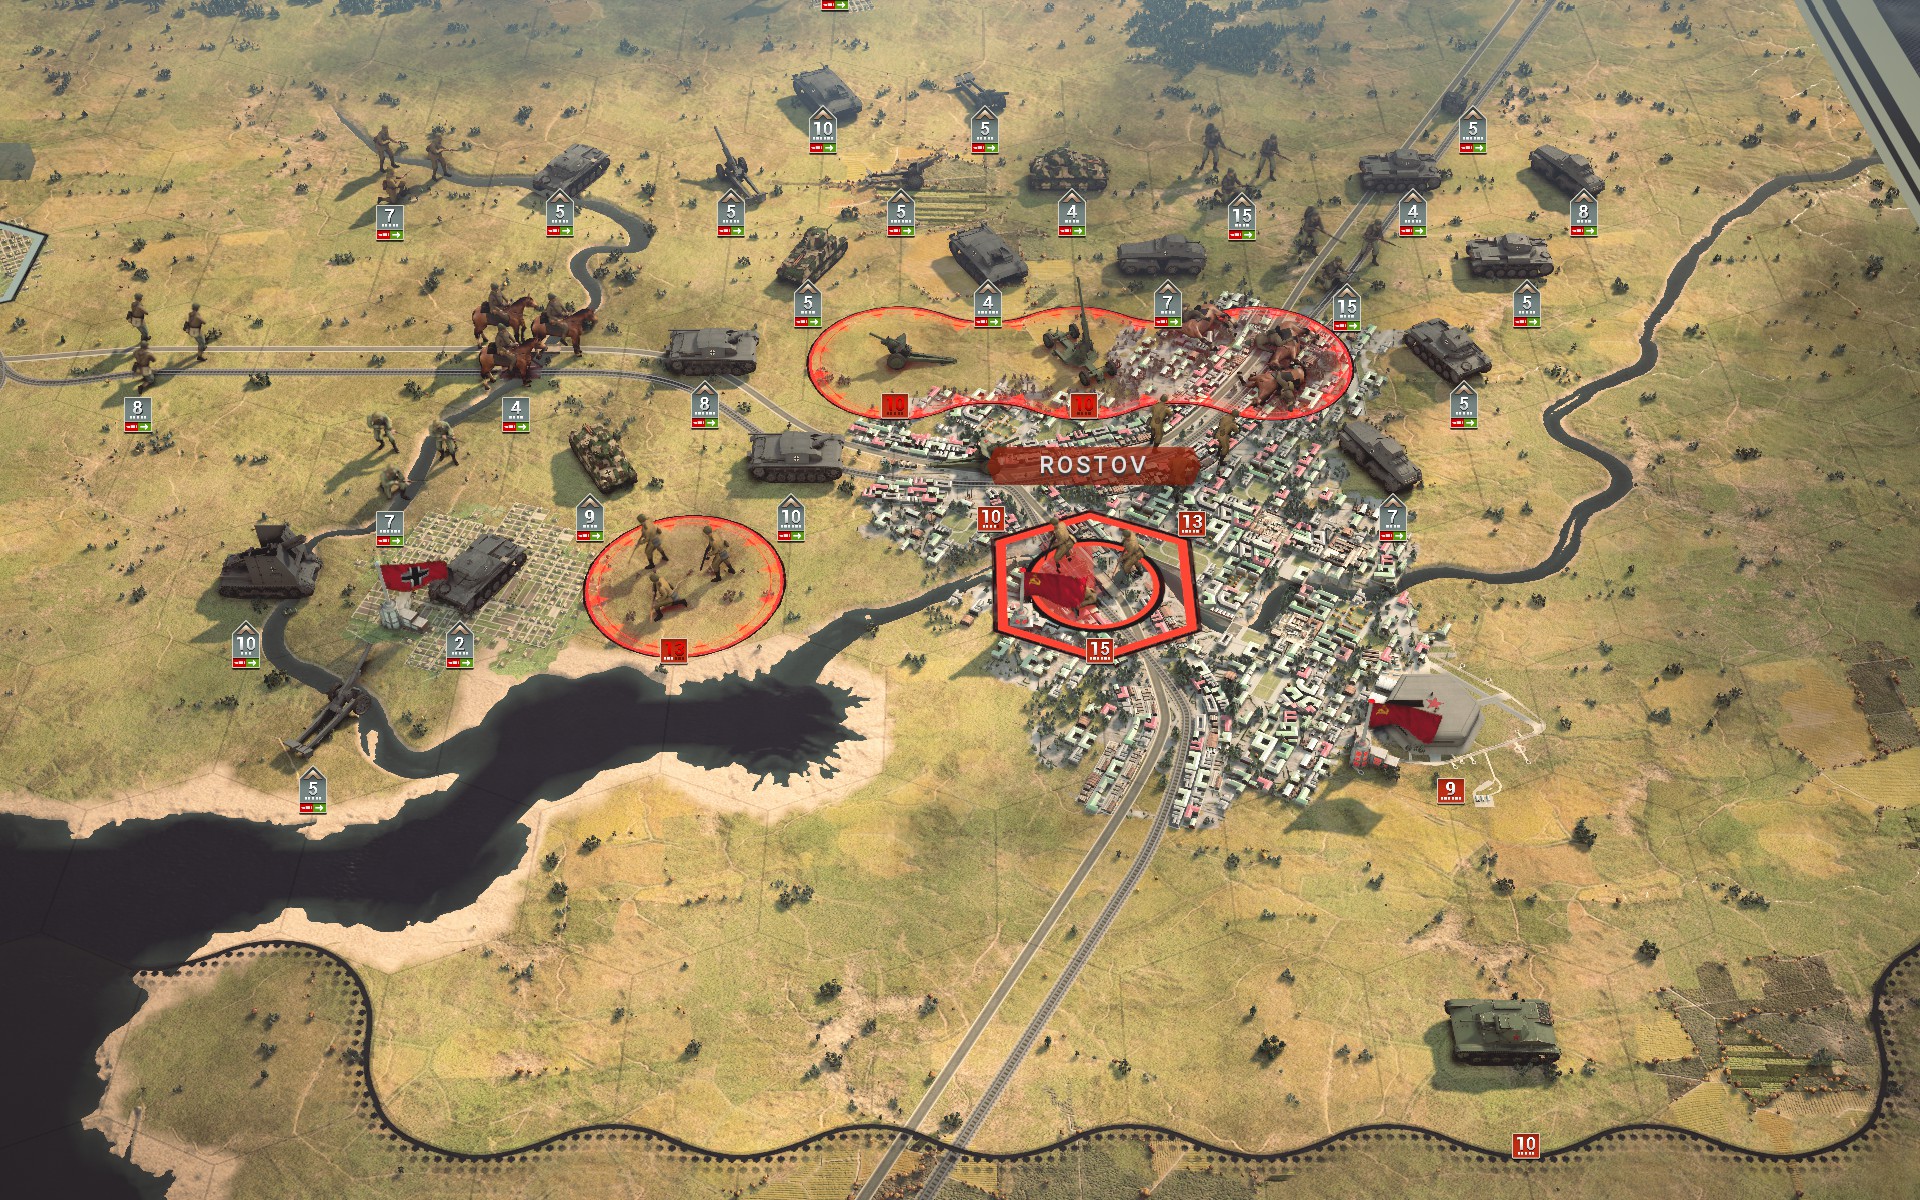
Selectively suppressing a few of your own units can be a useful way to lower their damage output, allowing them to inflict minimal casualties while capturing weak enemies such as artillery and AA guns.
The StuGs take up positions west of Kiev.
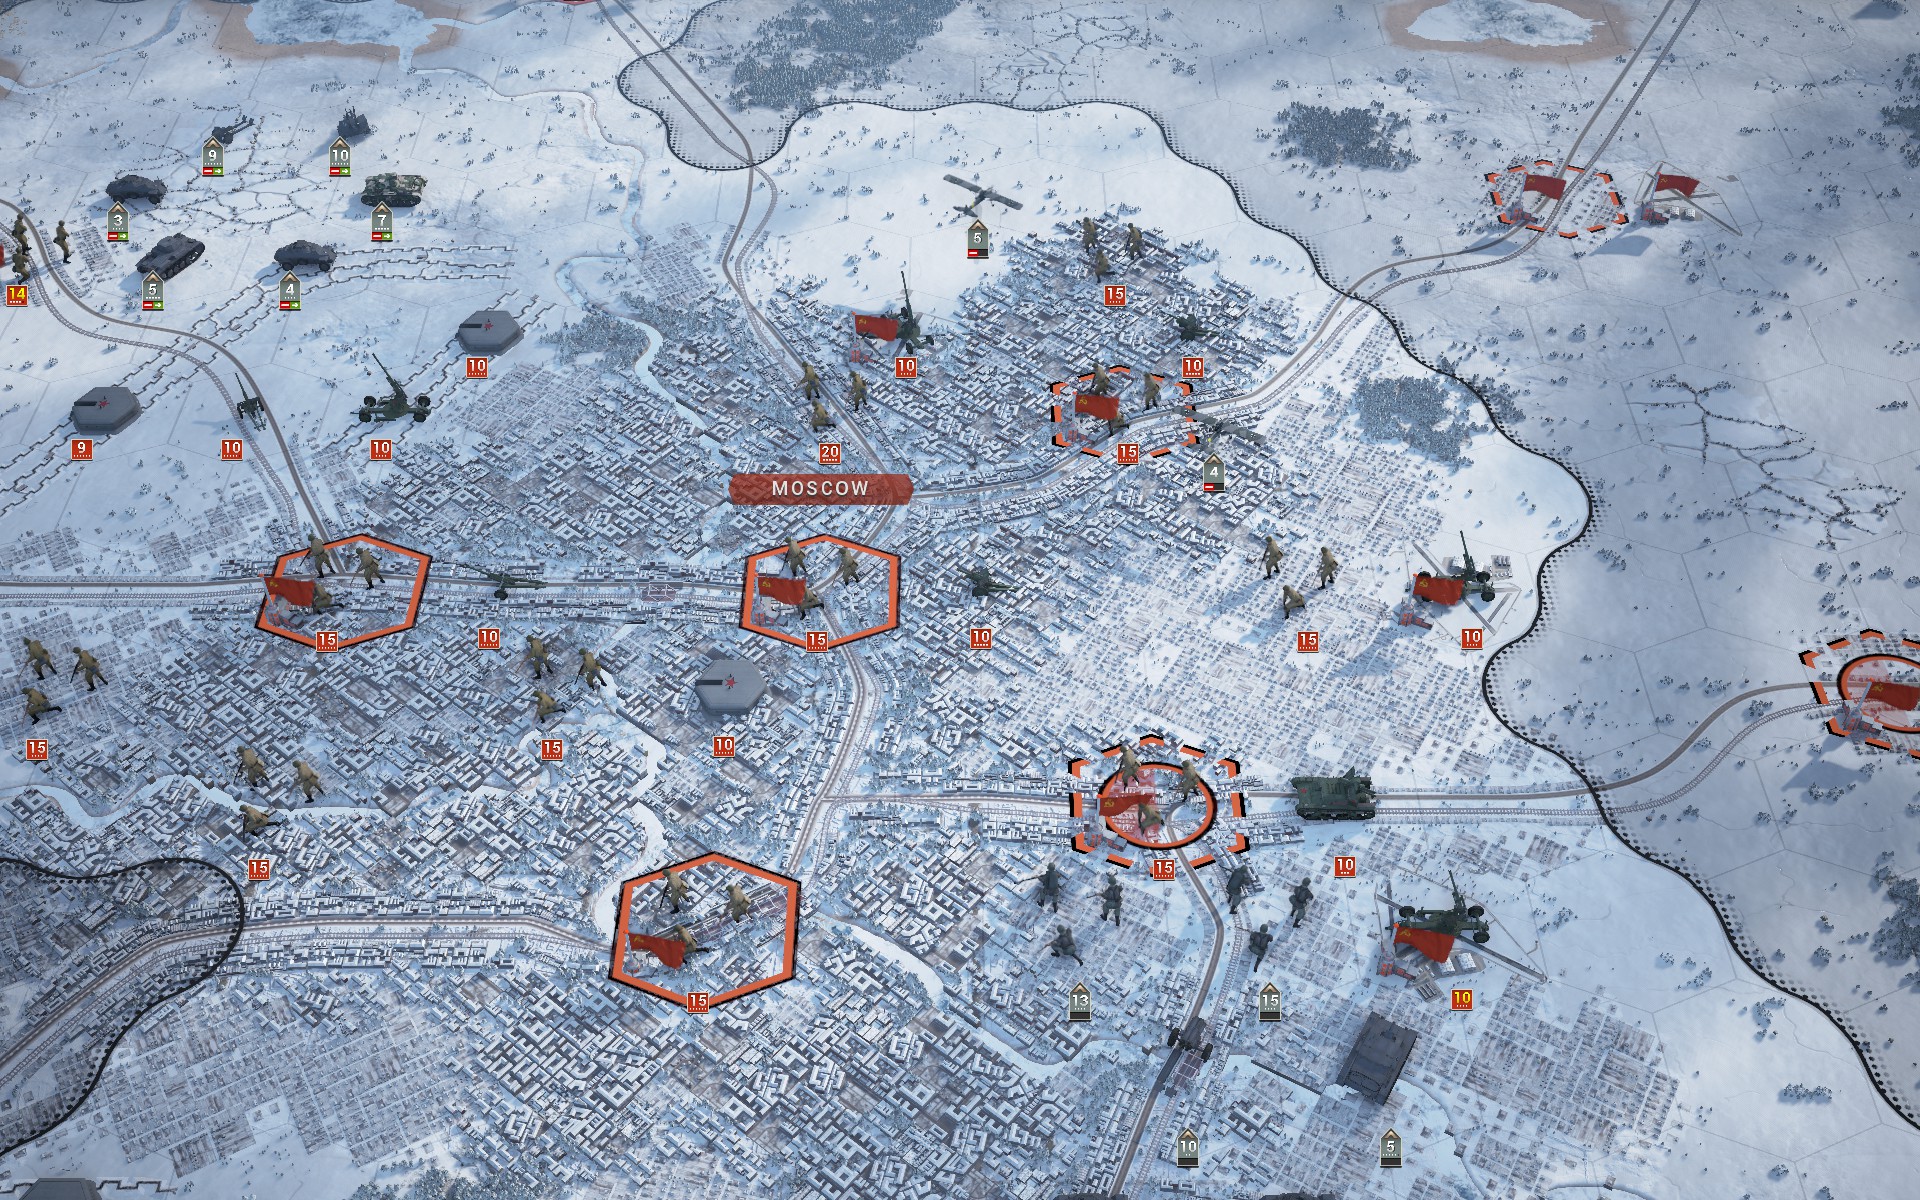
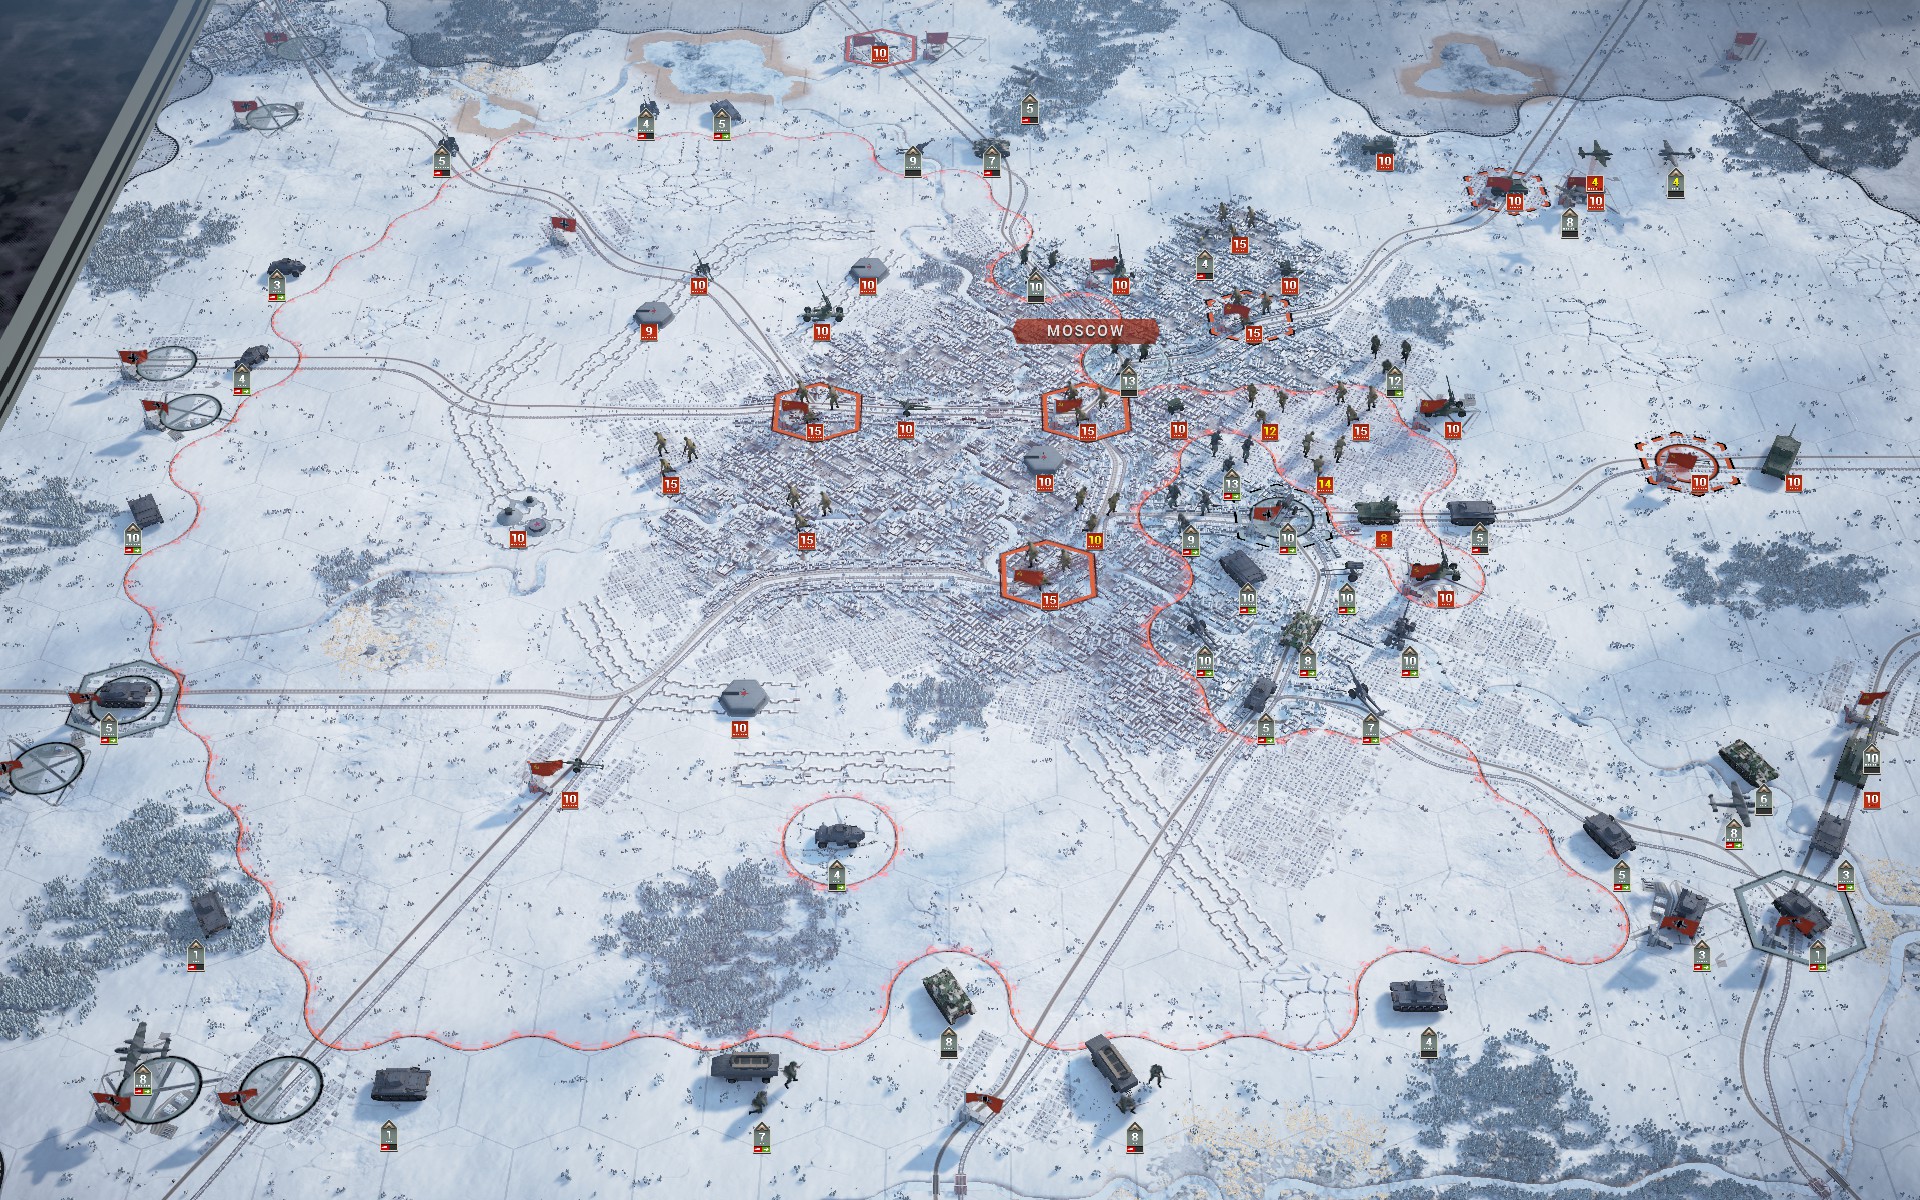
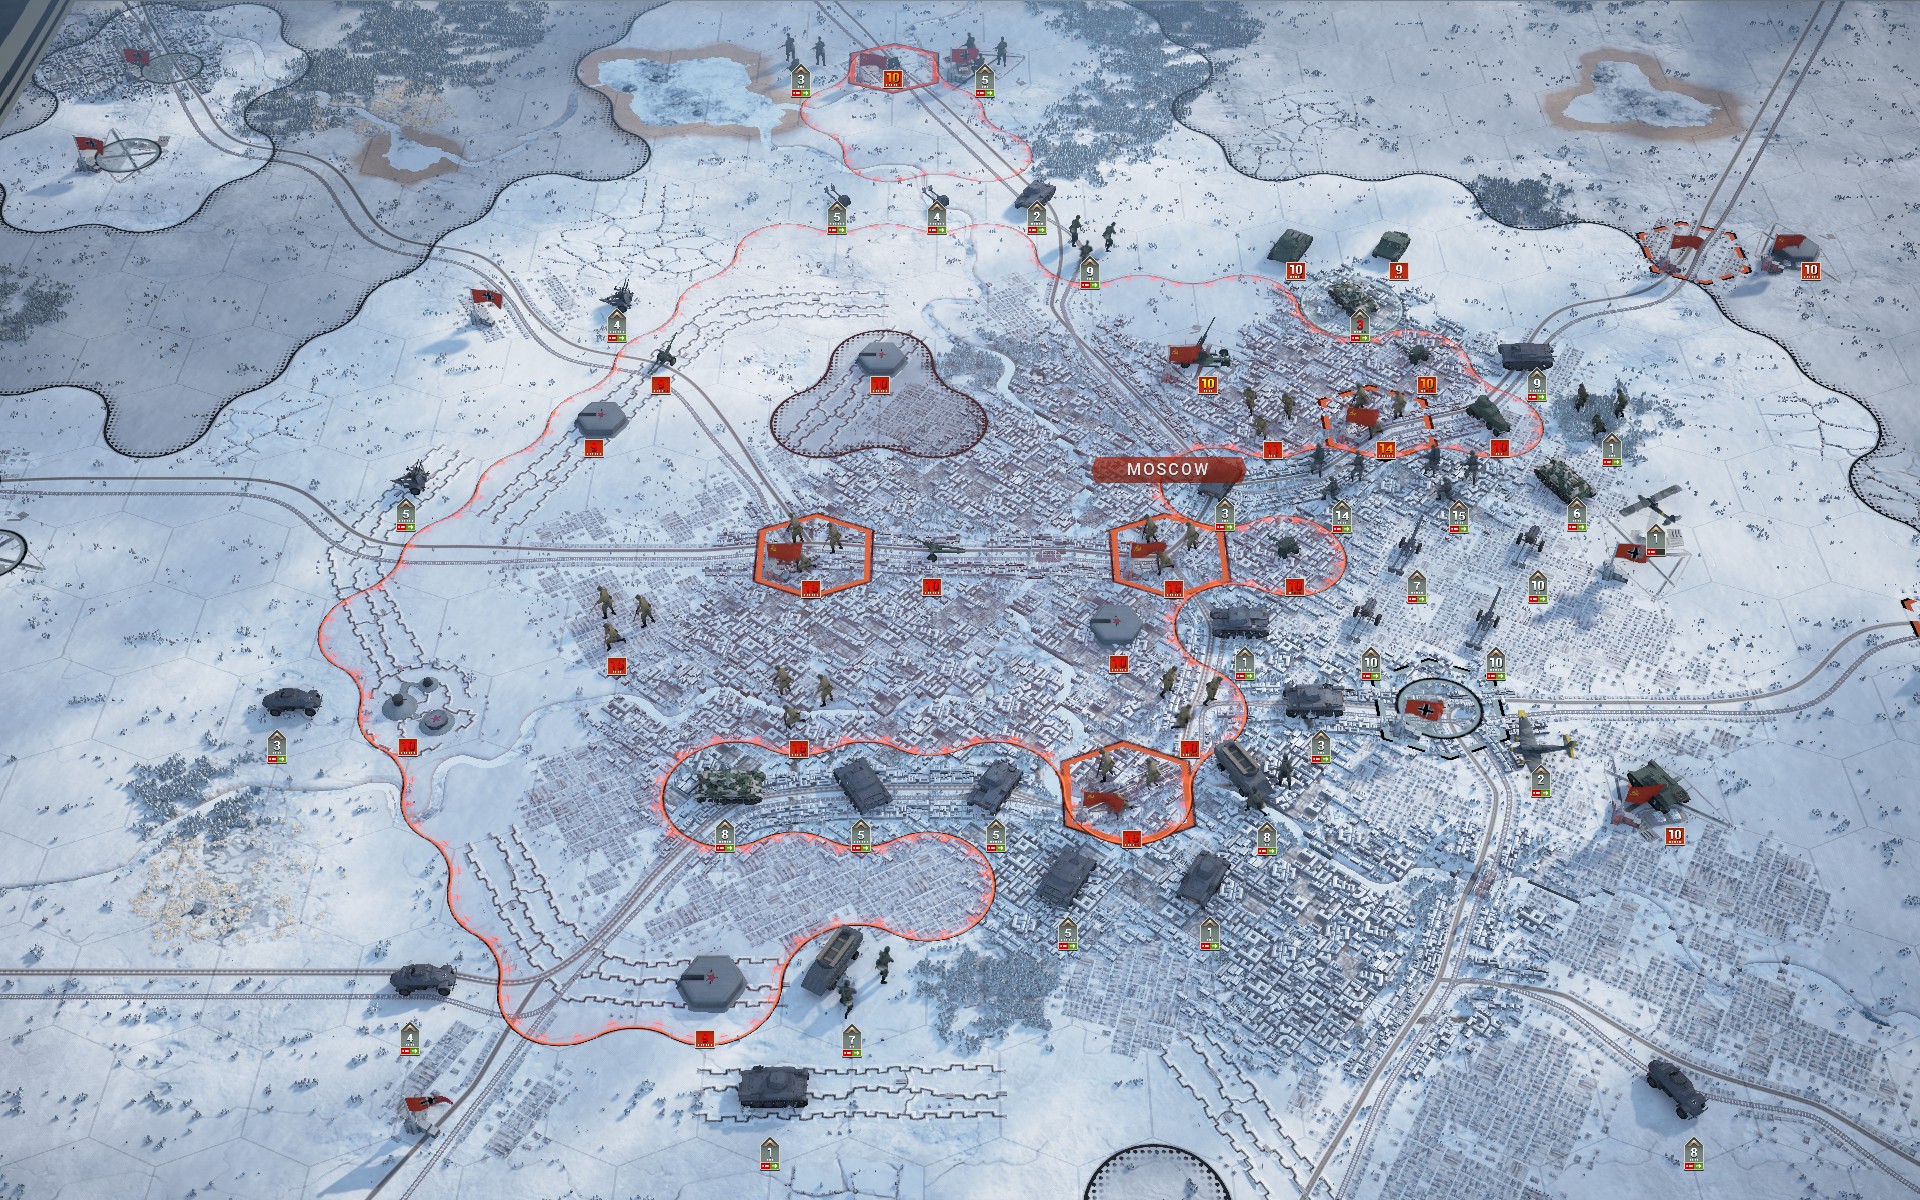
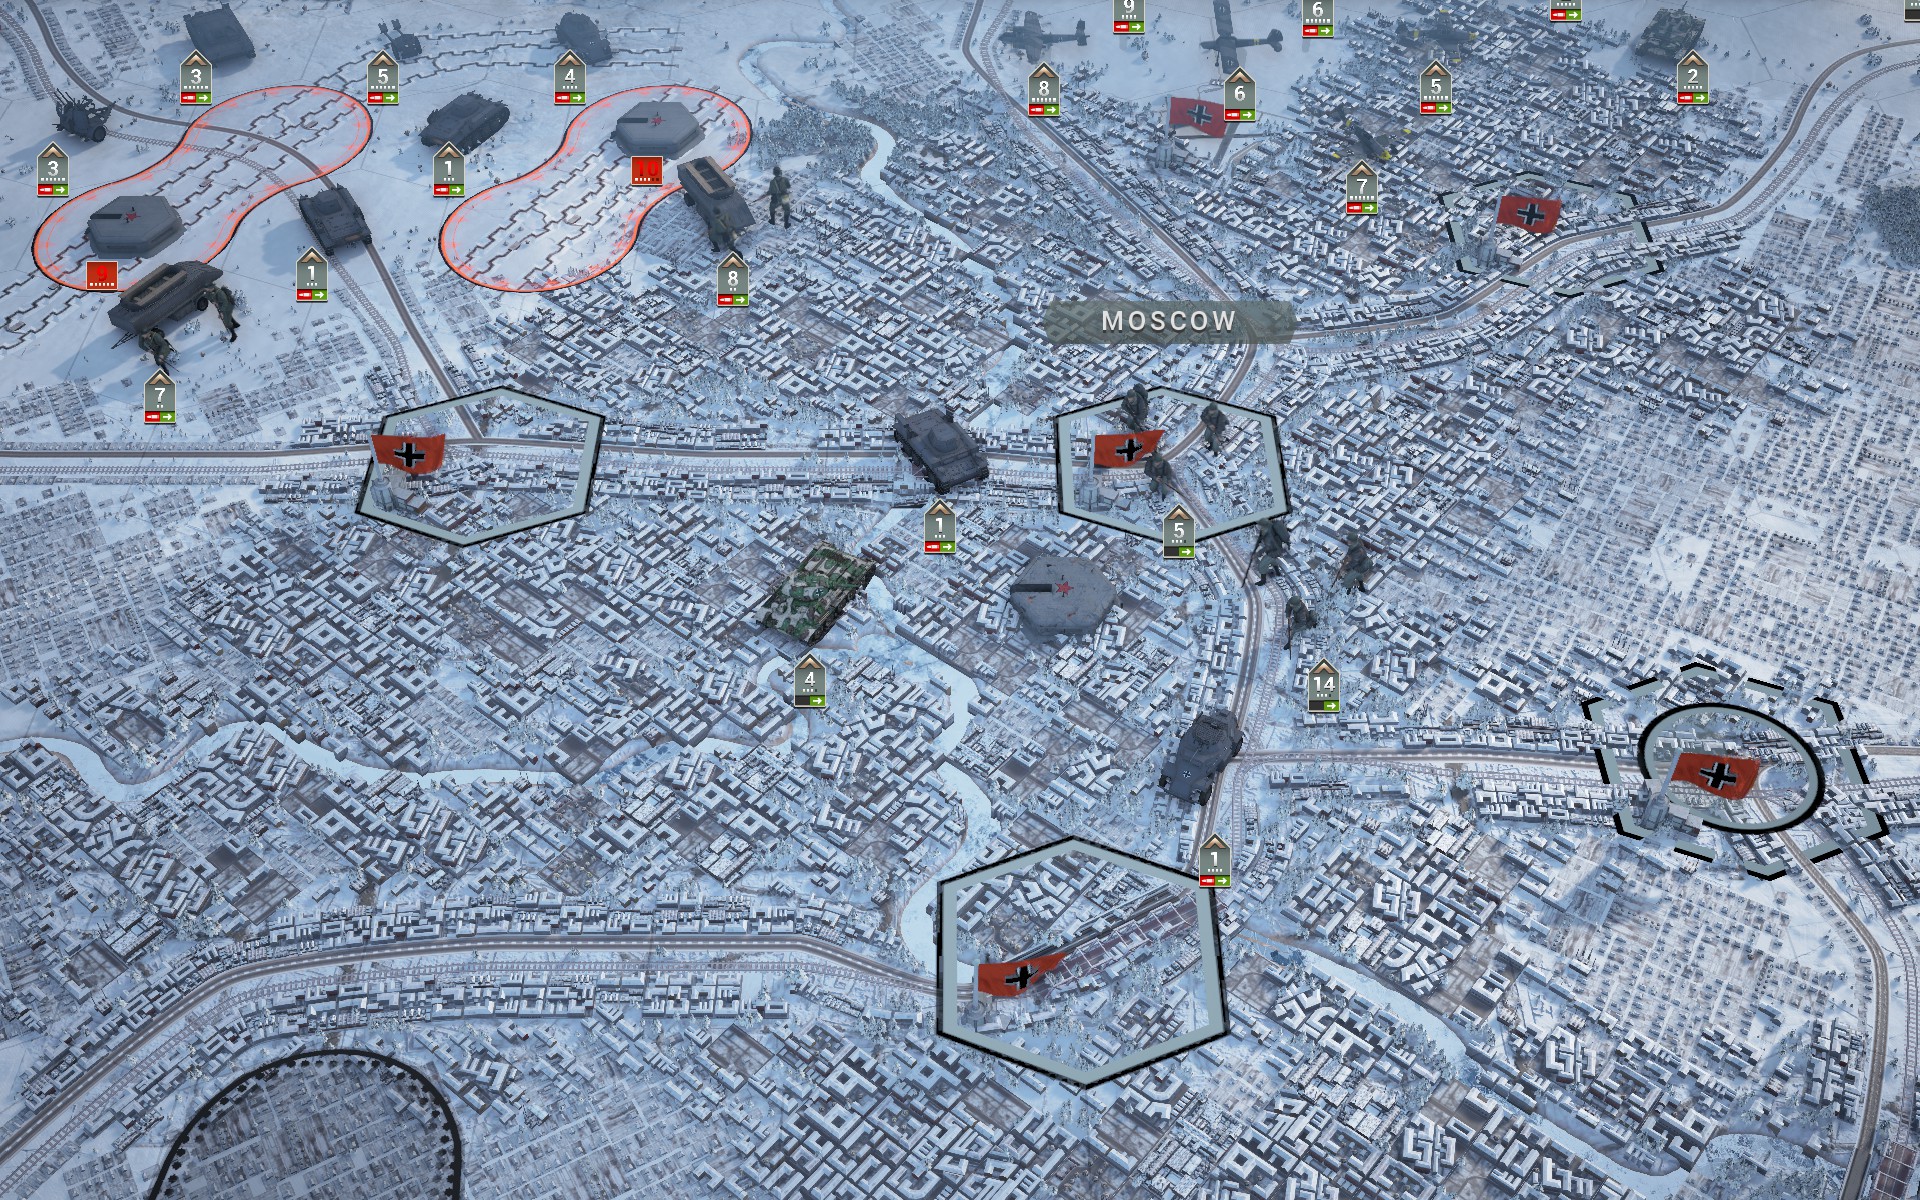
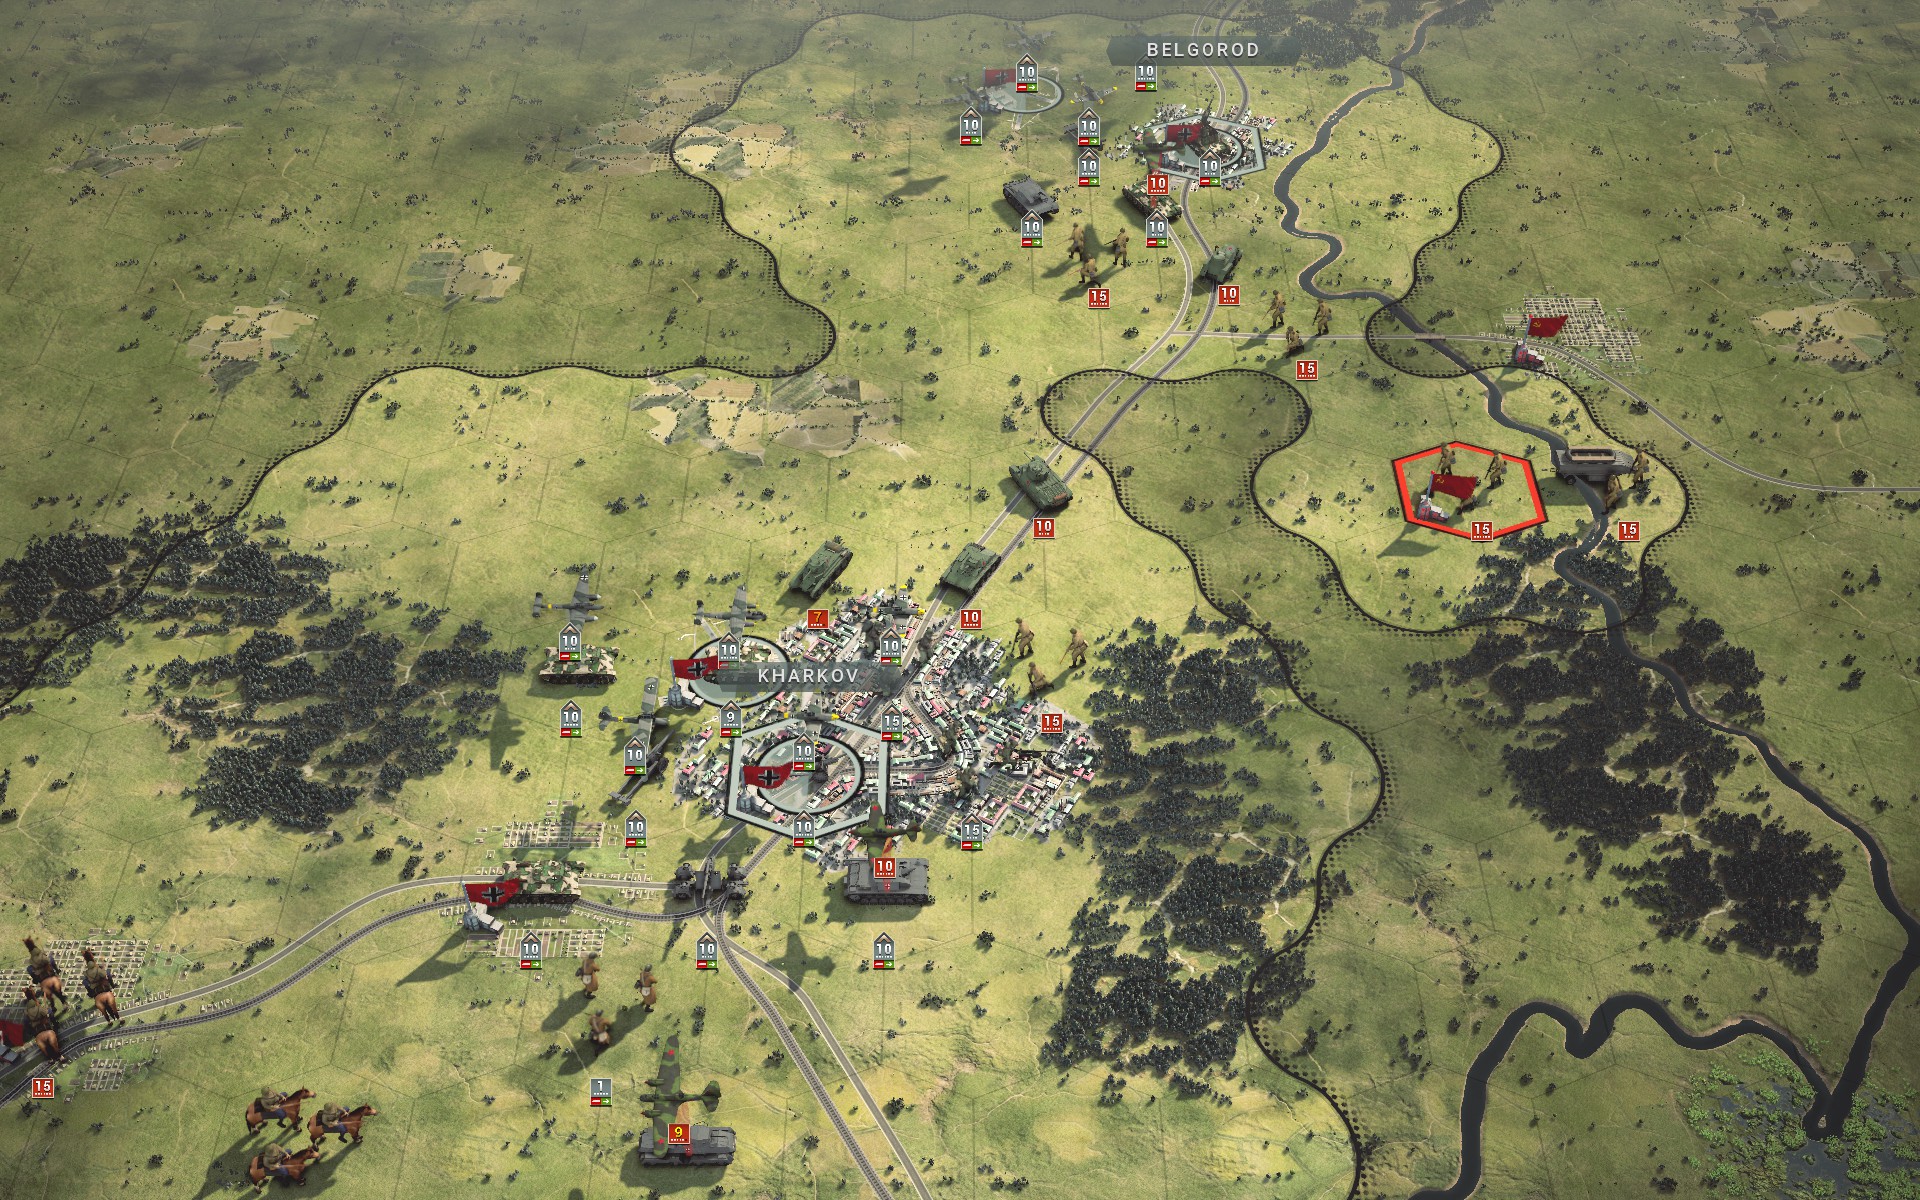
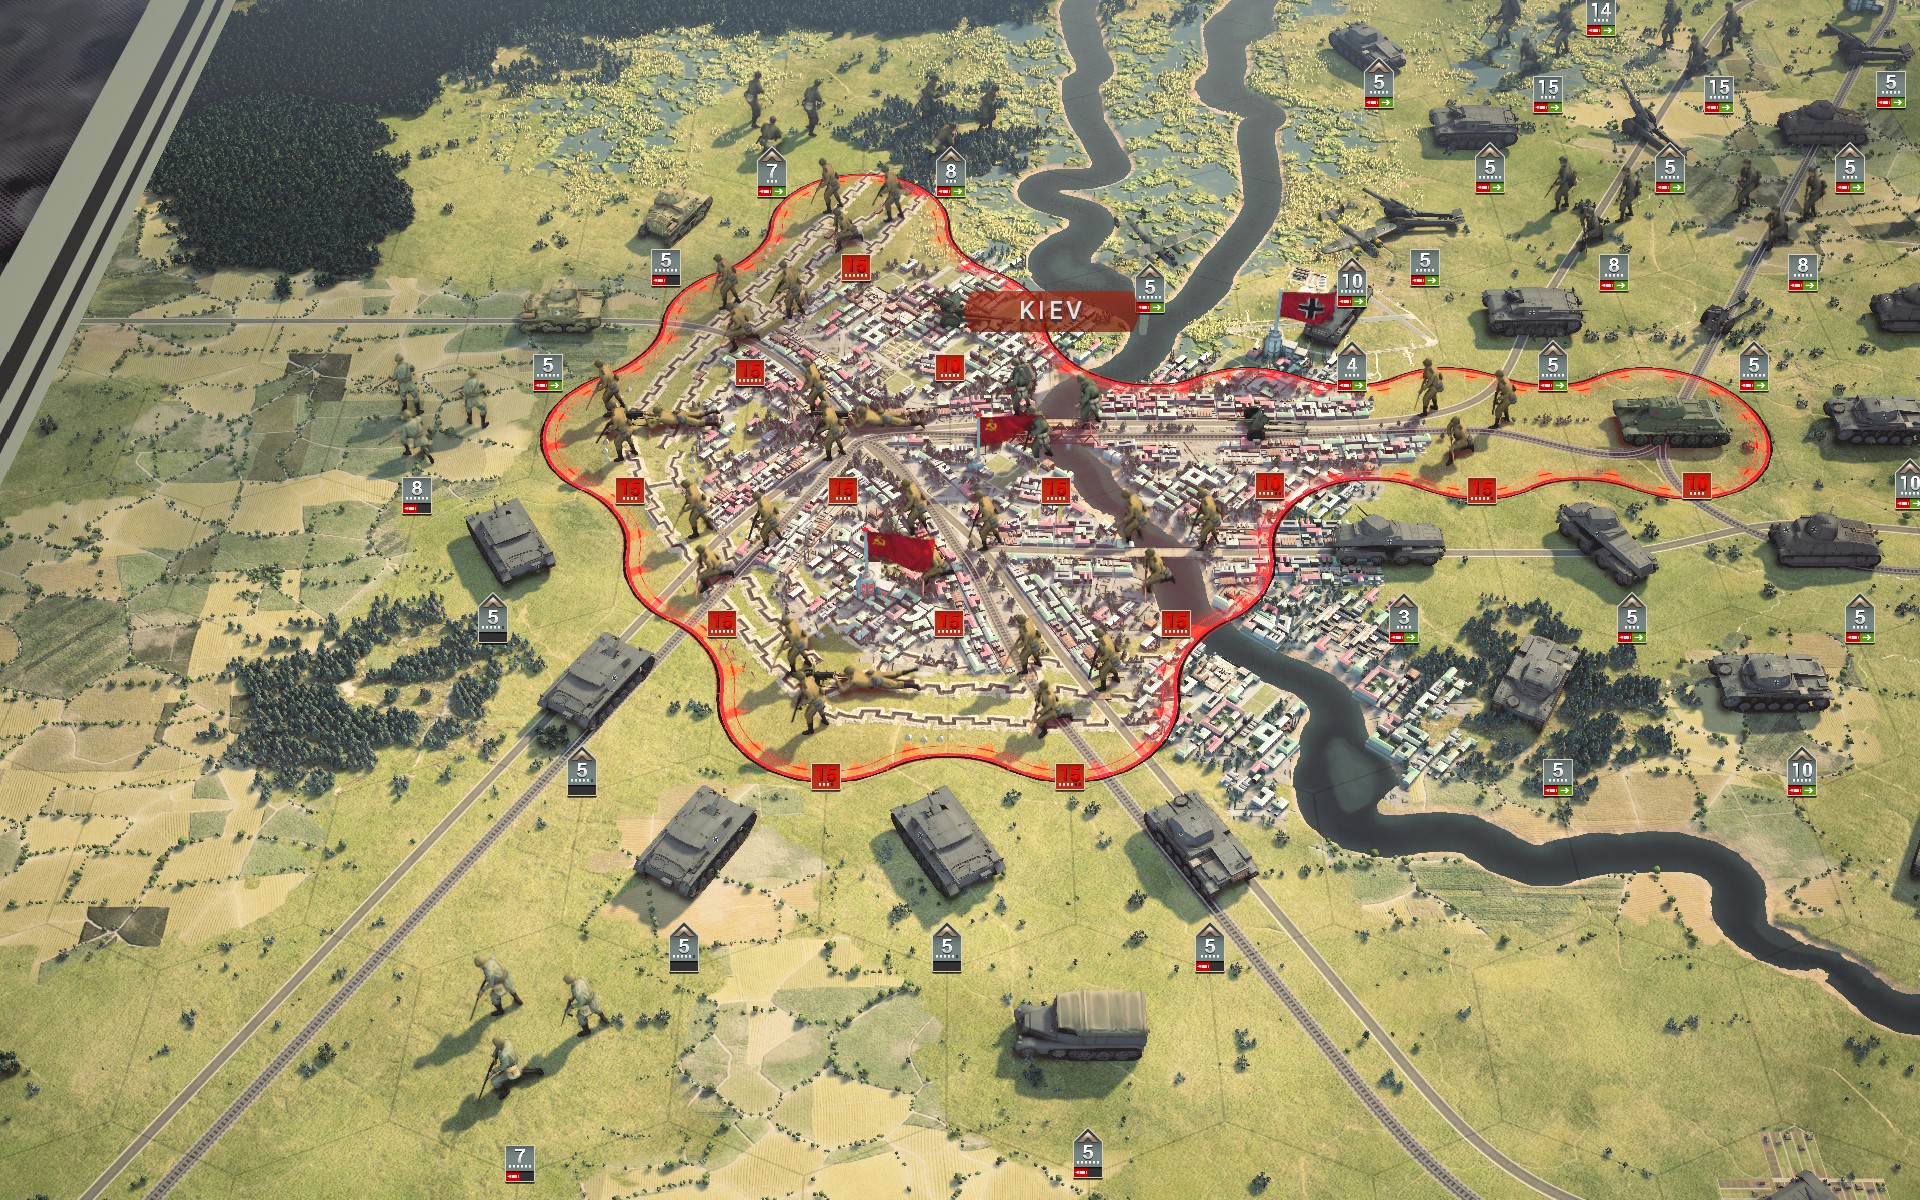
The strategic bombers level much of the city.
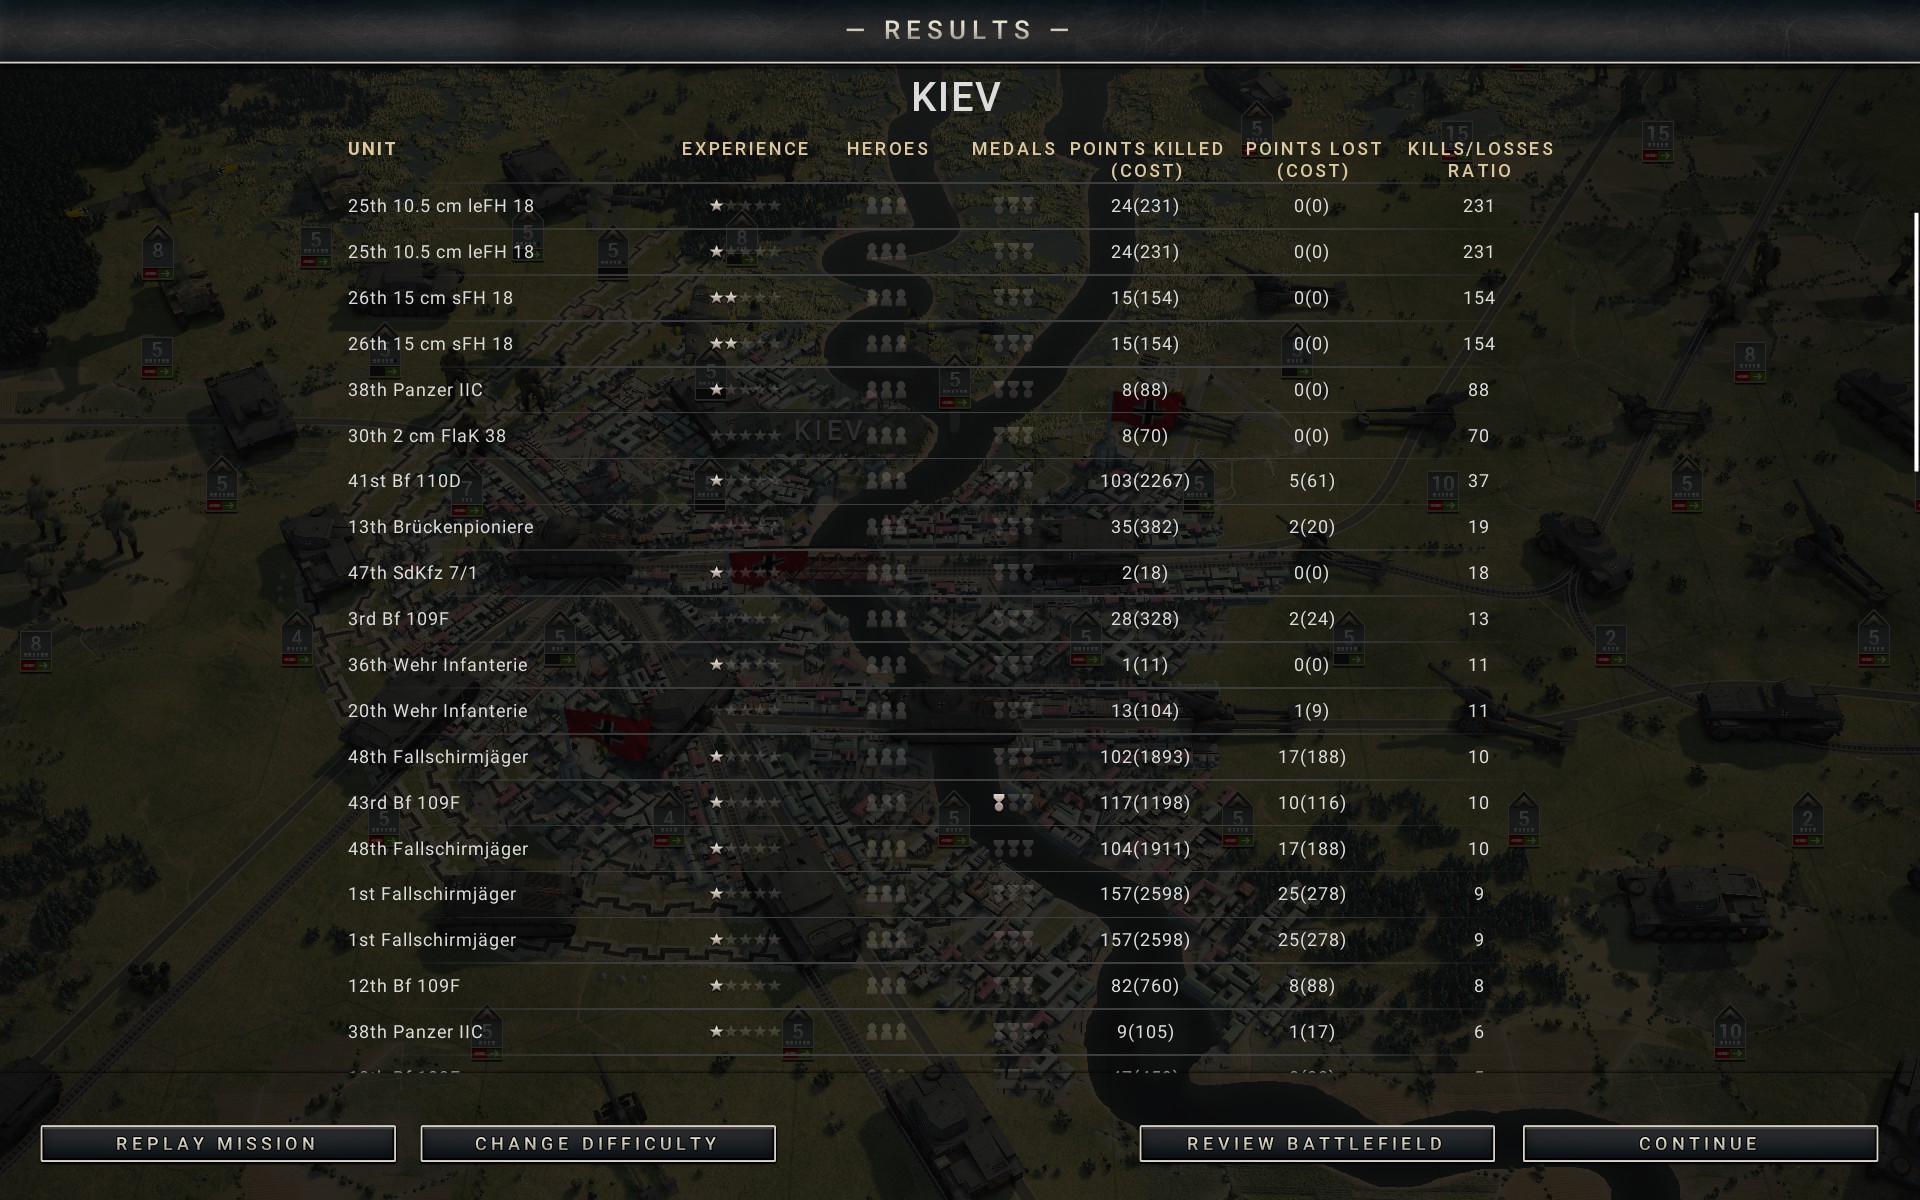
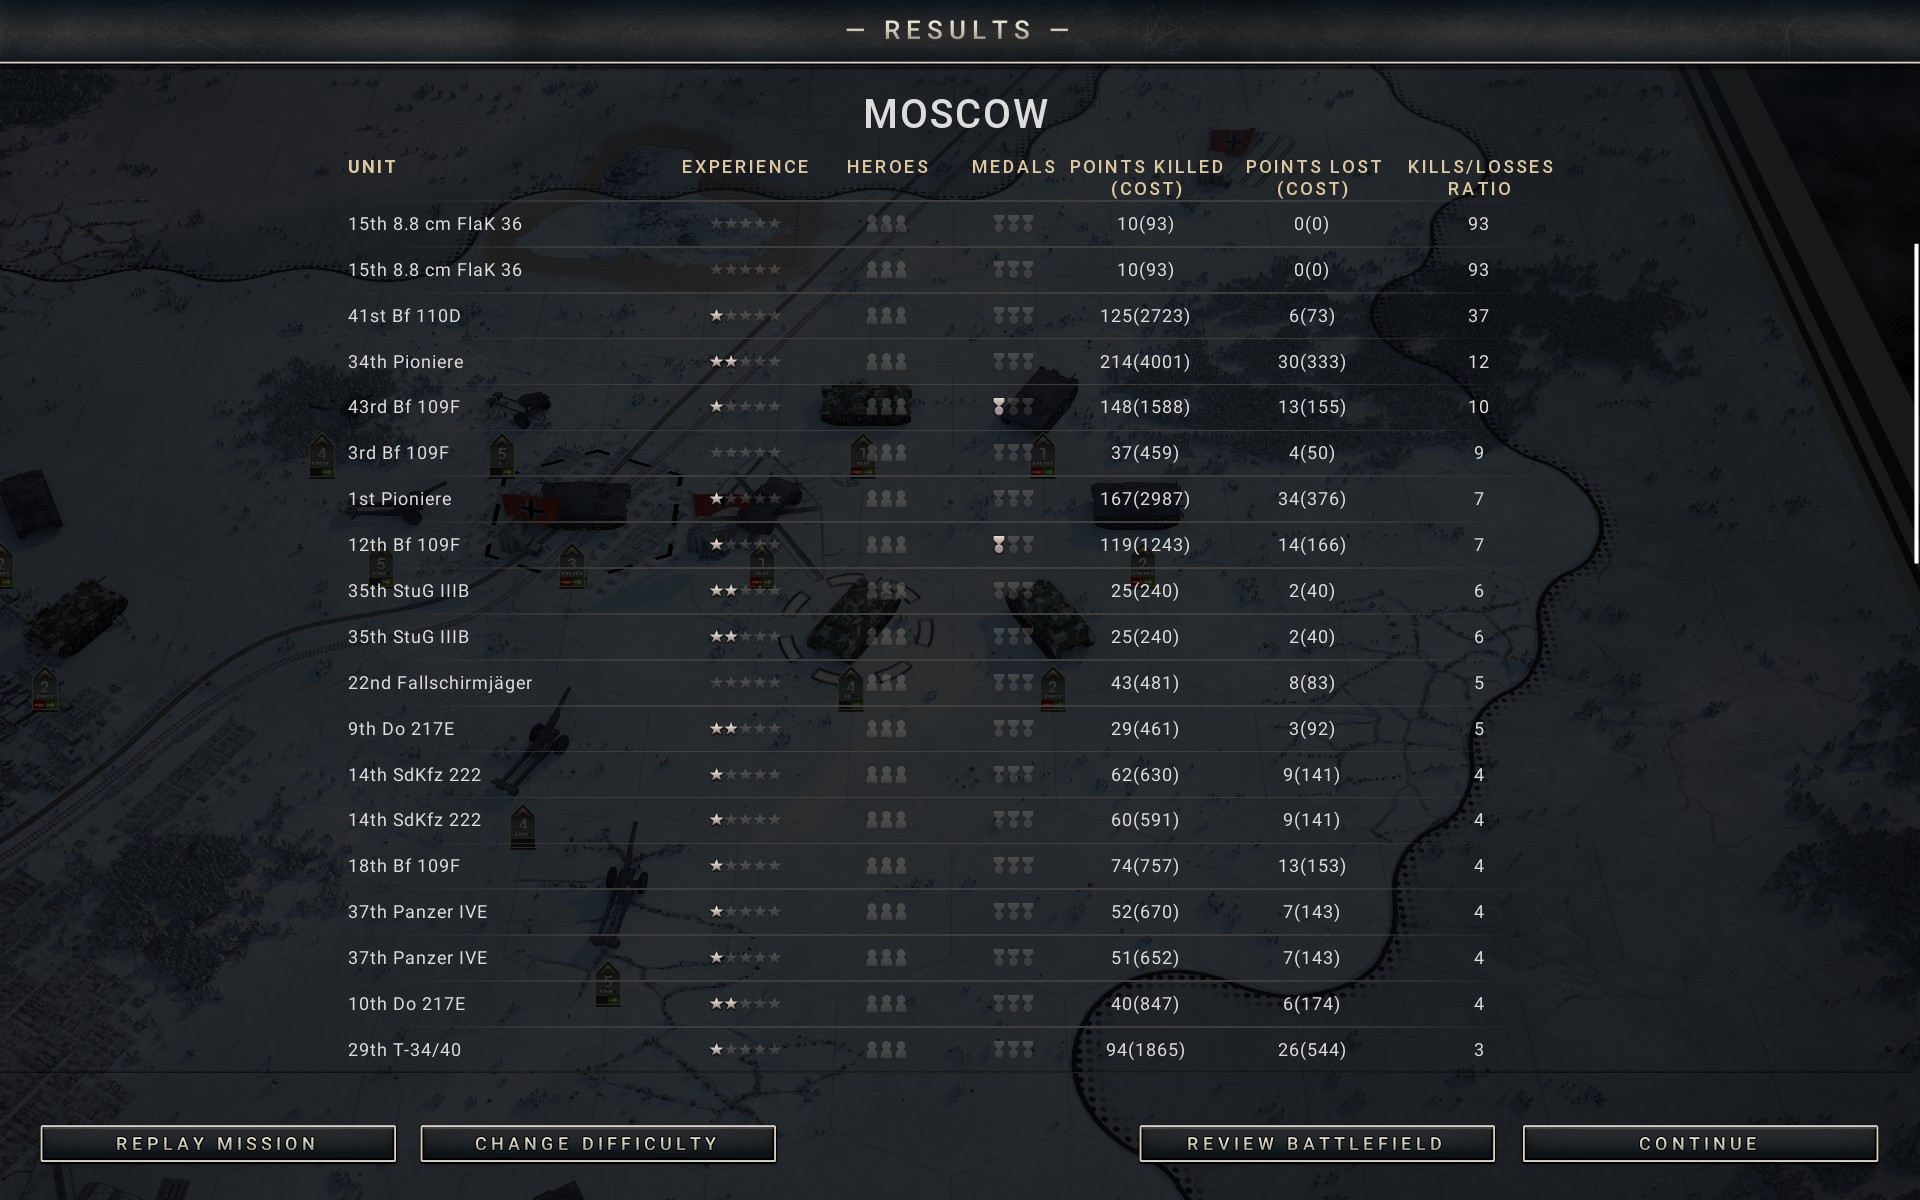
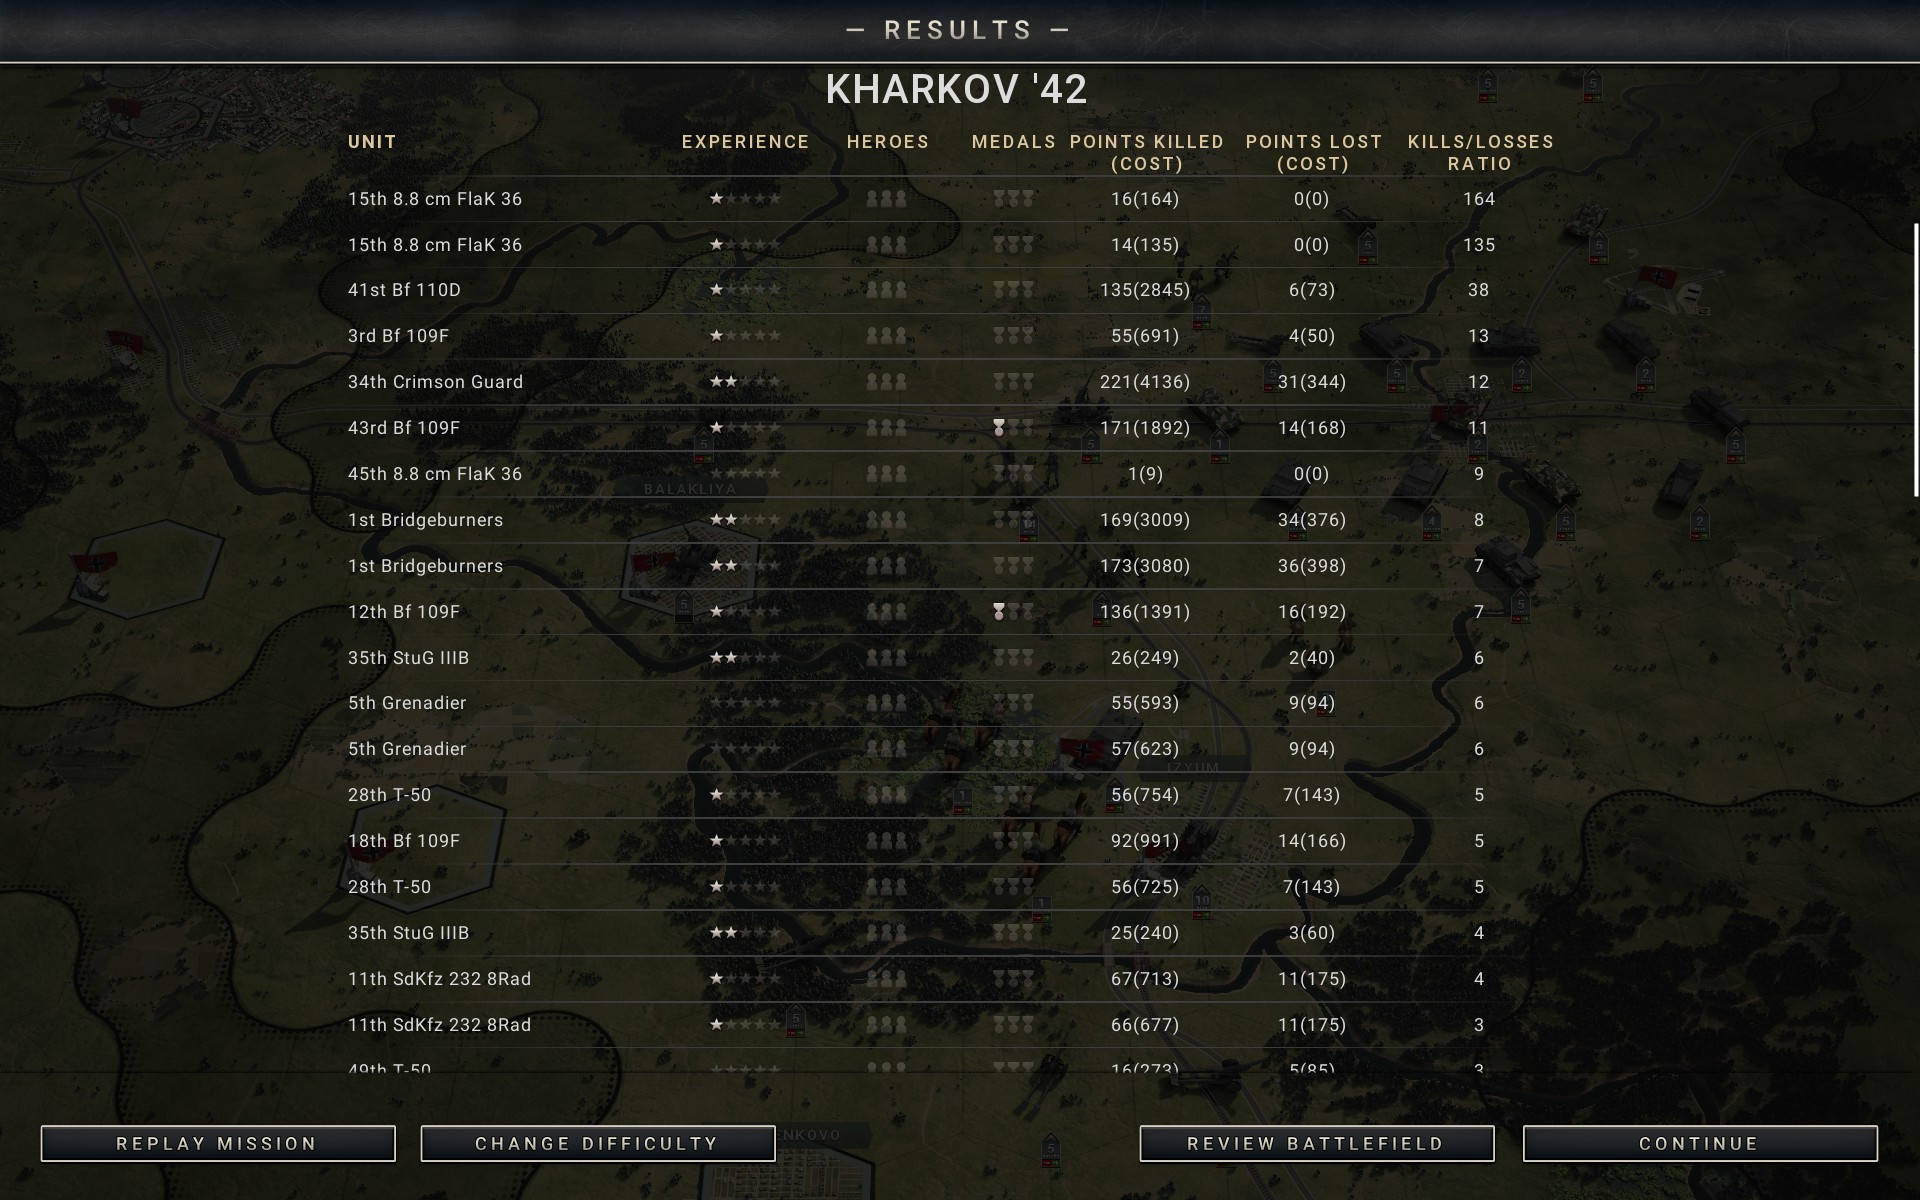
Having read the other AARs this doesn't really come as a surprise, but I think it's safe to conclude that Kiev is the definite loot piñata, Panzer Corps 2's very own Cow Level. The bulk of the Soviet forces are spread out across the plains east of Kiev, with only a few small pockets outside. By striking hard and fast at these pockets you can keep the actual fighting to a minimum, and as the numbers suggest -- it cost me around 400 prestige to repair -- the auxiliaris fought harder. The Soviet air force is scattered across the many airfields and doesn't pose much of a threat either. While I'm a little uneasy about the amount of prestige available here -- I still believe that prestige should be reduced, if only for FM and Generalissimus -- the scenario is a fantastic way to illustrate the value of the new encirclement mechanic, and what better way to do that than with the (first) Battle of Kiev? The briefing is odd to say the least, though; it was clearly made for Kiev North and doesn't really make much sense when you deploy south of the Dnieper.